© 2005-2015 Superior-PHS
Superior PAPER HANDLING SOLUTIONS
page 8
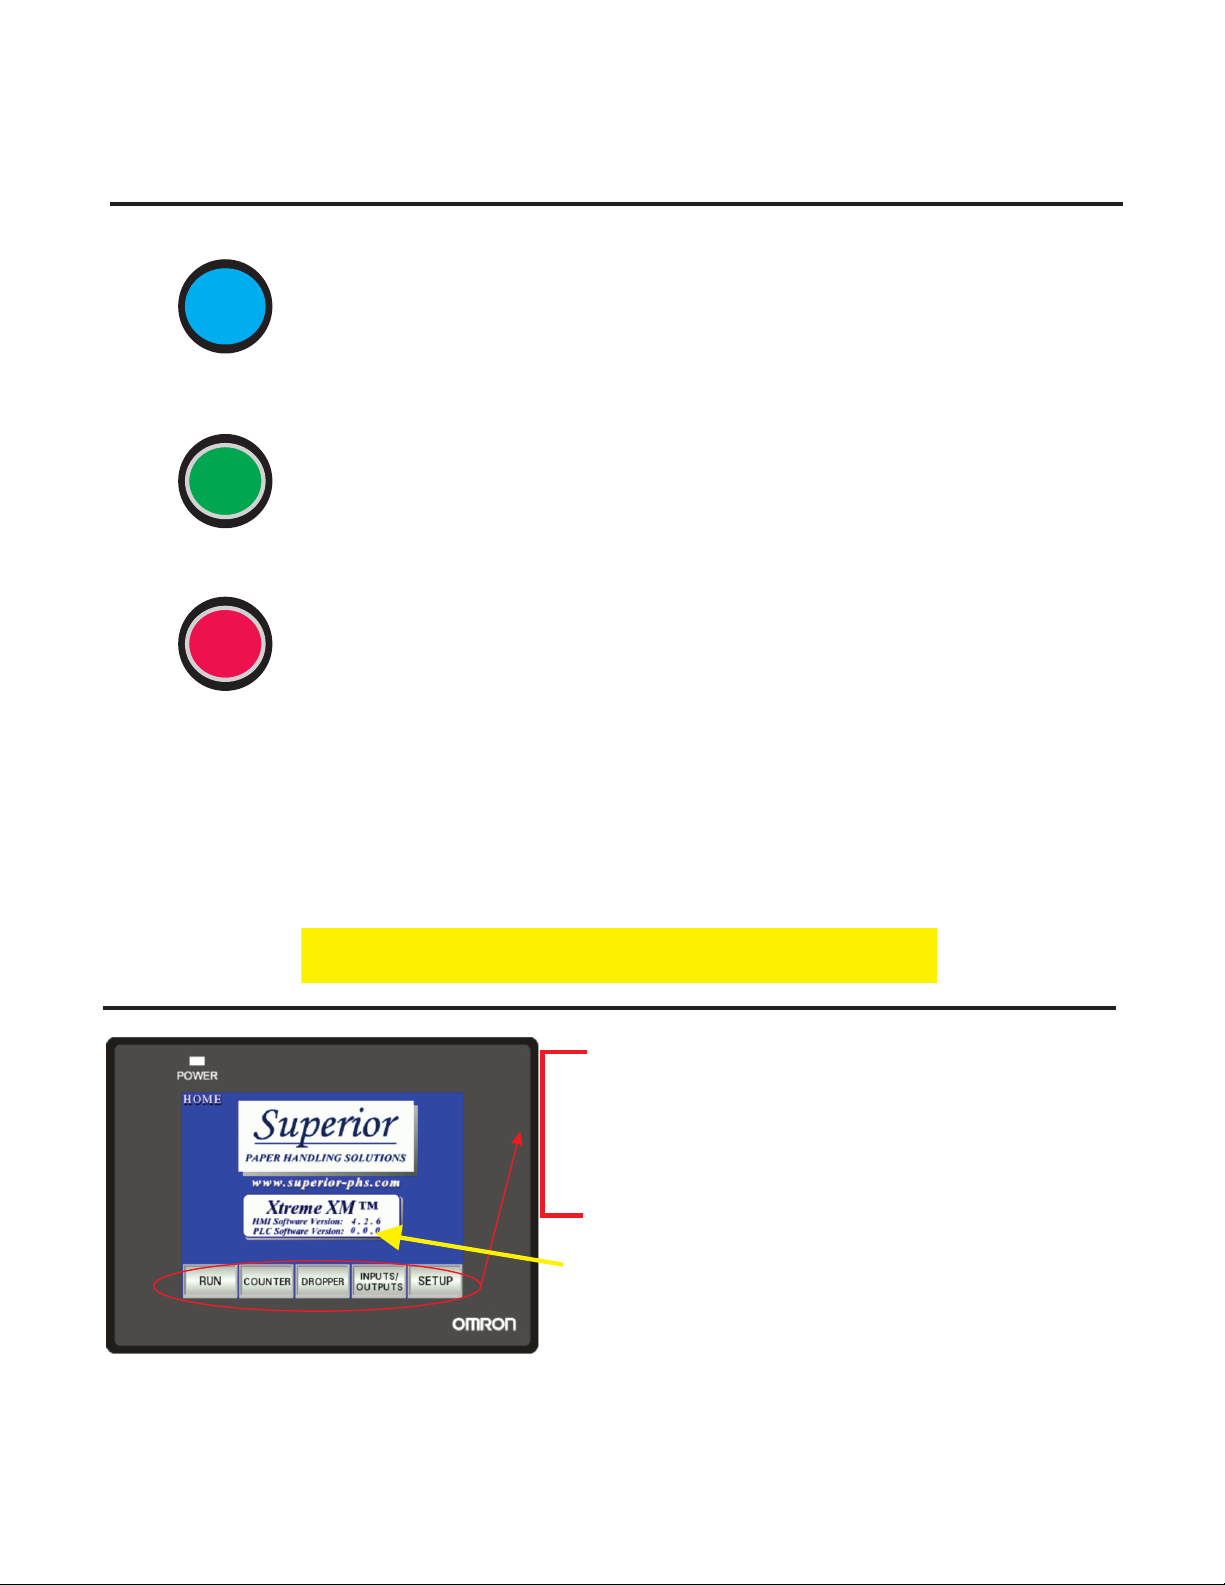
2 - SETUP 2
DOUBLE DETECT: Allows user to turn ON/OFF the
Double Detect. Green illumination when ON.
MISS DETECT: Allows user to turn ON/OFF the Miss
Detect. This function monitors that the batch cycle
has completed before receiving another trigger or
remote START. Green illumination when ON
BUSY/DONE VACUUM: Allows user to turn ON/OFF
the Busy/Done or Vacuum function. Read below for
explanation of functions. Green illumination when ON
BUSY/DONE or VACUUM function: There is a particular I/O point in the Ext Interface that will
change its state with regards to whether the motor on the feeder is running or not. Thus a
system controller could monitor the feeder and know when it has completed its batch cycle.
The Vacuum application is considered when an optional venturi vacuum setup is purchased
with the feeder. This allows the vacuum to only operate when the feeder is running. EITHER
one condition or the other is used as a scenario. Both situations use the same I/O point.
TIME OUT function: The next three functions control the settings with regards to setting the
Time Out function. This is used to monitor the sheet sensor for clear and block conditions.
(Feeder empty or Jammed conditions)
TIME OUT EYE CLEAR: Enter the time in seconds. An error will occur if the sheet sensor stays open
the duration of time set. [KEYBOARD ENTRY-MIN/MAX WITHIN KEYBOARD DISPLAY ]
TIME OUT EYE BLOCKED: Enter the time in seconds. An error will occur if the sheet sensor stays
blocked the duration of time set. [KEYBOARD ENTRY-MIN/MAX WITHIN KEYBOARD DISPLAY ]
NOTE: The time set for blocked has to be large enough to allow one piece to advance completely
through the sheet sensor. This may have to set bigger for large product running at slow cycle speeds.
LOW STACK function: The next three functions control the settings with regards to setting the
Low Stack function. This function is only used if the feeder was purchased with a Low Stack eye.
LOW STACK WARN: Set how many pieces once the Low Stack eye clears to when the warning amber
light will flash (Requires purchase of light tower with feeder) [KEYBOARD ENTRY-MIN/MAX WITHIN
KEYBOARD DISPLAY ]
LOW STACK HALT: Set how many pieces once the Low Stack eye clears to when the feeder will stop.
Product must be filled again to cycle the feeder. [KEYBOARD ENTRY-MIN/MAX WITHIN KEYBOARD
DISPLAY ]
TIME OUT: Allows the user to turn ON/OFF the Time Out function
LOW STACK : Allows the user to turn ON/OFF the Low Stack function. Green illumination when ON
. Green illumination when ON