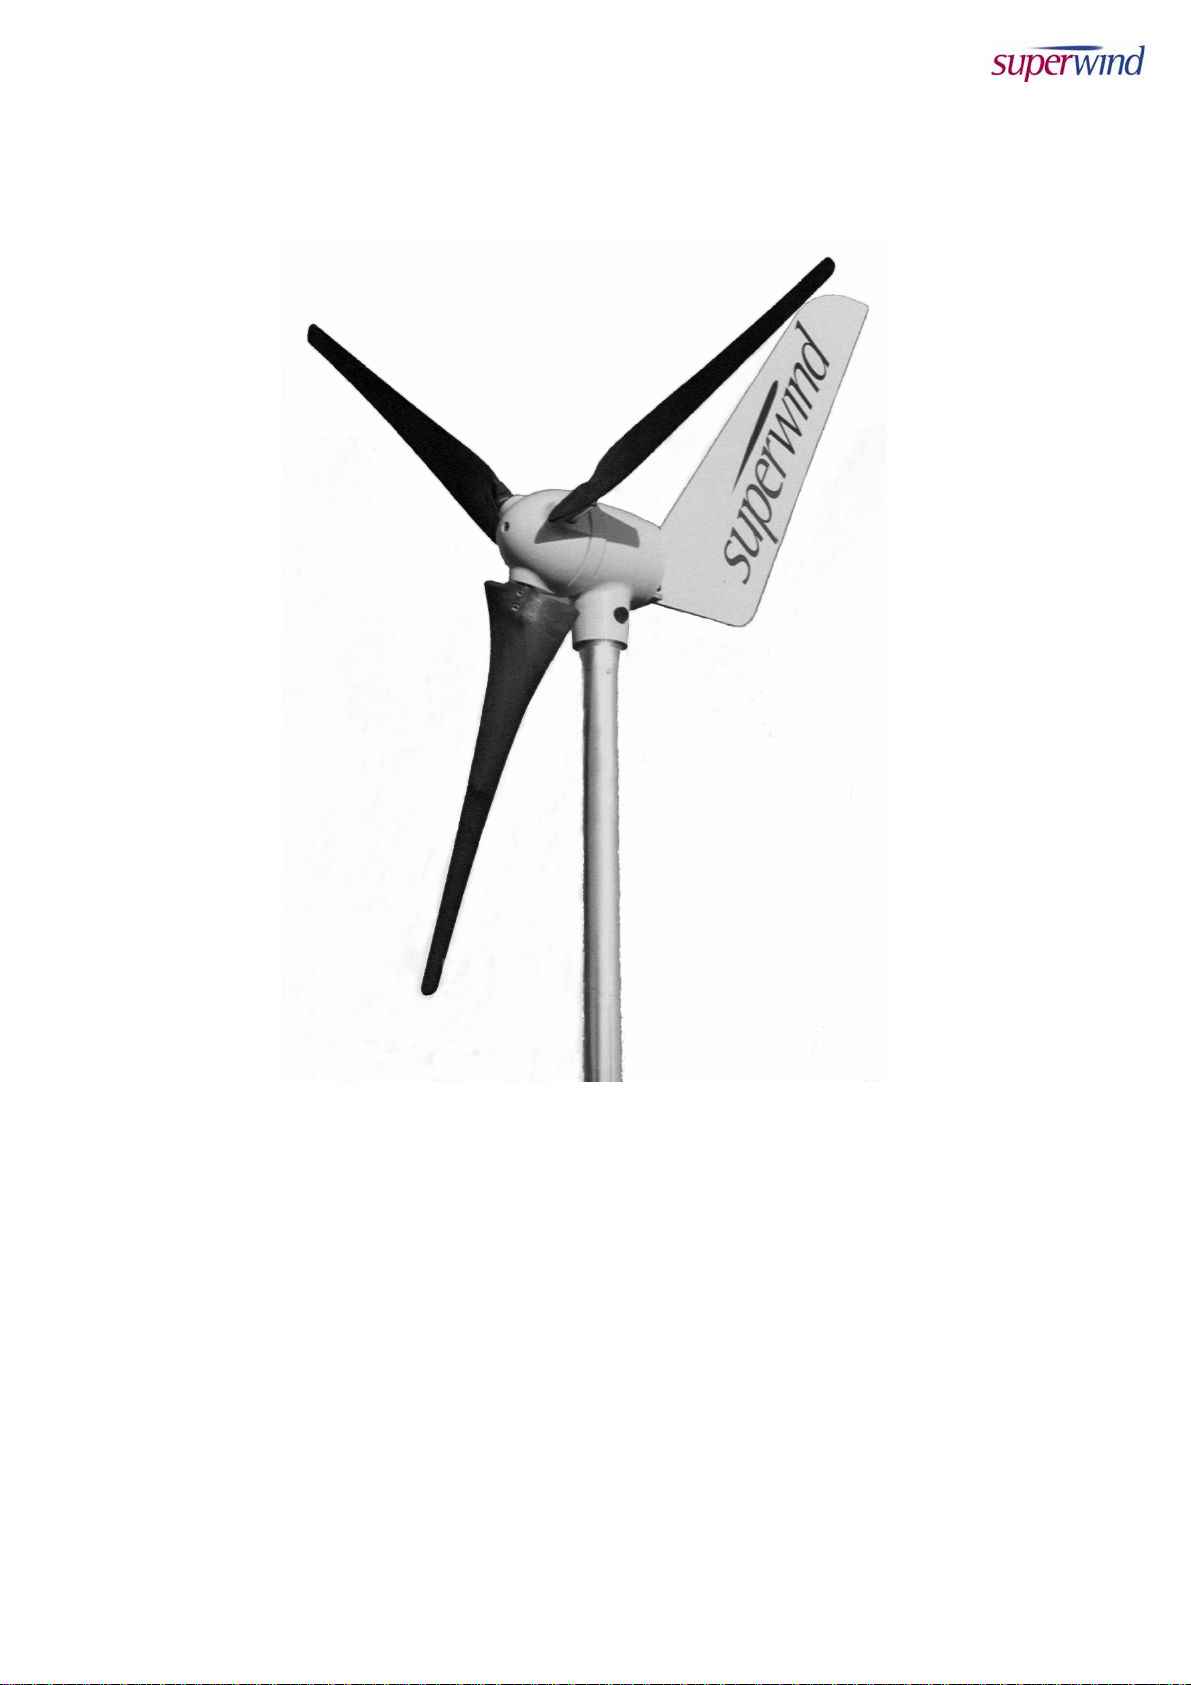
5
1.2 Range of application
The electric power generated by the Superwind charges batteries and can directly be used for 12 VDC or
24 VDC-appliances (depending on the system voltage). AC-appliances are supplied via an optional
inverter. There is a wide range of high quality 12 VDC or 24 VDC equipment available like energy saving
lamps, refrigerators, deep-freezers, water pumps, ventilators, consumer electronics, TV, radio and
navigation equipment, etc.
Ideal fields of application for example are sailing yachts, campers, summer cottages, mountain shelters,
as well as industrial applications, like navigational aids, traffic management systems, environmental
monitoring stations or transmitters. For rural electrification the Superwind supplies basic power to
families, schools, small health care centres etc.
The combination with solar arrays is without problems. At many places, energy supplies from sun and
wind complement each other. That is why the Superwind is used in wind / solar hybrid systems to
optimise the availability of power (at minimised battery capacity).
2. Safety instructions
Please carefully study this manual before starting assembly and installation. The information provided is
to ensure your safety during mounting, operation and in case of trouble. If you have any additional
questions please contact your dealer, a superwind service partner or the manufacturer.
2.1 Potential sources of danger
Wind turbines in general – including small wind generators like the Superwind – are electrical machines
and thus potential sources of hazards.
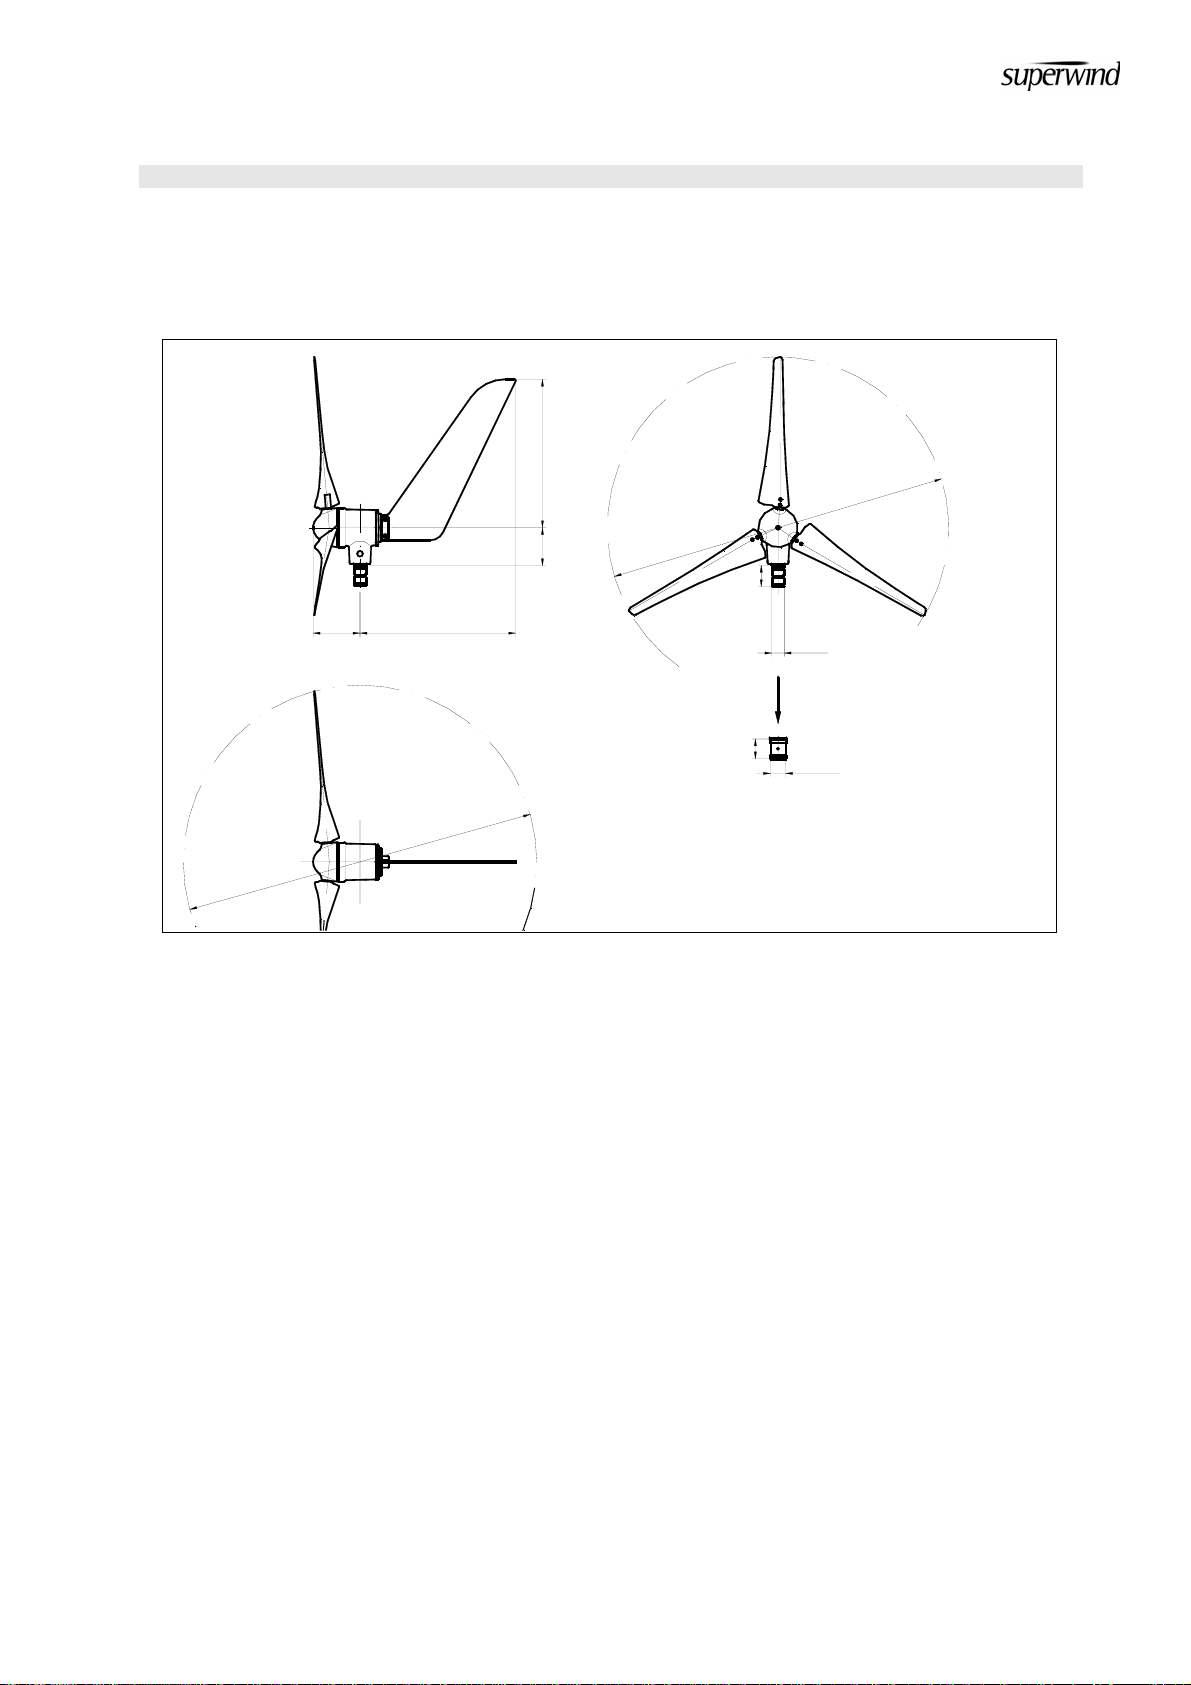
2.1.1 Mechanical dangers
The main danger is the spinning rotor. The rotor blades are sharp and can cause very serious injuries
even at very low speed.
WARNING: Never touch the running rotor.
Never try to stop the rotor by hand.
Do not mount the rotor at places where any persons can reach the area swept by the
rotor.
The rotor blades are made of carbon fibre reinforced plastic. The material is extremely sturdy and enables
your Superwind to cope with heavy storms. However the material can break if any objects, e.g. ropes,
battens falling down, branches etc. get into the running rotor. The fragments of the blades are sharp and
can be thrown off the rotor at very high speed.
WARNING: Avoid any objects touching the running rotor.
For aerodynamic reasons the rotor blades´ trailing edges are very thin and sharp. Unpacking the parts
you should be careful, in order to avoid injuries.
2.1.2 Electrical dangers
The generator can produce dangerous open circuit voltages up to 52 VDC (12 V version) and 105 VDC
(24 V version) at no-load operation if the electrical connection to the battery or the consumers would be
interrupted. This open circuit voltage will be reached at a wind speed of approx. 35 m/s.
The charging current reaches up to 30 Ampere DC (12 V version) or 15 Ampere DC (24 V version). The
cabling, all electrical components and connectors must be suitable for 40 Ampere (12 V version) and 20
Ampere (24 V version). For correct dimensioning refer to Section 5.3.