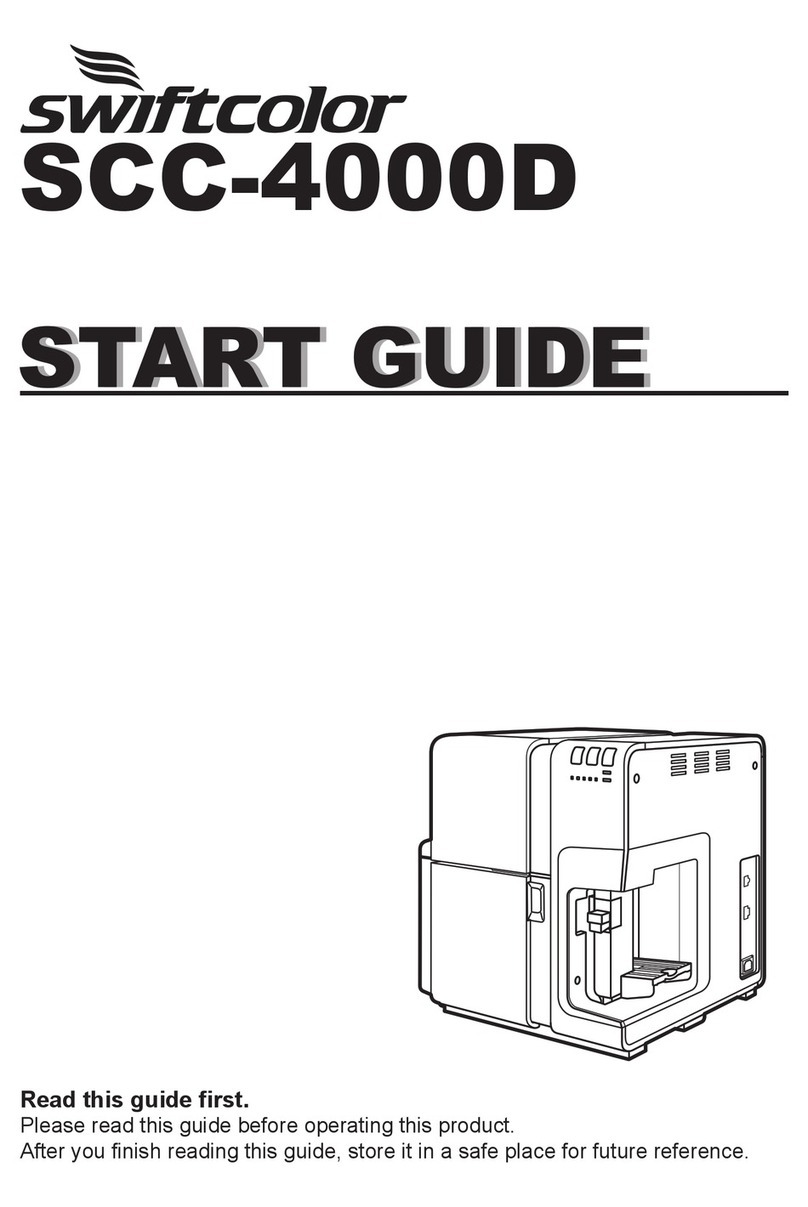
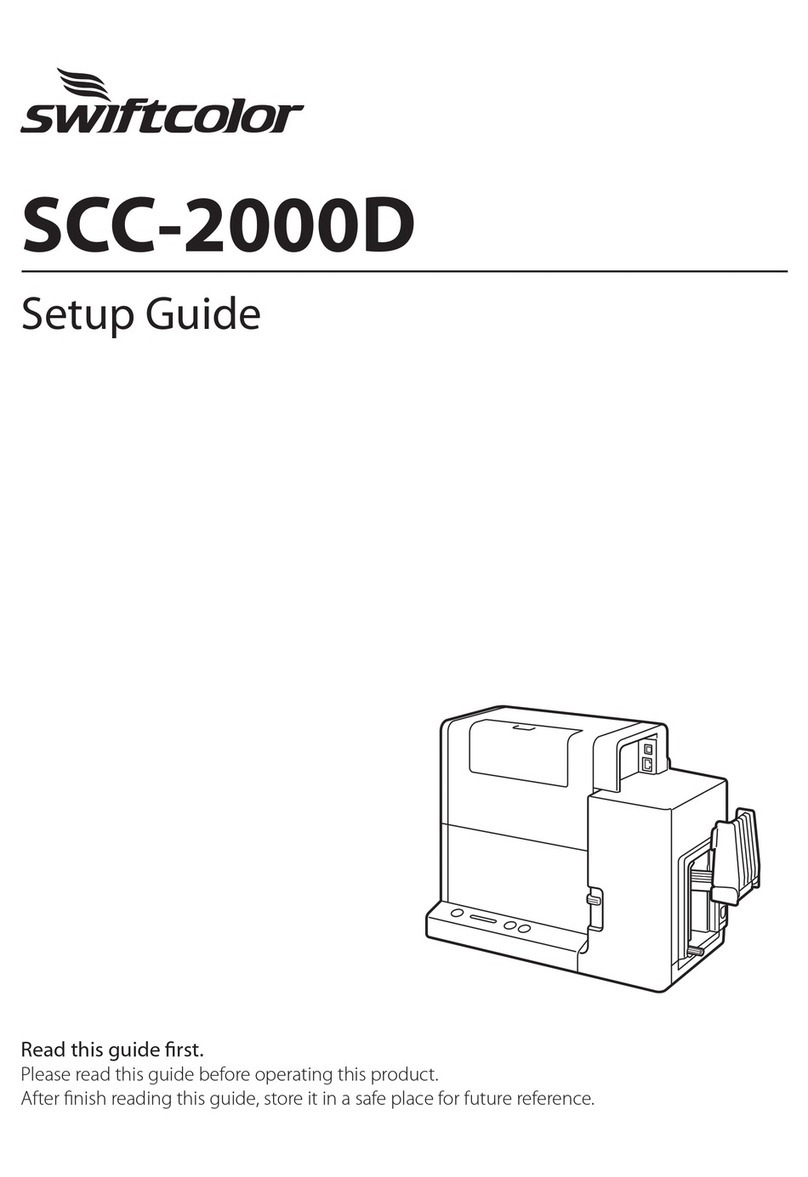
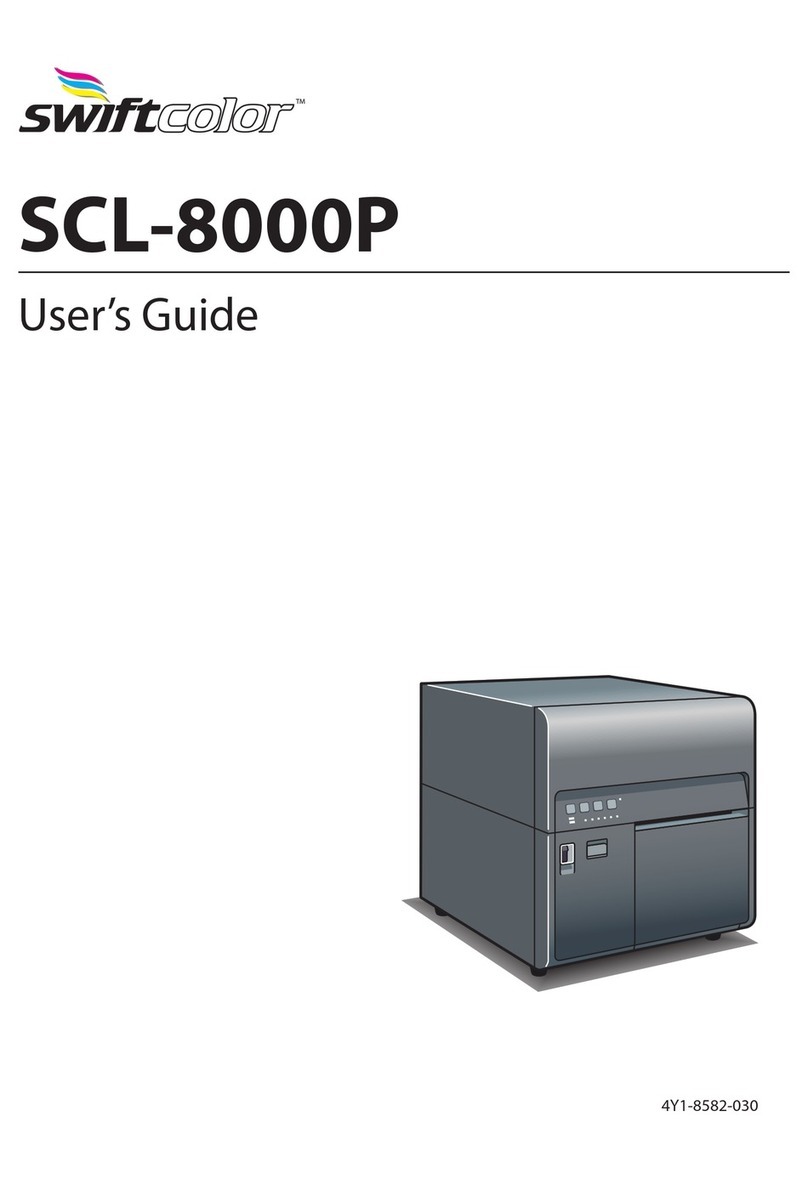
SwiftColor SCC-2000D User manual

SCC-2000D
User's Guide
4Y1-8581-010

ii
Table of Contents
Before You Begin
Conventions...................................................................................iv
Sample Screens............................................................................iv
Trademarks.......................................................................................v
Abbreviations.................................................................................v
Request to the Customer........................................................v
Legal Notice ....................................................................................v
1. Basic Operation
Names and Functions of Components ................................2
External View...................................................................................2
Internal View ...................................................................................3
Transport Unit ................................................................................4
Operation Panel............................................................................5
Turning on/o Printer ......................................................................7
Turning on the Printer...............................................................7
Turning o the Printer...............................................................8
Changing the Power Settings..............................................9
Setting Paper...................................................................................... 13
How to Print........................................................................................23
Making Prints...............................................................................23
Cancelling Printing...................................................................29
Conguring Print Settings ......................................................... 31
Opening the Printer Driver..................................................31
Printer Driver Setup Window Conguration............34
2. Printing
Printing with the Custom Paper Size...................................42
Setting Micro Margin Printing .................................................48
Adjusting the Print Position................................................48
Adjusting the Trimming Position ....................................50
Changing Print Quality and Adjusting Color..................56
Printing with Print Quality Setting Changed ...........56
Printing with the Color Correction Method Changed
...58
Printing in Black and White.................................................59
Setting the Sharpness............................................................60
Adjusting the Color Tone .....................................................62
Adjusting the Density ............................................................64
Adjusting the Brightness or Contrast...........................66
Carrying out Overlay Printing..................................................69
Printing a Form to a File........................................................69
Carrying out Overlay Printing............................................71
Setting Paper Feed Speed.........................................................73
Accelerating Printing on the 1st Sheet of Paper ...73
Adjusting the Paper Feed Speed.....................................74
Registering Print Settings You Use Frequently..............76
Changing Special Settings of Printer...................................80
Registering Paper Type................................................................84
3. Maintenance
Checking Printer Status................................................................88
How to Start and Display the Status Monitor..........89
Replacing Ink Tank ..........................................................................91
Replacing the Ink Tank...........................................................91
Checking the Ink Condition ...............................................97
Replacing Maintenance Cartridge........................................98
Replacing the Maintenance Cartridge ........................98
Checking the Status of the Maintenance Cartridge
...104
Cleaning Print Head.................................................................... 105
Carrying out Normal Cleaning (Light Cleaning)
...105
iii
Carrying out Strong Cleaning........................................107
Adjusting Print Head Position............................................... 109
Checking Setting Values.......................................................... 122
Cleaning Printer..............................................................................124
Cleaning the exterior of the printer............................124
Cleaning the Transport Unit............................................126
Cleaning the Pick-up Roller .............................................137
4. Troubleshooting
For Troubleshooting Operations .........................................142
Status Lamp Lights up Orange......................................142
Status Lamp Is Flashing Orange ...................................144
Power Does not Turn on....................................................145
Printing Does not Start/Complete ..............................145
Paper Does not Feed Properly .......................................148
Improving the Print Quality.............................................149
Paper Is Jammed ....................................................................153
List of Error Messages/Warning Messages....................158
Error Message...........................................................................159
Warning Message .................................................................. 164
5. Appendix
Moving Printer................................................................................ 168
When Moving the Printer Indoors...............................168
Shipping the Printer.............................................................172
Uninstall Printer Driver................................................................179
About Network Utility ................................................................181
Starting the Network Utility ............................................181
Conguring the Network..................................................182
Conguring Network Using the Network Utility..
193
Specications..............................196
Index.................................................198

iv
Before You Begin
Thank you for purchasing the Swiftcolor SCC-2000D.
Please read this guide before you use the printer so you can fully understand the printer features and learn how to
use the printer most eciently. This guide provides all the information you need to use this printer.
Conventions
WARNING
Indicates a warning concerning operations that may lead to death or injury to persons if not performed correctly.
To use the machine safely, always pay attention to these warnings.
CAUTION
Indicates a caution concerning operations that may lead to injury to persons if not performed correctly. To use the
machine safely, always pay attention to these cautions.
IMPORTANT
Indicates operational requirements and restrictions. Be sure to read these items carefully to operate the machine
correctly, and avoid damage to the machine or property.
NOTE
Indicates a clarication of an operation, or contains additional explanations for a procedure. Reading these notes
is highly recommended.
Indicates an operation that must not be performed. Read these items carefully, and make sure not to perform the
described operations.
Sample Screens
The sample screens of the printer driver settings in this guide were created with Swiftcolor SCC-2000D in Windows 7.

v
Before You Begin
Trademarks
• Microsoft and Windows are trademarks of Microsoft Corporation in the United States and/or other countries.
• Other brand and product names may be trademarks or registered trademarks of their respective companies.
Abbreviations
Throughout this document the following abbreviations are used in text.
• Microsoft Windows 8 is abbreviated as “Windows 8”
• Microsoft Windows 7 is abbreviated as “Windows 7”
• Microsoft Windows is abbreviated as “Windows”
Request to the Customer
• Copying this guide or any part of this guide without permission is strictly forbidden.
• The specications for this printer as well as the software provided with the printer are subject to change
without prior notice.
• We have done our best to make this guide as complete and accurate as possible, and we ask you to contact the
dealer where you purchased the printer if you nd any omissions or mistakes in this document.
• We can accept no responsibility for loss or damages resulting from the use of this printer or its software; please
accept this before you use the printer.
Legal Notice
■Legal Limitations on the Usage of Your Product and the Use of Images
• It is illegal to reproduce currency, bills, negotiable securities and other documents prohibited by law.
Reproduction of such items may be subject to criminal prosecution.
• It is illegal to reproduce legal certicates, licenses, and certain public and private documents prohibited from
reproduction by law. Reproduction of such items may be subject to criminal prosecution.
• Please note that intellectual property protected by copyright may not be reproduced without the express
permission of the copyright holder except for personal or household use under limited circumstances.

vi
Before You Begin
■Product Name
SCC-2000D
■CE
This equipment conforms with the essential EMC requrements of EC Directive. We declare that this product
conforms with the EMC requirements of EC Directive at nominal mains input 230V, 50 Hz although the rated input
of the product is 100 to 240 V, 50/60 Hz. Use of shielded cable is necessary to comply with the technical EMC
requirements of EC Directive.
■FCC (Federal Communications Commission)
FCC Part 15 Compliance
NOTE: This equipment has been tested and found to comply with the limits for a Class B digital device, pursuant
to part 15 of the FCC rules. These limits are designed to provide reasonable protection against interference in a
residential installation. This equipment generates, uses, and can radiate radio frequency energy and, if not installed
and used in accordance with the instruction manual, may cause interference to radio communications.
However, there is no guarantee that interference will not occur in a particular installation. If this equipment does
cause interference to radio or television reception, which can be determined by turning the equipment o and on,
the user is encouraged to try to correct the interference by one or more of the following measures:
• Reorient or relocate the receiving antenna.
• Increase the separation between the equipment and receiver.
• Connect the equipment into an outlet on a circuit dierent from that to which the receiver is connected.
• Consult the dealer or an experienced radio/TV technician for help.
CAUTION: Changes or modications to this equipment not expressly approved by the party responsible for
compliance could void the user’s authority to operate the equipment.

Chapter 1
Basic Operation
This chapter describes basic things to remember before using this product.
Names and Functions of Components........................................................................................................................ 2
Turning on/o Printer............................................................................................................................................................. 7
Setting Paper............................................................................................................................................................................. 13
How to Print............................................................................................................................................................................... 23
Conguring Print Settings ................................................................................................................................................ 31

2
Chapter 1 Basic Operation
Names and Functions of Components
Names and functions of the components of this printer are described below.
External View
56
7
8
2
1
3
4
9
10
11
12
1Operation Panel (P.5)
Keys for selecting printer operations and lamps
indicating printer statuses are provided on this panel.
2Transport Unit (P.4)
Pull out this unit when clearing paper jams or adjusting
the paper guides.
3Ejection Slot
Printed paper is ejected through this slot.
4Ink Tank Cover
Open this cover when replacing ink tanks.
5Paper Switch Lever
Switch the lever position according to the thickness of
the paper to be set.
6USB Connector
Connect a USB cable to this connector.
7LAN Connector
Connect a LAN cable to this connector.
8Auxiliary Tray
Open the tray to set paper. During use, keep the tray
closed. When long sheets of paper (paper length of
157 mm or longer) is set, keep the tray open during
use.
9Feeder Lift Tray
Load the paper.
10
Side Guide
Adjust the position of this guide according to the
paper width.

3
Names and Functions of Components
11
Rating Plate
A serial number for identifying the printer is indicated
on this label.
(The serial number is required when repairing the
printer or registering the warranty.)
12
Power Socket
Connect the supplied AC adapter to this socket.
IMPORTANT
• While the printer is operating, do not open the ink tank cover or the transport unit lever. It could cause a printer failure.
Internal View
1
1Maintenance Cartridge
Ink used to clean printhead is collected in this cartridge.

4
Chapter 1 Basic Operation
Transport Unit
MM
58
51
54/55
G
MM
1
2
3
1Transport Unit Lever
Open this lever to pull out the transport unit.
2Transport Belt
Transports paper here.
Clean the transport area when stained with paper dust
and ink. (P.131)
3Paper Guide
This guide holds the paper down to keep it from
oating. Normally, set the lever to the MM position for
use.
If the guide is stained with paper dust or ink, clean it.
(P
.126)

5
Names and Functions of Components
Operation Panel
Pause
Tray
1 32 4 5 6
1Power Key/Lamp
Press this key to turn on/o the printer. This lamp lights
up or blinks depending on the power supply status.
On: The printer is powered.
Blink:
The printer is in sleep mode (power-saving mode).
O: The printer is not powered.
2Status Lamp
This lamp lights up or blinks green or orange.
Lit (green): Printing from the computer is possible
(online mode).
Blink (green): The printer is processing or operating
(printing, cleaning, etc.)
Lit (orange): An operator call error has occurred.
Blink (orange): A service call error has occurred.
O: Instructions and print data cannot be received
from the computer (oine mode).
3Ink Lamps (Bk/C/M/Y)
Each lamp lights up or blinks when the corresponding
ink tank is out of ink or short of ink.
Lit: The ink tank is out of ink or faulty.
Blink: The ink tank is short of ink.
O: The ink tank is sucient of ink.
4Maintenance Cartridge Lamp
This lamp lights up or blinks when there remains a
small or no maintenance cartridge space to collect ink.
Lit:
The maintenance cartridge has no free space or it is faulty.
Blink: The maintenance cartridge has a small free space.
O:
The maintenance cartridge has a sucient free space.

6
Chapter 1 Basic Operation
5Pause Key
Press this key to switch between online and oine
modes.
When printing is in progress, pressing this key stops
printing temporarily. Pressing this key again resumes
printing.
6Tray Key
Use this key to move the feeder lift tray upward/
downward.
NOTE
• When the printer is in the sleep mode, the Status lamp, Ink Lamps, and Maintenance Cartridge Lamp stay o
regardless of the statuses of the printer, ink tanks, and maintenance cartridge.

7
Turning on/o Printer
Turn on/o the printer following the procedures described below.
Turning on the Printer
1 Press the Power key.
The Status lamp blinks (green), and then lights
up.
NOTE
• About the Sleep Timer (P.9)
This printer is designed to enter the sleep state automatically if a predetermined time elapses without printing.
By default, the time is set to 4 minutes.

8
Chapter 1Basic Operation
Turning o the Printer
1 Make sure the printer is not operating.
When the Status lamp is blinking (green), the printer is operating. Make sure the Status lamp lights up
(green) before turning o the printer.
2 Press and hold the Power key until the Status lamp goes out.
When the Status lamp is o, press and hold the Power key at least 1 second.
When the Power lamp stops blinking, the
printer is turned o.
IMPORTANT
• When unplugging the power cord after turning o the printer, make sure the Power lamp is o.
• If the printer will not be used for a long period, disconnect the power cord, AC adapter, and interface cable.
NOTE
• About the O Timer (P.11)
This printer is designed to be turned o if a predetermined time elapses without printing. By default, the time is
set to 240 minutes.

9
Turning on/o Printer
Changing the Power Settings
The function of managing the power settings from the printer driver is described below.
■Switching the Printer to the Sleep State
Switch the printer to the sleep state (power saving state).
IMPORTANT
• When printing is in progress or an error has occurred, the printer cannot be switched to the sleep state.
NOTE
• The printer is automatically switched back from the sleep state to the online state in the following cases:
-When the Power key is pressed
-When print data is received
-When cleaning, etc. is performed
1 Make sure the printer is in the online state (the Status lamp is lit (green)).
If the printer is in the oine state (the Status lamp is o ), press the Pause key to switch the printer back to
the online state.
2 Open the printer driver setup window. (P.31)

10
Chapter 1Basic Operation
3 Switch the printer to the sleep state.
1
2
1. Click the [Utility] tab.
2. Click [Sleep].
A conrmation message appears.
3
3. Conrm the message, and then click [Yes].
The Power lamp blinks slowly, and the printer is
switched to the sleep state.

11
Turning on/o Printer
■Changing the Sleep Timer/O Timer Setting
You can switch this printer to the sleep state automatically (sleep timer), or turn it o automatically (o timer) when
it is not operated for a preset time.
IMPORTANT
• Administrative privileges over this printer are required to congure settings of this printer.
If a user without administrative privileges proceeds with conguration of settings, a message ”You do not have
rights to printer management. Please contact your system administrator.”appears.
For more details, see“About [Utility] sheet setting requiring administrative privileges over this printer (P.40)”.
• When printing is in progress or an error has occurred, you cannot change the set time.
NOTE
• By default, the sleep timer is set to 4 minutes and the o timer 240 minutes.
1 Make sure the printer is in the online state (the Status lamp is lit (green)).
If the printer is in the oine state (the Status lamp is o ), press the Pause key to switch the printer back to
the online state.
2 Open the Properties window of the printer driver. (P.32)

12
Chapter 1Basic Operation
3 Set the sleep timer.
1
2
1. Click the [Utility] tab.
2. Click [Sleep Timer Setting].
The [Sleep Timer Setting] dialog box appears.
3
4
5
3. Enter the setting time of the sleep timer.
The time can be set in minutes within the range
from 1 to 60 (min).
4.
Enter the setting time of the o timer.
The time can be set in minutes within the range
from 1 to 720 (min).
If the o timer is not necessary, uncheck the
[Enable o timer setting] check box.
5. Click [Send].
A conrmation message appears.
6
6. Conrm the message, and then click [Yes].

13
Chapter 1 Basic Operation
Setting Paper
The procedure of setting paper is described below.
IMPORTANT
• Use the dedicated paper. Using other paper could cause blurred or faint printing or have a negative impact on
the printer, resulting in a printer failure.
NOTE
• Types of paper that can be used with this printer are as follows:
-Matte Coated Paper
-Glossy paper
-Plastic card
For details of paper and how to get paper, contact the dealer.
1 Make sure the Power lamp is lit.
If the Power lamp is o, press the Power key to turn on the printer. (P.7)
2 Set the paper switch lever.
Extra Thick Paper
Plastic Card
Paper
Set the lever to the appropriate position
according to the paper to be printed on.
Plastic card or Extra thick paper:
Set it to [Plastic Card/Extra Thick Paper]
Paper other than above:
Set it to [Paper]

14
Setting Paper
IMPORTANT
• Paper will not be fed properly if the paper switch lever is not in the appropriate position for the paper.
3 Lower the feeder lift tray.
If the feeder lift tray is already lowered, proceed to step 4.
1. Press the Tray key.
Wait for the feeder lift tray to stop.
CAUTION
• When the feeder lift tray is moving, do not touch it. Also, do not insert your hand or place objects below
the tray. Doing so can cause injury or malfunction.
Other manuals for SCC-2000D
2
Table of contents
Other SwiftColor Printer manuals

SwiftColor
SwiftColor SCL-4000D Guide

SwiftColor
SwiftColor SCL-2000P User manual

SwiftColor
SwiftColor SCL-4000D User manual

SwiftColor
SwiftColor SCC-2000D User manual

SwiftColor
SwiftColor SCC-4000D Guide

SwiftColor
SwiftColor SCL-8000P User manual

SwiftColor
SwiftColor SCC-4000D Reference guide

SwiftColor
SwiftColor SCC-2000D Assembly instructions