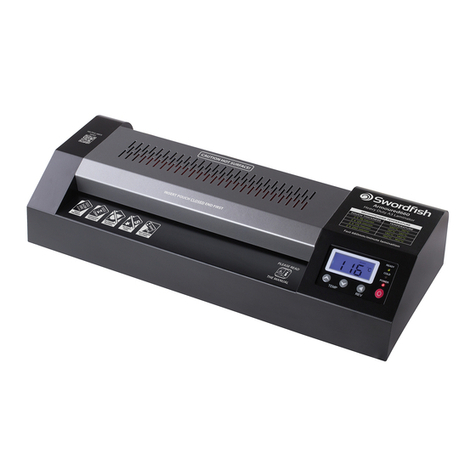
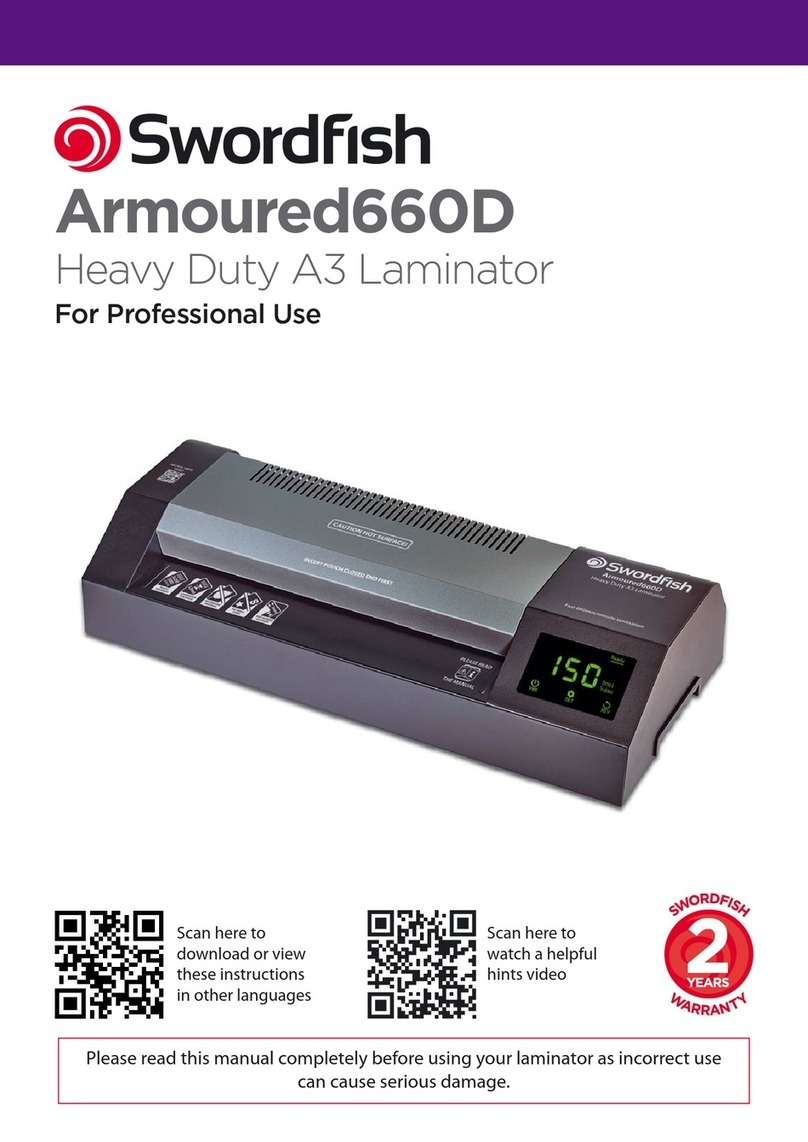
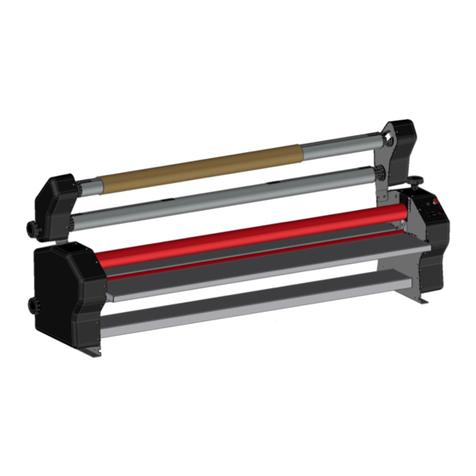
Swordfish Armoured1000 User manual

Scan here to
download or view
these instructions
in other languages
Armoured1000
Professional A2 Laminator
For Professional Use
Scan here to
watch a helpful
hints video
Please read this manual completely before using your laminator as incorrect use
can cause serious damage.

Operating Instructions
www.snopakebrands.com
2
Safety Precautions
Failure to comply with any of the following safety precations could result in serious injury, re or electric shock.
This equipment is not intended for use by children. It is not a toy.
Unauthorised attempts at repair will invalidate the warranty.
Do not allow water, or damp media, to enter the laminator.
Do not cover the laminator, or place anything on it. Risk of re!
Disconnect after use or when cleaning the laminator.
The laminator is hot and contains hazardous moving parts.
Do not operate the laminator on, or near, combustible objects.
Do not allow clothing or jewellery to enter the laminator. Risk of re or electric shock!
Do not leave the laminator unattended during operation.
Do not use aerosol products on or near this machine (or any other electrical appliance)
as the contents may be ammable.

Operating Instructions
www.snopakebrands.com 3
SPECIFICATIONS
Suitability
Small Oce & Oce
What makes it special?
SuperFast speed, heavy duty
Swordfish UK Product Code
40350
Maximum Paper Size
A2
Colour
Black/Dark Silver
Feed Entry Width (mm)
450mm
Maximum Pouch Thickness
2 x 250 [500] Microns
Maximum Pouch Thickness
Total (mm)
1.2mm
Jam Release
✓
Reverse Control
✓
Cold Lamination Option
✓
Auto Shut-O
✓ after 30 minutes of inactivity
Number of Rollers
4
Warm-up Time
4 - 6 minutes
Speed (time to laminate an
A4 sheet)*
22 seconds
Working Speed
500-1000mm/minute
Working Temperature
60 - 160°C
Product Dimensions
H x W x D (mm)
110 x 670 x 300
Weight (kg)
22kg
Power
220/230V 50Hz, 850W, 3.9A
Product Warranty (years)
2 years
* Based on using a 2 x 75 [150] micron pouch at speed 6.

Operating Instructions
www.snopakebrands.com
4
Increase/Decrease
Temperature
Reverse
Button
Increase/Decrease
Speed
The READY light
illuminates when
the set temperature
is reached

Operating Instructions
www.snopakebrands.com 5
Quick Start Guide
Please read this manual completely before using your laminator as incorrect use
can cause serious damage. Failure to follow the instructions in this manual could
invalidate your warranty!
Position the laminator on a suitable at surface, within easy reach of a 13Amp socket, ensuring that there is sucient
space behind the machine for the laminations to lay at.
1
Connect the laminator to the 13Amp socket and press the isolating switch on the back of the machine to the
“on”position. The motor and cooling fans will run and the machine will begin to warm up.
2
Set the desired temperature according to the guide printed on the laminator. (The default setting is 100°C, speed 3).
Note that setting the temperature too high can cause your pouch to jam!
3
The green “ready” light will illuminate after 4-6 minutes, depending on the required temperature. Laminating can
now begin.
4
To get the best results from your laminator and extend its working life, please turn to page 6.
If the lamination is imperfect, adjust the temperature to correct the fault – see page 9.
6
Before turning o, allow the machine to run for 5 minutes with the heaters switched o – see page 9.
7
5You must use a pouch carrier if you intend to laminate any of the following:
• Multiple items within a single pouch
• Irregular shaped items
• Soft material such as newspaper, tissue, paper and fabrics
• Any item that leaves a border of more than a 3mm around its edges
Pouch carriers are available from your usual pouch supplier.

Operating Instructions
www.snopakebrands.com
6
Getting Started
Allow enough space behind the laminator for your laminations to lay at whilst cooling. Do not cover the
machine or place anything on top of it.
Position the laminator on a level surface, close to a 13Amp socket.
CAUTION
Do not locate the laminator:
• Near any heat appliances such as heater or stove
• Directly exposed to sunlight
• Close to an air-conditioning unit
• In a poor ventilated environment
• On an irregular or inclined surface
2
1
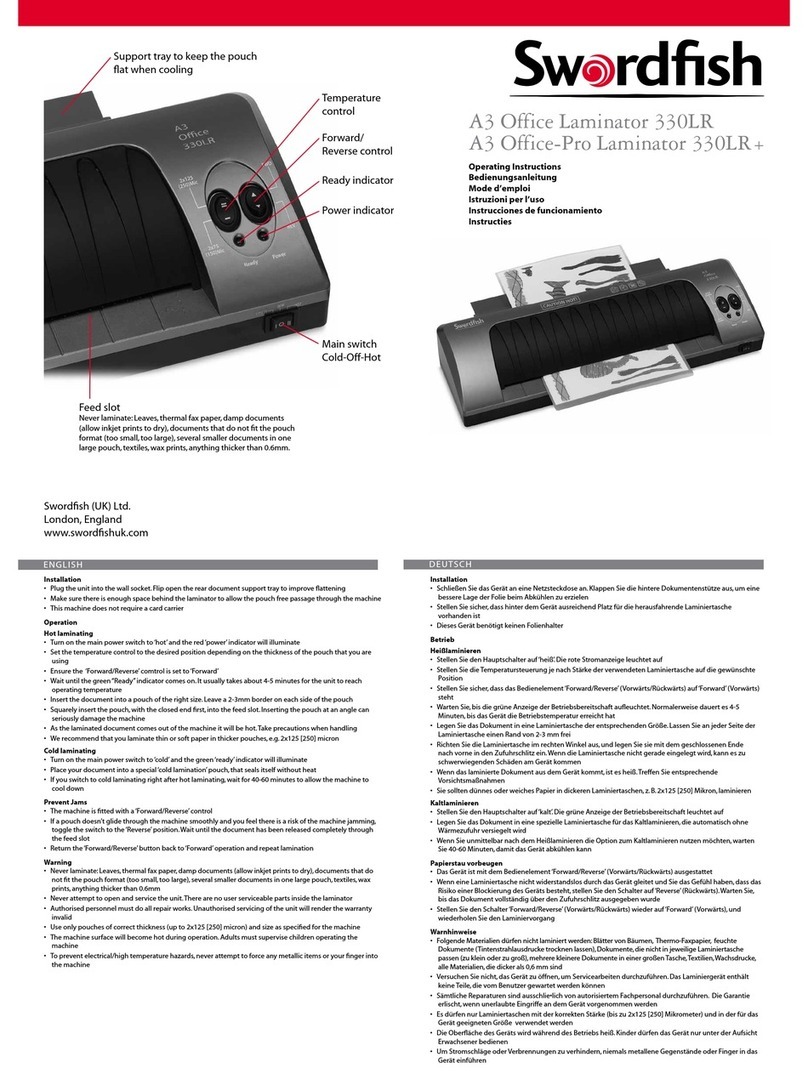
The Swordsh Armoured1000 A2 laminator is a rugged steel-cased professional laminator that oers both
variable speed and variable temperature. It is equipped with sophisticated digital temperature control,
massive 44mm precision rollers and a steel cooling plate – all of which combine to give perfect laminations.

Operating Instructions
www.snopakebrands.com
Prepare the item to be laminated. Insert the item to be laminated into a pouch of the correct size and push it right
into the sealed end of the pouch. The pouch could jam if the sealed end is not lled. Always insert the pouch into
the laminator sealed end rst.
3
7
Set the desired speed and temperature. When the temperature is reached, the green “ready” light will glow.
The following chart gives recommended settings, but as lamination can vary according to your room temperature,
the quality of pouch in use and the thickness of its contents, these controls allow you to ne-tune the laminator
for perfect results.
2
Operation
Connect the laminator to the 13Amp socket and turn
the isolating switch on the rear of the machine to the
“on”position. The motor and cooling fans will run and
the machine will begin to warm up.
CAUTION
Do not leave the laminator unattended
during lamination.
1
Film thickness - microns (μ) Temperature Speed
2 x 75μ (150μ total) 105°C 6
2 x 125μ (250μ total) 130°C 4
2 x 175μ (350μ total) 140°C 3
2 x 250μ (500μ total) 160°C 2

Operating Instructions
www.snopakebrands.com
8
Failure to use a carrier in such cases could cause the pouch to jam. Carriers are available from your usual
pouch supplier.
A cardboard carrier will absorb some of the heat so you may need to adjust the temperature or speed
settings accordingly.
Swordfish Armoured pouch carriers are made from PTFE-coated micro-fine woven fibreglass and will
require little or no temperature adjustment.
Note that the maximum thickness of carrier + pouch + contents MUST NOT EXCEED 1.2mm.
TIP
If you don’t have a carrier, you can use a large piece of thick paper
folded in half along the short side to create a ’sleeve’ and place
your pouch in between the folded sides as shown below.
CAUTION
Do not attempt to make a carrier from two pieces of paper glued
or taped together - it will jam!
CAUTION
Lamination pouches are designed for use with full A4, A3, A2 etc. documents. If you wish to laminate
non-standard items that do not support the pouch across its entire area, you must use a carrier or there
is a real risk that the pouch will jam. Typical instances where a carrier must be used include:
• Multiple items within a single pouch
• Irregular shaped items
• Soft material such as newspaper, tissue, paper and fabrics
• Any item that leaves a border of more than a 3mm around its edges
4

Operating Instructions
www.snopakebrands.com 9
IMPORTANT
Never attempt to laminate the following items:
• Leaves or other organic material – moisture will be boiled out, potentially ruining the lamination,
damaging the electronics in the machine and creating risk of electric shock.
• Wax crayon drawings – the wax will melt, destroying the drawing. Molten wax could be extruded into
the machine and cause extensive damage.
• Documents printed on thermal paper or Polaroid-type instant photos – the images will disappear.
• Any item that is creased or which has irregular thickness – it could cause a jam or damage the rollers.
• Artwork assembled with glue or incorporating glitter-glue. The glue will melt and run into the laminator.
• Any item that is not heat-resistant.
6
At the end of your session, set the temperature to 60ºC or less. “OFF” will appear in the screen, indicating that the
heaters have been turned o, but the rollers will continue to rotate. Allow the machine to run for ve minutes
before switching o. This will allow the rollers to cool evenly.
NOTE
The laminator will shut down by itself if it is idle for 30 minutes. Press the“power” button again to start up the
laminator.
CAUTION
If the laminator is not going to be used for a long time, unplug it from the power socket.
7
5The laminated item will be transported out of the laminator automatically.
CAUTION
• Do not try to pull the pouch out by force. This may result in creases or curves in the laminated item and may
damage the laminator.
• Remove the laminated item and lay it at.
• The laminated item will be hot. Please handle it with care.
TIPS
If the correct settings are not chosen, the following lamination results may appear. Adjust the setting and try again.
White spots
Insucient heat.
Increase the
temperature a little.
Vertical spots
Insucient heat.
Increase the
temperature a little.
Clear & smooth
Setting is correct.
Horizontal ripples
Too hot!
Risk of jamming!
Decrease the
temperature.

Operating Instructions
www.snopakebrands.com
10
Essential Information
Cold Lamination
Auto Shut-O Feature
• Never insert a pouch until the previous lamination has been removed from the machine. Failure to do so could cause a jam.
• The maximum capacity of this machine (pouch + contents) is 1.2mm.
• Should a miss-feed or jam occur, press the “reverse button” to eject the pouch.
The majority of lamination is done using pouches that are coated with adhesive that melts at high temperature. However,
pouches coated with pressure-activated adhesive - so-called cold lamination pouches - are also available.
If you wish to use cold lamination pouches, set the temperature control 60ºC or less. The LED screen will say“OFF”, indicating
that the heaters have been switched off but the rollers will turn. If the laminator has recently been used for hot lamination,
allow at least one hour for it to cool before starting cold lamination.
In order to save energy, the heating elements will switch off after 30 minutes of inactivity. After a further 15 minutes, the
speed indicator will flash and the motor will stop running. Press any button to re-start the laminator.
Maintenance
We recommend that you regularly inspect the rollers for signs of pouch adhesive on the rollers and remove it with a soft
cloth and alcohol (surgical spirit, rubbing alcohol or methylated spirit) when necessary. Do not use white spirit, petrol or any
other solvents as they could damage the silicone rollers. Do not use sharp or abrasive tools when cleaning the rollers.
The inner faces of lamination pouches are coated with an adhesive that becomes molten at high temperatures. When
a pouch is completely filled, this adhesive will usually be absorbed by the paper in the pouch. However, some adhesive
may be squeezed out of the pouch and onto the rollers. If a pouch is not completely filled, a great deal of adhesive can be
squeezed out onto the rollers.
IMPORTANT
Sticky rollers can cause pouches to jam, so it is important to keep them clean.
To access the rollers, disconnect the machine from the electricity supply, allow it too cool, and then remove the top cover
which is retained by two knurled screws at the back. Use caution if the machine has been used recently – the top cover,
the rollers and adjacent components may still be hot!
If you wish to clean the rollers while they are turning, first reduce the temperature to 60º or less. The word “OFF” will appear
in the control panel, indicating that the heaters have been turned off, but the rollers will continue to turn.
Allow the machine to cool before removing the top cover, which is retained by two knurled screws on the back on the
machine. Remove the top cover only. Do not further dismantle the machine – risk of electric shock! Use extreme caution –
take care that hair, clothing, jewellery, etc., does not become trapped by the rollers.
Operating Instructions
www.snopakebrands.com
The POWER light does not glow when the laminator is turned on.
Please ensure that the plug is firmly inserted into the power socket. Check that the isolating switch on the back of the
machine is in the “on” position.
White spots or cloudy areas appear on the lamination.
The temperature of the machine is too low – the adhesive inside the pouch has not melted completely. Either use a thinner
pouch or raise the temperature – by small increments – until perfect results are achieved.
The lamination is creased, rippled or wavy.
The temperature of the laminator is too high. Decrease the temperature or use a thicker pouch.
The edges of the pouch are wavy.
If a number of smaller pouches have previously been laminated, the temperature of the rollers will be uneven. Allow the
machine to run for a few minutes so that the temperature can stabilise.
If a pouch becomes jammed in the laminator.
Press and hold the“reverse” button. Pull the pouch gently, if necessary, but do not use excessive force as this could damage
the laminator mechanism. If the jammed pouch cannot be removed, turn the laminator off immediately and contact your
retailer for assistance. Do not attempt to dismantle the laminator as this will invalidate your warranty and expose you to the
risk of burn injuries and electric shock.
Troubleshooting
11
Cleaning
The outer case of the machine may be wiped clean with a moist cloth. Do not allow water to spill inside the laminator
– risk of electric shock.
IMPORTANT
Do not use aerosol cleaners – or any other aerosol product – on, or near, this machine (or any other electrical
appliance) as the propellant may be flammable.
To get the best results from your laminator and to avoid common
lamination problems, scan this code with your smartphone.
Knurled Screw x2 at the rear

www.snopakebrands.com
To fi nd out more information on the full range of products,
visit us at www.snopakebrands.com
Pencil Sharpeners
Paper Shredders Paper Trimmers
Have you seen the rest of the
Swordfish range?
The Triple
1200XXCD
800XC
Pointi VariPoint
SlimLine
Series
A4, A3
Elite Series
A3/A2
This manual suits for next models
1
Table of contents
Other Swordfish Laminator manuals

Swordfish
Swordfish SuperFast A3 User manual

Swordfish
Swordfish 330HD User manual

Swordfish
Swordfish 48151 User manual

Swordfish
Swordfish 450HD User manual

Swordfish
Swordfish 330LR User manual

Swordfish
Swordfish TimeSaver2 A3 User manual

Swordfish
Swordfish Armoured660D User manual

Swordfish
Swordfish 230LR User manual

Swordfish
Swordfish 240HD User manual

Swordfish
Swordfish TimeSaver User manual