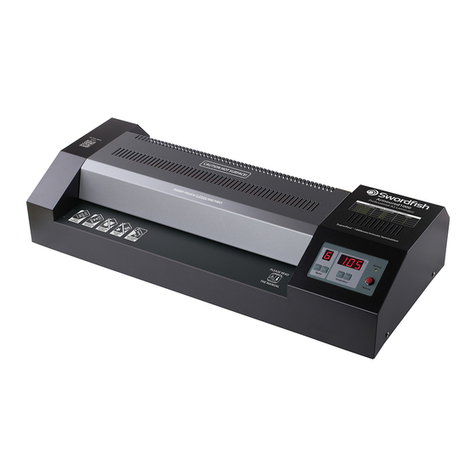
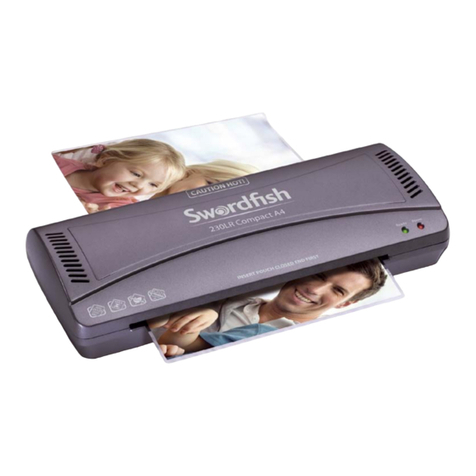
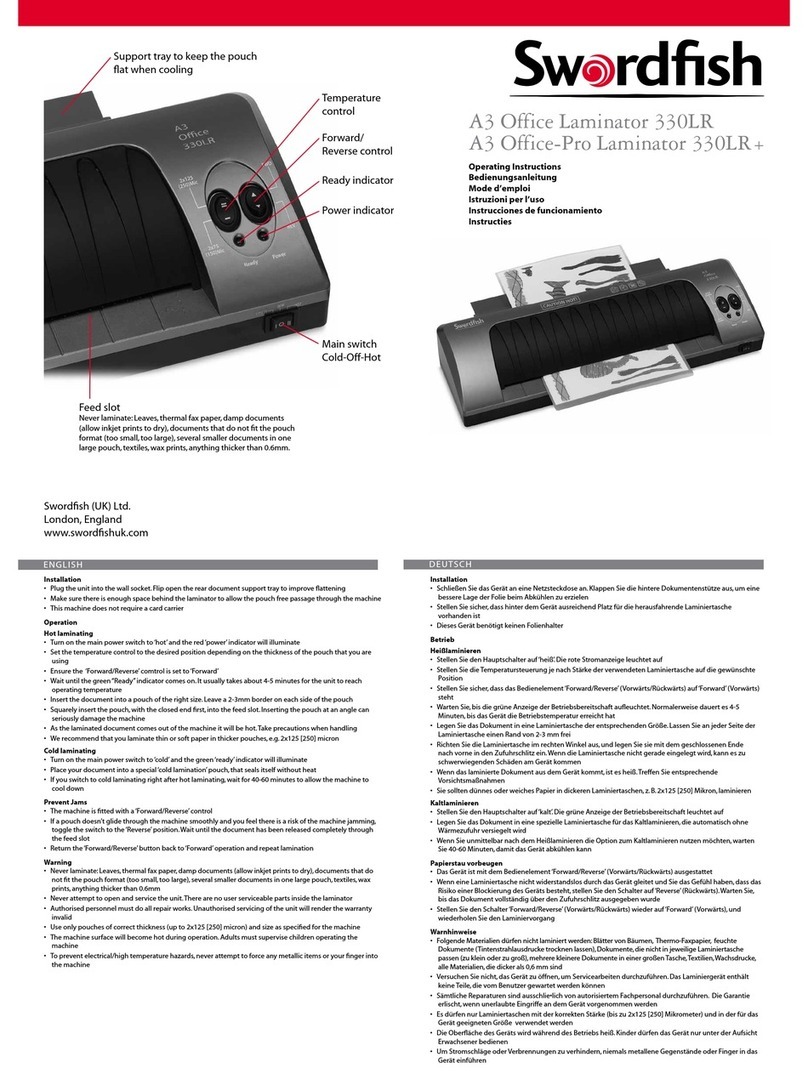
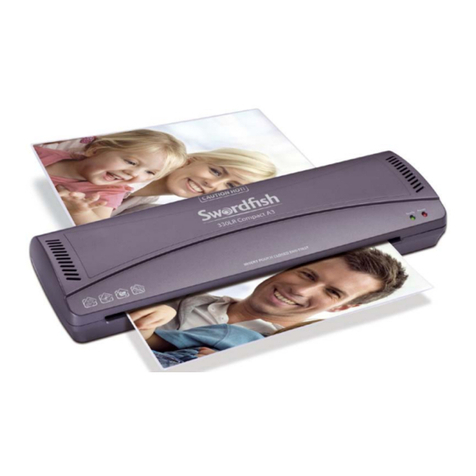
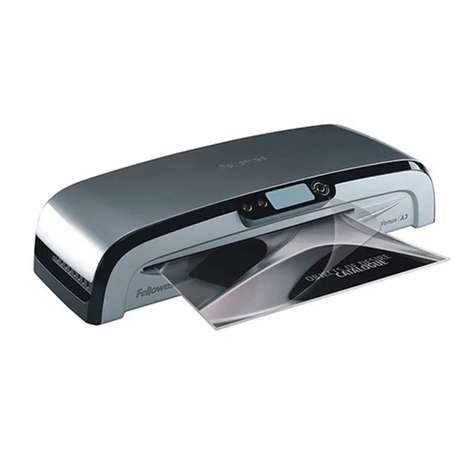
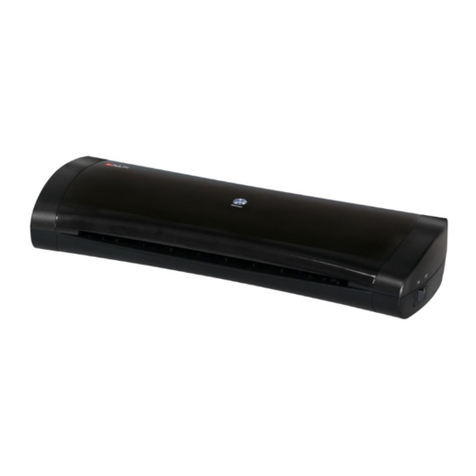
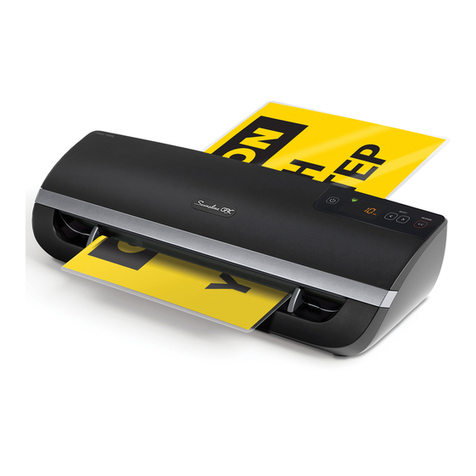
Swordfish TimeSaver2 A3 User manual

To download or view these instructions
in other languages scan this QR code
or visit www.snopakebrands.com
Scan this QR code to view a helpful
lamination hints video
TimeSaver2A3
4-roller Laminator
For Home & Small Oce Use
www.snopakebrands.com
To find out more information on the full range of products,
visit us at www.snopakebrands.com
Pencil Sharpeners
Paper Shredders Paper Trimmers
Have you seen the rest of the
Swordfish range?
The Triple
1200XXCD A3 Ellipse-500
800XC
Pointi VariPoint
A3/A4
SlimLine

Operating Instructions
www.snopakebrands.com
Operating Instructions
www.snopakebrands.com
2X125MIC
(250 TOTAL)
2X100MIC
(200 TOTAL)
2X75MIC
(150 TOTAL)
2X150MIC
(300 TOTAL)
Reverse
POWER / COLD
Roller Reverse
Button
Power/Cold
Button
Pouch Thickness Selection Buttons
Introduction
Thank you for purchasing this Swordsh TimeSaver2laminator. This is a very sophisticated, high precision
machine, capable of delivering excellent results. In order to get the best use from it, and to avoid damage
from misuse, please read these instructions carefully.
2
IMPORTANT
Never attempt to laminate leaves, flowers or other organic material, wax crayon drawings, thermal paper, instant
photographs or any material that is not heat-resistant.
If you intend to laminate irregular shapes, multiple items in one pouch, soft materials such as tissue paper or
textiles, or any item that leaves a border of more than 3mm, you must use a carrier. Failure to do so could cause
serious damage to your laminator. Damage so caused will not be covered by warranty. Carriers are available from
your pouch supplier.
Unplug the laminator.
Use a soft towel to dry wipe the laminator. If the dirt is dicult to remove, moisten a towel in water with
neutral detergent and then wipe clean the dirt. Please do not use chemical solvents.
1
2
Cleaning the body
The POWER light does not glow when the laminator is turned on.
Please make sure the plug is properly plugged into the power socket.
The pouch cannot be laminated.
Please check the thickness of the lamination pouch. The total thickness cannot exceed
0.8mm.
The pouch cannot be laminated thoroughly, white spots appear on the pouch.
The temperature of the laminator is too low. Select a setting for thicker pouch.
The pouch becomes creased and wavy.
The temperature of the laminator is too high. Select a setting for thinner pouch.
The sides of the pouch are wavy.
Did you laminate a large number of small pouches? Wait for 2 minutes and laminate again.
The pouch is jammed inside the laminator.
Press the Roller Reverse button and pull out the pouch gently. If the jammed pouch cannot
be removed, turn off the laminator immediately and contact your retailer for assistance.
The laminator shuts down after about 10 mins of inactivity.
This is normal. To restart, toggle the on/off button.
Should problems persist, please contact your supplier for assistance.
Maintenance cont.
Troubleshooting
11

Operating Instructions
www.snopakebrands.com
Operating Instructions
www.snopakebrands.com
Essential Information cont.
Maintenance
Turn on the laminator until the READY light glows.
Fold a sheet of fresh A3 copy paper once in the middle and insert a piece
of A4 card to the folded end of the copy paper. Pass through the laminator
with the folded end inserted rst. Repeat the procedure 3-5 times.
CAUTION
Do not use printed paper or the toner on the paper will melt in the
heat of the laminator and may cause laminator malfunction.
Do not insert copy paper without first folding it around a card
for support.
Do not reverse the lamination during this process - the paper will jam!
1
2
• Alwaysinsertthesealedendrst.
• Donotlaminateanemptypouch.Thepouchwilljamanddamagethelaminator.
• Whenlaminatingseveraldocumentsconsecutively,waituntilthepreviouspouchhasbeenremovedfromthelaminator
before inserting the new pouch. Otherwise it may jam and damage the laminator.
• Toprolongthelifeofyourlaminator,werecommendthatyouswitchothemachinefor30minutes,asfollows:
Whenusing2x75micronpouches,switchoafter4hourscontinuousoperation.
Whenusing2x100micronpouches,switchoafter3hoursofcontinuousoperation.
Whenusing2x125micronpouches,switchoafter2hoursofcontinuousoperation.
Whenusing2x150micronpouches,switchoafter1hourofcontinuousoperation.
• Donotusethelaminatorforanypurposeotherthanlamination.
• Laminationispermanentandcannotbereversed.Donotlaminateitemsofvaluesuchasbanknotes.
• Donotlaminateitemswhichareheatsensitivesuchasthermalpaper,facsimilepaper,tickets,magneticcardssuchas
telephone or credit cards, wax crayon drawings, instant photos or any other non-heat-resistant material.
• Donotlaminatesharpobjectsoranyobjectwhichisthickerthan0.8mm.
• Donotlaminateanyitemthatiscurly,creased,foldedorhasirregularthickness.Theitemmayjamthelaminatorand
cause malfunction.
• Donotlaminateanyitemthatiswet.Liquidmaycausedamagetothelaminator,electricshockorre.
• If you need to laminate multiple items, small items or irregular shapes, you must use a carrier (see page 7).
Cleaning the laminator
After laminating several documents, adhesive material from the pouch may accumulate inside the laminator. Please clean
thelaminatorregularlyasfollows:
Roller cleaning
support card
10
SPECIFICATIONS
Suitability
Home & Small Oce
What makes it special?
Swift warm-up, fast lamination
Swordfish UK Product Code
40315
Maximum Paper Size
A3
Colour
Black/Silver-Grey
Feed Entry Width (mm)
335mm
Maximum Pouch Thickness
2 x 150 [300] Microns
Maximum Pouch Thickness
Total (mm)
0.8mm
Jam Release
✓
Reverse Control
✓
Cold Lamination Option
✓
Auto Switch O
✓ After 10 minutes
Number of Rollers
4
Warm-up Time (minutes)*
Approx 1 minute
Speed (time to laminate an
A4 sheet)
Approx 38 seconds
Maximum Speed
550mm/minute
Product Dimensions
H x W x D (mm)
90 x 495 x 185
Weight (kg)
3.6kg
Product Warranty (years)
2 years
*Based on using a 2 x 75micron pouch.
3
Operating Instructions
www.snopakebrands.com
Operating Instructions
www.snopakebrands.com
Safety Precautions
Failure to comply with any of the following safety precations could result in serious injury, re or electric shock.
Thisequipmentisnotintendedforusebychildren.Itisnotatoy.
Unauthorised attempts at repair will invalidate the warranty.
Do not allow water, or damp media, to enter the laminator.
Do not cover the laminator, or place anything on it. Risk of re!
Disconnect after use or when cleaning the laminator.
The laminator is hot and contains hazardous moving parts.
Do not operate the laminator on, or near, combustible objects.
Do not allow clothing or jewellery to enter the laminator. Risk of re or electric shock!
Do not leave the laminator unattended during operation.
4
•If a pouch becomes misaligned or jammed, press the reverse button. The rollers will reverse direction and the pouch
will be ejected through the entry slot. Do not use force to pull the pouch from the machine as this could cause serious
damage.
•To resume operation, press the reverse button again.
•Ifajammedpouchcannotberemoved,turnothelaminatorandseekassistancefromyoursupplier.Donotattempt
to open the machine as this will invalidate your warranty.
Please pay attention to the following when operating the laminator.
•If you cut the lamination pouch before lamination, you must use a carrier. This will prevent adhesive being deposited on
the rollers.
•Do not use 2 lamination pouches as shown below. It will jam the laminator.
•The lamination pouch comes in two sheets with one edge sealed. Do not attempt to laminate a single side of the
lamination pouch. The pouch will stick to the laminator roller.
Anti-Jam Function
Essential Information!
9
Roller Reverse button

Operating Instructions
www.snopakebrands.com
Operating Instructions
www.snopakebrands.com
Operation cont.
7
Afteruse,pressthepowerbuttontoturnthelaminatoro.TheLEDswillgooutbutthemotorwillcontinuetorun
for two minutes while the machine performs its cooling down routine. Do not unplug the laminator until the motor
has stopped running.
NOTE
In order to save energy, your TimeSaver2laminator will go into switch off mode after 10 minutes of inactivity. It will
sound three beeps to alert the operator and the triangular indicator will turn red. Press the power button to restart
the machine.
CAUTION
If the laminator is not going to be used for a long time, unplug it from the power socket.
8
The laminated item will be transported out of the laminator automatically.
CAUTION
•Donottrytopullthepouchoutbyforce.Thismayresultincreasesorcurvesinthelaminateditemandmay
damage the laminator.
•Removethelaminatedpouchfromtheoutputslot.
•Thelaminatedpouchwillbehot.Pleasehandlewithcare.Coolitdownonaatsurface.
TIPS
If the correct settings are not chosen, the following lamination results may appear. Adjust the setting and try again.
WARNING
Ifyouhavelaminatedalargequantityofsmallpouches(eg.A4,A6,cardsize),pleasewaitfor2minutes
beforeyoulaminatealargepouch(ie.cardsize-A6,A5-A4orA4-A3).Thetemperatureonbothsides
oftherollerwillbehighandmayaffectthelaminationquality.
Whitish spots
Select a thicker
pouch or paper type
Vertical spots
Select a thicker
pouch or paper type
Clear & smooth
Setting is correct
Horizontal ripples
Select a thinner
pouch or paper type
8
Getting Started
Unpack your laminator. Dispose of the packaging responsibly.
1
Allow enough clearance behind the laminator. Make sure that the pouch coming out of the laminator is
not impeded.
Decide where to locate the laminator.
CAUTION
Donotlocatethelaminator:
•Nearanyheatappliancessuchasaheaterorstove
•Directlyexposedtosunlight
•Infrontofanairconditioner
•Inapoorventilatedenvironment
•Onaunevensurface
3
2
5

Operating Instructions
www.snopakebrands.com
Operating Instructions
www.snopakebrands.com
Insert the sealed end of the pouch straight into the laminator through the entry slot. Once the pouch is engaged
by the rollers, it will be fed into the laminator automatically.
CAUTION
•Alwaysfeedthepouchintothelaminatorinthemiddle
of the slot. Feeding the pouch at the side of the inlet may
lead to malfunction.
•Donotlaminatemultiplepouches.
Always laminate one pouch at a time.
IMPORTANT
Never attempt to laminate leaves, flowers or other organic material, wax crayon drawings, thermal paper,
instant photographs or any material that is not heat-resistant.
If you intend to laminate irregular shapes, multiple items in one pouch, soft materials such as tissue
paper or textiles, or any item that leaves a border of more than 3mm, you must use a carrier. Failure to
do so could cause serious damage to your laminator. Damage so caused will not be covered by warranty.
Carriers are available from your pouch supplier.
A carrier will absorb some of the heat, so you may need to adjust the settings accordingly.
Note that the maximum thickness of carrier + pouch + contents MUST NOT EXCEED 0.8mm.
TIP
If you don’t have a carrier, you can use a large piece of thick paper
folded in half along the short side to create a ’sleeve’and place
your pouch in between the folded sides as shown below.
CAUTION
Do not attempt to make a carrier from two pieces of paper glued
or taped together - it will jam!
6
Operation cont.
Inserttheplugintoapowersocket.TheLEDindicatorswillallashonceandthemachinewillemitasinglebeep,
to conrm that it is connected.
Pressthepowerbutton.TheLEDindicatorinthebuttonwillilluminate,themotorwillstartandthetriangular
indicatorbytheentryslotwillashred.Afterafewseconds,thetriangularLEDindicatorwillturngreenandthe
laminator will beep twice. The machine is now ready for cold lamination.
When the correct working temperature has been reached, the
machine will beep twice and the triangular indicator will show a
steady green light. The machine is now ready for hot lamination.
Prepare the item to be laminated. Insert the item in the lamination pouch and push it right into the sealed
end of the pouch.
Forhotlamination,pressthebuttonthatcorrespondswiththethicknessofpouchthatyouareusing.TheLEDin
thebuttonwillturngreenandthetriangularLEDindicatorwillturnredandash.
1
2
4
5
3
Operation
6 7
Triangular
indicator
This manual suits for next models
1
Table of contents
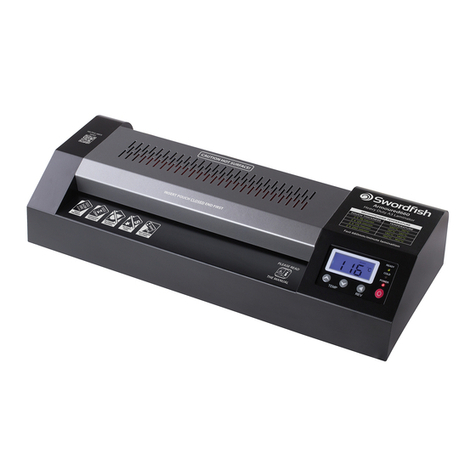
Other Swordfish Laminator manuals

Swordfish
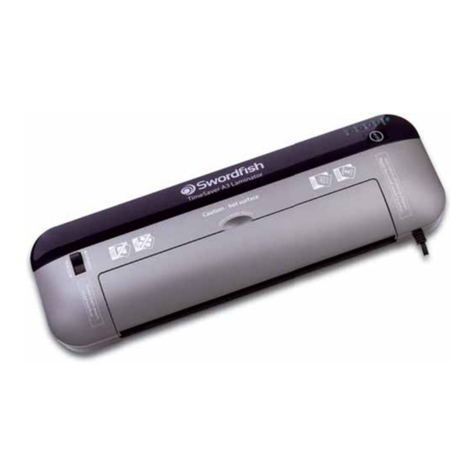
Swordfish TimeSaver User manual

Swordfish
Swordfish 330HD User manual

Swordfish
Swordfish 330LR User manual

Swordfish
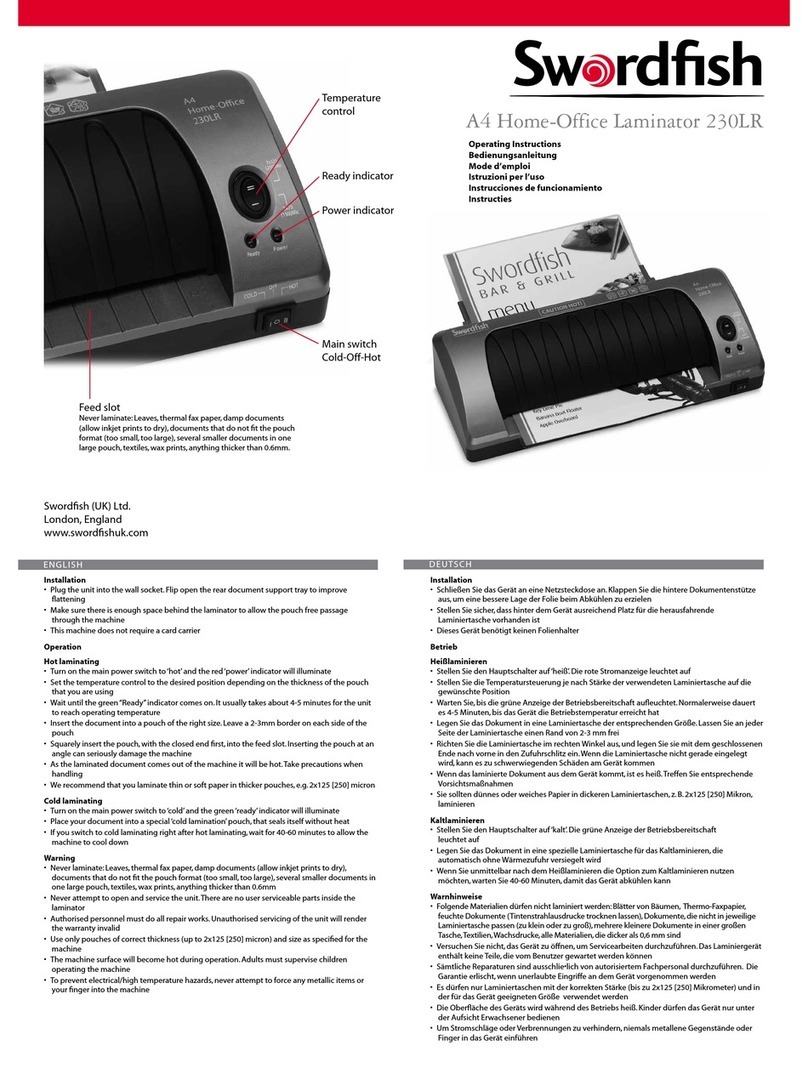
Swordfish 230LR A4 User manual

Swordfish
Swordfish 240HD User manual

Swordfish
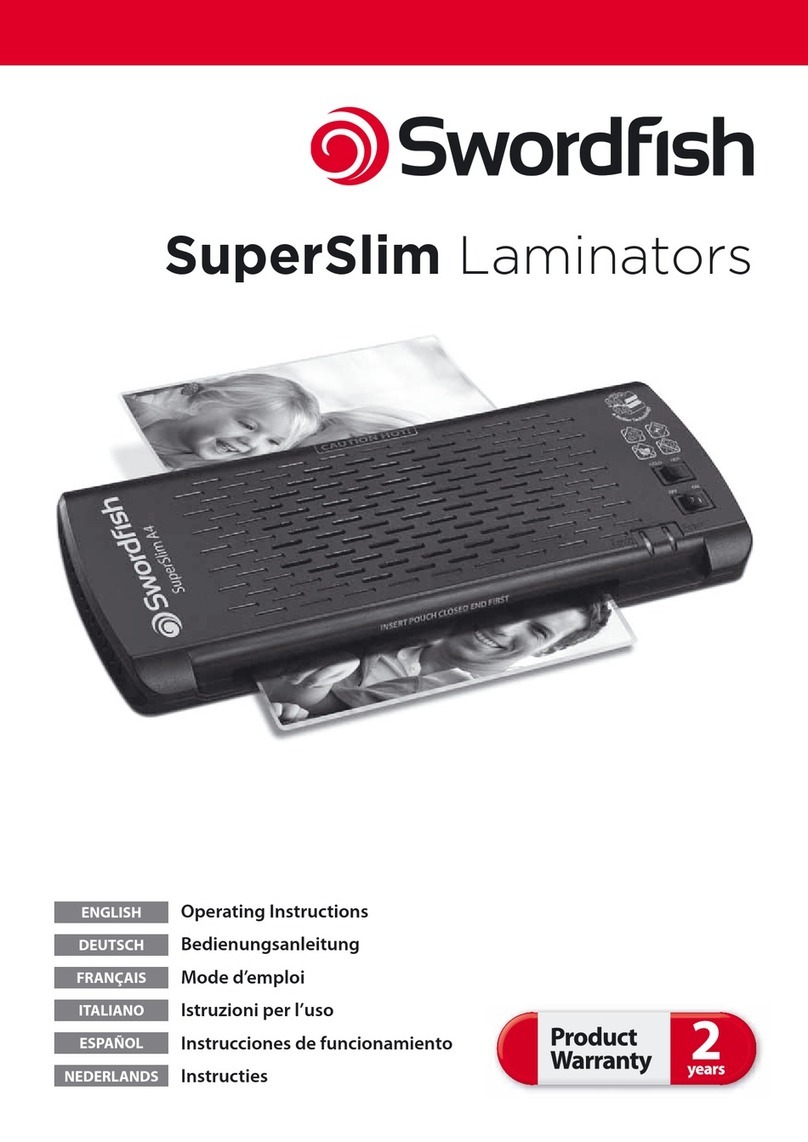
Swordfish SuperSlim User manual

Swordfish
Swordfish Armoured660 User manual

Swordfish
Swordfish 450HD User manual

Swordfish
Swordfish 230LR User manual

Swordfish
Swordfish Armoured1000 User manual