Synca Kurodo E User manual

MC-J6950
Thank you for purchasing the massage chair. Please read this manual thoroughly before using the unit.
Be certain to read the section on “IMPORTANT SAFETY INSTRUCTIONS” to ensure correct methods of
usage. Keep this manual on hand for easy reference.
https://synca-wellness.com/
Business Use
OPERATION MANUAL
Kurodo E

Follow the
instructions
Follow the
instructions
12. Sit on the unit after confirming there is no foreign object between the parts of the unit. Check the knead balls
position for the sake of safety before lean on the unit slowly. Do not attempt to sit down or stand up with the
footrest raised to avoid accident or injury.
13. Remove hard objects, such as fake fingernails, wristwatches, rings or bracelets before massaging the hands or
arms. Remove any hard object in your trousers pockets before massaging the thighs and hips. Remove any
earrings, necklace or scarf before massage to avoid injury.
14. In case that the backrest cover cloth is slightly broken, with holes because of wear, stop using the unit
immediately. Do not attempt to take down, tear and cut the cloth. Never use the unit with damaged backrest
covers cloth, as clothing or hair may be caught inside and cause injury.
15. The unit should not be carried or moved during installation. Do not move the unit using the wheels over
wooden floors, carpets or any other surface prone to scratches to avoid damage to the surfaces.
16. Do not only hold on the footrest section when moving the unit as the section may slide as you move the unit
and accident or injury may occur.
17. Do not damage the power cord. Do not attempt to damage, bend, pull, twist or tightly bundle the power
cord. No heavy object should be placed on the power cord; in particular, ensure that the cord is free of
obstacles when moving the unit as damaged power cord may result in fire or electric shock.
18. Do not unplug the unit or turn off the power supply when the use is in use.
19. Do not use the unit if the plug or the outlet becomes loose to avoid the risk of electric shock or short circuit.
20. Do not use the unit on other than the designated voltage to avoid the risk of fire, electric shock or malfunction.
21. If the power cord has been damaged, it must be replaced by the manufacturer or the qualified person to
avoid danger.
12. Before use, check underneath the back pad to make sure the fabric itself has not been ripped. No matter how small fhe
rip is, if you find one, immediately stop using the unit, unplug the power cord, and have the unit repaired at an authorized
service center. Use of the unit with ripped fabric may cause electric shock or injury.
20. Keep children away from extended foot support (or other similar parts).
21. Risk of electrical shock and moving parts. Disconnect from power supply before removing enclosures, cleaning or
servicing.
22. The appliance has not user serviceable parts inside.
23. The appliance is not to be used by children or persons with reduced physical, sensory or mental capabilities, or lack of
experience and knowledge, unless they have been given supervision or instruction.
24. Children shall be supervised to ensure that they do not play with the appliance.
25. Press the red marked emergency stop button on the fingertip control if you experience any problems or discomfort
during use.
26. The assembly / installation must be done by the dealer or its service agent or a similarly qualified person, in order to
avoid a hazard.
Follow the
instructions

Improper grounding may lead to electric shock. Check with an authorized service center if you are in
doubt as to whether the unit is properly grounded. In case the supplied plug does not match the outlet,
do not attempt to modify the plug. Please contact a qualified electrician to have a proper outlet installed.
This unit has a grounding plug. Make sure that the unit is connected to a power outlet with the same
configuration as the plug. Do not use an adaptor with this unit.
Forbidden
Fasteners x 9 pcs
Cable Ties 150L x 8 pcs
Hex wrench x 1
Round-head hexagonal socket screws M8 x l.25P x 10L x 12 pcs
Flat washers Ø8.2 x Ø18.0 x 1.4T x 12 pcs
85
This device complies with part 15 of the FCC Rules. Operation is subject to the following two conditions:
(1) This device may not cause harmful interference, and (2) this device must accept any interference
received, including interference that may cause undesired operation.

Connect the air plug for the arm unit. By
matching the same air pipe color, firmly insert
the air plug into the air pipe of the arm unit.
Connect the fingertip control keys connector.

Follow the
instructions
Before use, check underneath the back pad to make sure that there is no tear on the
backrest cover cloth as well as on the other parts. (Should there be any tear, no matter
how small it is, immediately unplug the power cord and contact the service center.)
Follow the
instructions
Follow the
instructions
When massaging, adjust the pillow to an appropriate position.
¬
¬
After installation is completed, insert the power plug into the power outlet. Turn
on the power switch and press button on the control and select a desired
massage program to begin massage.

1.Stored position of
knead balls
(mecha.)
2.Shoulder massage unit
Air massage shoulder
3.Back pad and backrest
Knead massage the
whole back and air
massage waist
4.Arm unit
Air massage arm
5.Seat
6.Pillow
7.Pillow pad
8.Control
9.Fingertip control
Adjustment of
backrest, legrest
angle, and STOP
buttons
10.Armrest
Moves with the
backrest
1.Display
Displaying the remaining
massage time
2.ON/OFF button
3.Auto course selection
buttons
4.STOP button
Press this button to
stop massage.
The knead balls
and backrest,
legrest will restore
automatically.
5.Legrest angle
adjustment buttons
6.Backrest angle adjustment
buttons
Key functions
11.Legrest
Air massage legs
12.Protecting cover
13.
14.
15.
16.
Embedded control Fingertip control

legrest
Check if the power cord or power plug is damaged and check whether there is any hair or dust on the
plug.
Check for any tear in the backrest cover cloth as well as in any other
parts.
※Should there be any tear, no matter how small it is, stop using the unit
immediately, unplug the power cord and have the unit repaired.
Check whether the power cord or any other object is pinched in the
main body.
Before seated on the chair, make sure where the knead balls are
stored.
The knead balls are usually located at the stored position (in the
innermost at the upper part of the backrest).
When the knead balls are not located at the stored position, press
the button, they go back to the stored position.
Before seated on the chair, make sure that the legrest is at the stored
position.
It may cause injury if being seated forcibly with the legrest at the
upright position. Press Legrest angle adjustment button to lower the
legrest.
※When pressing the button, the backrest will also be returned to
Adjust its position by using the Velcro on the pillow.
Adjust height of the pillow so that the lower edge of the pillow is at the upper edge of your ears.
If the position of the pillow is too low, the pillow may get in the way while performing neck massage.
When the reclining angle is adjusted, the pillow position may change. In such case, please re-adjust its position.
The indicator is on.
Hold on the button to keep the backrest or legrest move.
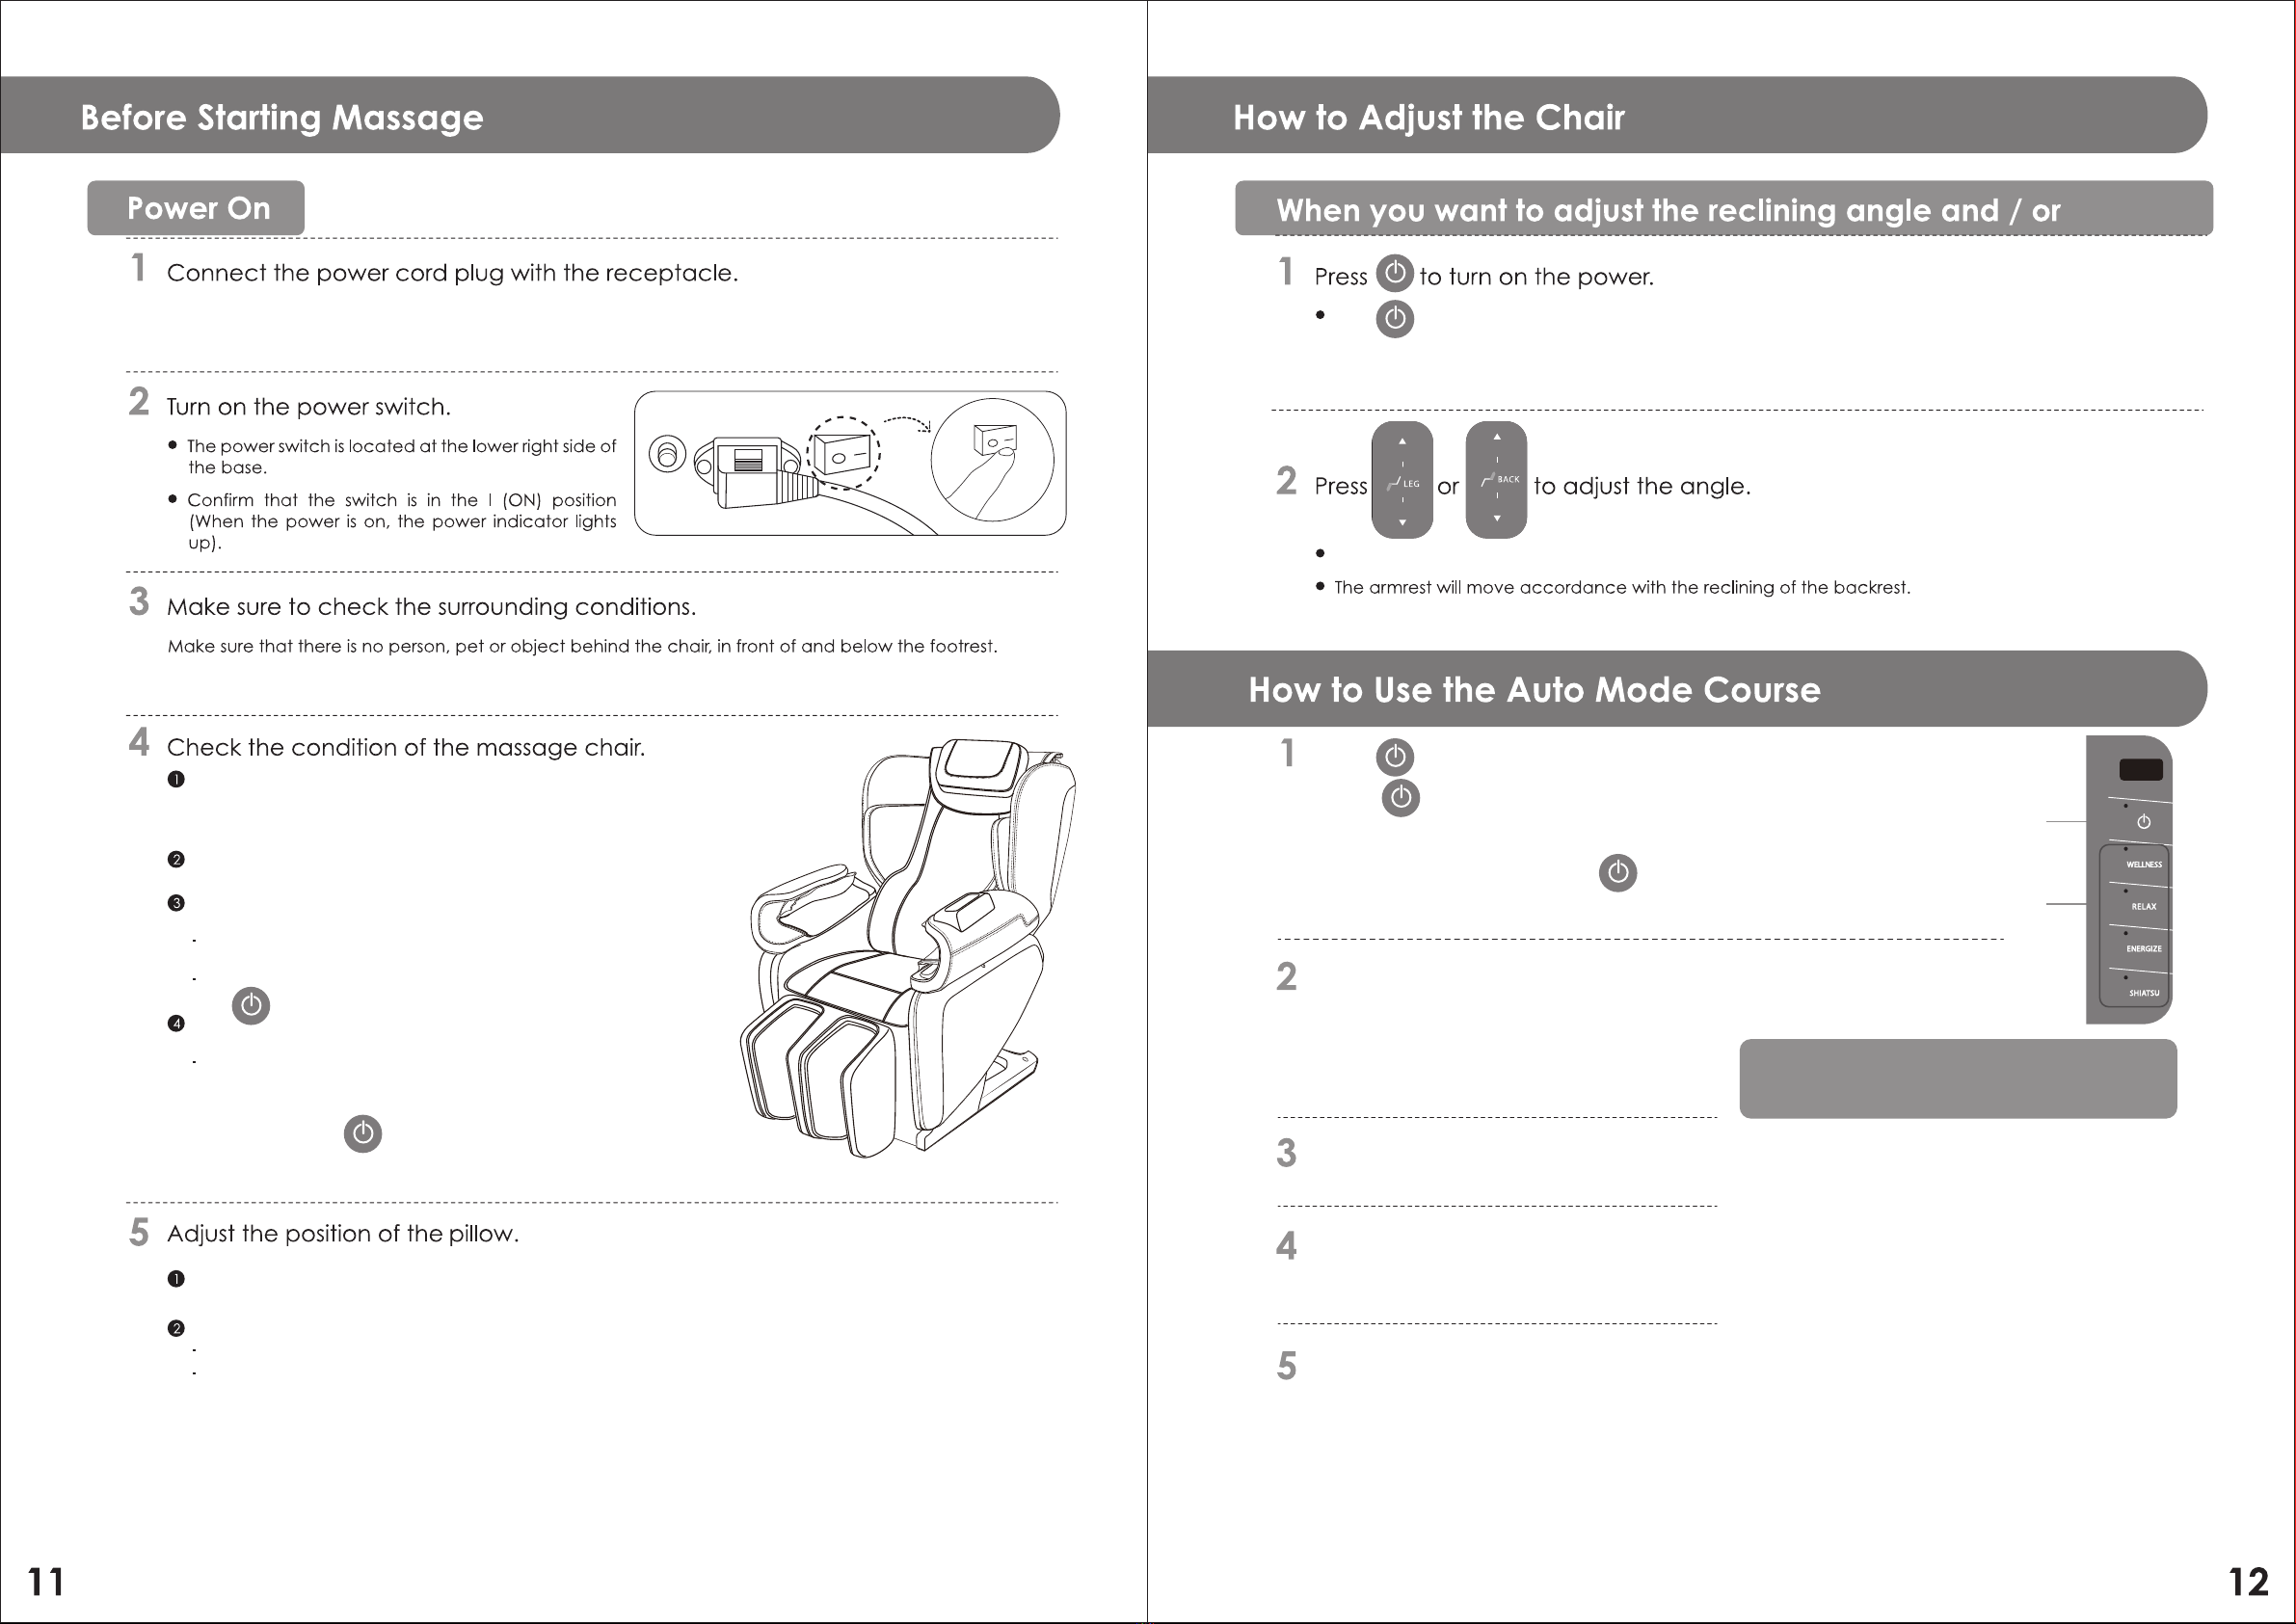
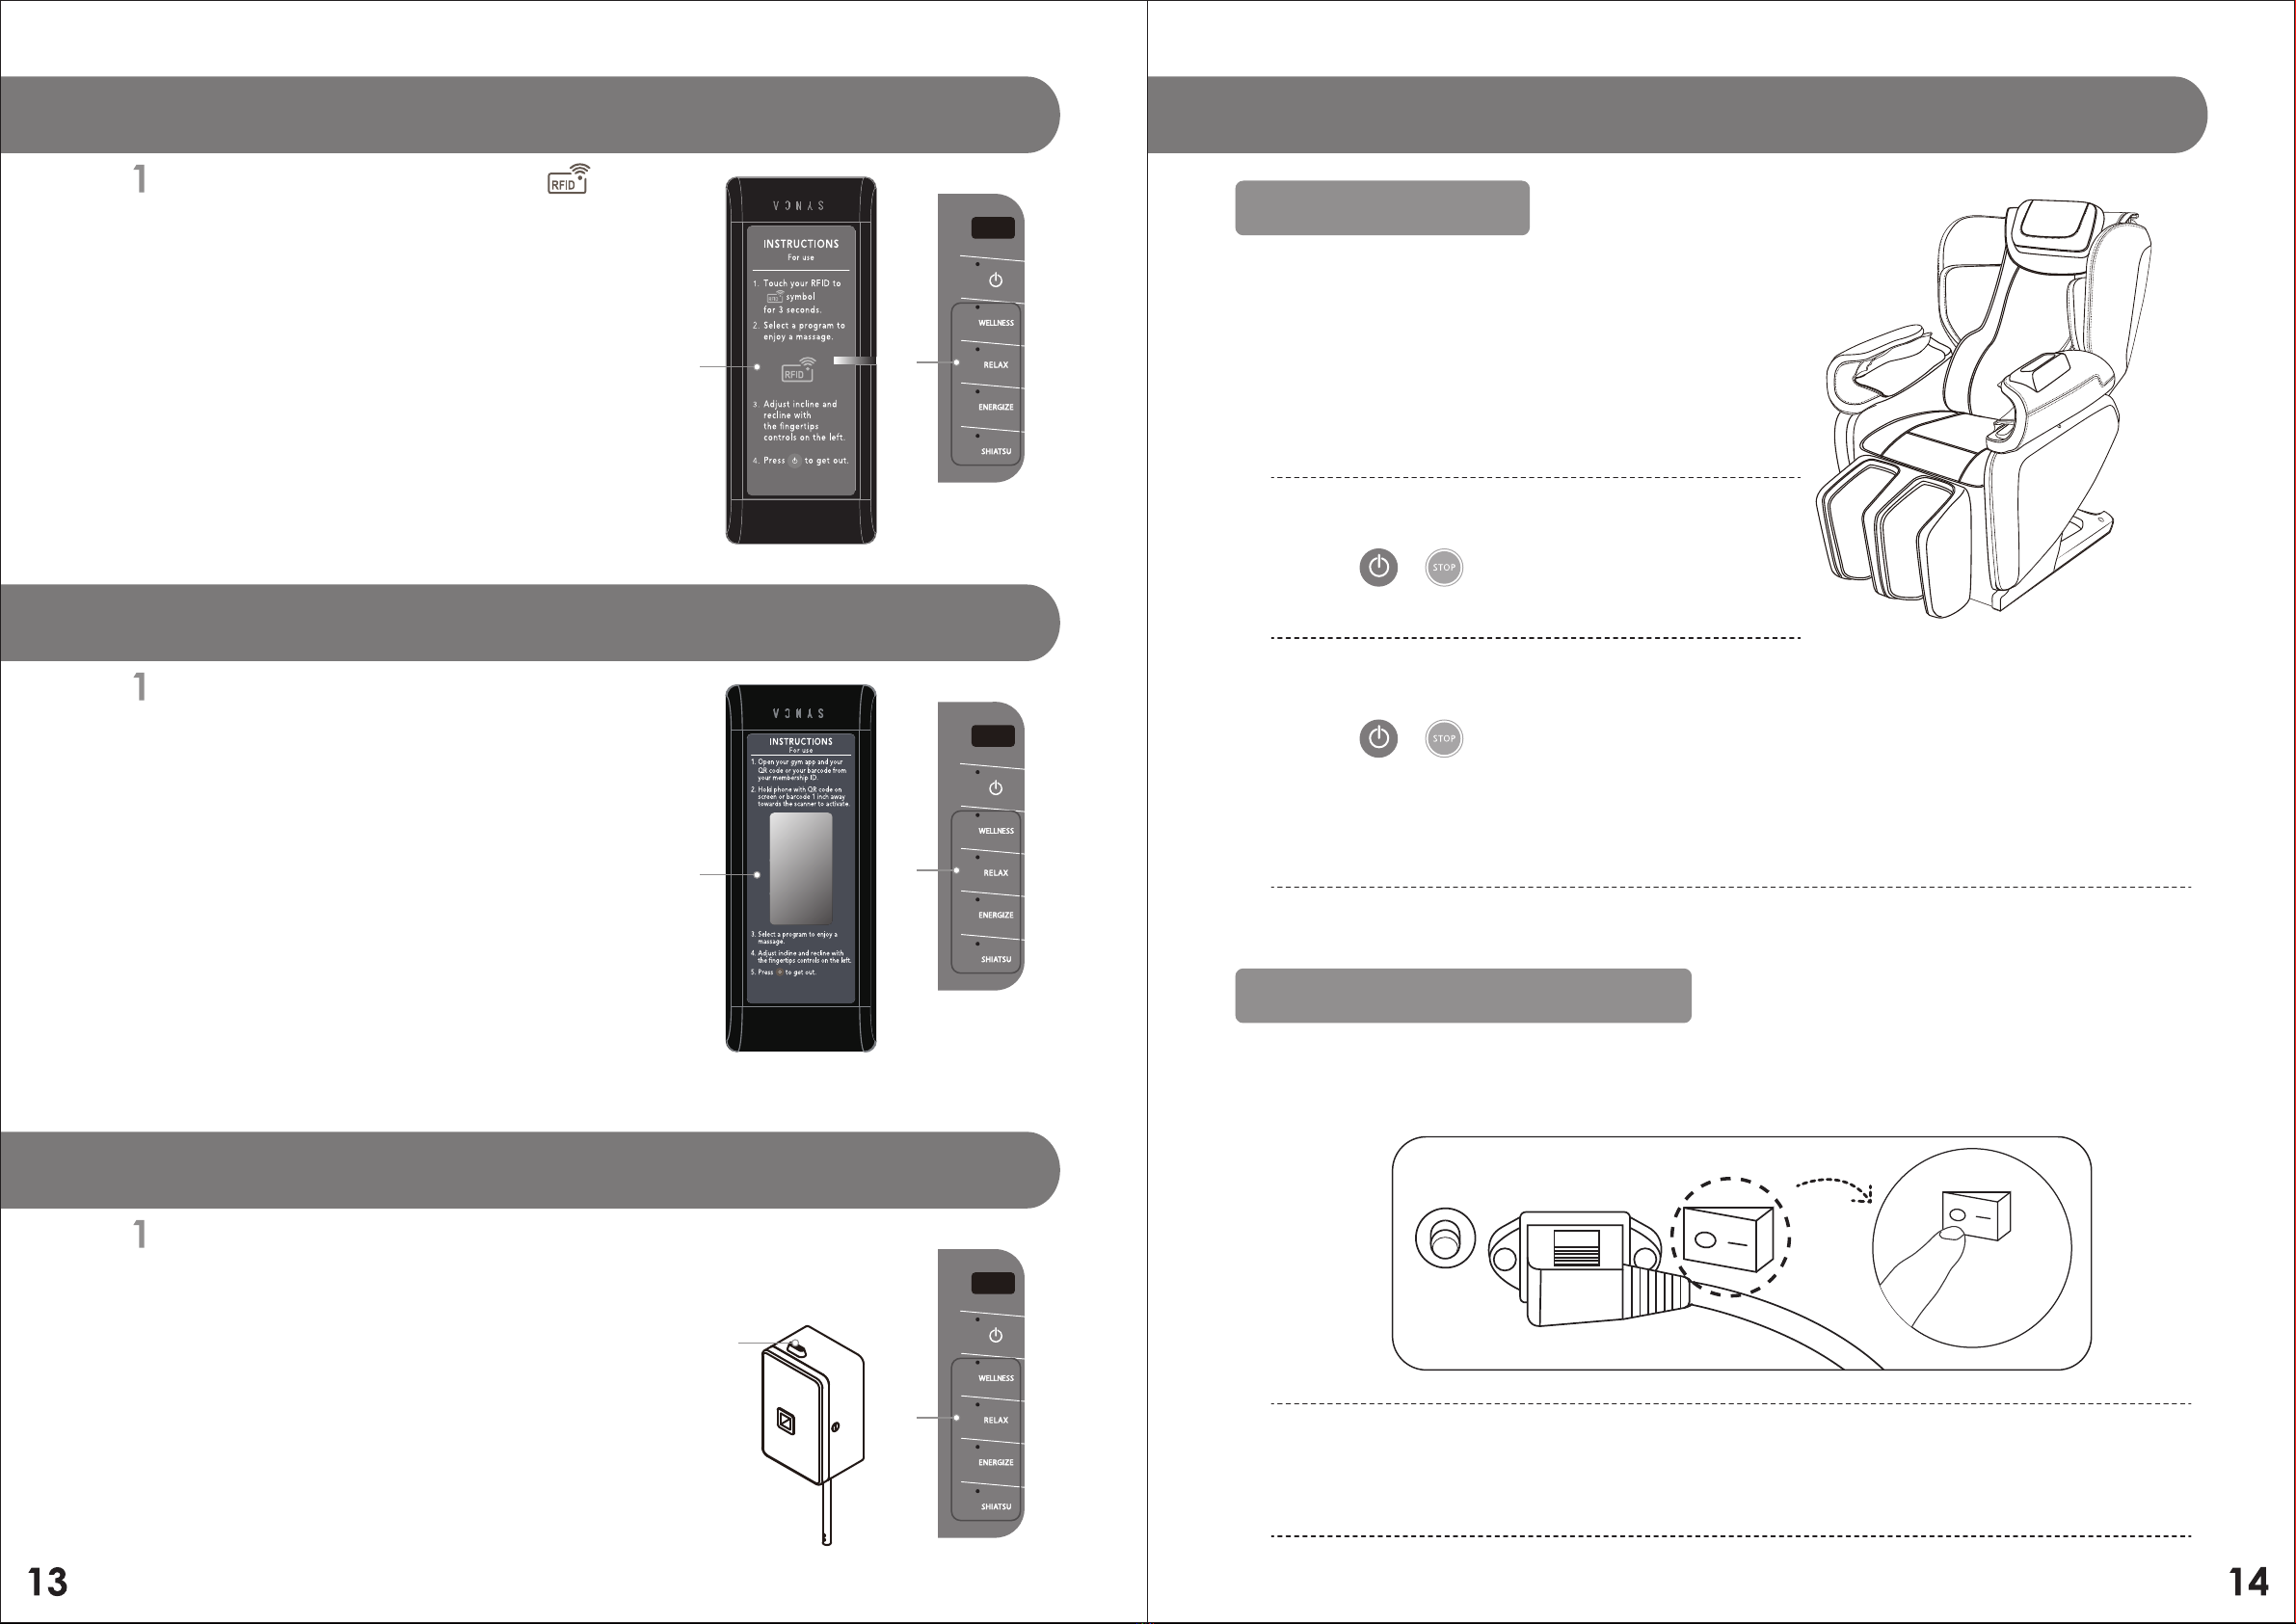
Press to turn on the power.
※Press and select a desired course, the backrest and the legrest will be
automatically set to the standby position.
※The knead balls and the chair will first return to the stored position if they are
not in the stored position when is pressed. The backrest and the legrest
will be automatically set to the standby position when a desired course is
selected.
Press one of the buttons to select the desired course.
※If press any buttons other than the course
buttons, the preset course will start; manually
adjust backrest or legrest angle will be
necessary.
Shoulder positioning will start after
a desired course is selected.
Selected course will automatically
start, after shoulder positioning is
completed.
Shoulder positioning is completed
when the tapping finishes.
※If the shoulder position is off drastically, turn
off the power. Adjust the shoulders position
firmly pressed against the backrest and
repeat from Step 1 in this section.
ŏWELLNESS
The Wellness program is the least aggressive of the 4
selections you have and an excellent program to use for
a warm up.
ŏRELAX
The Relax program is a medium strength experience and
is a great program to use after a hard day of cardio.
ŏENERGIZE
The Energize program is a medium to medium high
intensity massage therapy program. This program is ideal
for use after you’ve been lifting weights.
ŏSHIATSU
The Shiatsu program is great to use after you’re just had a
back day in the gym and is the strongest massage you
can experience.
&KDUDFWHULVWLFVRIDXWRPRGHFRXUVHV
8SSHU%RG\
$XWRWLPHUPLQVSHUDXWRFRXUVH
.
2.

Timer Function
Disconnecting the power
2.
3.
2.
After Completing the Massage
1
Touch the authenticated RFID to
symbol on the control till the course button
indicators start blinking.
2Select a desired course and press the
button to enjoy a massage.
3Massage course will automatically end
when the given time is up.
How to Use the Auto Mode Course QR-operated
11
1.
1
Open the authenticated gym app and QR
code or barcode from authenticated
membership ID.
2Hold phone with QR code on screen or
barcode 1 inch away towards the scanner
to activate (the course button indicators
start blinking).
3Select a desired course and press the
button to enjoy a massage.
4Massage course will automatically end
when the given time is up.
How to Use the Auto Mode Course Coin-operated
11
2.
1
Chair will power on and the course button
indicators start blinking after the required
token is inserted into token control box.
2Select a desired course and press the
button to enjoy a massage.
3Massage course will automatically end
when the given time is up.
How to Use the Auto Mode Course RFID-operated
11
1.
1
The massage will complete
automatically in approximately 10
minutes after the start of operations.
• The knead balls will automatically move to the
stored position.
• The backrest and the legrest will move to their
stored positions.
1
Make sure the power switch is in the “O” (Off) position.
2Remove the power plug from the power outlet.
2
To interrupting the massage
Press or to stop the massage. The
remaining time will be cancelled.
3
If you experience any problems during use:
Press or to stop the massage. The remaining time will be cancelled.
• All operations will be stopped and knead balls and the backrest, the legrest will move to
their stored positions.
• Get off the unit carefully to prevent the unit tipping over.
※This section is only applicable when the chair is installed
with QR-OP module.
※This section is only applicable when the chair is installed
with token control box.
※This section is only applicable when the chair is installed
with RFID-OP module.

Forbidden
Absolutely do not modify, disassemble or
repair by yourself. Negligence may cause
fire or mechanical trouble of the chair which
may result in hazard on the body.
ŏAfter checking, if the problem is caused by none of the above, switch off the power, unplug the
power cord, and contact your dealer or our service center for repairs.
ŏPrior to operating the unit when it has not been used for a long period of time, read this manual
carefully and make sure that the unit is still in good condition to avoid accident or injury.
Follow the
instructions
A “clatter” noise occurs when the knead balls go up and down.
A “creak” noise of the gear and the motor occurs while in massage.
A friction noise occurs when the knead balls rub the cover cloth.
A rattling noise occurs while in the “Tap” or “Knead and Tap” massage movements (particularly when the
massage moves from the shoulders to the back).
In the “Knead”, “Tap”, or “Knead and Tap” massage movements, massaging speed may vary with the knead
balls’ strength changed.
A roaring noise of the motor occurs when load is given to the chair.
A “cuckoo” noise occurs while in the auto mode course, the knead balls are automatically adjusted to the
back-and-forth position to have the chair fitting in with the user’s body shape.
The compressor’s noise and the air exhausting noise
occur while in air-massage.
A noise occurs when the air bag is inflated.
A noise occurs while in massage of the shoulders.
A grinding noise occurs when the backrest is reclined.
There is a humming sound from the pump.
Controls
No massage course has been selected.
Check whether the button on the control
has been pressed. Press the button on the control.
Select a massage course.
This equipment has been tested and found to comply with the limits for a Class B digital device, pursuant to part
15 of the FCC Rules. These limits are designed to provide reasonable protection against harmful interference in a
residential installation. This equipment generates, uses and can radiate radio frequency energy and, if not
installed and used in accordance with the instructions, may cause harmful interference to radio communications.
However, there is no guarantee that interference will not occur in a particular installation. If this equipment does
cause harmful interference to radio or television reception, which can be determined by turning the equipment
off and on, the user is encouraged to try to correct the interference by one or more of the following measures:
- Reorient or relocate the receiving antenna.
- Increase the separation between the equipment and receiver.
- Connect the equipment into an outlet on a circuit different from that to which the receiver is connected.
- Consult the dealer or an experienced radio/TV technician for help.
Any changes or modifications not expressly approved by the party responsible for compliance could void the
user's authority to operate equipment.
FCC RF Radiation Exposure Statement:
1. This transmitter must not be co-located or operating in conjunction with any other antenna or transmitter.
2. This equipment complies with FCC RF radiation exposure limits set forth for an uncontrolled environment. This
equipment should be installed and operated with a minimum distance of 20 centimeters between the
radiator and your body.

A3
C0
C1
C3
C5
C7
CD
CF
E0
E1
E3
E5
E7
EF
B0
B1
B3
B7
B9
BF
(1)Press STOP button.
(2)Turn off the power switch, then restart the
unit.
※Please contact your dealer or our service
center if the problem still persists after
checking (1) & (2).
Please contact your dealer or our service center if the problem still persists after checking in accordance with this page. Service and
maintenance will be carried out smoother if the error code is communicated when contacting.
Open source programs
We uses open-source software in the device. This software is licensed by the rights holders using the following licenses among others:
the MIT license
This program is provided for general use, but WITHOUT ANY WARRANTY OF ANY KIND. View the complete license texts here:
http://johnson-hc.com/licensetexts
100-240Vac
Operation is terminated because
current over has occurred.
Operation is terminated because
of power break has occurred.
Communication error (RFID)
A4 Communication error (WiFi)
Operation is terminated because
sensor error has occurred.
MC-J6950
Kurodo E
Approx. 6 ~ 35 cycles / min
850 mm (width) x 1300 mm (depth) x1200 mm (height)
(with footrest in stored position)
850 mm (width) x 1750 mm (depth) x 850 mm (height)
(with footrest raised in highest position)
Approx. 200 ~ 600 cycles / min
<60 mm/sec
Approx. 85 kg
130 WPower consumption
Approx. 30 ~ 32 kPa
PVC synthetic leather
(1)Press STOP button.
(2)Turn off the power switch, then restart the
unit.
P
Approx. 10 minutes
If any abnormal condition persists after checking in accordance with page 17, stop using the unit, switch off the
power, unplug the power cord, and then consult your local store or dealer.
If the warranty period has expired, consult your dealer for details on authorized service. If appropriate service can
be provided to maintain functions of this product, repair will be performed at the user's cost.
If you have any questions, please consult your dealer.
Authorized Service
$SSUR[ï
This manual suits for next models
1
Table of contents
Other Synca Massager manuals