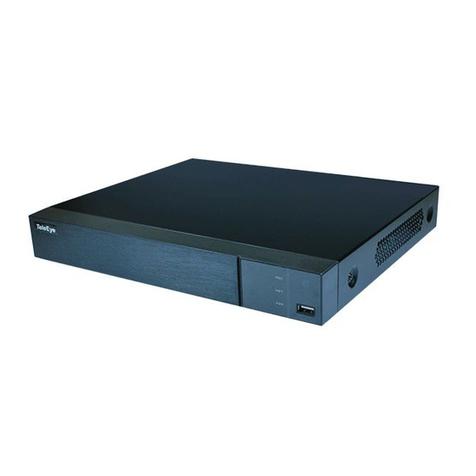
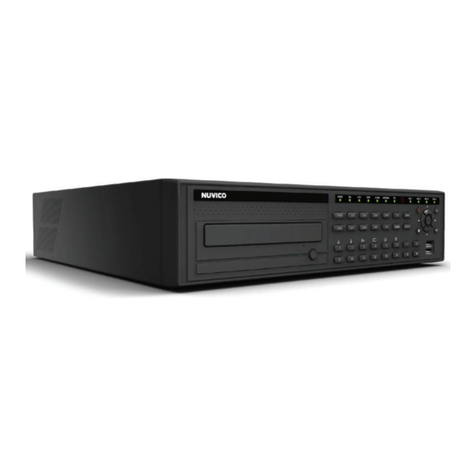
TeleEye RX504 User manual

TeleEye RX Series
Mobile Video Recording Server
RX504
User Guide

Notice:
Signal Communications Limited reserves the right to make improvements to the product
described in this manual at any time and without prior notice.
This manual is copyrighted. All rights are reserved. This manual should not be copied,
reproduced or translated in whole or part without prior consent from Signal Communications
Limited.
TeleEye is a trademark of Signal Communications Limited and is registered in China,
European Communities, Hong Kong, US and other countries.
All other trademarks are the property of their respective owners.
Copyright (c) 2007Signal Communications Limited (A member of TeleEye Group). All rights
reserved.
Release Version 1.1
Limits of Liability and Disclaimer of Warranty
Signal Communications Limited has taken care in preparation of this manual, but makes no
expressed or implied warranty of any kind and assume no responsibility for errors or omissions.
No liability is assumed for incidental or consequential damages in connection with or arising out
of the use of the information or accessories contained herein.
Features and specifications are subject to change without prior notice.

Table of content
SECTION 1................................................................................................................................................................ 1
INTRODUCTION.........................................................................................................................................................1
1. Introduction...............................................................................................................................................1
2. Features.....................................................................................................................................................1
3. Package Contents......................................................................................................................................1
4. Front panel description .............................................................................................................................2
5. Rear panel description ..............................................................................................................................2
SECTION 2................................................................................................................................................................ 3
INSTALLATION ..........................................................................................................................................................3
1. Install Hard Disk.......................................................................................................................................3
2. Remove Hard Disk.....................................................................................................................................4
3. Mobile data modem installation................................................................................................................5
4. Wireless LAN adaptor installation.............................................................................................................6
5. Mount to vehicle........................................................................................................................................6
6. Video installation.......................................................................................................................................8
7. Alarm installation......................................................................................................................................8
8. Power connection......................................................................................................................................9
SECTION 3.............................................................................................................................................................. 10
BASIC SETUP ..........................................................................................................................................................10
1. Before setup.............................................................................................................................................10
2. Format Hard Disk ...................................................................................................................................10
3. Hard Disk available event.......................................................................................................................11
4. Network setup..........................................................................................................................................12
5. Mobile data modem setup........................................................................................................................13
SECTION 4.............................................................................................................................................................. 15
OPERATION.............................................................................................................................................................15
1. Live operation through mobile data modem............................................................................................15
2. Live operation through LAN / wireless LAN............................................................................................16
3. Recording ................................................................................................................................................17
4. Video extraction.......................................................................................................................................18
APPENDIX 1 ........................................................................................................................................................... 20
LIMITED WARRANTY ..............................................................................................................................................20
APPENDIX 2 ........................................................................................................................................................... 21
sureLINK TECHNOLOGY........................................................................................................................................21
APPENDIX 3 ........................................................................................................................................................... 25
FIRMWARE UPGRADE..............................................................................................................................................25
APPENDIX 4 ........................................................................................................................................................... 26
SECURITY MODE ....................................................................................................................................................26
APPENDIX 5 ........................................................................................................................................................... 30
SPECIFICATION........................................................................................................................................................30

TeleEye RX504 User Guide Page 1
Section 1
Introduction
1. Introduction
TeleEye RX504 is a robust video recording server designed for fleet security applications.
By using the award-winning SMAC-M multi-streaming video compression technology,
TeleEye RX504 delivers no compromise performance on simultaneous recording and
transmission via mobile network.
TeleEye RX504 can continuously record videos of every single detail during the vehicle
in service. By connecting TeleEye RX504 to a mobile data modem, the driver can push
a button to trigger the TeleEye RX504 to send an alarm and seamless video back to the
central monitoring station via mobile networks such as HSDPA, UMTS, EDGE or GPRS in
an emergency situation. In conjunction to a WiFi gateway, the recorded data can be
reviewed and extracted to the central storage server via a WiFi network after the vehicle
returning back to the depot.
Live monitoring using mobile network
Video extraction and playback via WiFi
2. Features
l4 video, 16 alarm inputs; 4 relay outputs
lRecording up to 25/30fps on D1; 100/120fps on CIF resolution
lLive monitoring via HSDPA, UMTS, EDGE and GPRS (require mobile data modem)
lPlayback and video extraction via WiFi (require WiFi gateway)
lFast detachment and shock protection design
3. Package contents
1. TeleEye RX504
2. NULL modem cable C03FF
3. WX-30 installation CD version 3.10.04
4. Hard disk mounting screws with rings

TeleEye RX504 User Guide Page 2
5. User manual
6. Hard disk recommendation list
7. Warranty card
8. Registration card
9. R-E220 mobile data modem (optional)
10. Wireless LAN adaptor (optional)
11. Vibration bracket (optional)
4. Front panel description
5. Rear panel description
Item Description
1. RS-485 (IN / OUT) For telemetry use
2. Power terminal Connect to input power (10-24V DC)
3. Alarm IN Relay Out External alarm input and relay output
4. Power adaptor Reserved
5. FUSE 3Amp protection fuse socket
6. Ethernet RJ45 socket for network connection
7. USB For connecting 3G USB modem
8. RS-232 Connect NULL modem cable for setup use
9. Audio Reserved
10. Video Out Video output BNC type connector
11. Video In Video input BNC connectors
1. REC LED:
On when recording
3. Power LED
On when power up
2. Status LED:
Blinks at event trigger
1
3
2
4
5
6
7
8
9
11
10

TeleEye RX504 User Guide Page 3
Section 2
Installation
1. Install Hard Disk
1. Remove left cover screw
2. Turn the left cover over
3. Slide the HDD into the slot. Take care for the hard disk pins, make sure all pins be
inserted to connector properly

TeleEye RX504 User Guide Page 4
4. Screw the HDD screws with provided screws and rings.
5. Restore and screw up the left cover
2. Remove Hard Disk
1. Remove left cover screw as shown in following figure
2. Turn the left cover over as shown in the following figure

TeleEye RX504 User Guide Page 5
3. Remove HDD screws
4. Slide the Hard disk out
3. Mobile data modem installation
1. Stick provided Velcro to R-E220 and RX504’s rear panel, then stick together as
following figure:
2. Tighten the mounting tape at RX504 real panel
3. Use provided cable tie to fix USB cable on RX504’s rear panel
Mounting
Tape
Cable tie
position
Rear side
of R-E220
Velcro position

TeleEye RX504 User Guide Page 6
4. Wireless LAN adaptor installation
1. Only use Wireless LAN Client with CAT5 cable interface, connect the Wireless
Client to RX504’s Ethernet socket.
5. Mount to vehicle
1. Horizontal mount
i. Measure the position of the mounting screws and drill holes on the mounting
surface
ii. Screw up the screws on the mounting surface
2. Vertical mount
i. Remove four side mounting screws on RX504 as shown follow
CAT5 Ethernet Cable
Wireless LAN
adaptor
Left mounting
plate
Right
mounting plate

TeleEye RX504 User Guide Page 7
ii. Switch left and right mounting plate as shown in the following figure
iii. Rotate to RX504 front panel face down and screw up the side mounting
screw to RX504
iv. Measure the position of the mounting screws and drill holes on the mounting
surface
v. Screw up the screws on the mounting surface
Right
mounting plate
Left mounting
plate

TeleEye RX504 User Guide Page 8
6. Video installation
For fix cameras, connect cameras to video inputs using RG59 cable. For PTZ cameras,
connect camera’s video output to RX504’s video input using RG59 cable, and connect
RS-485 to RX504’s RS-485 out.
7. Alarm installation
TeleEye RX supportsup to 16 alarm ports in that order with tamper detection for
connecting with alarm sensors, 4 additional input sensors and 4relay ports for control.
The definitions of alarm and relay control ports are shown in the following diagram.
Pin assignment for TeleEye RX
Pin 1 ALARM 1 Pin 20 GND
Pin 2 ALARM 2 Pin 21 GND
Pin 3 ALARM 3 Pin 22 GND
Pin 4 ALARM 4 Pin 23 GND
Pin 5 ALARM 5 Pin 24 GND
Pin 6 ALARM 6 Pin 25 GND
Pin 7 ALARM 7 Pin 26 GND
Pin 8 ALARM 8 Pin 27 GND
Pin 9 ALARM 9 Pin 28 ARM/DISARM
Pin 10 ALARM 10 Pin 29 SECURITY SWITCH
Pin 11 ALARM 11 Pin 30 POWER FAILURE
Pin 12 ALARM 12 Pin 31 SYSTEM TAMPER
Pin 13 ALARM 13 Pin 32 ALARM 14
Pin 14 ALARM 15 Pin 33 ALARM 16
Pin 15 RELAY 0a Pin 34 RELAY 0b
Pin 16 RELAY 1a Pin 35 RELAY 1b
Pin 17 RELAY 2a Pin 36 RELAY 2b
Pin 18 RELAY 3a Pin 37 RELAY 3b
Pin 19 N/A
Cameras
RG59 Cable
RS-485 bus
PTZ camera

TeleEye RX504 User Guide Page 9
8. Power connection
1. Connect RX504 Ground terminal to car ground.
2. Connect RX504 +12 V terminal to the +12 V power terminal which is
energized in the accessory position of the ignition key.
Connect to the +12 V power
terminal which is energized in the
accessory position of the ignition
key. Be sure to connect the
Ground first
Connect to ground

TeleEye RX504 User Guide Page 10
Section 3
Basic Setup
1. Before setup
1. Prepare a Laptop with COM port which running Windows XP
2. Install provided TeleEye WX-30 software
3. Power up RX504
4. Connect RX504 to PC by using provided NULL modem cable
5. Run TeleEye WX-30
6. Click Connections > Connect
7. Click Properties, select 57600 bit rate
8. Connect to RX504 by selecting Direct COM 1 connection
2. Format Hard Disk
New Hard Disk need to be formatted before use.
1. Click Transmitter -> Settings
2. Click [HDD Management] option on {Transmitter Setup} panel to enter {HDD
Management} panel.

TeleEye RX504 User Guide Page 11
3. Click [Format Disk] to start format the Hard Disk.
4. RX504 will need to restart after Hard Disk format.
3. Hard Disk available event
Hard Disk available event triggers when any HDD failure or HDD changes happen. It
is recommended to enable this event after format Hard Disk. Like other events, it can
associate with dialback, E-mail and buzzer action etc.
1. Click Transmitter > Settings
2. Click Event > HDD Available
3. Check Enable
4. Click Action

TeleEye RX504 User Guide Page 12
5. Setup desired action in this panel, for details please refer to WX-30 User
manual.
6. Click [Update Check List] after change or format Hard Disk.
4. Network setup
1. Click Transmitter > Settings
2. Click Connection
3. Throughput setting is used to limit RX504’s output data rate at individual video
stream.
4. Select 100Mbps for LAN stream
5. Narrowband throughput, following are suggested initial throughput for reference
only.
lHSDPA / UMTS: 512kbps
lEDGE:64kbps
lGPRS:19.2kbps
Noted that mobile data rate varies with different environment. If video delayed,
please select lower throughput.
6. Click Network Settings

TeleEye RX504 User Guide Page 13
7. Set IP, port, subnet mask and gateway
8. DNS must be enabled for mobile connection, please enter valid DNS addresses.
5. Mobile data modem setup
1. Click Connection Setup
2. Click 3G USB Modem
Make sure the mobile service provider support
streaming at Internet connection.

TeleEye RX504 User Guide Page 14
3. Click enable
4. Set dialup mode: Start up and SMS / Event
1. In SMS / Event mode, RX504 will dial up to Internet only when event
trigger a dialback action or receive a valid dialback SMS message. This
mode is recommended to user who do not has real IP for mobile network
connection
2. Startup mode will dial up to Internet when RX504 power up. This mode is
only suitable for user who has real IP for mobile network connection.
5. RX504 support 2 profiles, select desired profile according to the SIM card.
6. Enter APN and dial number of the SIM card, according to telecom service
provider’s setting
7. Click Test 3G USB Modem to test the configuration
8. Click Apply to save settings

TeleEye RX504 User Guide Page 15
Section 4
Operation
1. Live operation through mobile data modem
1. SMS / Event mode
1. Run TeleEye WX-30
2. Click standby and enter password
3. Select Narrowband
4. Click … button and set listen port
5. Click OK
6. Send SMS to the SIM card’s number using the following format:
7. teip<space><dialback ip><space><port><space>endip
e.g. teip 202.73.90.90 2048 endip
8. RX504 will dialback to the given IP once received the SMS.
2. Startup mode
1. Run TeleEye WX-30
2. Click connect

TeleEye RX504 User Guide Page 16
3. Enter sureLINK address or IP address
4. Select TCP/IP Narrowband
5. Enter password
6. Click Connect
2. Live operation through LAN / wireless LAN
1. Run TeleEye WX-30
2. Click connect
3. type sureLINK address or IP address
4. Select TCP/IP LAN
5. Enter password
6. Click Connect

TeleEye RX504 User Guide Page 17
3. Recording
Manual Recording Procedure :
Step 1 : Click [Record] icon on the main panel as shown follow.
Step 2 :
Enter the administrator
password.
Step 3 : {RX Recording} panel
pop up. Click the
checkbox to select the
camera for recording.
[Select All] is to select
all cameras for recording.
Step 4 : Press [Start Recording]
to start recording now.
Table of contents
Other TeleEye DVR manuals

TeleEye
TeleEye JN308 User manual
TeleEye
TeleEye RN284 User manual
TeleEye
TeleEye RX538 User manual
TeleEye
TeleEye RM134 User manual
TeleEye
TeleEye JN204X DVR User manual

TeleEye
TeleEye GN6516 User manual
TeleEye
TeleEye GN8 Series User manual

TeleEye
TeleEye RX364 User manual

TeleEye
TeleEye JN6500-S User manual

TeleEye
TeleEye JN6204 User manual

TeleEye
TeleEye GX684 User manual
TeleEye
TeleEye RA204 User manual
TeleEye
TeleEye GN6516 User manual

TeleEye
TeleEye GN8808 User manual
TeleEye
TeleEye RX324_V3 User manual

TeleEye
TeleEye GN8816 User manual
TeleEye
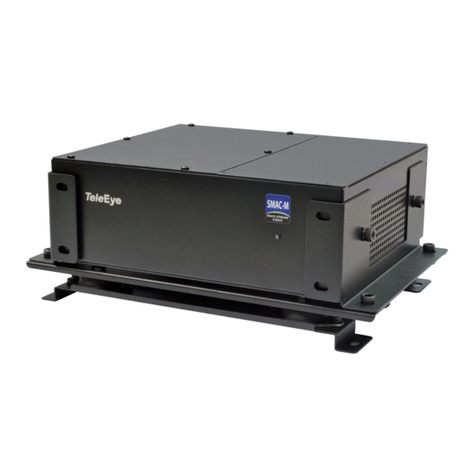
TeleEye RX538 User manual

TeleEye
TeleEye RM134 User manual
TeleEye
TeleEye RV432 User manual
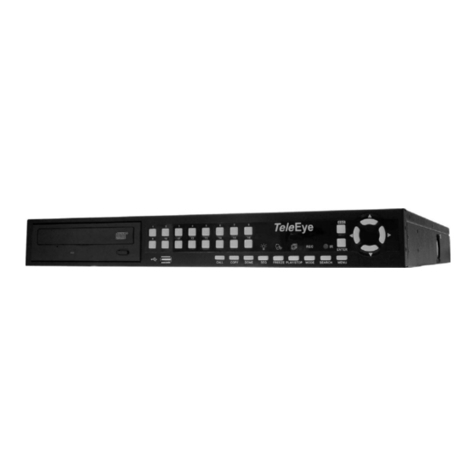
TeleEye
TeleEye RN684 User manual
