manuals.online logo
Brands
  1. Home
  2. •
  3. Brands
  4. •
  5. Tennant
  6. •
  7. Scrubber
  8. •
  9. Tennant T2 User manual

Tennant T2 User manual

Other manuals for T2

2

Other Tennant Scrubber manuals

Tennant t500 User manual

Tennant

Tennant t500 User manual

Tennant T290 User manual

Tennant

Tennant T290 User manual

Tennant 5100 Product manual

Tennant

Tennant 5100 Product manual

Tennant 7300 Training manual

Tennant

Tennant 7300 Training manual

Tennant T291 User manual

Tennant

Tennant T291 User manual

Tennant Nobles 3301 User manual

Tennant

Tennant Nobles 3301 User manual

Tennant 5280 User manual

Tennant

Tennant 5280 User manual

Tennant T191 User manual

Tennant

Tennant T191 User manual

Tennant CS5 User manual

Tennant

Tennant CS5 User manual

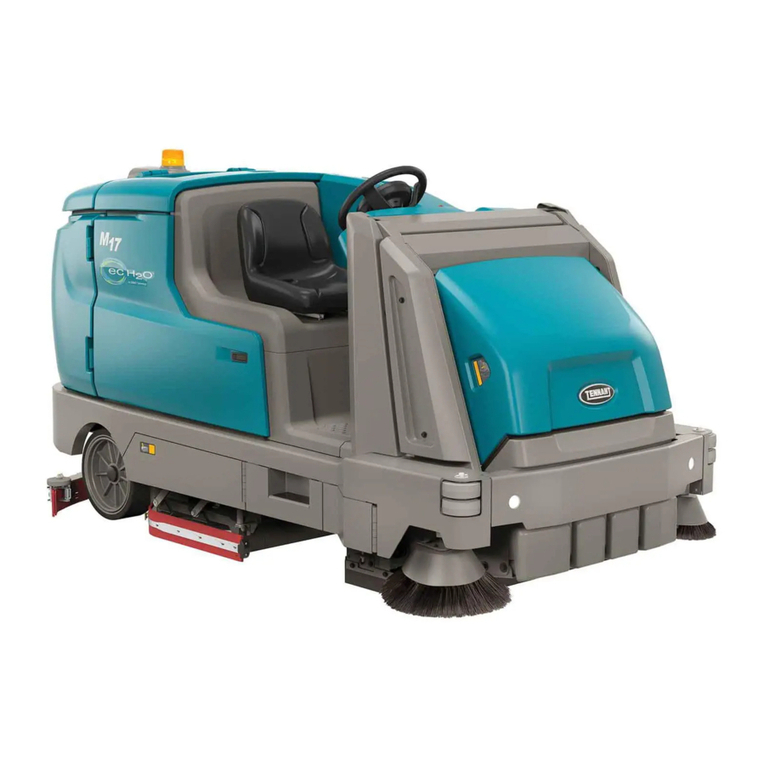
Tennant M17 Series Training manual

Tennant

Tennant M17 Series Training manual

Tennant M20 Training manual

Tennant

Tennant M20 Training manual

Tennant 5300 User manual

Tennant

Tennant 5300 User manual

Tennant T1 Li User manual

Tennant

Tennant T1 Li User manual

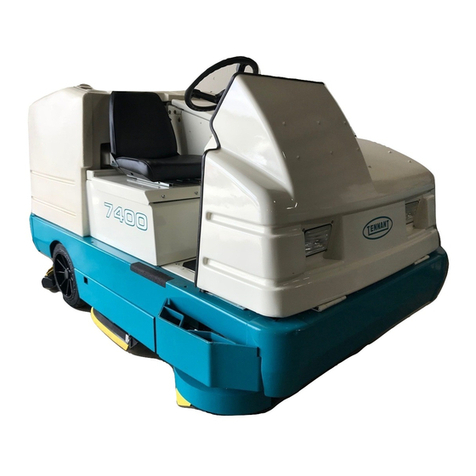
Tennant 7400 User manual

Tennant

Tennant 7400 User manual

Tennant Nobles SPEED SCRUB 1701 PLUS Product manual

Tennant

Tennant Nobles SPEED SCRUB 1701 PLUS Product manual

Tennant T5 User manual

Tennant

Tennant T5 User manual

Tennant Nobles T350 User manual

Tennant

Tennant Nobles T350 User manual

Tennant T380AMR User manual

Tennant

Tennant T380AMR User manual

Tennant IPC PW-H61 User manual

Tennant

Tennant IPC PW-H61 User manual

Tennant T600 EE User manual

Tennant

Tennant T600 EE User manual

Tennant T290 User manual

Tennant

Tennant T290 User manual

Tennant T1 User manual

Tennant

Tennant T1 User manual

Tennant 8300 User manual

Tennant

Tennant 8300 User manual

Tennant 550 Training manual

Tennant

Tennant 550 Training manual

Popular Scrubber manuals by other brands

Windsor Saber Cutter SC326 10052220 operating instructions

Windsor

Windsor Saber Cutter SC326 10052220 operating instructions

Powr-Flite PFX1380 SERIES Operators manual and parts lists

Powr-Flite

Powr-Flite PFX1380 SERIES Operators manual and parts lists

Olympus M200H operating manual

Olympus

Olympus M200H operating manual

Clarke BEXT 100H Operation?and safety

Clarke

Clarke BEXT 100H Operation?and safety

JOHNY VAC JVC70BCT user guide

JOHNY VAC

JOHNY VAC JVC70BCT user guide

RCm Elan Series Instruction and maintenance handbook

RCm

RCm Elan Series Instruction and maintenance handbook

Floorpul ruby 48 blt Use and maintenance

Floorpul

Floorpul ruby 48 blt Use and maintenance

Kärcher B 120 W quick start

Kärcher

Kärcher B 120 W quick start

Truvox Orbis MotorScrubber 20 user manual

Truvox

Truvox Orbis MotorScrubber 20 user manual

Numatic TTB 4045/100 Original instructions

Numatic

Numatic TTB 4045/100 Original instructions

U.S. Products PEX 500-C-TICK Information & operating instructions

U.S. Products

U.S. Products PEX 500-C-TICK Information & operating instructions

Mclennan C510 Operator's manual

Mclennan

Mclennan C510 Operator's manual

Columbus ARA 66 BM 100 operating manual

Columbus

Columbus ARA 66 BM 100 operating manual

Numatic TTV 678G / 300T Owner's instructions

Numatic

Numatic TTV 678G / 300T Owner's instructions

Onyx RX-34 Operator's manual

Onyx

Onyx RX-34 Operator's manual

REMS Twist instruction manual

REMS

REMS Twist instruction manual

Clarke CA30 20B Service manual

Clarke

Clarke CA30 20B Service manual

Clarke Focus II Mid-Size Autoscrubber Boost 28 Operator's manual

Clarke

Clarke Focus II Mid-Size Autoscrubber Boost 28 Operator's manual

manuals.online logo
manuals.online logoBrands
  • About & Mission
  • Contact us
  • Privacy Policy
  • Terms and Conditions

Copyright 2025 Manuals.Online. All Rights Reserved.

ENGLISH
Tennant T2 (08--11) 15
MACHINE MAINTENANCE
To keep the machine in good working condition, follow
the machine maintenance procedures.
WARNING: Electrical Hazard. Disconnect
Battery Cables Before Servicing Machine.
DAILY MAINTENANCE
1. Drain and rinse out the recovery tank (Figure 34).
FIG. 34
2. Remove the debris tray and empty (Figure 35)
FIG. 35
3. Remove and clean the float shut--off screen located
in the recovery tank (Figure 36).
FIG. 36
4. Drain the solution tank (Figure 37)
FIG. 37
5. Remove the pad/brush and clean. Rotate pad or
replace when worn (Figure 38).
FIG. 38
6. Wipe the squeegee blades clean (Figure 39).
When machine is not in use, raise squeegee
assembly off floor or hang on storage bracket.
FIG. 39
ENGLISH
16 Tennant T2 (08--11)
7. Check the condition of the squeegee blade wiping
edge (Figure 40). Rotate blade if worn.
(See SQUEEGEE BLADE REPLACEMENT)
FIG. 40
8. Clean the machine with an all purpose cleaner and
damp cloth (Figure 41).
FOR SAFETY: When cleaning machine, do not
power spray or hose off machine. Electrical
malfunction may occur.
FIG. 41
9. Inspect the condition of the scrub head skirt,
replace if worn or damaged (Figure 42).
FIG. 42
10. Recharge the batteries after a total of 30 minutes
of use or more (Figure 43). (See CHARGING
BATTERIES).
FIG. 43
MONTHLY MAINTENANCE
1. Remove the solution tank filter from underneath the
machine and rinse out the screen (Figure 44).
Make sure the solution tank is empty before
removing filter.
FIG. 44
2. Lead Acid Batteries: Clean the battery tops to
prevent corrosion (See BATTERY
MAINTENANCE).
3. Check for loose battery cable connections.
4. Inspect and clean the recovery tank cover seal
(Figure 45). Replace if damaged.
FIG. 45
ENGLISH
Tennant T2 (08--11) 17
5. Lubricate all pivot points and rollers with silicone
spray then coat with a water resistant grease to
maintain smooth operation.
6. Check the machine for loose nuts and bolts.
7. Check the machine for leaks.
MOTOR MAINTENANCE
Contact an Authorized Tennant Service Center for
carbon brush replacement.
Carbon Brush Replacement Hours
Vacuum Motor 750
Brush Motor 750
WARNING: Electrical Hazard. Disconnect
Battery Cables Before Servicing Machine.
SQUEEGEE BLADE REPLACEMENT
Each squeegee blade has four wiping edges. When the
blades become worn, simply rotate the blades
end-for-end or top-to-bottom for a new wiping edge.
Replace blade if all four edges are worn.
1. Remove the squeegee assembly from the machine.
2. Loosen the band clamp and remove the band from
the squeegee assembly (Figure 46).
FIG. 46
3. Remove and rotate the rear blade to a new wiping
edge. (Figure 47).
FIG. 47
4. Remove the thumb screws from the front blade and
rotate blade end--for--end (Figure 48).
NOTE: Use the 5--slot edge use on VCT flooring (vinyl
composite tile) and the 3--slot edge on grouted tile
floors.
FIG. 48
BATTERY MAINTENANCE (Lead Acid Batteries)
1. Check battery fluid level frequently to prevent
battery damage. The fluid should be at the level
shown (Figure 49). Add distilled water if low. DO
NOT OVERFILL, the fluid may expand and
overflow when charging.
Before Charging After Charging
CORRECT BATTERY FLUID LEVEL:
FIG. 49
WARNING: Fire Or Explosion Hazard.
Batteries Emit Hydrogen Gas. Keep Sparks And
Open Flame Away. Keep Battery Compartment
Open When Charging.
ENGLISH
18 Tennant T2 (08--11)
2. Clean the batteries to prevent battery corrosion.
Use a scrub brush with a mixture of baking soda
and water (Figure 50).
FOR SAFETY: When cleaning batteries, wear
protective gloves and eye protection. Avoid
contact with battery acid.
FIG. 50
TRANSPORTING MACHINE
When transporting the machine by use of trailer or
truck, be certain to follow the tie--down procedure
below:
1. Raise the scrub head and hang squeegee
squeegee on storage bracket.
2. Load the machine using a recommended loading
ramp.
3. Position the front of machine up against the front of
the trailer or truck and lower the scrub head.
4. Place a block behind each wheel to prevent the
machine from rolling.
5. Secure machine with tie--down straps. Machine is
equipped with two tie--down brackets (Figure 51).
FOR SAFETY: When transporting machine, use a
recommended ramp when loading/unloading
into/off truck or trailer. Use tie--down straps to
secure machine to truck or trailer.
STORING MACHINE
1. Charge the batteries before storing. Never store
the machine with discharged batteries.
2. Drain and rinse the tanks thoroughly.
3. Store the machine in a dry area with the squeegee
and scrub head in the up position.
4. Open the recovery tank cover to promote air
circulation.
ATTENTION: Do not expose machine to rain, store
indoors.
5. If storing machine in freezing temperatures, follow
the FREEZE PROTECTION instructions below.
FREEZE PROTECTION
1. Drain the solution tank and recovery tank of all
water.
2. Empty the solution tank filter located under the
machine (Figure 51).
FIG. 51
3. Pour 1 gallon/4 liters of recreational vehicle (RV)
antifreeze into the solution tank at full strength.
Do not dilute.
4. Turn the machine power on and operate the
solution flow system. Turn the machine off when
the red RV antifreeze is visible.