SAFETY
Tennant T600 EE (04-2018) 5
IMPORTANT SAFETY INSTRUCTIONS - SAVE THESE INSTRUCTIONS
The following warning precautions are used throughout
this manual as indicated in their description:
WARNING: To warn of hazards or unsafe
practices which could result in severe personal
injury or death.
FOR SAFETY: To identify actions which must be
followed for safe operation of equipment.
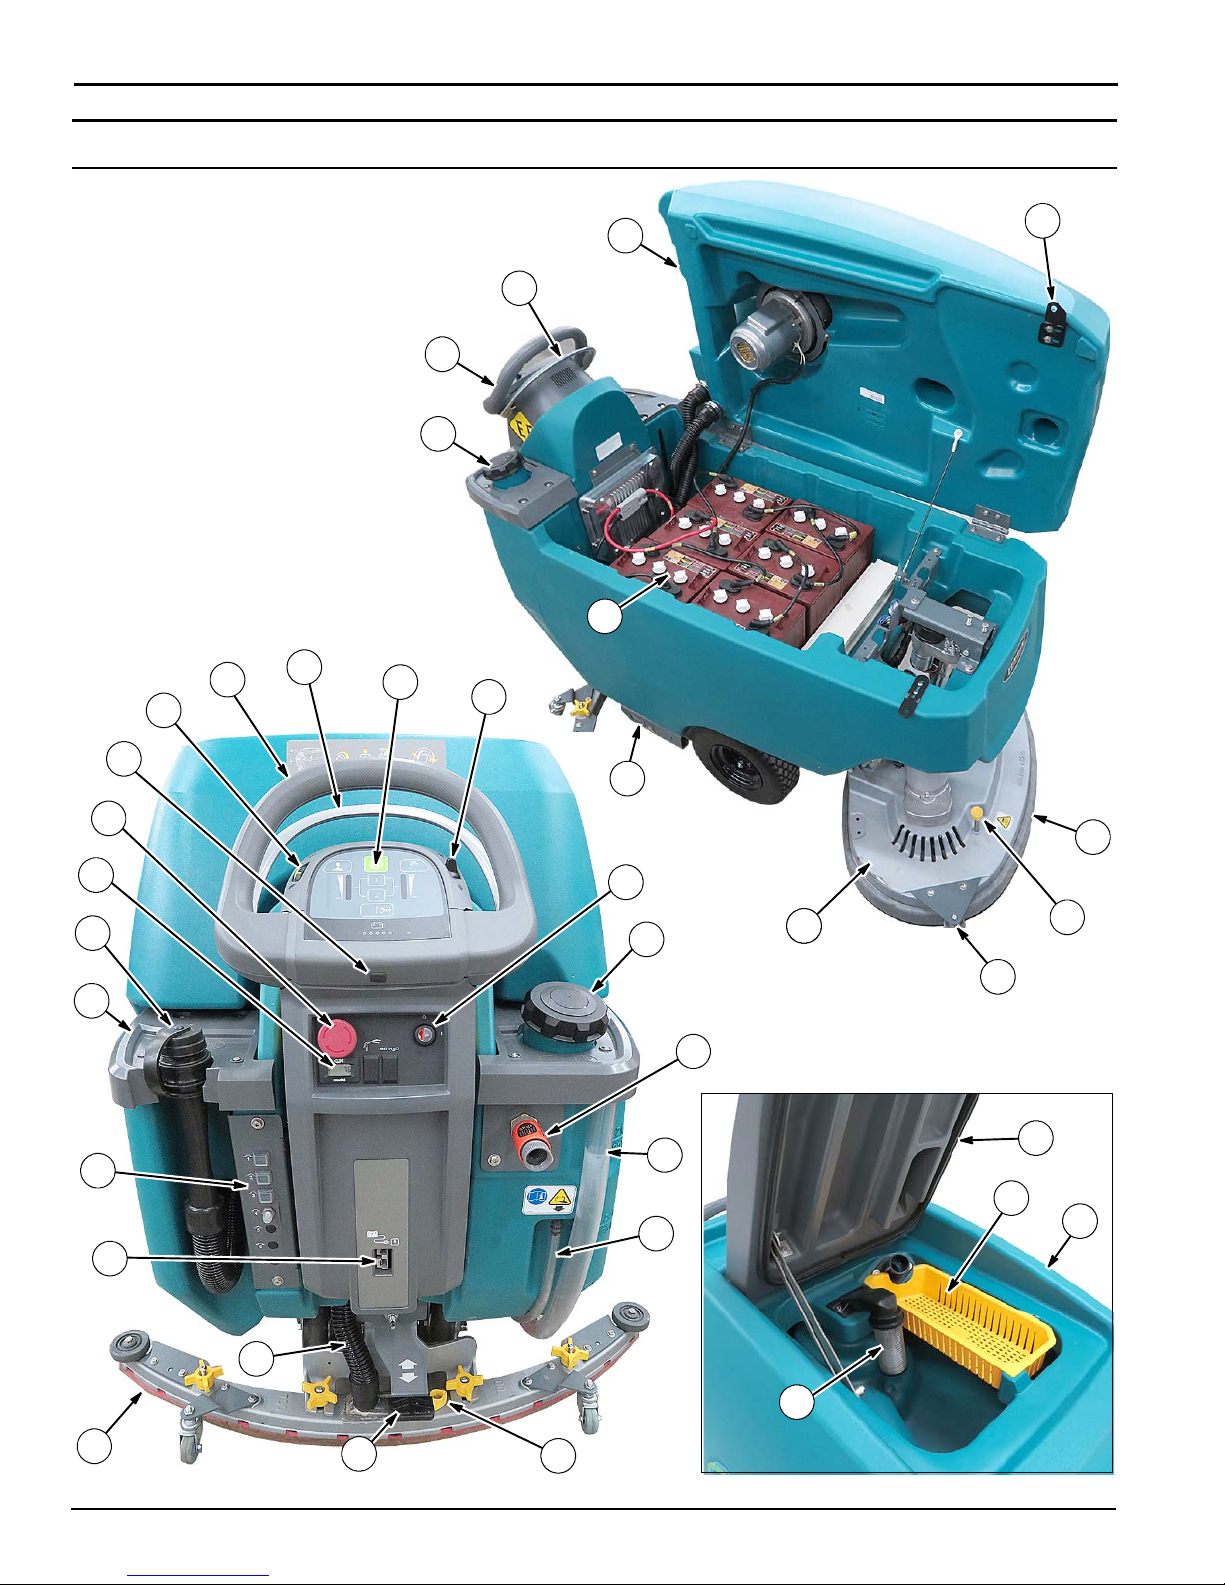
The following information signals potentially
dangerous conditions to the operator. Know when
these conditions can exist. Locate all safety devices on
the machine. Report machine damage or faulty
operation immediately.
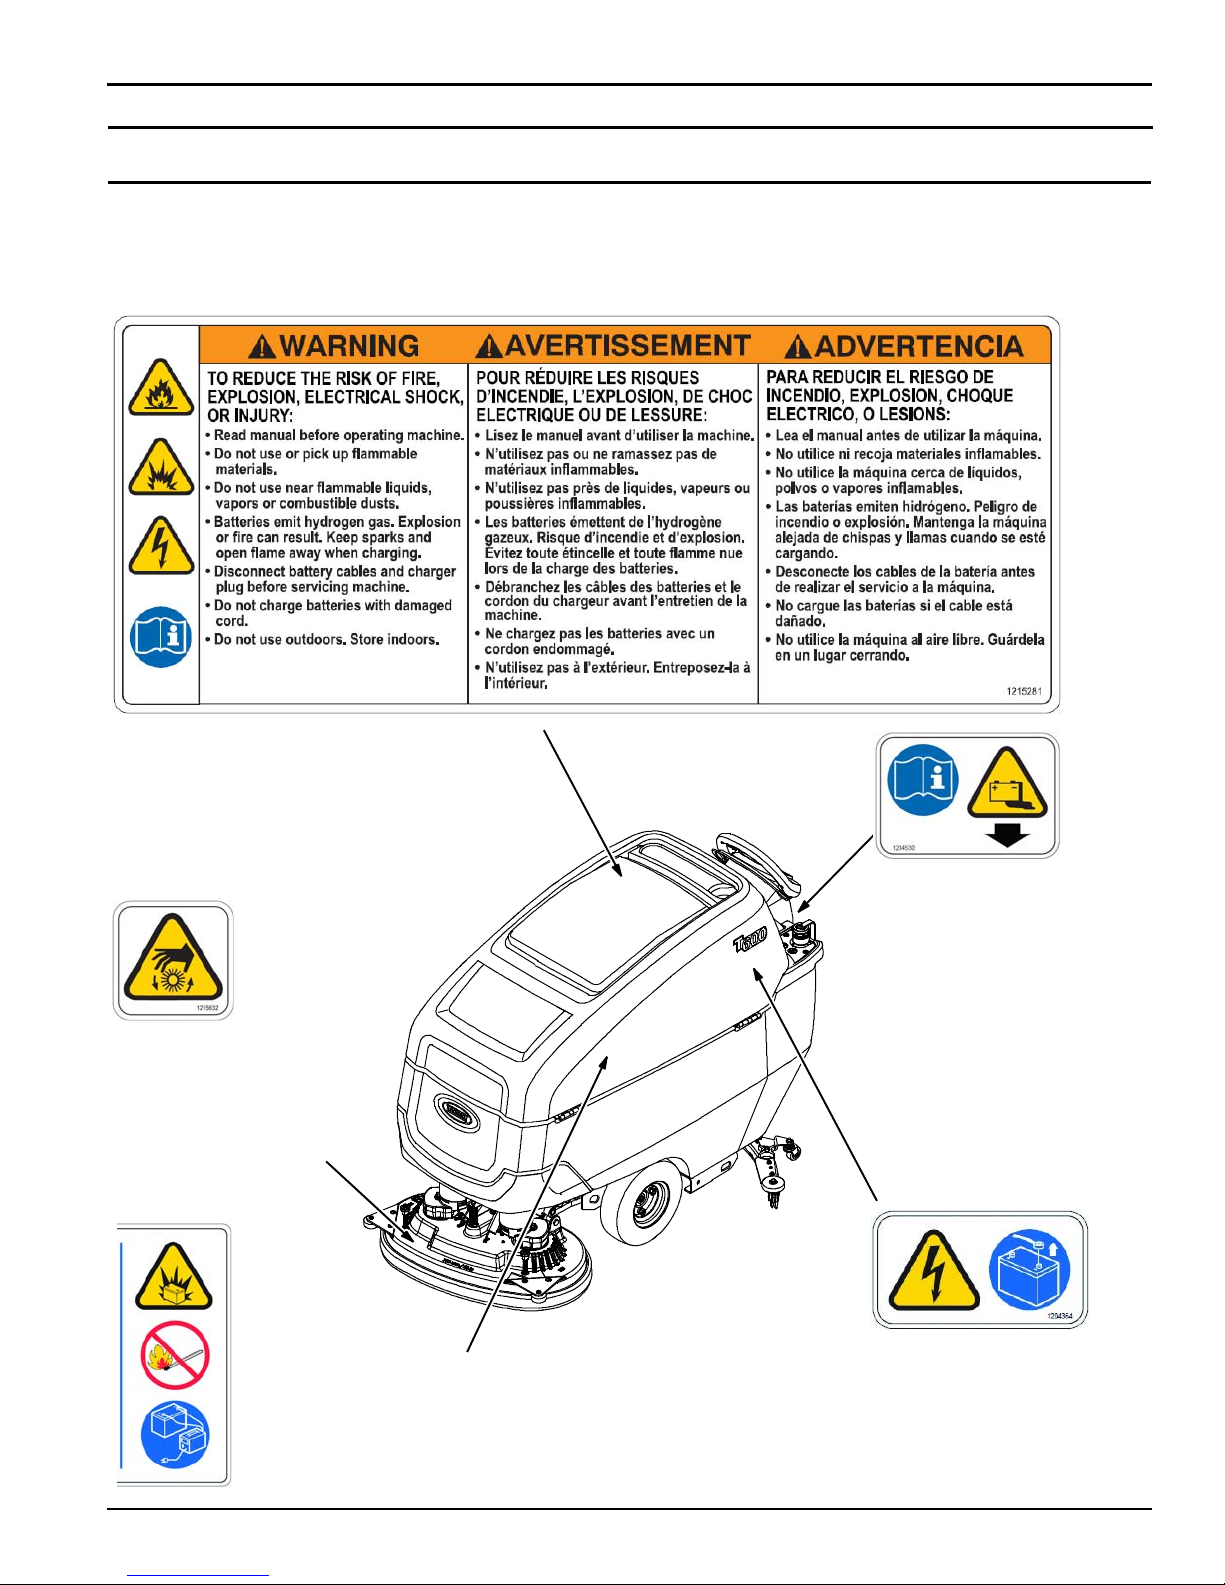
WARNING: To Reduce the Risk of Fire,
Explosion, Electric Shock or Injury:
- Read manual before operating machine.
- Do not use or pick up flammable materials or
reactive metals.
- Do not use near flammable liquids, vapors or
combustible dusts.
This machine is not equipped with an
explosion proof motor. The electric motor will
spark upon start up and during operation
which could cause a flash fire or explosion if
machine is used in an area where flammable
vapors/liquids or combustible dusts are
present.
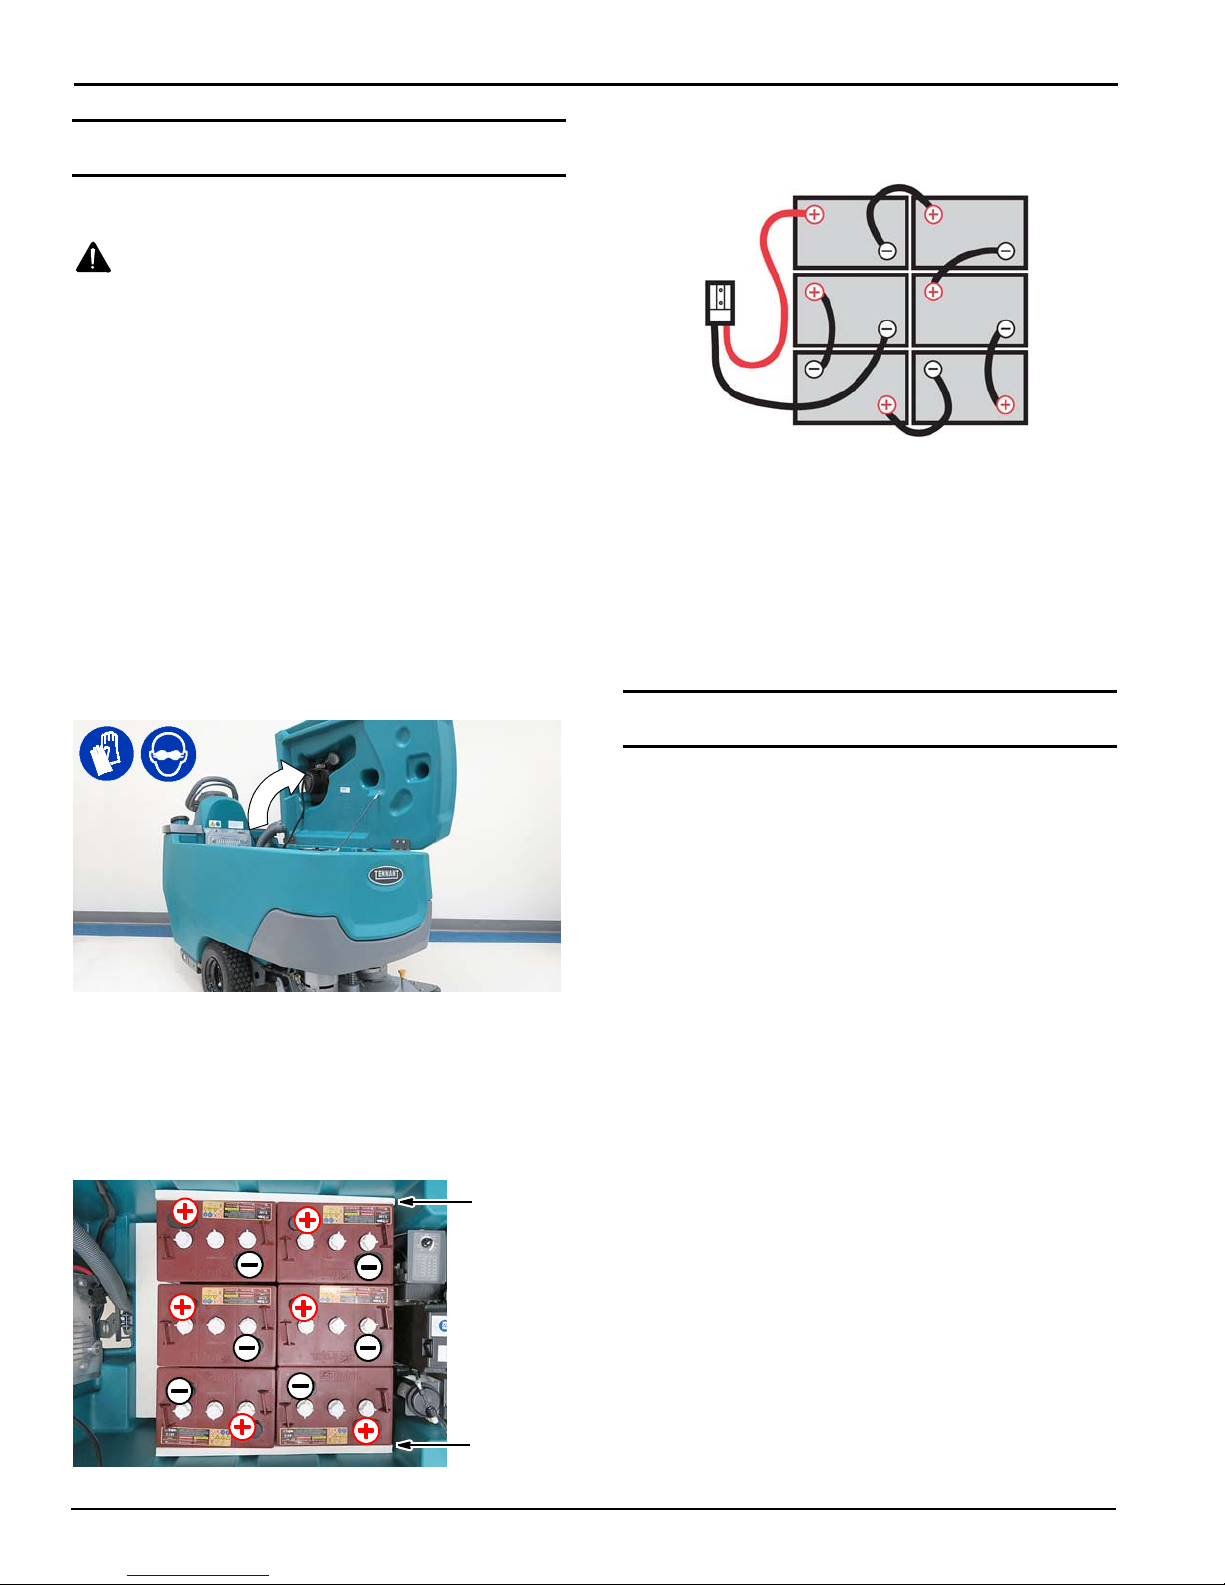
- Batteries emit hydrogen gas. Explosion or fire
can result. Keep sparks and open flame away
when charging.
- Disconnect battery cables and charger cord
before cleaning and servicing machine.
- Do not charge batteries with damaged cord. Do
not modify plug.
If the charger supply cord is damaged or
broken, it must be replaced by the
manufacturer or its service agent or a similarly
qualified person in order to avoid a hazard.
- Do not use outdoors. Store indoors.
- Spinning pad/brush, keep hands away.
WARNING: This machine contains chemicals
known to the state of California to cause cancer,
birth defects, or other reproductive harm.
FOR SAFETY:
1. Do not operate machine:
- Unless trained and authorized.
- Unless operator manual is read and
understood.
- Unless mentally and physically capable of
following machine instructions.
- Under the influence of alcohol or drugs.
- While using a cell phone or other types of
electronic devices.
- If not in proper operating condition.
- In outdoor areas. This machine is for
indoor use only.
- In areas where flammable vapors/liquids or
combustible dusts are present.
- With pads or accessories not supplied or
approved by Tennant. The use of other
pads may impair safety.
- In areas with possible falling objects.
- In areas that are too dark to safely see the
controls or operate machine.
2. Before operating machine:
- Check machine for fluid leaks.
- Make sure all safety devices are in place
and operate properly.
- Set the directional lever before pulling start
bail.
3. When operating machine:
- Use only as described in this manual.
- Report machine damage or faulty operation
immediately.
- Wear closed-toe, non-slip work shoes.
- Reduce speed when turning.
- Go slowly on inclines and slippery
surfaces.
- Always be aware of surroundings while
operating machine.
- Drive slowly through doorways and narrow
openings.
- Be cautious of the squeegee near
bystanders and obstacles.
- Do not scrub or transport on inclines that
exceed 2% grade.
- Follow site safety guidelines concerning
wet floors.
- Follow mixing, handling and disposal
instructions on chemical containers.
- Do not carry passengers on machine.
- Use care when reversing machine.
- Keep children and unauthorized persons
away from machine.
- Do not allow machine to be used as a toy.
- Do not leave machine unattended when
filling solution tank with auto-fill feature.
- Park machine on level surface when filling
solution tank with auto-fill feature.