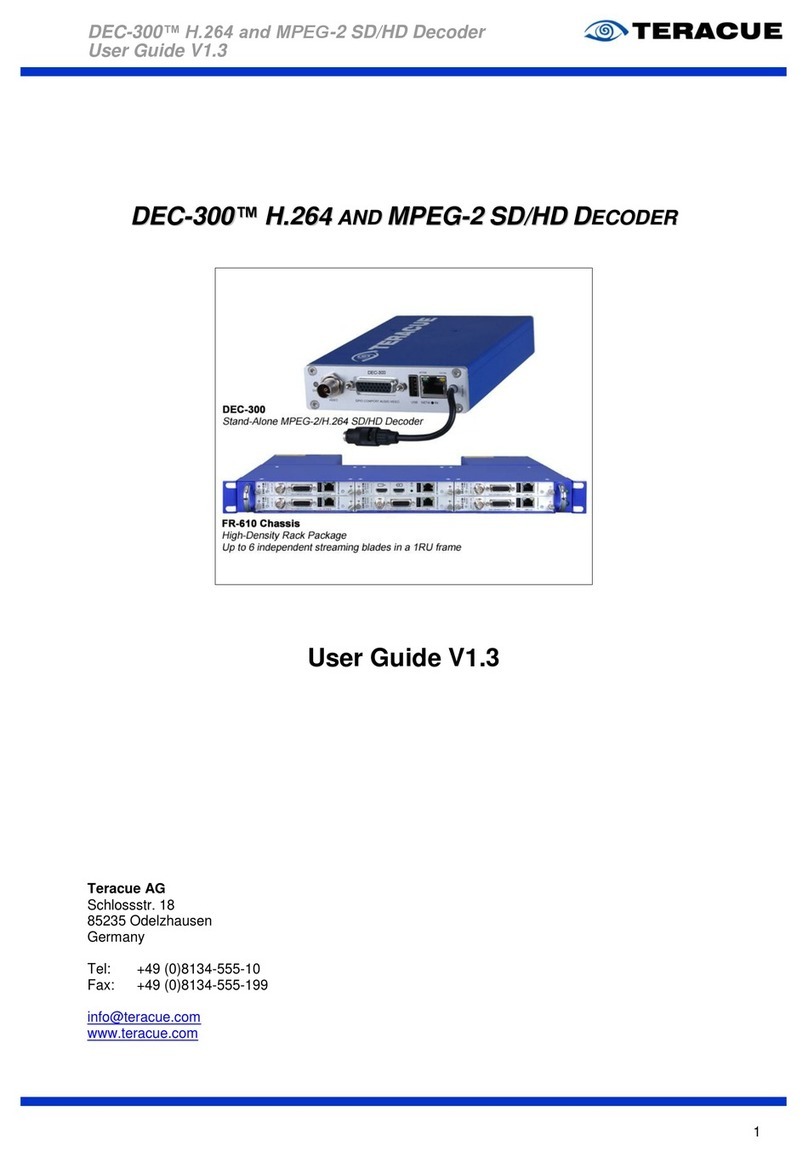
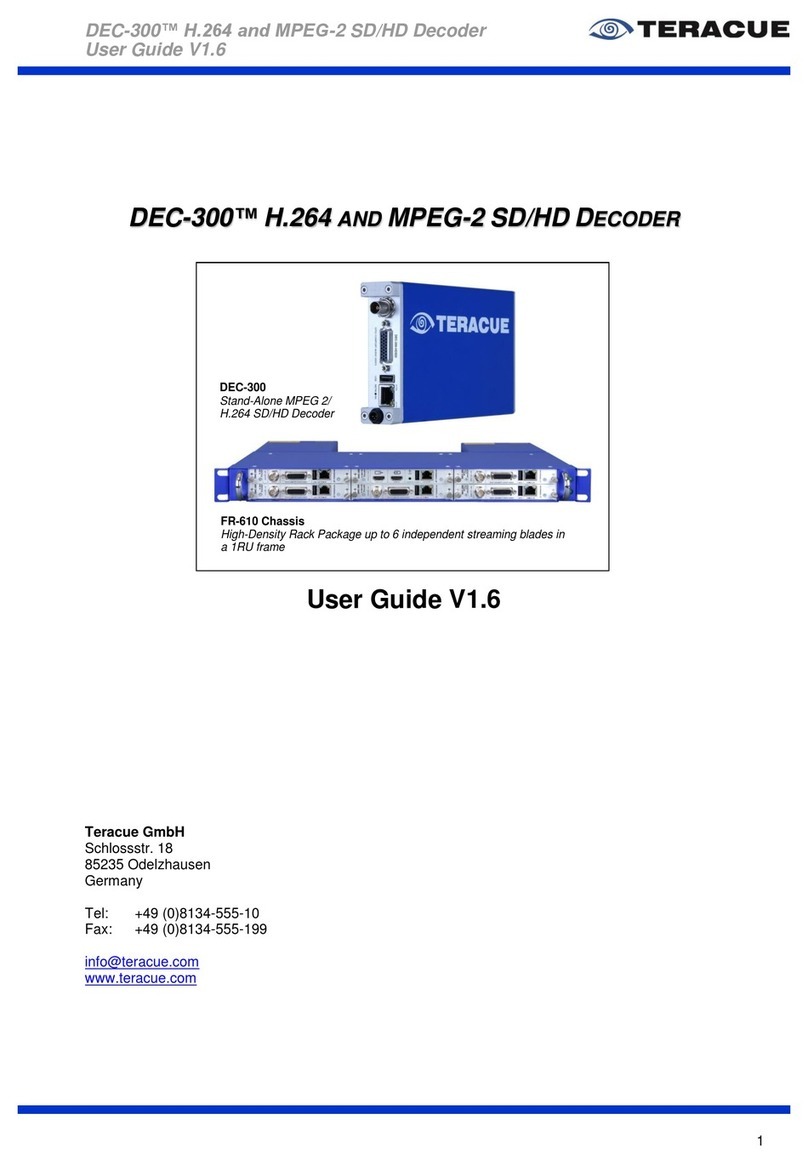
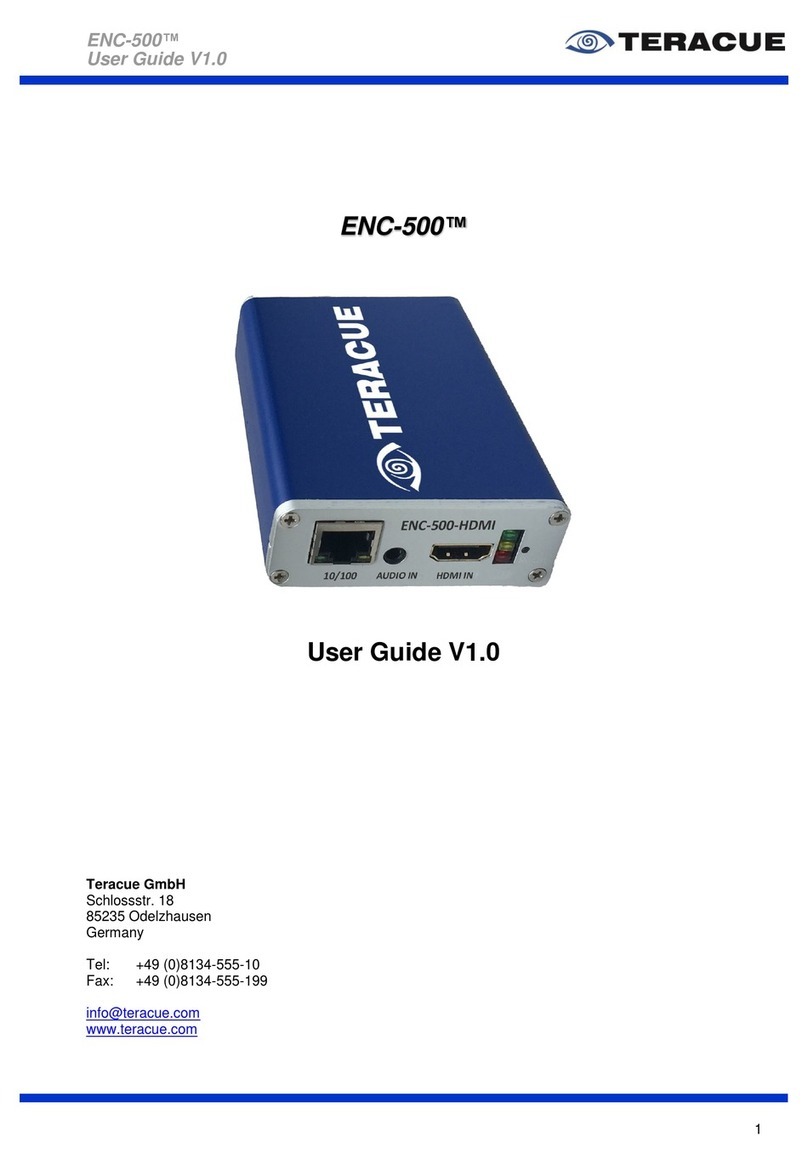
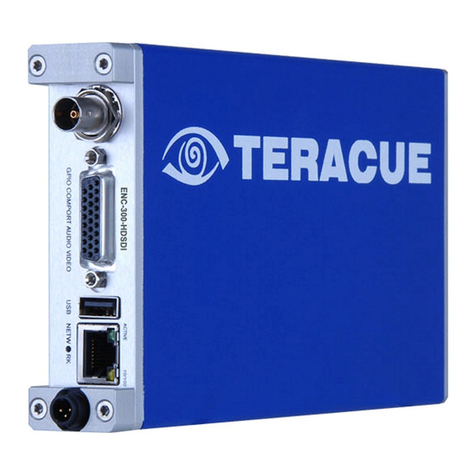
Teracue ENC-100 MPEG-2 Encoder User manual

1
ENC
ENCENC
ENC-
--
-100
100100
100
MPEG
MPEGMPEG
MPEG-
--
-2 Encoder
2 Encoder2 Encoder
2 Encoder
User Guide V
User Guide VUser Guide V
User Guide V3
33
3.
..
.0
00
06
66
6
Teracue AG
Schlossstr. 18
85235 delzhausen
Germany
+49 (0)8134 555 10
www.teracue.com
Document Version 3.06/061009

2
C
CC
C
PYRIGHT
PYRIGHTPYRIGHT
PYRIGHT
This document may not be reproduced in any form, in whole or in
part, without the prior permission of
Teracue AG
.
Copyright ©2006 by
Teracue AG.
All rights reserved.
D
DD
D
ISCLAIMER
ISCLAIMERISCLAIMER
ISCLAIMER
This publication supersedes all previous publications.
Information and specification in this documentation is subject to
change without notice. Please make sure you have the latest
document version. User guides are located at:
www.teracue.com/support
If you find some points in this user guide unclear then
please let us know, so we can improve this documentation.
Thank you! Mail to: documentation@teracue.com
All information within this document is confidential to
Teracue
costumers and should not be copied or distributed to non
Teracue
customers.
T
TT
T
RADEMARKS
RADEMARKSRADEMARKS
RADEMARKS
ENC-100 and all of its components are registered trademarks
licensed to
Teracue
.
All other logos and trademarks, both marked and not, may be
trademarks or registered trademarks and therefore property of their
respective owners.

3
I. Scope
This user guide is designed to help users setup, configure and work with the
This user guide is designed to help users setup, configure and work with theThis user guide is designed to help users setup, configure and work with the
This user guide is designed to help users setup, configure and work with the
MPEG
MPEGMPEG
MPEG-
--
-2 encoder
2 encoder 2 encoder
2 encoder blades
bladesblades
blades:
: :
: ENC
ENCENC
ENC-
--
-100
100100
100-
--
-C MP, ENC
C MP, ENCC MP, ENC
C MP, ENC-
--
-100
100100
100-
--
-YC,
YC,YC,
YC,
ENC
ENCENC
ENC-
--
-100
100100
100-
--
-SDI.
SDI.SDI.
SDI.
If you received this publication as a PDF, then it's a good idea to print it out for future
reference.
It is best to use this user guide directly in front of your computer, by doing so you try out
everything at once.
.!.
.!..!.
.!.
I
II
I
MP RTANT FEATURES AR
MP RTANT FEATURES ARMP RTANT FEATURES AR
MP RTANT FEATURES ARE MARKED BY THIS SIG
E MARKED BY THIS SIGE MARKED BY THIS SIG
E MARKED BY THIS SIGN
NN
N
.
..
.
.!.
.!..!.
.!. T
T T
The encoder
he encoder he encoder
he encoder unless otherwise stated and requested
unless otherwise stated and requested unless otherwise stated and requested
unless otherwise stated and requested is
is is
is by default configured to the IP
by default configured to the IP by default configured to the IP
by default configured to the IP
address
address address
address 172.16.20.100
172.16.20.100172.16.20.100
172.16.20.100. Be sure that this IP address is not being used in your network to
. Be sure that this IP address is not being used in your network to . Be sure that this IP address is not being used in your network to
. Be sure that this IP address is not being used in your network to
avoid an IP address conflict.
avoid an IP address conflict.avoid an IP address conflict.
avoid an IP address conflict.
.!.
.!..!.
.!. T
T T
The encoder is configured
he encoder is configuredhe encoder is configured
he encoder is configured by factory default to automatically start encoding and
by factory default to automatically start encoding and by factory default to automatically start encoding and
by factory default to automatically start encoding and
streaming on multicast address 239.252.
streaming on multicast address 239.252.streaming on multicast address 239.252.
streaming on multicast address 239.252.20.100 and port 4444
20.100 and port 444420.100 and port 4444
20.100 and port 4444, when a network link and
, when a network link and , when a network link and
, when a network link and
video input link are established.
video input link are established.video input link are established.
video input link are established.
If you need to assign a different multicast address, due to possible conflicts p
If you need to assign a different multicast address, due to possible conflicts pIf you need to assign a different multicast address, due to possible conflicts p
If you need to assign a different multicast address, due to possible conflicts please connect
lease connect lease connect
lease connect
only the ethernet connector and
only the ethernet connector and only the ethernet connector and
only the ethernet connector and do
do do
do no
nono
not connect
t connect t connect
t connect to the video input. See cha
to the video input. See chato the video input. See cha
to the video input. See chapter
pterpter
pter 2
2 2
2.4.6
.4.6.4.6
.4.6 on how
on how on how
on how
to configure a different multicast destination address.
to configure a different multicast destination address.to configure a different multicast destination address.
to configure a different multicast destination address.

4
II. Version 3.06 release notes
The following featured have been added since firmware version 2.02
V2.02
•Switching between PAL and NTSC input is possible
•Centering and alignment of encoded video picture
•Simple and fast firmware updating via web interface
•Changing of user password
•Video resolution is scaleable (Full D1, Half D1, 2/3 D1, CIF/SIF)
•Audio encoding bitrates are adjustable
•verview of the ENC’s system environments displayed under System menu,
i.e. encoder CPU load, core temperature, etc.
•Network settings/Link mode settings are adjustable
•Low delay option (Test option only!)
V2.03 – V2.04
•Not released - internal test versions only
•Audio input gain levels are adjustable
•Returning to factory defaults via jumper setting has been added
V2.05
•Join wn Multicast setting for network efficiency has been fixed
•GPI enabled. Encoder streaming on/off can be remotely controlled by GPI
(Please enquire at suppo[email protected])
•Comport for RS-232/485 operation is supported and settings are adjustable via GUI
•Comport support for RS-232 and 485 via jumper setting has been added
•DHCP support has been added
V2.06
•Slow behavior of websites has been fixed
•Socket error has been fixed
V2.07
•Improved support for Black and White video signals
•“Video not locked” issues for Black and White video signals have been eliminated
V2.08 - V2.09
•No releases created. New generation is V3.xx
V3.00 - V3.02
•Not released - internal test versions only

5
V3.03 - released 2006-03-20
•Automatic aspect ratio 4:3/16:9 encoding added.
If WSS (wide screen signal) is found in video input signal and encoder is set to "Auto"
aspect ratio, the ENC-100 will set the correct aspect ratio flag within MPEG TS stream.
WSS detection and auto aspect ration for both PAL and NTSC.
•Fixed aspect ratio encoding option for 4:3 or 16:9 added.
•Full SNMP remote control added and MIB files. All settings can be remotely configured
by 3
rd
party SNMP manager.
•SNMP status traps added, for monitoring ENC-100 on/off and GPI status changes.
•Automatic recognition and switching for Black/White and Color video signals.
•Grey screen added. Upon video loss users can choose between freeze frame of last
video frame or display of a grey screen. Audio encoding will continue.
•New update for audio encoding chip and codec installed (LM4549A(VH)).
•Closed Captioning support. Supported only for NTSC. Closed Captioning data must be
present within video signal.
•Improvements for VBR encoding added through redefined MPEG quantization factors.
•Power-down, power-saving support for ENC-100-SDI version added.
•Low bitrates issues due to startup delay have been fixed.
•Issue of simultaneous video input loss and network loss has been fixed.
•Metadata setting for MPEG TS stream flags added:
PMT ID (Program Map Table) and Program ID can now be added/adjusted manually to
identify and tag a stream.
V3.04 - released 2006-03-20
•New default settings e.g.: IP 172.16.20.100, Destination IP 239.252.20.100
V3.05 - released 2006-06-27
•XPlayer-Link added. For viewing and monitoring of the ENC-100 Stream. If the
Standalone XPlayer is installed on the client PC, running the webconfig pages, the
XPlayer can directly be launched by a mouse click from the user interface.
•Compensation of horizontal jitter, caused by some analog input devices. This jitter is
compensated via Time-Base-Correction.
V3.06 - released 2006-10-09
•Auto Reconfigure added. Resets the PCR every 24 hours. Thereby the PCR- verflow
can be avoided, which is caused by MPEG standard.

6
III. Table of Contents
I.
Scope ................................................................................................3
II.
Version 3.05 release notes ............................................................4
III.
Table of Contents...........................................................................6
1.
ENC-100 Overview .........................................................................8
1.1 Unpacking the encoder.................................................................................. 10
1.2 Setting up the encoder and safety instructions .......................................... 11
1.3 Connecting the encoder (FR-100 chassis) ................................................... 12
1.3.1
Audio input/output.................................................................................................13
1.3.2
LED-Status Indicator.............................................................................................13
1.3.3
General Purpose Input and Output (GPIO) ...........................................................14
1.3.4
Audio output .........................................................................................................16
2.
ENC-100 User Guide ....................................................................17
2.1 Accessing and configuring encoders........................................................... 17
2.1.1
Trouble finding the encoders IP-address?.............................................................18
2.2 Login................................................................................................................ 19
2.3 User interface ................................................................................................. 20
2.3.1
Navigational Menus ..............................................................................................20
2.3.2
Apply and save buttons.........................................................................................21
2.4 Encoder configuration ................................................................................... 22
2.4.1
Menu: E
NCODER
/
S
ETTINGS
..................................................................................22
2.4.2
Menu: E
NCODER
/T
RANSPORT
................................................................................24
2.4.3
Menu: E
NCODER
/V
IDEO
.........................................................................................25
2.4.3.1
Aspect Ratio.................................................................................................................. 27
2.4.3.2
GOP Type Overview (I, IP, IBP, IBBP) ......................................................................... 28
2.4.4
Menu: E
NCODER
/A
UDIO
.........................................................................................29
2.4.5
Menu: E
NCODER
/SAP
S
..........................................................................................30
2.4.6
Menu: E
NCODER
/D
ESTINATION
...............................................................................31
2.4.7
Menu: E
NCODER
/GPIO..........................................................................................32
2.4.8
Menu: N
ETWORK
/S
ETTINGS
...................................................................................33
2.4.9
Menu: N
ETWORK
/SNMP
(S
IMPLE
N
ETWORK
M
ANAGEMENT
P
ROTOCOL
) ..................35
2.4.10
Menu: C
OMPORT
/S
ETTINGS
................................................................................42
2.4.10.1
Setting RS-232 or RS-485 ............................................................................................43
2.4.10.2
Example code for a Panasonic X?X camera ................................................................44
2.4.11
Menu: S
YSTEM
/S
ETTINGS
...................................................................................46
2.4.11.1
Menu: S
YSTEM
/P
ASSWORD
............................................................................................ 47
2.4.11.2
Menu: S
YSTEM
/U
PDATE
(upgrading firmware version) ..................................................48

7
2.4.12
M
ENU
:
XP
LAYER
.................................................................................................49
2.5 Help.................................................................................................................. 50
2.6 Logout ............................................................................................................. 51
3.
Extended Functions.....................................................................52
3.1 Telnet............................................................................................................... 52
3.2 Serial Connection........................................................................................... 56
3.3 Audio Talkback............................................................................................... 60
3.3.1
Unicast Stream to XPlayer....................................................................................62
3.3.2
Multicast Stream to XPlayer..................................................................................63
3.4 Resetting to factory defaults ......................................................................... 64
4.
CE, FCC conformance .................................................................65
5.
Restriction of Hazardous Substances Directive (RoHS)...........65
6.
Waste Electrical and Electronic Equipment Directive (WEEE) .66
7.
Technical Specifications .............................................................67
8.
Known Issues...............................................................................69

8
1. ENC-100 Overview
As part of the product family, the ENC
As part of the product family, the ENCAs part of the product family, the ENC
As part of the product family, the ENC-
--
-100 is designed for applications at the 'edge' of the
100 is designed for applications at the 'edge' of the 100 is designed for applications at the 'edge' of the
100 is designed for applications at the 'edge' of the
network.
network. network.
network. The ENC
The ENCThe ENC
The ENC-
--
-100
100100
100 is a compact, durable, low
is a compact, durable, low is a compact, durable, low
is a compact, durable, low-
--
-cost, single channel MPEG
cost, single channel MPEGcost, single channel MPEG
cost, single channel MPEG-
--
-2
2 2
2 blade based
blade based blade based
blade based
encoder.
encoder.encoder.
encoder.
It provides standard MPEG
It provides standard MPEGIt provides standard MPEG
It provides standard MPEG-
--
-2 Transport Str
2 Transport Str2 Transport Str
2 Transport Streams [TS] or low
eams [TS] or loweams [TS] or low
eams [TS] or low-
--
-latency Video Elementary
latency Video Elementary latency Video Elementary
latency Video Elementary
Streams [VES]
Streams [VES]Streams [VES]
Streams [VES] or Audio Elementary Streams [AES]
or Audio Elementary Streams [AES] or Audio Elementary Streams [AES]
or Audio Elementary Streams [AES]. It brings DVD
. It brings DVD. It brings DVD
. It brings DVD-
--
-quality video into your
quality video into your quality video into your
quality video into your
network.
network.network.
network.
The
The The
The ENC
ENCENC
ENC-
--
-100
100100
100 is very easy to setup and intuitive to use.
is very easy to setup and intuitive to use. is very easy to setup and intuitive to use.
is very easy to setup and intuitive to use.
The ENC-100 is available for encoding different video input signals. The difference between
these models is recognized by the product name ending, which specifies the input signal:
ENC-100-C MP Composite input (FBAS, CVBS)
ENC-100-YC S-Video input (Y/C)
ENC-100-SDI SDI Video input (with non embedded audio)
All of t
All of tAll of t
All of these encoder blades can be installed
hese encoder blades can be installed hese encoder blades can be installed
hese encoder blades can be installed very
very very
very flexible
flexible flexible
flexible to fit any
to fit any to fit any
to fit any streaming
streaming streaming
streaming scenario
scenarioscenario
scenario or
or or
or
requirements
requirementsrequirements
requirements.
..
.
All ENC-100 blades will operate in the FR-100 single blade chassis.
For example when only a small amount of encoders is required, or if single
channel encoders need to be set up at dispersed network locations.
In this case operating the ENC-100-xxx in the FR-100 chassis is the right
choice.
For encoding scenarios where many channels are required, then the
ENC-100 blades can also be operated in the FR-1000 or FR-2000 frame
rack solution.
These chassis offer a high-density encoder rack-mounted solution, in a 4RU
frame, which holds up to 21 ENC-100 encoder cards. A perfect fit, where
there is little space, yet many encoding channels are required
1
.
1
Teracue offers 2 models of the high density frame rack. The FR-1000 is supplied with a
single power supply; the FR-2000 is fitted with a dual, redundant power supply.
Both FR-1000 and FR-2000 are 4 RU units for 19" classic rack-mount solutions and can hold
up to max. 21 ENC-100 encoder blades.

9
The ENC-100 supports output processing and streaming of both NTSC and PAL composite
video signals and full stereo audio. Encoder bitrates can be set according to your needs from
800Kb/s - 15Mb/s.
MPEG-2 Streams are encoded at ML@MP 4:2:0 and can be streamed by means of unicast or
multicast traffic into your network.
.!. This user guide and the described procedures are
.!. This user guide and the described procedures are .!. This user guide and the described procedures are
.!. This user guide and the described procedures are valid for
valid for valid for
valid for all
allall
all
ENC
ENCENC
ENC-
--
-100 products.
100 products.100 products.
100 products.

10
1.1 Unpacking the encoder
When you unpack the ordered equipment please make sure all the equipment is complete.
Normally the ENC-100 blades are pre-fit into the according chassis that the encoders have
been ordered with.
If ENC-100 blades are ordered and shipped separately, please be careful when handling the
blades. Be sure to avoid electrostatic influence when touching the blades.
All equipment and ENC-100 accessories are handled as model options and need to be
purchased separately. Therefore accessories as the serial/com cable
(ENC-100-C MCAB) are not part of standard shipments.

11
1.2 Setting up the encoder and safety instructions
Always read the instructions carefully and keep this user guide for future reference.
Always read the instructions carefully and keep this user guide for future reference.Always read the instructions carefully and keep this user guide for future reference.
Always read the instructions carefully and keep this user guide for future reference.
Please choose a suitable location for operating the encoder
Please choose a suitable location for operating the encoderPlease choose a suitable location for operating the encoder
Please choose a suitable location for operating the encoder(s)
(s)(s)
(s). By doing so
. By doing so. By doing so
. By doing so you will preserve
you will preserve you will preserve
you will preserve
long lifespan and stability of the encoder.
long lifespan and stability of the encoder.long lifespan and stability of the encoder.
long lifespan and stability of the encoder.
The ENC-100 should not be exposed to the following:
-Moist and dusty environments.
-Air humidity above 80%
-Avoid extreme vibrations or shocks.
-Direct sunlight and extreme heat.
-Temperatures below 0°C and above +65°C
-Avoid quick and dramatic temperature changes.
.!.
.!. .!.
.!. Set up the
Set up the Set up the
Set up the encoder
encoder encoder
encoder on a reliable and flat surface
on a reliable and flat surfaceon a reliable and flat surface
on a reliable and flat surface when using the FR
when using the FR when using the FR
when using the FR-
--
-100 chassis or mount
100 chassis or mount 100 chassis or mount
100 chassis or mount
in a rack, when using the FR
in a rack, when using the FRin a rack, when using the FR
in a rack, when using the FR-
--
-1000/2000 chassis.
1000/2000 chassis.1000/2000 chassis.
1000/2000 chassis.

12
1.3 Connecting the encoder (FR-100 chassis)
Connect the power supply here.
The cable connector can be locked to the socket of the encoder, so the cable cannot
The cable connector can be locked to the socket of the encoder, so the cable cannot The cable connector can be locked to the socket of the encoder, so the cable cannot
The cable connector can be locked to the socket of the encoder, so the cable cannot
accidentally be pulled out [Bayonet Socket].
accidentally be pulled out [Bayonet Socket]. accidentally be pulled out [Bayonet Socket].
accidentally be pulled out [Bayonet Socket]. To do so the connector has to be placed on the
socket and lightly turned 90° in a clockwise motion.
Setup all other connections according to the diagram below.
Setup all other connections according to the diagram below.Setup all other connections according to the diagram below.
Setup all other connections according to the diagram below.
C MP RT, GPI and the Audio utput connections are not necessary when using the
ENC-100 for standard video encoding.
LED-Status indicator
Video Input: S-Video
Analog Audio Input via Stereo Mini-Jack
(∅3,5mm).
Analog Audio utput via Stereo Mini-Jack (∅ 3,5mm).
General Purpose Interface Input and utput (GPI ).
C M-port (serial port): For updating the firmware of the encoder.
Network Interface:
Standard 10/100Mbit/s Ethernet via RJ-45.

13
1.3.1 Audio input/output
The following picture displays the connector assignment for the mini jack audio input and
output of the ENC-100. It follows the standardized mini jack pin assignment.
The Line-In level for Audio-In is 1VRms on 10K hm.
The level cannot be decreased by using the Audio Codec (AC97 standard).
Some manufacturers have 2VRms as input level and use an external attenuator.
1.3.2 LED-Status Indicator
The LED indicates the status (operational state) of the ENC-100 encoder. The status is
indicated by the LED color and LED flashing (blinking) speed.
C
NSTANT
G
REEN
- S
TATUS
:
K,
E
NC DER IN PERATI N
,
ENC DING VIDE
F
LASHING
G
REEN
- S
TATUS
:
K,
V
IDE
I
NPUT
M
ISSING
F
LASHING
R
ED
- N
ETW RK
-E
RR R
(J
AM
):
E
NC DER CAN N T SEND DATAPAKETS
C
NSTANT
R
ED
- G
ENERAL
E
RR R
N
LED
-
LIGHT
- C
HECK
P
WER
&
P
WER
S
UPPLY

14
1.3.3 General Purpose Input and Output (GPIO)
The General Purpose Interface (GPI) currently only supports a GPI IN function for controlling
the setting "Transmit enable" on/off (Encoder Start/Stop). This allows users to connect a
special device, e.g. foot pedal or on/off switch to the GPI Port and use the foot pedal,
switch to turn the ENC-100 streaming function on/off.
ENC
ENCENC
ENC-
--
-100 standard
100 standard100 standard
100 standard
To use the GPI function with a standard ENC-100, you need to supply the pins with external
power. The connectors are described as below. As long as you attach a current of 10mA to
the GPI pins the Encoder starts streaming. Disconnecting the power will stop the stream of
the encoder.
ENC
ENCENC
ENC-
--
-100 GPI version
100 GPI version100 GPI version
100 GPI version
Teracue can modify the ENC-100 according to the use of the GPI function without external
power. This modification has to be specified in the order.

15
For operation of the GPI IN triggering as described the two (right) IN pins need to be
operated closed circuit. When contact between both IN pins is created the status of the ENC-
100 will change (streaming on/off). The connectors are described as below.
When ENC-100 is set on web GUI to GPI IN "streaming", then ENC-100 will stream whether
the IN pin circuit is closed or supplied with external power. When IN pin circuit is open, the
ENC-100 will not generate a stream.
( ut and middle pins are not yet supported.)
As this is only necessary for special operating modes, please contact support@teracue.com
for further information.
GP will be supported with the next firmware version releases.
Please see chapter 2.4.10.2 – Firmware Update for more information.
.!. If no GPI IN switching device is connected to the ENC-100 the setting on this menu must
be set to off. therwise the ENC-100 will not start encoding and streaming.
GPIO CONNECTOR
Connectors, Pins on ENC-100 blade
OUT IN
GPIO A
DAPTER
(Black GPIO Adapter)
OUT
IN

16
1.3.4 Audio output
The audio output acts like an audio decoder. It enables operating the ENC-100 with Full
Duplex Audio.
For example an encoder can be set up to encode video and audio from a camera that is
installed at an entrance (security application). The person who wants to enter is able to speak
into a microphone to state his/her name, etc. This would be normal operation with a one-
way communication (simplex mode).
By using the encoder's audio output, a receptionist is able to talk back to the person, e.g.
arguing why access is denied, asking for further info, etc. This represents regular two-way
communication (full duplex mode).
Please see chapter 3.3 for more information.
Due to this option and the low-latency encoding the ENC-100 can also be used for
professional video conferencing.
The ENC-100 has a stereo mini jack output, but it provides the same signal (mono) on both
(left/right) channels.

17
2. ENC-100 User Guide
This chapter gives you an overview over ENC-100 and demonstrates the encoder's main
functions.
.!.
.!..!.
.!.
Before
Before Before
Before proceeding
proceedingproceeding
proceeding plea
plea plea
please be sure that the encoder is setup correctly and all necessary
se be sure that the encoder is setup correctly and all necessary se be sure that the encoder is setup correctly and all necessary
se be sure that the encoder is setup correctly and all necessary
connections are established.
connections are established.connections are established.
connections are established.
Working and configuring Teracue's encoders is very easy.
You do not need to install an application or remote configuring software. If you know how to
browse the internet, then you already know how to access and control the encoders, simply
via web-browser.
2.1 Accessing and configuring encoders
pen your standard web-browser and type in the encoder's IP-address
(e.g. "172.16.20.100") and hit enter.
.!.
.!..!.
.!.
If you haven't changed the factory presets and if not specified elsewhere in the shipment
If you haven't changed the factory presets and if not specified elsewhere in the shipment If you haven't changed the factory presets and if not specified elsewhere in the shipment
If you haven't changed the factory presets and if not specified elsewhere in the shipment
the encoder's IP
the encoder's IPthe encoder's IP
the encoder's IP-
--
-address will by default be set to:
address will by default be set to: address will by default be set to:
address will by default be set to: 172.16.20.100
172.16.20.100172.16.20.100
172.16.20.100
Login Username:
Login Username:Login Username:
Login Username:
admin
adminadmin
admin
Login Password:
Login Password: Login Password:
Login Password:
admin
admin admin
admin
.!. The encoder is configured by factory defaul
.!. The encoder is configured by factory defaul.!. The encoder is configured by factory defaul
.!. The encoder is configured by factory default to automatically start encoding and
t to automatically start encoding and t to automatically start encoding and
t to automatically start encoding and
streaming on multicast address 239.252.
streaming on multicast address 239.252.streaming on multicast address 239.252.
streaming on multicast address 239.252.20.100
20.10020.100
20.100, when a network link and video input link
, when a network link and video input link , when a network link and video input link
, when a network link and video input link
are established.
are established.are established.
are established.
If you need to assign a different multicast address, due to possible conflicts please connect
If you need to assign a different multicast address, due to possible conflicts please connect If you need to assign a different multicast address, due to possible conflicts please connect
If you need to assign a different multicast address, due to possible conflicts please connect
only the ethernet
only the ethernet only the ethernet
only the ethernet connector and no connector to the video input. See cha
connector and no connector to the video input. See chaconnector and no connector to the video input. See cha
connector and no connector to the video input. See chapter
pterpter
pter 2.4.6 how to
2.4.6 how to 2.4.6 how to
2.4.6 how to
configure a different multicast destination address.
configure a different multicast destination address.configure a different multicast destination address.
configure a different multicast destination address.

18
.!.
.!..!.
.!.
To be able to login to the encoder's userinterface, your computer has to be in the same
To be able to login to the encoder's userinterface, your computer has to be in the same To be able to login to the encoder's userinterface, your computer has to be in the same
To be able to login to the encoder's userinterface, your computer has to be in the same
IP
IPIP
IP-
--
-address range (subnet).
address range (subnet).address range (subnet).
address range (subnet).
You briefly might have to change your computers IP-address to be in the same subnet as the
encoder. nly then you will be able to access the encoder and change the encoder's IP-
address, and of course afterwards change your computer's IP-address back.
2.1.1 Trouble finding the encoders IP-address?
.!.
.!. .!.
.!. We urgently recommend that after you have chosen an IP
We urgently recommend that after you have chosen an IPWe urgently recommend that after you have chosen an IP
We urgently recommend that after you have chosen an IP-
--
-address for the encoder, you
address for the encoder, you address for the encoder, you
address for the encoder, you
document it somewhere or label
document it somewhere or label document it somewhere or label
document it somewhere or label the ENC
the ENCthe ENC
the ENC-
--
-100 or the chassis
100 or the chassis 100 or the chassis
100 or the chassis with the IP
with the IPwith the IP
with the IP-
--
-address
address address
address of
of of
of the
the the
the
encoder.
encoder.encoder.
encoder.
Especially when you use the encoder in
Especially when you use the encoder in Especially when you use the encoder in
Especially when you use the encoder in a lot
a lot a lot
a lot of
ofof
of different networks, keeping track of the
different networks, keeping track of the different networks, keeping track of the
different networks, keeping track of the
current IP
current IPcurrent IP
current IP-
--
-address can save a lot of time!
address can save a lot of time!address can save a lot of time!
address can save a lot of time!
1. If you have an ENC-100 C MCAB (optional) see chapter 3.2
2. Reset the ENC-100 to the factory defaults. See chapter 3.4
If you need further information please contact: support@teracue.com

19
2.2 Login
After typing the IP-
address into the
browser and hitting
enter, the following
login screen should
appear.
Enter your U
SERNAME
and P
ASSW RD
and
click on L
GIN
(admin/admin).

20
2.3 User interface
2.3.1 Navigational Menus
After successful login you have access to the encoder's configuration. All of the settings can
be adjusted via web-browser.
MAIN MENU:
MAIN MENU:MAIN MENU:
MAIN MENU:
Select between
E
NC DER
,
N
ETW RK
and S
YSTEM
S
ETTINGS
from the top bar.
SEC NDARY MENU:
SEC NDARY MENU:SEC NDARY MENU:
SEC NDARY MENU:
After selecting a Setting topic from the main menu,
choose an area for configuration from the
SEC NDARY MENU
on the left-hand side.
This manual suits for next models
3
Table of contents
Other Teracue Media Converter manuals
Popular Media Converter manuals by other brands

ENS
ENS IOT-RS232-01 user manual

Transition Networks
Transition Networks C/HSTR-CF-01(SC) user guide
AMX
AMX Video Decoder MAX-CSD10 Dimensions
ChamSys
ChamSys SnakeSys B4 user manual
Littfinski Daten Technik
Littfinski Daten Technik SA-DEC-4-MM-F Operating instruction

Wavetek
Wavetek Meterman TC-253A Operator's manual
