Warranty
Tetra warranties the products listed below will be repaired or replaced free of charge
for the specified number of years from the date of purchase if it fails to work
because of defective material or workmanship.
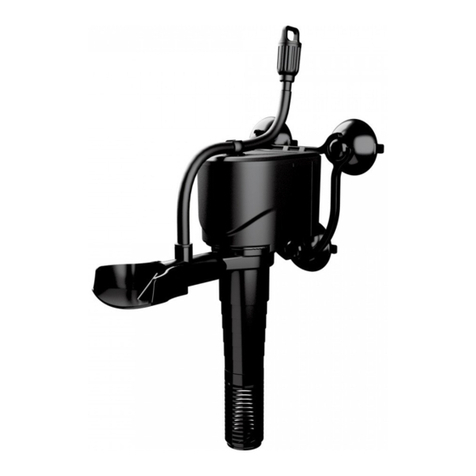
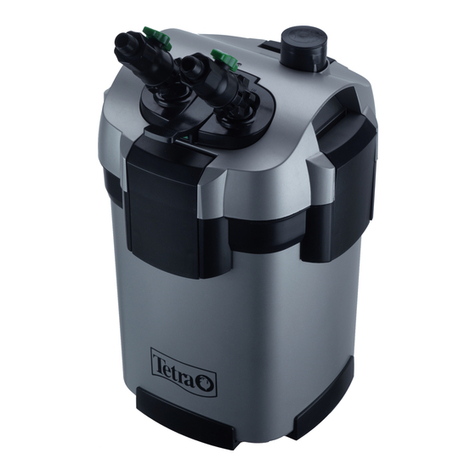
FK3, FK5 and FK6 Filtration Fountain Kits 3 Years
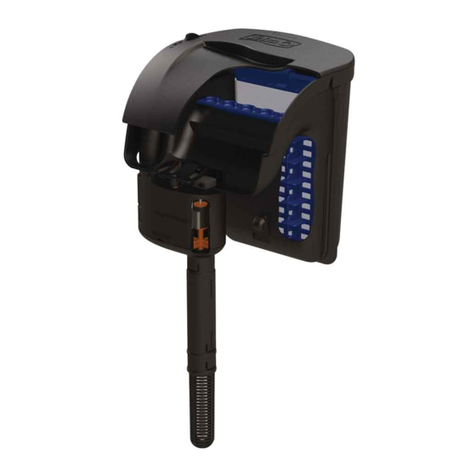
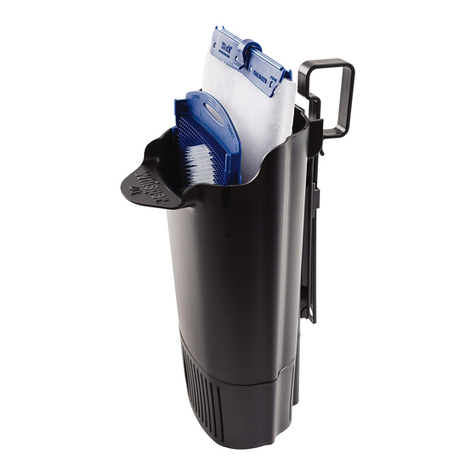
SF1 Submersible Flat Box Filter 1 Year
This warranty is subject to the following terms:
1.
Should it become necessary to return the product during the warranty period, send
the product directly to Tetra, Consumer Services, 3001 Commerce Street, Blacksburg,
Virginia 24060-6671.
2. Tetra’s decision on all questions relating to alleged defects and repair shall be conclusive.
3. This warranty does not invalidate your statutory rights, but preserves your full benefits.
4. Repair parts or replacement product will be given on an exchange basis and will either
be new, equivalent to new, or reconditioned. All customer returned parts or products that
we replace become the property of Tetra.
5. The warranty does not cover normal wear and tear, nor any deterioration suffered
through overloading, improper use, negligence or accident. Similarly, any modification
made by the purchaser to the appliance will invalidate the warranty.
6. Except as set forth in this Warranty, Tetra expressly disclaims any and all liability for any
loss or damage whatsoever sustained by the purchaser to the fullest extent permitted by
applicable law.
Windy Condition Warning (See Figure D)
When using the fountain in very windy conditions, position the fountain
away from the edge of the pond and decrease the flow. This will help
prevent water from the spray from being blown out of the pond.
Tip: For smaller ponds, the frothy pattern may be the best choice, since it
is not affected by the wind as much as the spray or bell pattern.
Fountain Clogging
The first thing that is likely to clog in the system is the fountain head. The
head can easily be removed and cleaned. The sponge filters in the FK3, FK5
and FK6 kits help prevent the fountain from clogging.
Operating a fountain head and additional water feature
from the same pump
(See Figure F)
Note: The pumps used in the FK3, FK5 and FK6 kits are powerful enough to
run a fountain head and a small pond side statuary fountain “spitter”.
1. Assemble parts as shown in Figure E and thread into pump.
Don’t over tighten the threaded piece.
2. Attach proper hose fitting to the diverter stem.
- ½ in. barb fitting
- ¾ in. barb fitting
Attach either ½ in. ID or ¾ in. ID tubing onto fitting, secure with
hose clamp if necessary
Note: If using 1 in. ID tubing, slide the tubing directly onto diverter stem.
No hose barb fitting required.
3. Attach other end of tubing to fountain statuary or to waterfall.
4. Use flow control valve to regulate water between fountain spray and
additional water feature.
Figure F
Cleaning Fountain, Pump, Pre-Filter and Submersible Filter
Tip: Fountain heads tend to clog first. Remove and clean these first. This
may solve the problem.
Should the pump flow visibly decrease, it is time to clean the fountain, pump
and/or filters.
1. Unplug the pump from electrical outlet.
2. Detach the submersible flat box filter or pre-filter cylinder from the pump
and remove. (Do not pull by electrical cord.)
3. Pre-filter cylinder: (FK3) Remove filter media from cylinder and flush with
water to remove debris.
4. Submersible flat box filter: (FK5, FK6 and SF1) Remove lid and foam pads
and flush with water to remove debris.
Note: It is better to clean the foam pads in a bucket of pond water. Avoid
using tap water, which contains chlorine that can kill beneficial bacteria that
have colonized in the filter sponges.
5. Cleaning the Pump: Remove the pump from the pond. Do not lift the
pump using the electrical cord, since this can damage the pump.
- Look into impeller cover to see if impeller is clogged.
- Flush with fresh water. Tip: Use garden hose nozzle.
- If still clogged, remove impeller
cover, and carefully remove impeller
assembly.
- Flush impeller and impeller
cavity with water.
- Carefully reassemble the
impeller and cover.
Pond-Side Statuary Fountains – “Spitters”
- Attach using ½-inch or ¾-inch ID tubing from
pump outlet using enclosed hose barbs
- Or attach to diverter stem as shown in Figure F
- Secure hose to statuary stem with hose clamp
!
WARRANTY CARD
Please fill out this card and mail it to the address below OR complete the e-registration
form by logging on to www.tetrawarranty.com to validate your warranty.
Name of purchaser: ____________________________________________________
Address: _____________________________________________________________
City ________________________________ ST _____Zip code: ________________
E-mail Address: _______________________________________________________
Date of purchase: _____________________________________________________
TetraPond respects your rights for privacy. Any and all personal information collected
here will be kept strictly confidential and will not be sold, reused, rented, or
otherwise disclosed.
Which product did you purchase?
FK3 Filtration Fountain Kit _____
FK5 Filtration Fountain Kit _____
FK6 Filtration Fountain Kit _____
SF1 Submersible Flat Box Filter _____
Electronic Newsletter
qYes, I would like to receive free e-mail updates on water
gardening, including tips, new products, and or other helpful information.
qNo, I would not like to receive any e-mail updates at this time.
!
Questions? Problems? Missing Parts?
Before returning the product, please call our
Customer Care department at 800-526-0650,
Monday–Friday 7:30 a.m. to 5:30 p.m.,
Eastern USA Time or email us at
consumer@tetra-fish.com.
Our Customer Care Department is here to provide
assistance to help you solve your problem.
Figure G
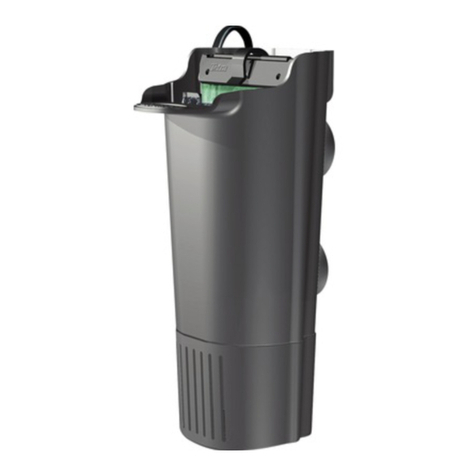
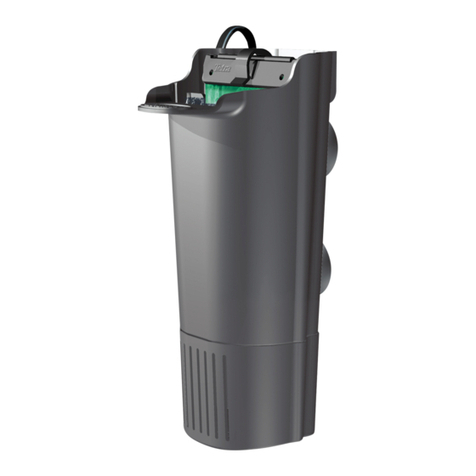
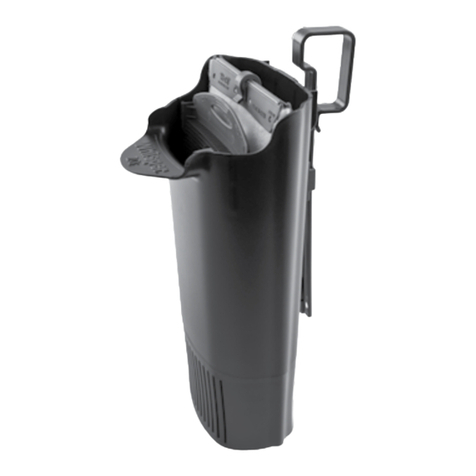
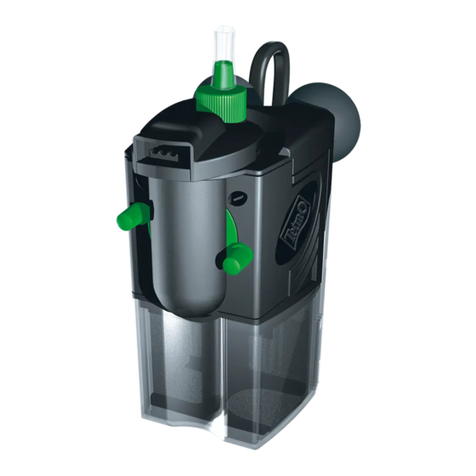
SF1 Submersible Flat Box Filter (See Figure H)
This filter is included with the FK5 and FK6 kits.
It is also sold separately and can be attached to many submersible pond
pumps on the market ranging from 200 to 2000 gallons per hour.
Includes:
Flat Box Filter
Filter Pads: (Coarse and Fine Foam Pads)
Tubing: 6 in. x 1 in. ID
Filter-to-Hose Fitting: 1 in. thread with 1 in. hose barb
Pump to Hose Fittings: For connecting to pump inlet:
- ¾ in. male thread with 1 in. hose barb
- 1 in. male thread with 1 in. hose barb
- 1-1/4 in. male thread with 1 in hose barb
Connecting to pumps
This filter can connect to many different pond pumps.
Use the fittings and tubing to connect the pump inlet to the filter, or
slide the 1 in. ID tubing over the pump inlet.
Note: There are many different pumps on the market with different size
inlets. If these fittings do not attach to the pump inlet, you may try
using standard plumbing fittings and tubing to create a connection.
Figure H
Attaches to TetraPond DynaMag Pumps.
Remove pre-filter cage from DynaMag pump and fit tubing directly onto pump inlet.
Figure I
TROUBLESHOOTING
If the pump fails to operate, please check the following:
• Ifowdoesnotoccurwithinsecondsofpluggingthepumpin,unplug
the electrical cord for several seconds and then plug back in.
Repeat if necessary.
• Checkthecircuitbreakerortryanotherelectricaloutlettoensurethe
pump is getting power.
NOTE: Always disconnect from electrical outlet before handling the pump.
• Checkthetubingforkinksandobstructions.
• Checkcage,pre-lterorsubmersiblelterforblockage.(Followcleaning
instructions.)
Tetra Customer Care:
If you still experience difficulty, please call the
Tetra Customer Care Department before returning the pump.
Very often we can help you solve your problem.
NEVER RUN THE PUMP WITHOUT WATER
WARNING – THE PUMP IS FITTED WITH A THERMAL CUT-OFF
DEVICE THAT TEMPORARILY SWITCHES OFF THE PUMP IN THE
EVENT OF OVERHEATING. THE PUMP MAY START AUTOMATICALLY
AFTER THE PUMP COOLS DOWN.
Figure J
©2008 Tetra Holding (US) Inc.
3001 Commerce Street Blacksburg, VA 24060-6671
Please visit us at
www.tetrapond.com!
