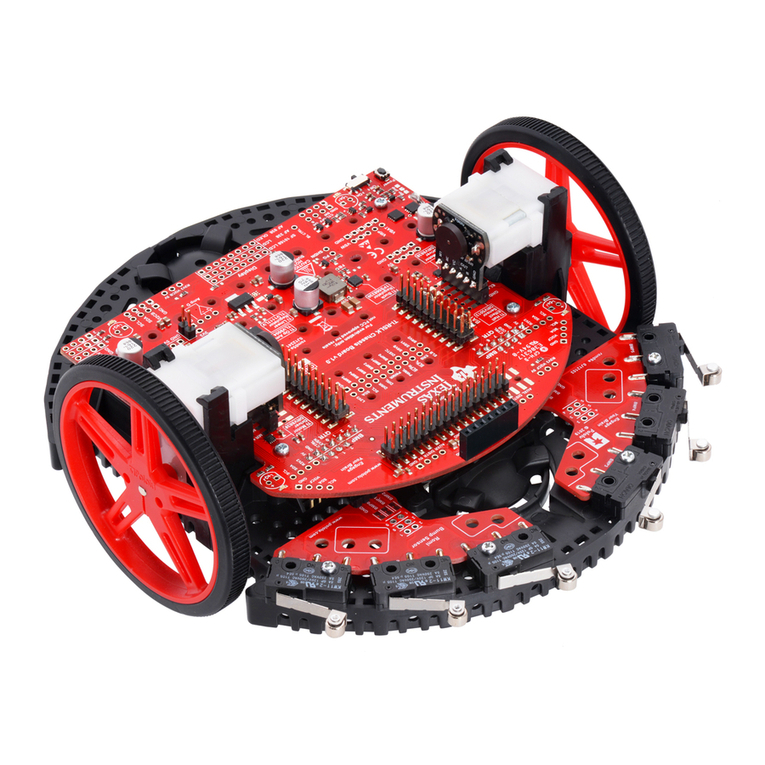
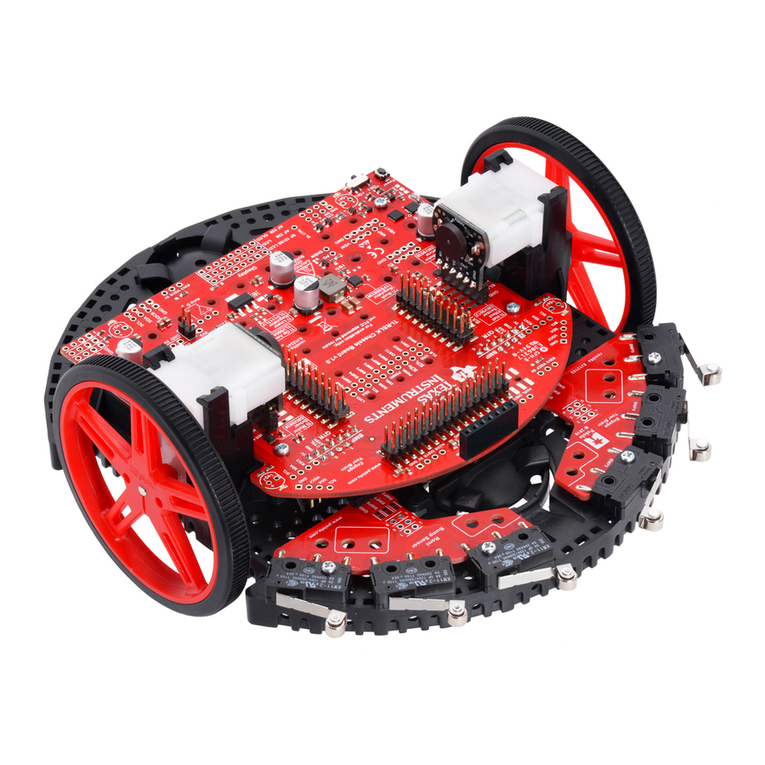
Texas Instruments TI-Innovator Rover User manual

ii
Important Information
Except as otherwise expressly stated in the License that accompanies a program, Texas
Instruments makes no warranty, either express or implied, including but not limited to
any implied warranties of merchantability and fitness for a particular purpose,
regarding any programs or book materials and makes such materials available solely
on an "as-is" basis. In no event shall Texas Instruments be liable to anyone for special,
collateral, incidental, or consequential damages in connection with or arising out of the
purchase or use of these materials, and the sole and exclusive liability of Texas
Instruments, regardless of the form of action, shall not exceed the amount set forth in
the license for the program. Moreover, Texas Instruments shall not be liable for any
claim of any kind whatsoever against the use of these materials by any other party.
TI-Innovator™ Rover and TI-Innovator™ Hub are trademarks of Texas Instruments
Incorporated. All rights reserved.
© 2019 Texas Instruments Incorporated.
Actual products may vary slightly from provided images.

Contents
TI-Innovator™ Rover Overview 1
Learn More 1
What's in the Box 2
Rover On-Board Components 2
TI-Innovator™ Rover Setup Requirements 3
Preparing TI-Innovator™ Rover 4
Connecting TI-Innovator™Rover 5
Connecting TI-Innovator™ Rover to TI-Innovator™ Hub 5
Connecting TI-Innovator™ Hub to a Graphing Calculator 8
Exploring the Assembled TI-Innovator™ Rover 9
Top Side of the Rover 9
Bottom Side of the Rover 10
Front Side of the Rover 11
Back Side of the Rover 11
Right Side of the Rover 12
Left Side of the Rover 13
General Precautions for the TI-Innovator™ Rover 14
TI-Innovator™Rover 14
General Information 16
Online Help 16
Contact TI Support 16
Service and Warranty 16
FCC Statement 16
Canada Declaration 16
iii

1
TI-Innovator™ Rover Overview
TI-Innovator™ Rover is a two-wheeled programmable robotic vehicle which works with
the TI-Innovator™ Hub with TI LaunchPad™ Board. You communicate with the Hub and
control the Rover through TI Basic programs on one of these TI products:
• TI CE Family of Graphing Calculators (TI-83 Premium CE, TI-84 Plus CE, and
TI-84 Plus CE-T) with operating system version 5.3 or later installed. You also need
to install or update the Hub App, which contains the Hub menu.
• TI-Nspire™ CX or TI-Nspire™ CX CAS handheld with operating system version 4.5 or
later installed
• TI-Nspire™ computer software version 4.5 or later
Follow this guide to setup your TI-Innovator™ Rover with your TI CE Graphing Calculator
or TI-Nspire™ CX Handheld.
Learn More
Refer to the TI-Innovator™ Technology eGuide for more details.
The eGuide is a web-based source of TI-Innovator™ information, including:
• Programming with the TI CE Family of Graphing Calculators and TI-Nspire™
Technology, including sample programs.
• Available I/O Modules and their commands.
• Available Breadboard components and their commands.
• TI-Innovator™ Rover and its commands.
• Link to update the TI-Innovator™ Sketch software.
• Free classroom activities for Hub and Rover.
To access the eGuide, visit https://education.ti.com/go/eguide/hub/EN.
For a list of precautions to take while using the Rover and its components, refer to
General Precautions (page 14).
What's in the Box
The box includes the TI-Innovator™ Rover and two ribbon cables to connect the Rover
to the TI-Innovator™ Hub.
Rover On-Board Components
Calculator Holder Pegs - For securing a TI CE Graphing Calculator or a TI-Nspire™
CX Handheld to the calculator platform.
LED Panel (RGB LED/Battery Level Indicator) - For displaying programmable
feedback through the Red-Green-Blue (RGB) LED, and for displaying battery charge
levels.
Marker Holder - For inserting a marker to draw paths on paper.
Ultrasonic Ranger - Front-mounted for measuring distance to obstacles.
ON/OFF (I/O) Switch - For turning Rover on or off.
Wheels - Each with electric motor and rotary encoder to track rotations.
PWR port - For charging Rover's high-capacity, rechargeable battery.
Other Features on the Rover
• Bottom-mounted color sensor for measuring surface colors.
• Gyroscope for measuring or maintaining orientation.
2

3
TI-Innovator™ Rover Setup Requirements
To set up your TI-Innovator™ Rover with your TI-Innovator™ Hub and graphing
calculator you will need these materials.
Component Image Description xxxxxxxx
TI-Innovator™
Rover
A two-wheeled programmable robotic
vehicle which works with the Hub.
Breadboard
Ribbon Cable
Connects the Rover to the Hub's
Breadboard Connector.
I2C Cable Connects the Rover to the Hub's I2C
port.
TI-Innovator™
Hub with
TI LaunchPad™
Board
Controls the Rover through TI Basic
programming commands.
USB
Unit-to-Unit
(Mini-A to
Mini-B) Cable
Included with the Hub.
Connects the Hub to a
TI CE Graphing Calculator or a
TI-Nspire™ CX Handheld.
USB Standard
A to Micro
Cable
Included with the Hub.
Connects the PWR port of the Rover to
a TI approved power source.
TI CE Graphing
Calculator
or
TI-Nspire™ CX
Handheld
Runs TI Basic programs to send
commands to the Hub.
TIWallCharger Included with the Hub.
Power source for charging the Rover.

Preparing TI-Innovator™ Rover
Follow these steps to fully charge your TI-Innovator™ Rover.
1. Identify the Micro connector on the USB
Standard A to Micro cable.
2. Insert the Micro connector into the PWR
port on the side of the Rover.
3. Insert the free end of the cable (the "A"
connector) into the USB port on your
computer or TIWallCharger.
Note: The Battery Level Indicator shows
solid green when the battery is fully
charged.
Make sure the TI-Innovator™ Rover is switched OFF before connecting to the
TI-Innovator™ Hub.
▶Flip the On/Off (I/O) switch to the Off (O)
position.
4

5
Connecting TI-Innovator™Rover
There are two sets of connection steps to use the TI-Innovator™ Rover.
• First, connect the Rover to the TI-Innovator™ Hub, using the two ribbon cables
provided.
• Second, connect the Hub to a graphing calculator, using the USB Unit-to-Unit
(Mini-A to Mini-B) cable included with the Hub.
Connecting TI-Innovator™ Rover to TI-Innovator™ Hub
1. Insert the Breadboard Ribbon Cable into the Breadboard Connector on the Hub.
Note: It is critical that you insert the cable correctly. Make sure the red (dark) wire
pin is inserted into the 5v hole on the Hub's Breadboard Connector.
2. Carefully guide the attached Ribbon Cable through the opening at the back of the
Rover.
3. As the cable comes through, slide the Hub into place using the Guide Rails.
You will hear a click when the Hub is properly inserted.

4. Open the two latches on the Rover Circuit Board Ribbon Cable Connector.
5. Align the notch in the ribbon cable with the slot on circuit board connector.
6. Insert the ribbon cable and close the latches.
7. Insert one end of the I2C Cable into the Rover circuit board.
Note: There are two possible I2C ports. Use Port 1.
6

7
8. Insert the slack I2C Cable into the side rails.
9. Align the tab on the I2C Cable with the top of the I2C port.
10. Insert the free end of the I2C Cable connector into the I2C port at the back of the
Hub.

Connecting TI-Innovator™ Hub to a Graphing Calculator
1. Turn the Rover right side up.
2. Lift and turn the Calculator Holder Pegs so that they are parallel with the side of
the Rover.
3. Place the TI CE Graphing Calculator or TI-Nspire™ CX Handheld on the platform
with the screen toward the Marker Holder.
4. Turn the pegs so that the CE or CX Label is positioned inward to match the graphing
calculator.
The pegs will snap into place when they are positioned correctly.
Caution: Do not turn the Calculator Holder Pegs without lifting them first. They
could break.
5. Identify the "B" connector on the USB Unit-to-Unit (Mini-A to Mini-B) cable. Each end
of this cable is embossed with a letter.
6. Insert the "B" connector into the DATA port on the Hub.
7. Insert the free end of the cable (the "A" connector) into the USB port on the
graphing calculator.
8

9
Exploring the Assembled TI-Innovator™ Rover
Explore all sides of the TI-Innovator™ Rover when assembled with the TI-Innovator™
Hub and TI CE Graphing Calculator or TI-Nspire™ CX Handheld connected.
Top Side of the Rover
Marker Holder - Holds a marker to draw paths.
ON/OFF (I/O) Switch - Turns the Rover ON (–) or OFF (O).
Calculator Holder Pegs - Secures a graphing calculator to the calculator platform.
Calculator Platform - Holds either a TI CE Graphing Calculator or
TI-Nspire™ CX Handheld.
LED Panel (RGB LED/Battery Level Indicator) - Displays programmable feedback
through the Red-Green-Blue (RGB) LED, and displays battery charge level.

Bottom Side of the Rover
Color Sensor - Bottom-mounted color sensor detects the color of the surface. Can
also detect gray-level scale of black (0) to white (255).
Gyroscope - Measures or maintains orientation.
I2Cexpansion port.
Ball Caster - Provides smooth movement on hard surface.
Note: Not recommended for use on carpet.
Caution: If you dislodge or disconnect any of the cables, use this image as a reference
for correct hookups.
10

11
Front Side of the Rover
Ultrasonic Ranger - Measures distance to obstacles.
Back Side of the Rover
Guide Rails - Allows the Hub to slide easily into the Rover and connect to the Rover
circuit board.
Note: With the TI-Innovator™ Hub inserted, access a sensor and two ports.
•Light Brightness Sensor - Reads as "BRIGHTNESS" in Hub command strings.
•I2Cport - Uses I2C cable to connect the Hub to the Rover circuit board.
•DATAMini-B port - Uses USB Unit-to-Unit (Mini-A to Mini-B) Cable to connect the
Hub to a Graphing Calculator.

Right Side of the Rover
Access on the Rover:
•PWR port - Uses USB Standard A to Micro auxiliary power cable when charging the
Rover's Rechargeable battery.
•Front and Back Mounts - For adding structures to the Rover using interlocking
plastic blocks.
Note: With the Hub inserted, access three ports for controlling output modules.
•OUT1 and OUT2 provide 3.3V power.
•OUT3 provides 5V power.
12

13
Left Side of the Rover
Access on the Rover:
•Front and Back Mounts - For adding structures to the Rover using interlocking
plastic blocks.
Note: With the Hub inserted, access three ports for collecting data or status from input
modules.
•IN1 and IN2 provide 3.3V power.
•IN3 provides 5V power.

General Precautions for the TI-Innovator™ Rover
TI-Innovator™Rover
• Do not expose the Rover to temperatures above 140˚F (60˚C).
• Do not disassemble or mistreat the Rover.
• Do not put anything heavier than 1 Kg or 2.2 lbs on the Rover platform.
• Use only the USB cables provided with the TI-Innovator™ Hub.
• Use only the Ribbon cables provided with the Rover.
• Use only the TI provided wall charger included with the Hub.
• The front-mounted Ultrasonic Ranger will detect objects within 4 meters of the
Rover. For best results make sure the object's surface is bigger than a folder. If
used to detect small objects, such as a cup, place the Rover within 1 meter of the
object.
• For best results, leave the Slide Case off of your graphing calculator.
• For best performance, use Rover on the floor, not on tables. Damage may occur
from Rover falling off a table.
• For best performance, use Rover on a hard surface. Carpet may cause the Rover
wheels to catch or drag.
• Do not turn the Holder pegs on the Calculator Platform without lifting them first.
They could break.
• Do not use the marker as a lever to pull or push the Rover.
• Do not unscrew the case enclosure on the bottom of the Rover. Encoders have
sharp edges that should not be exposed.
• Do not move Rover after executing a program. The internal gyroscope may
unintentionally try to get the Rover back on track using the initial location.
• When inserting the Breadboard Ribbon Cable into the Hub Breadboard Connector, it
is critical that you insert the cable correctly. Make sure the red (dark) wire pin is
inserted into the 5v hole on the Hub's Breadboard Connector.
14

15
Caution: If you dislodge or disconnect any of the cables, use this image as a reference
for correct hookups.Reference to Bottom View

General Information
Online Help
education.ti.com/eguide
Select your country for more product information.
Contact TI Support
education.ti.com/ti-cares
Select your country for technical and other support resources.
Service and Warranty
education.ti.com/warranty
Select your country for information about the length and terms of the warranty or
about product service.
Limited Warranty. This warranty does not affect your statutory rights.
FCC Statement
Note: This device has been tested and found to comply with the limits for a Class B
digital device, pursuant to Part 15 of the FCC Rules. These limits are designed to
provide reasonable protection against harmful interference in a residential installation.
This device generates, uses and can radiate radio frequency energy and, if not installed
and used in accordance with the instructions, may cause harmful interference to radio
communications. However, there is no guarantee that interference will not occur in a
particular installation.
If this device does cause harmful interference to radio or television reception, which
can be determined by turning the device off and on, the user is encouraged to try to
correct the interference by one or more of the following measures:
• Reorient or relocate the receiving antenna.
• Increase the separation between the device and receiver.
• Connect the device into an outlet on a circuit different from that to which the
receiver is connected.
• Consult the dealer or an experienced radio/TV technician for help.
• Modifications not expressly approved by the manufacturer could void the user’s
authority to operate the device under FCC rules.
FCC Caution: This device complies with part 15 of the FCC Rules. Operation is subject to
the following two conditions: (1) This device may not cause harmful interference, and
(2) this device must accept any interference received, including interference that may
cause undesired operation
Canada Declaration
This Class B digital apparatus meets all requirements of the Canadian Interference-
Causing Equipment Regulations.
CAN ICES-3(B)/NMB-3(B)
General Information 16
Other manuals for TI-Innovator Rover
1
Table of contents
Other Texas Instruments Robotics manuals

Texas Instruments
Texas Instruments TI-Rover with Geometry Challenges User manual

Texas Instruments
Texas Instruments TI-RSLK Instructions for use

Texas Instruments
Texas Instruments TI-Innovator Rover Operating instructions

Texas Instruments
Texas Instruments TI-RSLK User manual

Texas Instruments
Texas Instruments TI-RSLK Instructions for use

Texas Instruments
Texas Instruments TI-RSLK User manual