16975 Leslie Street
Newmarket, ON L3Y 9A1
www.biosexactly.com
TH2120_072610
5. Press SET once to confirm the month setting and then the date digits will begin to flash.
6. Press to adjust the digits to the current date.
7. Press SET again to finish date setting and return to normal display.
Minimum / Maximum Reading Memory
1. Press MODE once to display the minimum measured reading and the time display will show when this minimum reading was recorded.
2. Press TIME/DATE to see the date of when the minimum reading was recorded.
3. Press MODE once to display the maximum measured reading and the time display will show when this maximum reading was recorded.
4. Press TIME/DATE to see the date of when the maximum reading was recorded.
5. Press MODE three times to return to normal display.
6. To clear the minimum and maximum reading memories, press CLEAR once when the minimum or maximum readings are displayed. All readings for
both channels and time stamps will be reset to current readings and time.
7. Clear the memory once before taking new minimum or maximum reading.
Low / High Alarm Setting
1. Press MODE three times to enter low / high alarm setting and the LO icon will be displayed.
2. Press and hold SET for about 3 seconds and the LO digits will be flashing.
3. Press to input the desired low temperature limit.
4. Press SET to confirm low temperature alarm limit. The HI icon will be displayed and the digits will begin to flash.
5. Press to input the desired high temperature limit.
6. Press SET to confirm the high temperature alarm limit and finish the setting.
7. The alarm will sound when the temperature reading is lower or higher than the alarm limit set. Press any button to stop the alarm sound but the HI or
LO icon will still flash until the reading is within the set limits.
NOTE: If connectors are unplugged, the alarm will go off. Once re-connected, the alarm will stop.
Alarm ON/Off
Press to switch alarm OFF or ON.
Alarm Indicator
When the reading exceeds the alarm limit the red light will be on and continue to flash to indicate that an alarm has been triggered. Press and hold
CLEAR for about 3 seconds to cancel the flashing red light.
Switch Channel Display
Press S1/S2 once to switch the display for channel S1 or S2 reading.
NOTE:
1. Do not operate the thermometer in an environmental temperature lower than 0°C/32°F or higher than 50°C/122°F otherwise incorrect readings or
damage to the thermometer may result.
2. If the thermometer is not in use for a long period of time then remove the batteries from battery compartment to avoid battery leakage.
ERROR SYMBOLS
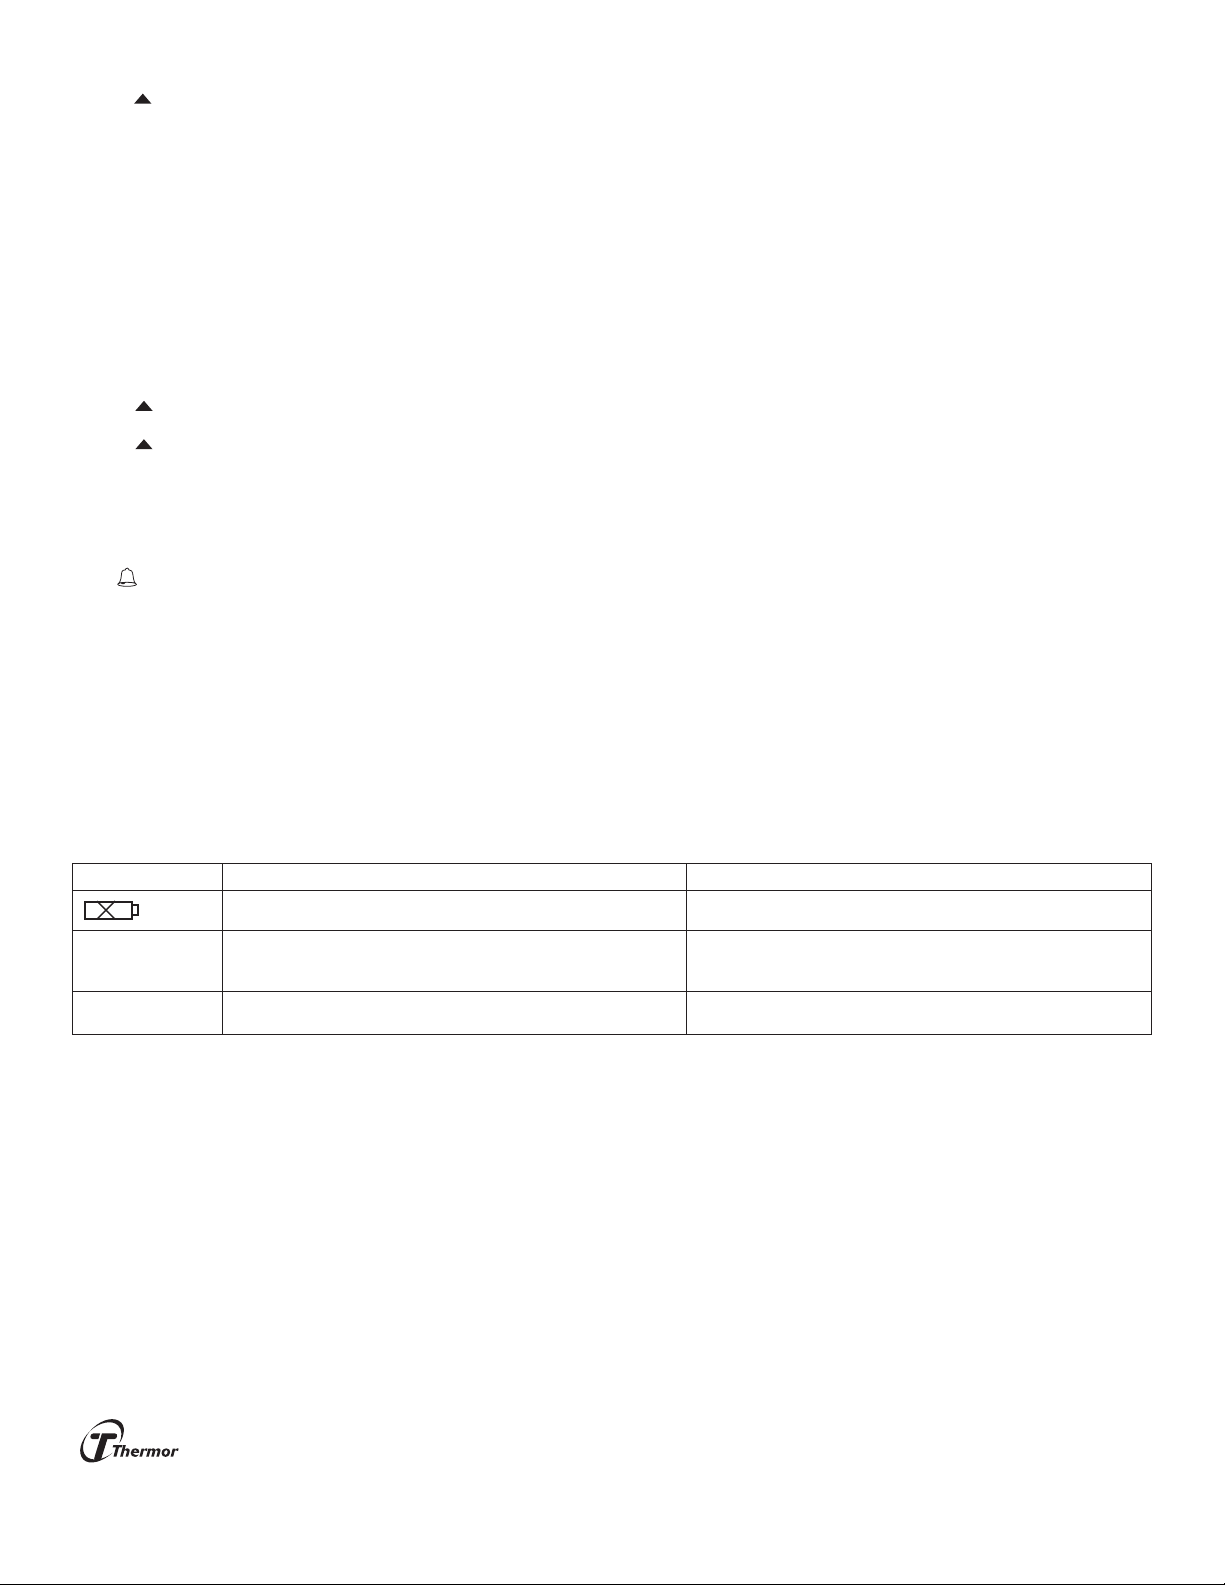
SYMBOL DESCRIPTION ACTION REQUIRED
Low battery voltage Replace the batteries
LLL 1. Sensor open circuit
2. The reading is out of low range (-50°C)
3. Connector is unplugged
1. Return the thermometer for repair
2. Keep the measurement above low range
3. Ensure the connectors are properly inserted
HHH 1. Sensor short circuit
2. The reading is out of high range (70°C)
1. Return the thermometer for repair
2. Keep the measurement below high range
ONE YEAR WARRANTY
If this product proves to be defective in material or workmanship within one year of purchase, please return it to the address below. It will be repaired or
replaced without charge upon receipt of the unit prepaid with $5.00 to cover handling, packaging and return postage. Please include proof of purchase,
your full name, address, daytime phone number or email address.


