Getting Started:
Turn Signals on by pressing the power button located on the back. Please note that Bluetooth is always on. Signals will automatically attempt to connect to Wi-Fi after each power on once the Wi-Fi
settings have been entered.
To connect Signals to your smart device, download ThermoWorks BBQ app from the Apple App Store or Google Play Store. Make sure your smart device’s Bluetooth is turned on. Upon opening
the app for the first time, you will be prompted to connect a new device. This will take you to the Devices menu. Select Signals from the list and follow the on-screen instructions. Signals will first
connect via Bluetooth then ask you to set Wi-Fi settings. After a successful connection, Signals will appear in My Devices. You are now ready to use Signals with the app.
The Bluetooth and Wi-Fi signal strength is 95-feet line-of-sight. However, if Signals is close to other devices that also use radio frequencies (such as microwave ovens, cordless phones, remote
controls, etc.), those devices may create interference. The transmission can also be interrupted by the walls and building material of your home. Signals will easily communicate through glass, but
tinting on windows can interfere with the transmission. ThermoWorks BBQ app will notify you if the connection is lost and will automatically try to reconnect with Signals.
You can use Signals in three different modes:
Standalone – Does not require Bluetooth or Wi-Fi; simply use the built-in screen and buttons to operate.
Bluetooth – Bluetooth can be used if there is no Wi-Fi (Internet) available. For constant tracking, the smart device connected to Signals must remain within 95-feet line-of-sight.
Wi-Fi/Bluetooth – Once a Wi-Fi connection is setup, Signals communicates via the internet. If the Wi-Fi connection is lost or interrupted, Signals automatically uses Bluetooth as a backup
connection until the Wi-Fi connection is re-established.
AC Adapter – Only use the 12V Signals adapter that comes with the unit to power and charge the battery.
This device complies with part 15 of the FCC Rules. Operation is subject to the following two conditions:
(1) this device may not cause harmful interference, and (2) this device must accept any interference received, including interference that
may cause undesired operation.
This equipment complies with the FCC RF radiation exposure limits set forth for an uncontrolled environment. This equipment should be
installed and operated with a minimum distance of 20 centimeters between the radiator and your body.
This device complies with Industry Canada Licence-exempt RSSs. Operation is subject to the following two conditions: (1) this device may
not cause harmful interference, and (2) this device must accept any interference, including interference that may cause undesired operation
of the device.
Le présent appareil est conforme aux CNR d’Industrie Canada applicables aux appareils radio exempts de licence. L’exploitation est autorisée
aux deux conditions suivantes : (1) l’appareil ne doit pas produire de brouillage, et (2) l’utilisateur de l’appareil doit accepter tout brouillage
radioélectrique subi, même si le brouillage est susceptible d’en compromettre le fonctionnement.
FCC ID: 2AI67-SIGNALS / IC: 22116-SIGNALS
Special Notice
Changes or modifications not expressly approved by the party responsible for compliance could void the user’s authority to operate the
equipment.
NOTE: This equipment has been tested and found to comply with the limits for a Class B digital device, pursuant to part 15 of the FCC
Rules. These limits are designed to provide reasonable protection against harmful interference in a residential installation. This equipment
generates, uses and can radiate radio frequency energy and, if not installed and used in accordance with the instructions, may cause
harmful interference to radio communications. However, there is no guarantee that interference will not occur in a particular installation. If
this equipment does cause harmful interference to radio or television reception, which can be determined by turning the equipment off and
on, the user is encouraged to try to correct the interference by one or more of the following measures:\
• Reorient or relocate the receiving antenna.
• Increase the separation between the equipment and receiver.
• Connect the equipment into an outlet on a circuit different from that to which the receiver is connected.
• Consult the dealer or an experienced radio/ TV technician for help.
What’s Included:
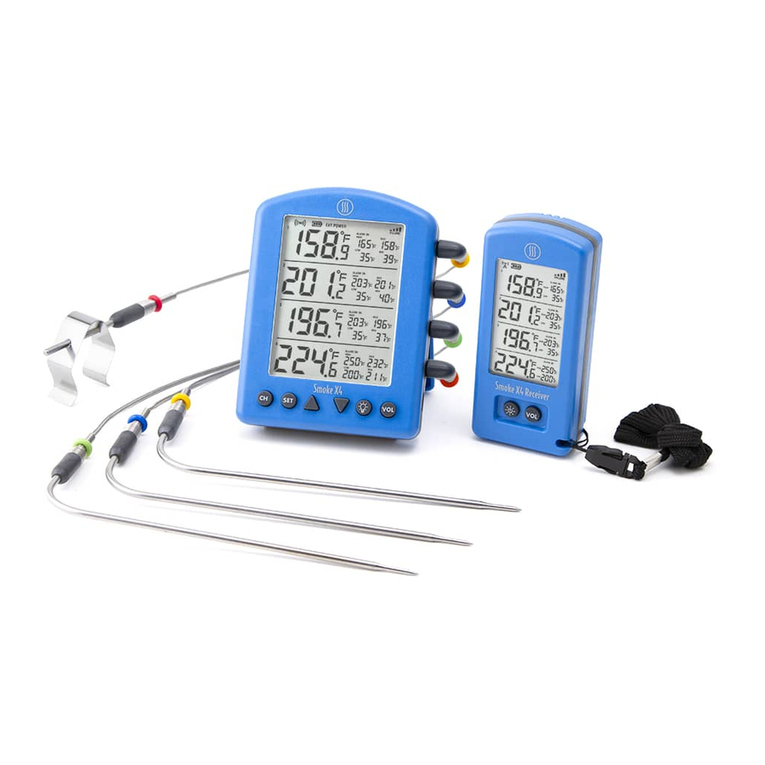
Signals, 3x Pro-Series High Temp Cooking Probes, Pro-Series High Temp Air Probe, Grate clip, USB-C cable, 12V USB power adapter, Instruction card with Chef-Recommended Temperature Chart.
Tips for Use:
• Your Signals’ body should not be affixed directly to a smoker or grill’s lid or left in the smoker or oven. The high heat will melt the plastic housing.
• Insert the probe so that the tip rests at the thickest part of the meat or food. Avoid gristle or bone.
• Set your desired alarm temperature. Chef-recommended doneness temperatures are on the reverse side of this card. If cooking meat, set the alarm somewhat lower to allow for carryover
cooking during resting.
• The cable may be closed in an oven door or under a BBQ hood with the following precautions:
Cautions for Pro-Series Probes
• Use hot pads or gloves when removing the probe from meat. It will be hot!
• Do not pull on the cable. Use the molded mini-handle.
• The cable will withstand 700°F (370°C) and the transition/handle 644°F (340°C).
• Probe tip itself is rated to 572°F (300°C). Do NOT expose probe tip to flames or coals.
• Construction is moisture-resistant, but we do not recommend full immersion of the cable.
• Clean probe by wiping with damp cloth and kitchen cleaner.
• Keep the probe cable away from oven elements, flames, coals, grill or oven racks—all of which can reach temperatures far higher than 700°F (even if an oven is set lower). The probe cable can
be damaged at higher temperatures. The inner insulation will melt and the probe will short (displaying “NO PROBE” on the alarm display).
• When using in outdoor BBQ grills or smokers, avoid pinching the cable between hot surfaces such as a cast metal grill hood without some insulating protection. Use an access hole if available.
• Avoid repeated kinking or twisting of the probe cable which can break wires.
• With care, the probe should last a long time. Eventually, you may need to replace it. If the probe becomes damaged, the base unit will flash “NO PROBE” below the temperature display.
Affordable replacements are available. Use only ThermoWorks Pro-Series Probes.
Signals™
Operating Instructions
BEEF
PORK
POULTRY
SEAFOOD
Bleu
Rare
Medium Rare
Medium
Medium Well
Well
Ground Beef
Beef Brisket - BBQ
Medium
USDA - Done
Well Done
Pre-Cooked Ham
Sausage
Pork Ribs - BBQ
Pork Shoulder - BBQ
Whole or Ground
Legs and Thigh
Ahi Tuna
Shrimp
Salmon
Halibut
Scallops
Lobster
*PULL MEAT • LET IT REST – Remember to remove meat from the heat prior to reaching your ideal internal temperature. During the rest, the internal temperature may rise anywhere from a few to several
degrees depending on cooking temperature and the size and thickness of the meat.
USDA Recommended
Fork tender
Carmelized glaze, juicy
Warm, juicy
Fall off the bone
Fork tender
USDA & Chef Recommended
Safe at 165°F, but more tender at higher temp
“Sashimi” grade
Pink, slightly constricted
Flaky and tender
Opaque, moist
Milky white, firm
Opaque, not constricted
LAMB • VENISONSERVE TEMPERATURES*
VEAL • FRESH HAM
CHICKEN • TURKEY • DUCK • PHEASANT • QUAIL • GOOSE
110°F
120 - 130°F
130 - 135°F
135 - 145°F
145 - 155°F
155°F - up
160°F
190 - 205°F
137°F
145°F
150°F - up
120°F
160°F
190 - 205°F
190 - 205°F
165°F
170 - 180°F
115°F
120°F
125°F
130°F
130°F
140°F
43°C
49 - 54°C
54 - 57°C
57 - 63°C
63 - 68°C
68°C - up
71°C
88 - 96°C
58°C
63°C
66°C - up
49°C
71°C
88 - 96°C
88 - 96°C
74°C
77 - 82°C
46°C
49°C
52°C
54°C
54°C
60°C
Meat Temperatures
Chef & USDA Recommended

