THORLABS LCC3111H User manual
Other THORLABS Laboratory Equipment manuals
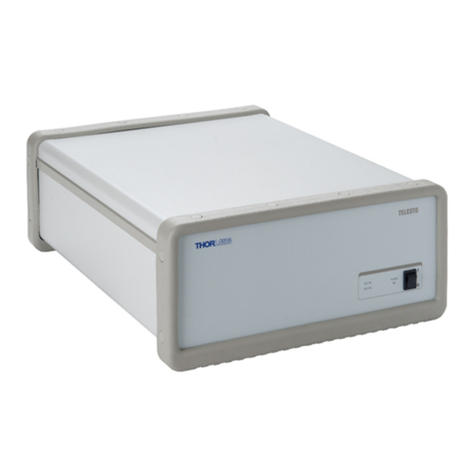
THORLABS
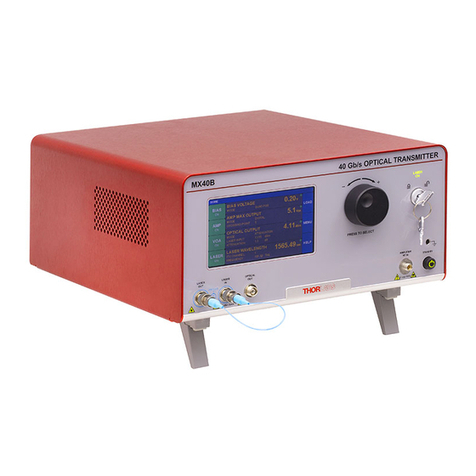
THORLABS Telesto Series User manual
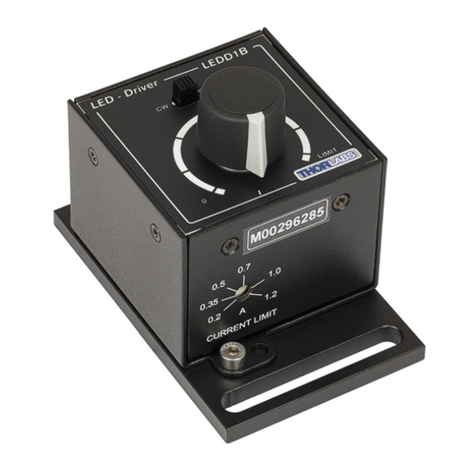
THORLABS
THORLABS T-Cube LEDD1B User manual
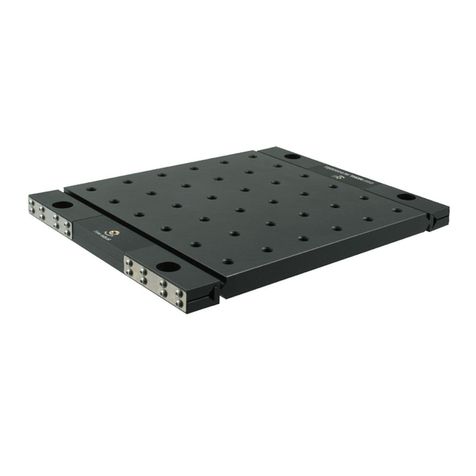
THORLABS
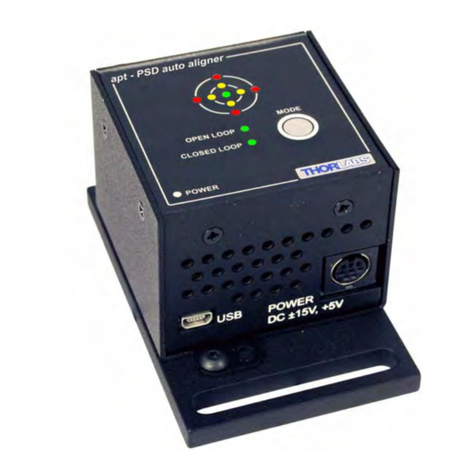
THORLABS TBB Series User manual
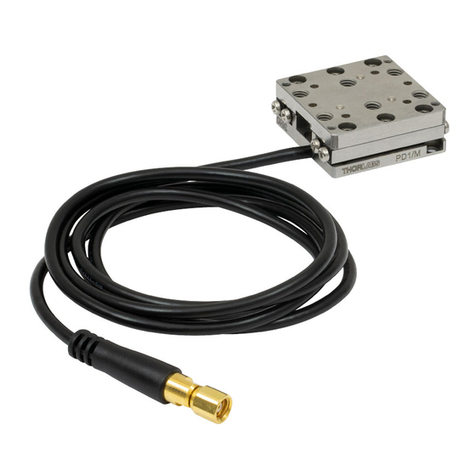
THORLABS
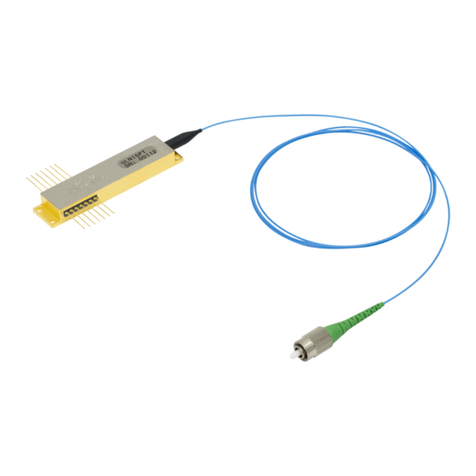
THORLABS PD1 User manual

THORLABS
THORLABS SBC-VIS User manual

THORLABS
THORLABS VEG110 User manual
THORLABS
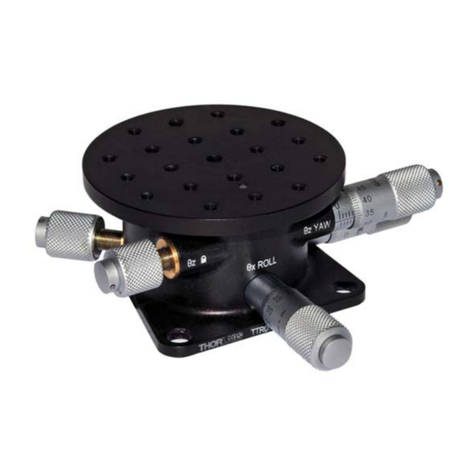
THORLABS TTR001 User manual
THORLABS
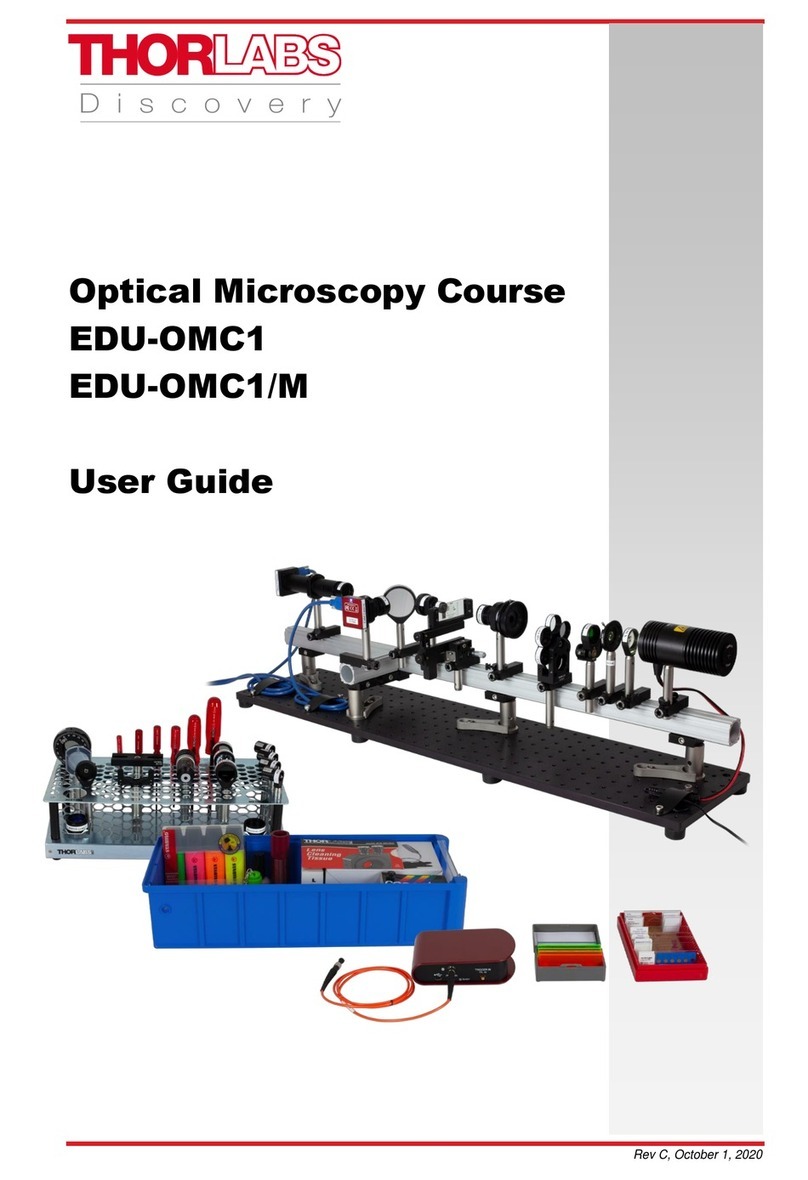
THORLABS EDU-OMC1 User manual
THORLABS
THORLABS PTL701 User manual
THORLABS
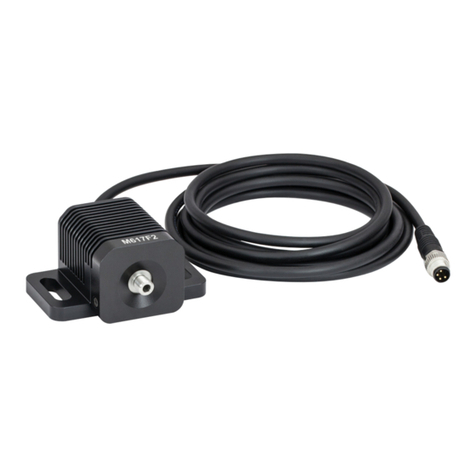
THORLABS M617F2 User manual
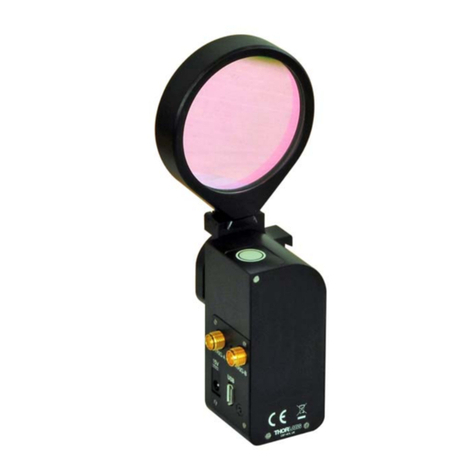
THORLABS
THORLABS MFF101 User manual
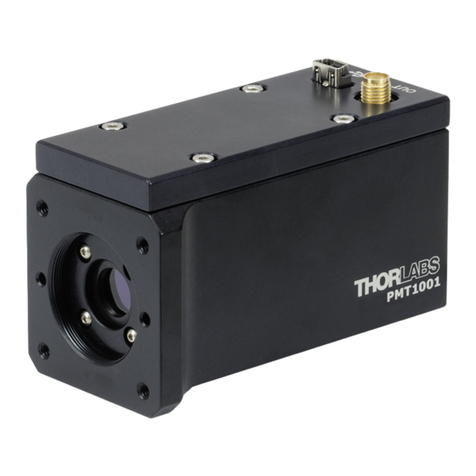
THORLABS
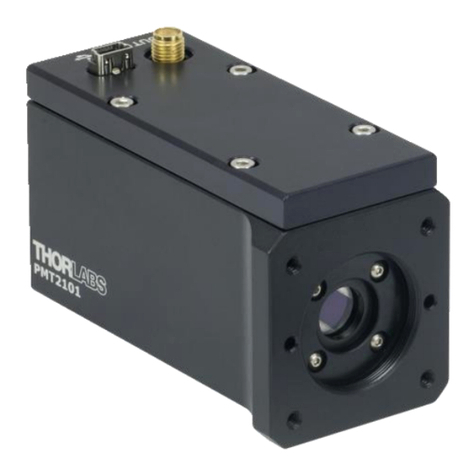
THORLABS PMT1000 Series User manual
THORLABS
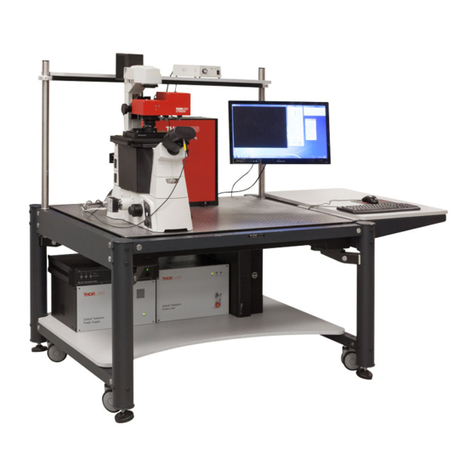
THORLABS PMT2100 Series User manual
THORLABS
THORLABS OTM211 User manual

THORLABS
THORLABS PD2 User manual
THORLABS
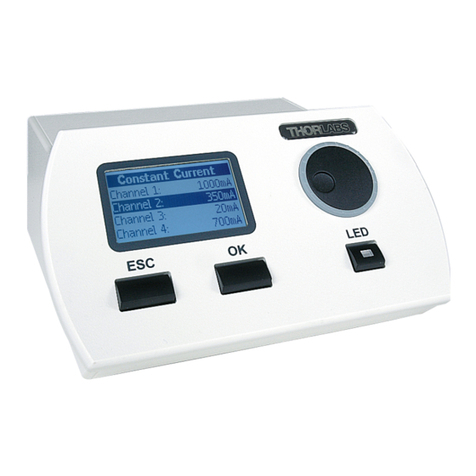
THORLABS DC4100 User manual
THORLABS
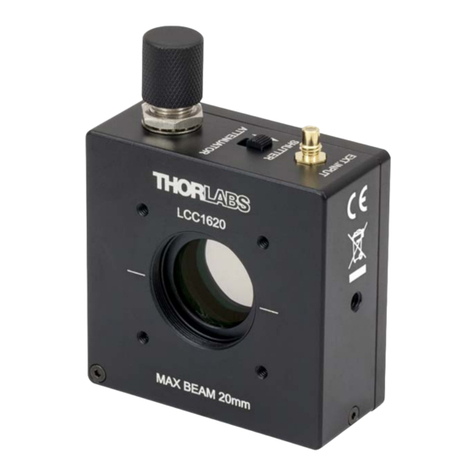
THORLABS LCC1620 User manual
THORLABS
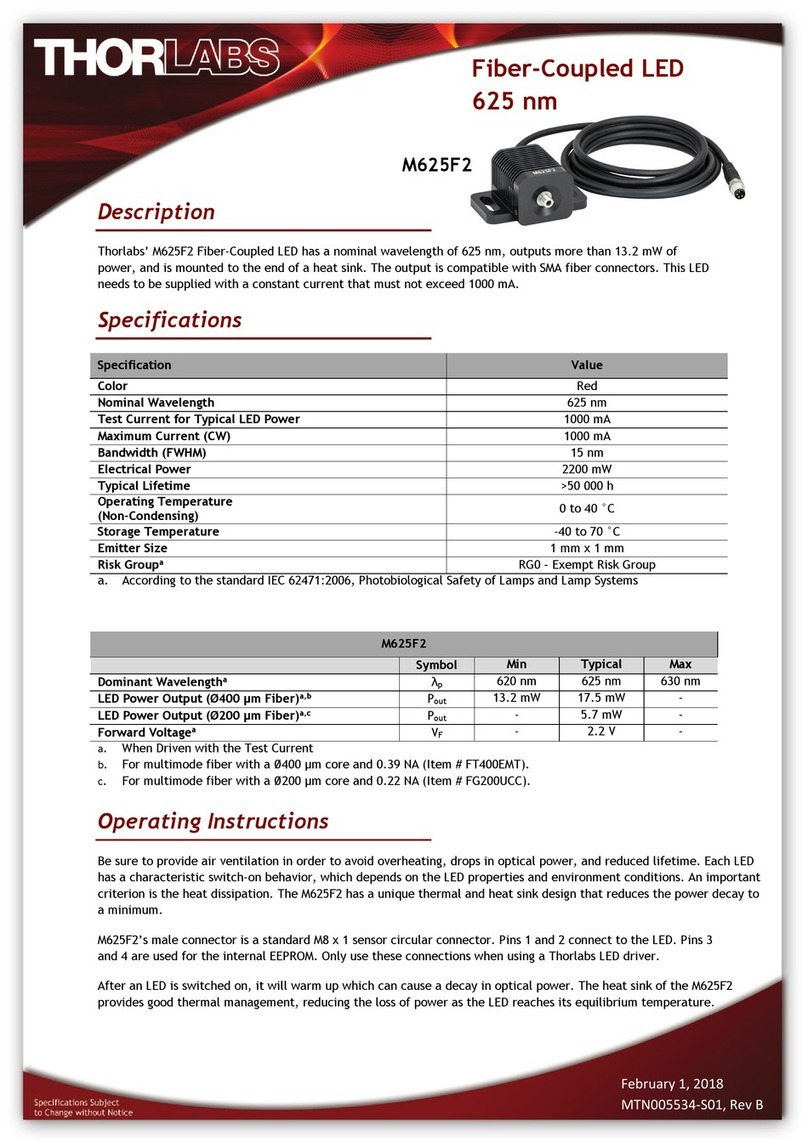
THORLABS M625F2 User manual
THORLABS
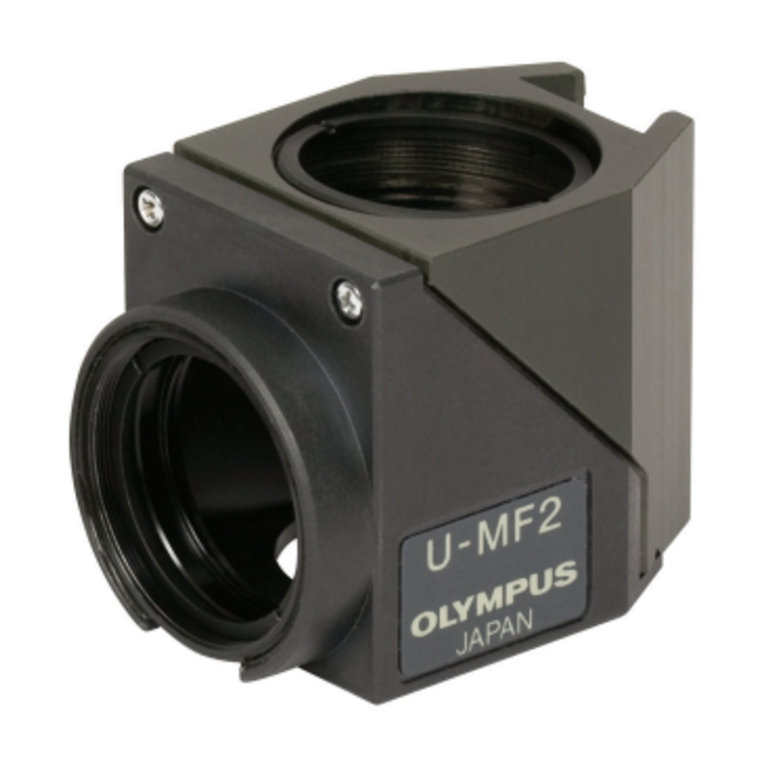
THORLABS Thorlabs MDFM-MF2 User manual
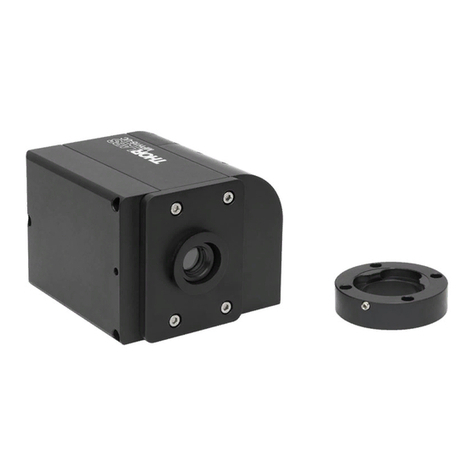
THORLABS
THORLABS MPH16-UC User manual
Popular Laboratory Equipment manuals by other brands

Agilent Technologies
Agilent Technologies 5800 ICP-OES user guide

Endress+Hauser
Endress+Hauser Cleanfit CPA875 operating instructions

NI
NI PXI-5422 CALIBRATION PROCEDURE

Collomix
Collomix Aqix operating instructions

SPEX SamplePrep
SPEX SamplePrep 6875 Freezer/Mill Series operating manual

Ocean Insight
Ocean Insight FLAME-NIR+ Installation and operation manual

Parker
Parker ALIGN-MG-NA Installation, operation and maintenance manual

BD
BD 644787 user guide

DENTAURUM
DENTAURUM Compact Megaplus Instructions for use

Biuged Laboratory Instruments
Biuged Laboratory Instruments BGD 626 instruction manual

VWR
VWR SAS Super IAQ instruction manual

illumina
illumina MiSeqDx reference guide
