manuals.online logo
Brands
  1. Home
  2. •
  3. Brands
  4. •
  5. TIE DOWN
  6. •
  7. Safety Equipment
  8. •
  9. TIE DOWN 72874 User manual

TIE DOWN 72874 User manual

404-344-0000 • www.tiedown.com
605 Stonehill Drive SW, Atlanta, GA 30336
[email protected]
Instructions #08404 (E1893 - Rev. 1/4/22)
Step-N-Safe Extension
Ladder Walk-Thru
Part ID: 72874
See Page 2
Step-N-Safe Extension
Ladder Walk-Thru
Professional
Part ID: 72875
See Page 3
Step-N-Safe Extension
Ladder Walk-Thru
Safety Gate
Part ID: 72877
See back page
www.tiedown.com
Online
Instructions
Declaration
of Conformity
Declaration
of Conformity
WARNING: This product can expose you to chemicals including Nickel, which is known to the
State of California to cause cancer. For more information go to: www.P65Warnings.ca.gov
KEEP EXTENSION LADDERS A MINIMUM 10 FT.
CLEAR OF ALL ELECTRICAL WIRES AND EQUIPMENT.
BE AWARE OF OVERHEAD WIRES BEFORE RAISING
TRACK SECTIONS. ELECTRICITY KILLS!
WARNING
Failure to read, understand and follow these
instructions may cause bodily injury or death.
The Tie Down Step-N-Safe Extension Ladder Walk-thru is designed
to fit most ladder profiles in the market. Fitting from Type II to
Special Duty Type IAA, the Step-N-Safe incorporates a dual
clamping, non-penetrating, system that locks the rail extensions on
the ladder rails. The addition of the Step-N-Safe to virtually any
extension ladder will allow for a much safer transition to an
elevated walking surface. The Step-N-Safe meets compliance
standards OSHA 1910 and 1926.
Per OSHA regulations, always maintain three points of
contact while assembling and climbing on a ladder.
Remember to
always erect
your ladder
using the
4:1 rule
1
4
Step-N-Safe Extension Ladder Walk-Thru
Installation Instructions
Part ID: 72874
Step 1
Lay the two walk-thru post on flat ground with mounting brackets up.
Slide the tension brackets outward as far as they will slide.
NOTE: The sliding mounting brackets must be arranged on the inner
legs of the ladder.
Step 2
Position the ladder over the ladder walk-thru so the top rung
of the ladder is aligned with the upper mounting brackets.
Lower the ladder into (between) the outer bracket and the
inner tension bracket on both walk through post. Once the
ladder comes to rest on the walk-thru post, slide the ladder
forward as shown in the illustration on the right.
Step 3
Make sure the ladder rungs are flat against the top
portion of each walk through post.
Slide the tension brackets outward making full contact
with the ladder. Working from inside the ladder insert
carriage bolts through the tension bracket and outer
mounting bracket. Attach tension knobs on all four
carriage bolts. Slide the bolt/knob down so that it is
flush against the ladder as shown below. Repeat and
tighten each of the remaining knobs.
Fixed Mounting
Brackets
Sliding
Mounting
Brackets
TIE DOWN Safety Products Division • 800-241-1806 • 404-344-0000 • www.tiedown.com
Step-N-Safe Extension Ladder Walk-Thru
Professional Installation Instructions
Part ID: 72875
Step 1
Lay the two walk-thru mounting tubes flat on the ground
with the mounting brackets up.
NOTE: The sliding mounting brackets must be on the inner
legs of the ladder.
While holding down the safety locking button on the bottom
of the hand post, slide the post into the top of the mounting
tube as shown right. Continue sliding the hand post
downward until the safety locking button snaps out in the
opening on the mounting tube.
Repeat for the opposite side.
Step 2
Position the ladder over the ladder walk-thru so the top rung
of the ladder is aligned with the upper mounting brackets.
Lower the ladder into (between) the outer bracket and the
inner tension bracket on both walk through post. Once the
ladder comes to rest on the walk-thru post, slide the ladder
forward as shown in the illustration to the right.
Step 3
Make sure the ladder rungs are flat against the top
portion of each walk through post.
Slide the tension brackets outward making full contact
with ladder. Working from inside the ladder insert
carriage bolts through the tension bracket and outer
mounting bracket. Attach tension knobs on all four
carriage bolts. Slide the bolt/knob down so that it is
flush against the ladder as shown below. Repeat and
tighten each of the remaining knobs.
Hand Post
Mounting
Tubes
Safety Locking
Buons
Fixed Mounting
Brackets
Sliding
Mounting
Brackets
Safety Locking
Buons
TIE DOWN Safety Products Division • 800-241-1806 • 404-344-0000 • www.tiedown.com
Safety Products Division
605 Stonehill Drive SW, Atlanta, Georgia 30336
404-344-0000 • www.tiedown.com
ISO 9001:2015 Certification
Intellectual Property of TIE DOWN Inc. ©2021 TIE DOWN, Inc.
Instruction #08404 (E1893 Rev. 1/24/22)
Step-N-Safe Extension Ladder Walk-Thru
Safety Gate Installation Instructions
Part ID: 72877
Safety First
• Always face the ladder when climbing or descending.
• Always hold the ladder with at least one hand.
• Do not carry loads that might make you lose your balance.
• Never move or extend a ladder when someone is on it.
• Keep body centered between side rails.
• Do Not overreach.
WARNING:
Compliant fall protection equipment must only be used as it was designed and follow the hierarchy of controls as discussed in ANSI Z359.2. All
users MUST read and follow all instructions provided with the Step Safe product. Before using a fall arrest system, users must be trained in the
safe use of the system, as required by OSHA 29 CFR 1910.30 and 1926.503, or local safety regulations. Misuse or failure to follow these
warnings and instructions may result in injury or even death
Rotate 90 Degrees
Slide over left
Step N Safe post
Press in the
safety locking
Continue sliding the
gate downward until
the locking buon releases
out through the slot on
the mounting tube.
The Step-N-Safe Gate ships are completely assembled.
No tension is loaded on the springs, that which will be
added during the simple assembly.
Installation should take place on the ground prior to lifting
the extension ladder. The gate must be installed on the
opposite side of the extension ladder. Opening outward
onto the rooftop.
While holding the gate over the side Step-N-Safe post,
rotate the mounting tube 90 degrees. Slide the mounting
tube over the Step-N-Safe post. Press the safety locking
button inward. Continue sliding the mounting tube
downward until the safety locking button releases out
through the slot on the mounting tube.

Other TIE DOWN Safety Equipment manuals

TIE DOWN Juggernaut User manual

TIE DOWN

TIE DOWN Juggernaut User manual
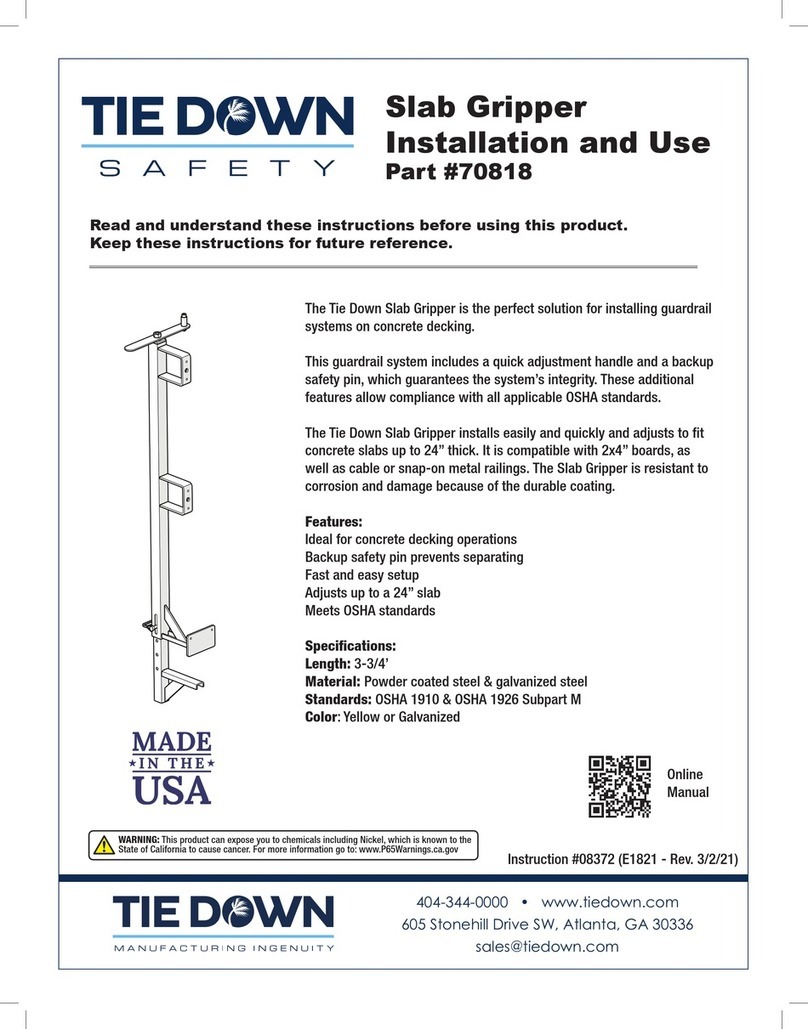
TIE DOWN 70818 User manual

TIE DOWN

TIE DOWN 70818 User manual
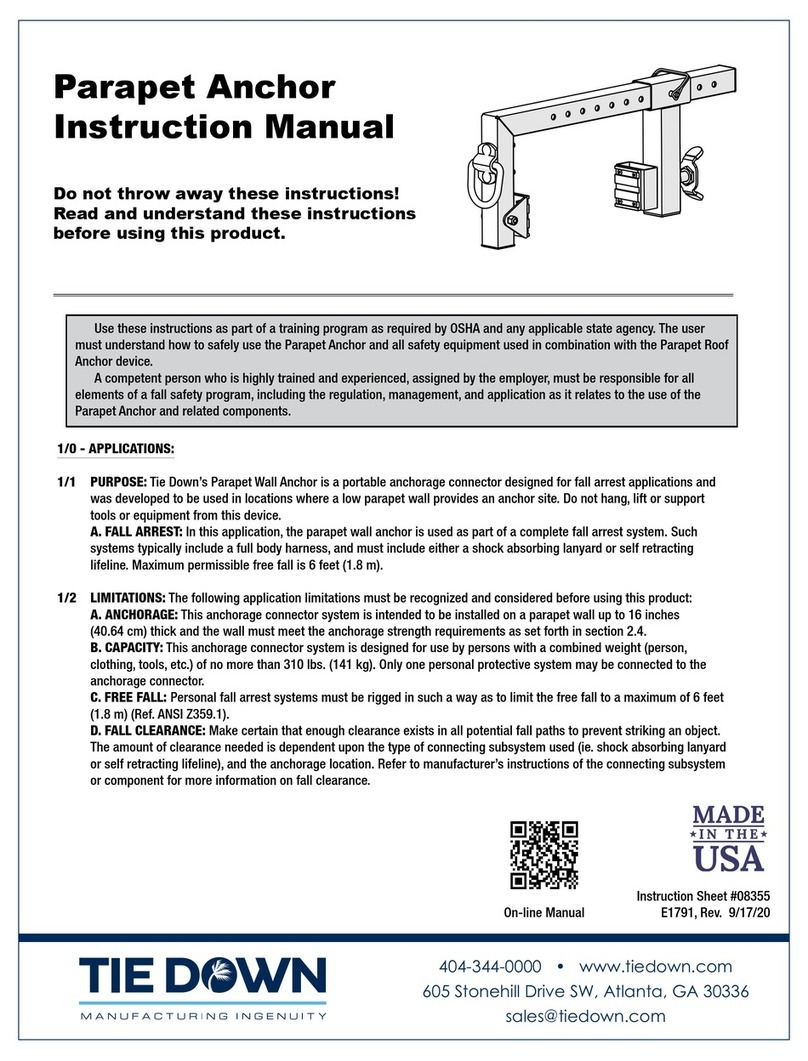
TIE DOWN Parapet Anchor User manual

TIE DOWN

TIE DOWN Parapet Anchor User manual

TIE DOWN PENETRATOR User manual

TIE DOWN

TIE DOWN PENETRATOR User manual

TIE DOWN Big Foot 60060US Guide

TIE DOWN

TIE DOWN Big Foot 60060US Guide

TIE DOWN 14367 Quick start guide

TIE DOWN

TIE DOWN 14367 Quick start guide
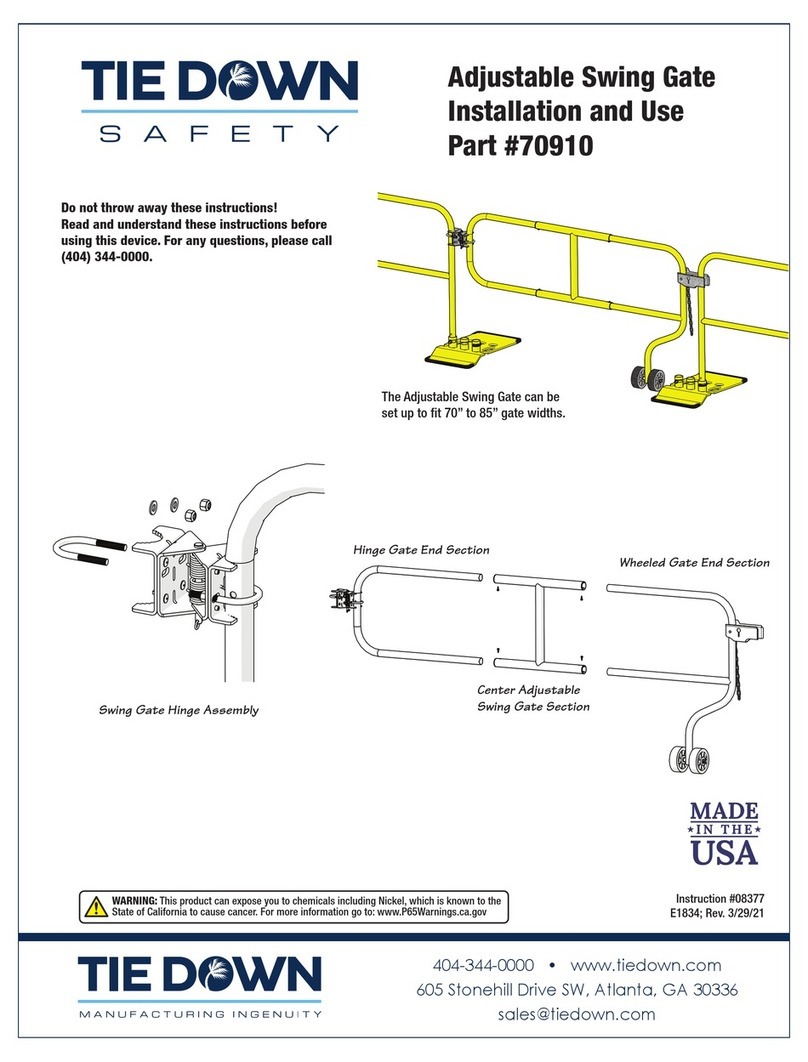
TIE DOWN 70910 Quick start guide

TIE DOWN

TIE DOWN 70910 Quick start guide
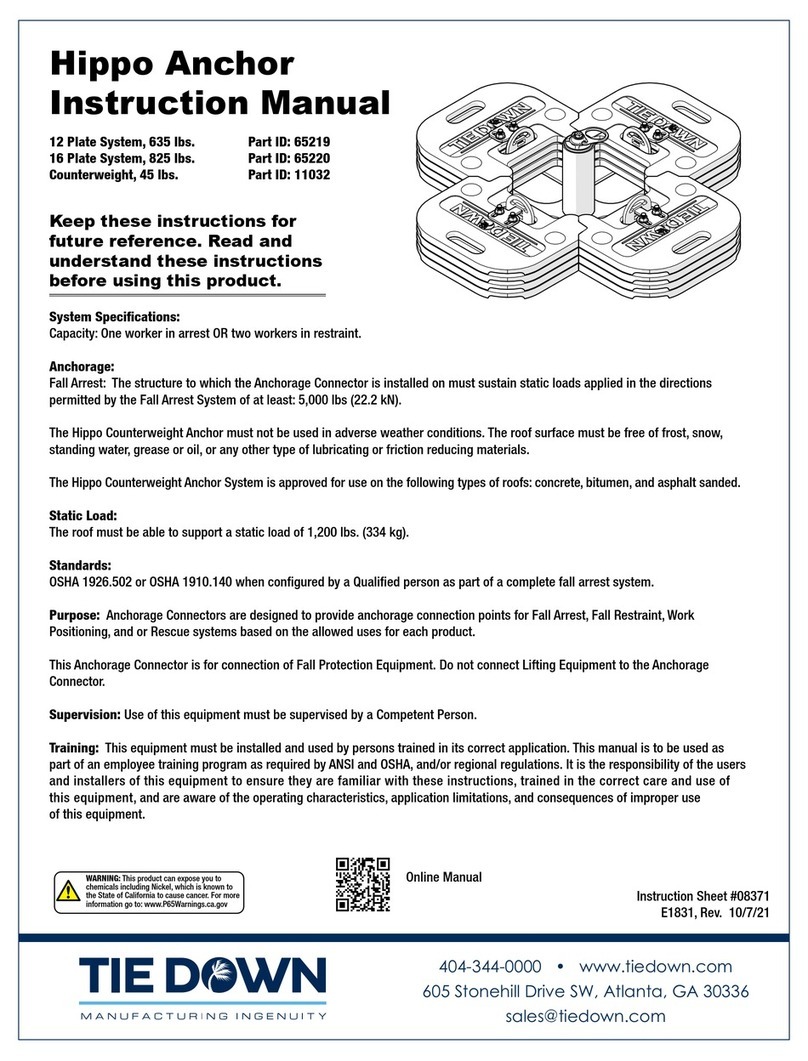
TIE DOWN Hippo Anchor 65219 User manual
TIE DOWN

TIE DOWN Hippo Anchor 65219 User manual

TIE DOWN 70853 User manual

TIE DOWN

TIE DOWN 70853 User manual

Popular Safety Equipment manuals by other brands

Lanex PB-20 instruction manual

Lanex

Lanex PB-20 instruction manual

SKYLOTEC ANCHOR ROPES Instructions for use

SKYLOTEC

SKYLOTEC ANCHOR ROPES Instructions for use

Besto Buoyancy Aid 50N Instructions for use

Besto

Besto Buoyancy Aid 50N Instructions for use

TEUFELBERGER NODUS Manufacturer's information and instructions for use

TEUFELBERGER

TEUFELBERGER NODUS Manufacturer's information and instructions for use

Troy Lee Designs Tbone Product owners manual

Troy Lee Designs

Troy Lee Designs Tbone Product owners manual

Innova Xtirpa Instruction and safety manual

Innova

Innova Xtirpa Instruction and safety manual

bolle SAFETY B810 quick start guide

bolle SAFETY

bolle SAFETY B810 quick start guide

SHENZHEN FANHAI SANJIANG ELECTRONICS A9060T instruction manual

SHENZHEN FANHAI SANJIANG ELECTRONICS

SHENZHEN FANHAI SANJIANG ELECTRONICS A9060T instruction manual

Hiltron security POWER8E Installation and use manual

Hiltron security

Hiltron security POWER8E Installation and use manual

Salewa MTN SPIKE user manual

Salewa

Salewa MTN SPIKE user manual

Hatco B-950P installation guide

Hatco

Hatco B-950P installation guide

Sitec TX MATIC operating manual

Sitec

Sitec TX MATIC operating manual

TEUFELBERGER GRIP 12 Manufacturer's information and instructions for use

TEUFELBERGER

TEUFELBERGER GRIP 12 Manufacturer's information and instructions for use

MSA PremAire System Operation and instructions

MSA

MSA PremAire System Operation and instructions

AMC 1022M Series instruction manual

AMC

AMC 1022M Series instruction manual

Trinity CASS S3 Assembly manual

Trinity

Trinity CASS S3 Assembly manual

CMC Helitack HotSeat quick guide

CMC

CMC Helitack HotSeat quick guide

ACM SAFETY D200 Instructions and warnings

ACM

ACM SAFETY D200 Instructions and warnings

manuals.online logo
manuals.online logoBrands
  • About & Mission
  • Contact us
  • Privacy Policy
  • Terms and Conditions

Copyright 2025 Manuals.Online. All Rights Reserved.