TIPTEL VP 28 User manual

10/2010
Version 1

About This Guide
tiptel VP 28 is an H.264 based broadband videophone supporting Video and Voice
applications. Its major functions include IP Telephony, IP Camera Viewer (SIP based)
and Photo frame. It can satisfy the demanding requirements of the next generation of
IP broadband communication applications and open the door to the world of
multimedia.
tiptel VP 28 is an innovative IP media phone equipped with the most advanced video
compression technology. It offers unrivalled super voice and picture quality, innovative
functional richness, friendly user interface, stylish and elegant design, enhancing the
instant, face-to-face communication experience even at low bandwidth.
Meanwhile it supports Voice Mail, Screen Saver, Advertisement, etc. Which make it not
only a video phone but also a media phone for entertainment. It is definitely ideal for
multimedia communication, virtual office and all IP video conversation for business or
family users.
In this User Guide, you will find everything you need to quickly use your IP Video Phone.
Be sure to verify with your system administrator that your network is prepared for
configuring your IP phone. As well, be sure to read the Packing List section in this guide
before you set up and use the phone.

Tables of Contents
Getting Started......................................................................................... - 1 -
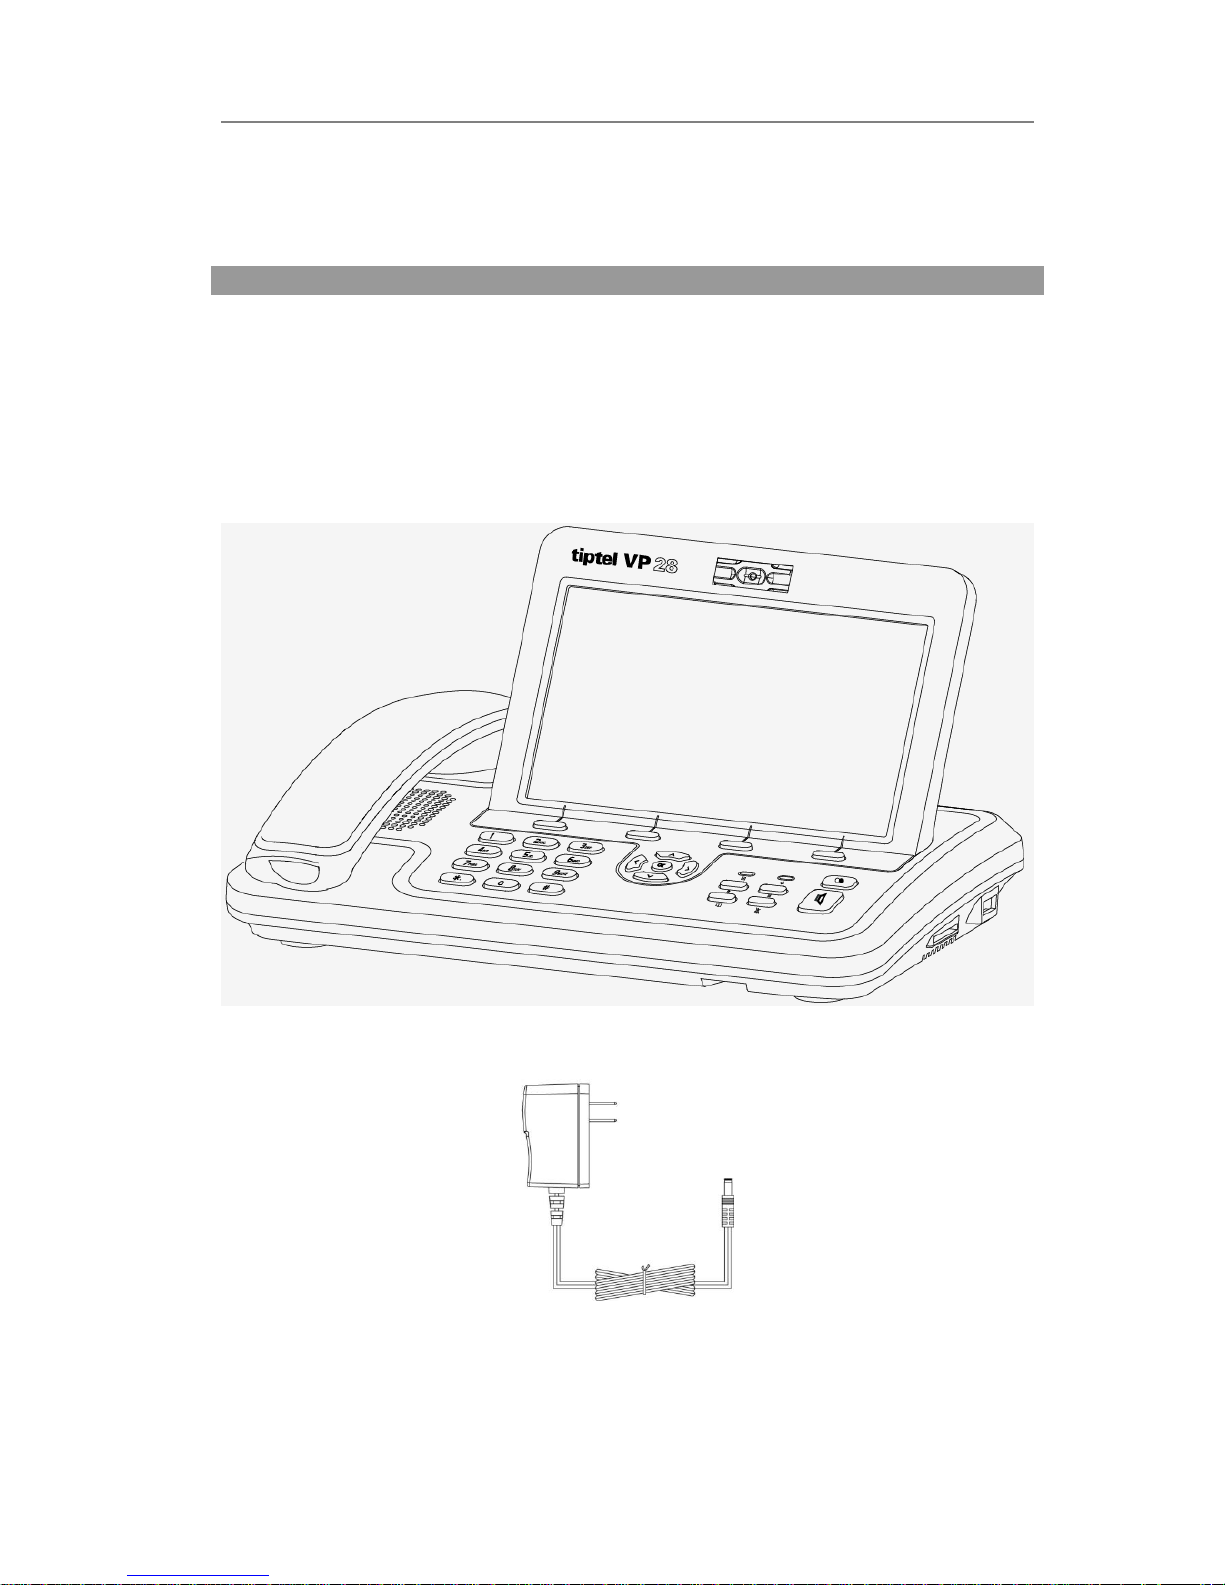
Packing List .......................................................................................... - 1 -
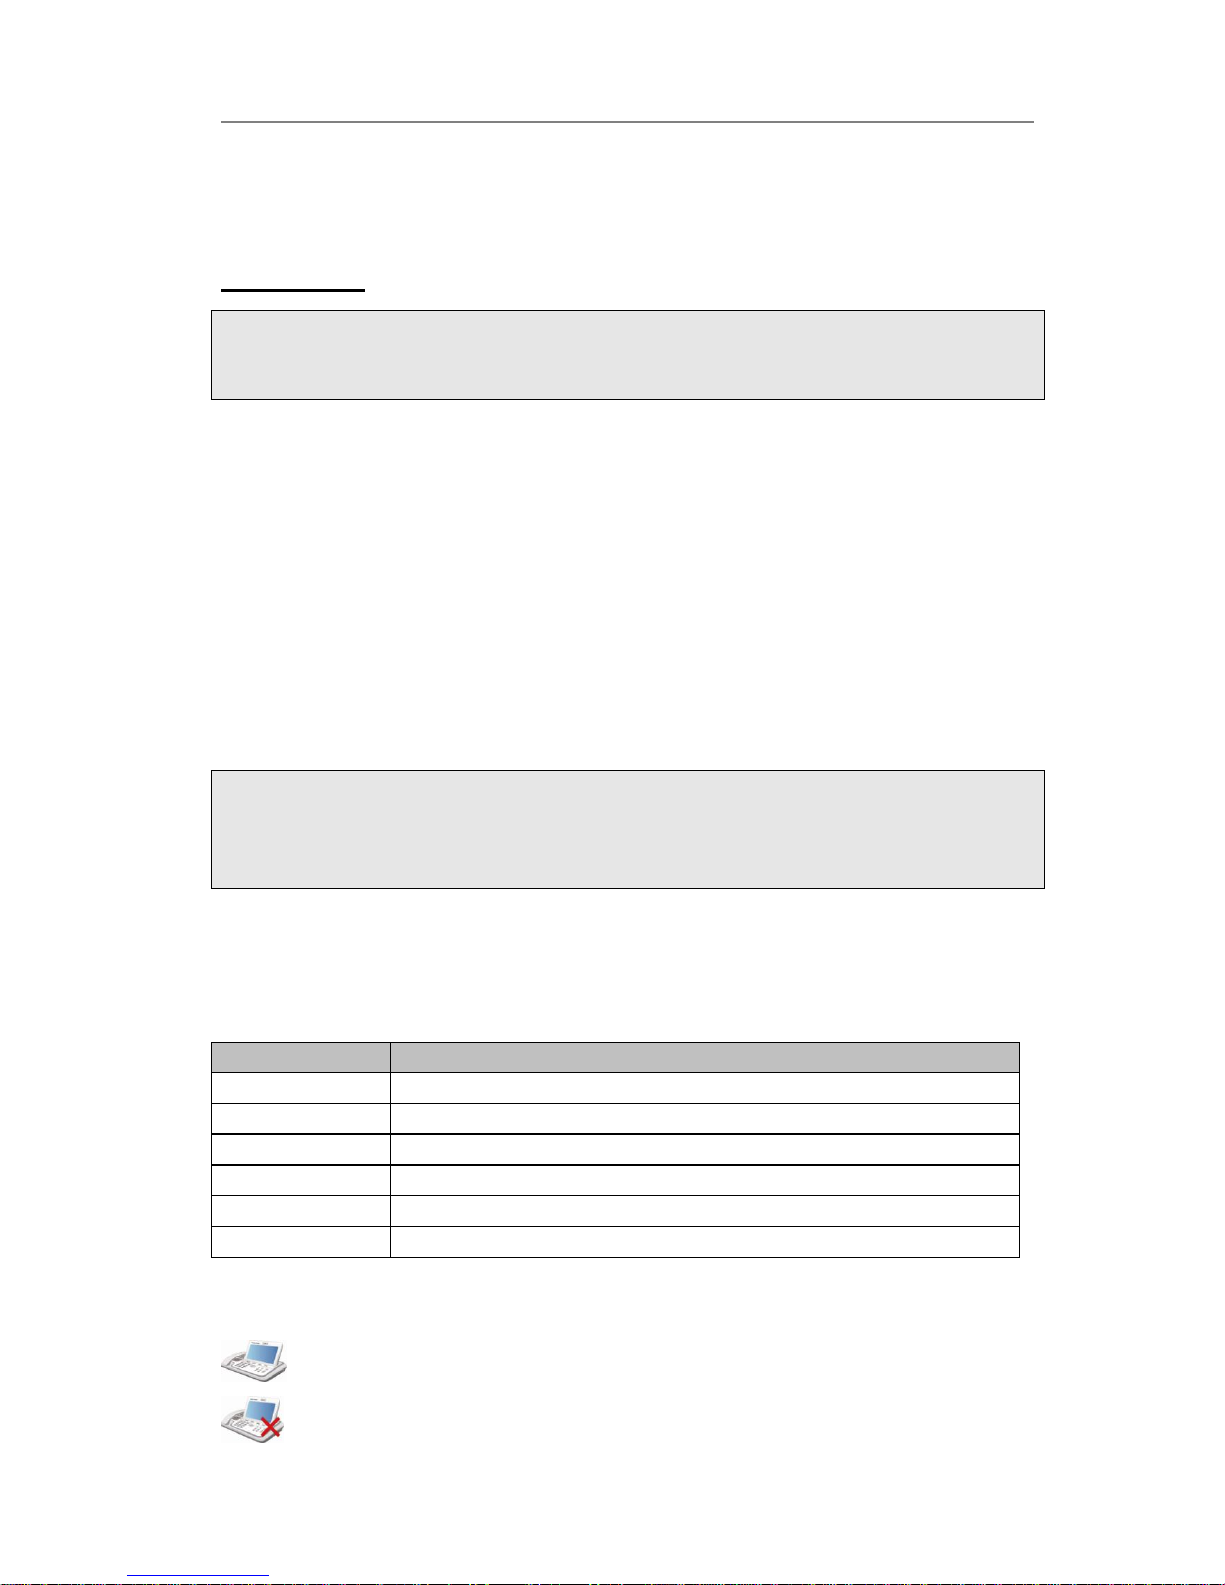
Assembling the Phone ............................................................................ - 2 -
Configuration and Registration ................................................................ - 4 -
Configuring via Web Page ................................................................. - 5 -
Configuring via keypad..................................................................... - 6 -
Overview .................................................................................................. - 7 -
Keypad Instruction ................................................................................ - 7 -
LED Instruction ..................................................................................... - 9 -
Icon Instruction .................................................................................. - 10 -
User Interface..................................................................................... - 11 -
Customizing Your Phone ........................................................................ - 13 -
Powering Up the Videophone ................................................................ - 13 -
The Idle Interface................................................................................ - 13 -
Check the Status ................................................................................. - 13 -
Basic Settings ..................................................................................... - 14 -
Personalize ................................................................................... - 14 -
Sound .......................................................................................... - 16 -
Date & Time ................................................................................. - 18 -
Security ....................................................................................... - 19 -
Screen Saver ................................................................................ - 20 -
Wallpaper Manage ......................................................................... - 21 -
Call Feature ........................................................................................ - 22 -
Forward........................................................................................ - 22 -
Call Waiting .................................................................................. - 23 -
Auto Answer ................................................................................. - 24 -
Dial Plan....................................................................................... - 25 -
Speed Dial .................................................................................... - 27 -
Key As Send ................................................................................. - 29 -
Hotline ......................................................................................... - 29 -
Directory ............................................................................................ - 29 -
Add Contact .................................................................................. - 30 -
Search Contact.............................................................................. - 32 -
Edit Contact .................................................................................. - 33 -
Delete Contact .............................................................................. - 36 -
Clear Phonebook ........................................................................... - 37 -
Group Manage............................................................................... - 38 -
Export Contact list ......................................................................... - 40 -
Call Out........................................................................................ - 41 -
Call History......................................................................................... - 42 -
View the call history....................................................................... - 42 -

Dial back from the call history ......................................................... - 42 -
Add a record from call history ......................................................... - 43 -
Delete the call history .................................................................... - 43 -
Clear the call history ...................................................................... - 44 -
Media................................................................................................. - 45 -
Photo ........................................................................................... - 45 -
Video ........................................................................................... - 46 -
Using the Basic Call Functions ................................................................ - 48 -
Making a call....................................................................................... - 48 -
Call Devices .................................................................................. - 48 -
Call Methods ................................................................................. - 48 -
Answering a call .................................................................................. - 49 -
Answering an incoming call............................................................. - 49 -
Refuse a call ................................................................................. - 49 -
DND ............................................................................................ - 49 -
During an Active Call ........................................................................... - 50 -
Audio/Video Switch ........................................................................ - 50 -
Mute ............................................................................................ - 50 -
Call Hold ...................................................................................... - 50 -
Call Transfer ................................................................................. - 51 -
Call Statistics ................................................................................ - 51 -
Message............................................................................................. - 52 -
Using the Advanced Phone Functions ..................................................... - 54 -
Account Settings ................................................................................. - 54 -
Basic Settings ............................................................................... - 54 -
Audio codecs................................................................................. - 55 -
Video codecs................................................................................. - 55 -
Advanced Settings ......................................................................... - 56 -
Network Setting .................................................................................. - 58 -
WAN ............................................................................................ - 58 -
BandWidth.................................................................................... - 59 -
Maintenance Tasks............................................................................... - 60 -
Administrator Mode........................................................................ - 60 -
Administrator/User Password .......................................................... - 60 -
Factory......................................................................................... - 62 -
Firmware Update ........................................................................... - 63 -
Auto provision ............................................................................... - 63 -
Reboot ......................................................................................... - 64 -
System Log Export ........................................................................ - 65 -
Trouble Shooting .................................................................................... - 66 -

Guarantee .............................................................................................. - 68 -
Service......................................................................................... - 68 -
Guarantee ...................................... Fout! Bladwijzer niet gedefinieerd.
Copyright Tiptel © ......................................................................... - 69 -
Remove unit correctly .................................................................... - 69 -
Declaration of conformity................................................................ - 69 -

tiptel VP 28 Getting Started
- 1 -
Getting Started
Packing List
The following components are included in your package:
IP Video Phone tiptel VP 28
Power Adapter
Handset & Handset Cable

tiptel VP 28 Getting Started
- 2 -
Ethernet Cable
Quick Installation Guide
Please unpack the product package with caution; inspect the items closely. If you find
any damaged item, please contact your IP Video phone reseller immediately. Also,
please keep the box and packing material for future use in the event of future
shipments.
Assembling the Phone
This section introduce how to assemble the phone.
1) Connect the IP video phone shown as below:

tiptel VP 28 Getting Started
- 3 -
Note:
Headset is not included in the packing list. Should be purchased separately.
2) Connect Network and Power
There are two ways for network and power source connections. You can connect the
phone to the AC Power directly using the power adapter or to a PoE compliant switch or
hub. Your system administrator will advise you on which one to use.

tiptel VP 28 Getting Started
- 4 -
Note:
1. If inline power is provided, do not install AC adapter. Make sure the Ethernet cable
and switch/hub is PoE compliant.
2. The Internet Port can be also connected to Hub/Switch/IP PBX or other internet
devices.
3. Please contact your administrator for more information.
The phone can also share the network connection with other network devices such as
PC. Connect the phone’s PC port and computer’s Network Port together using an
Ethernet cable, shown as below:
Configuration and Registration
If you are administrator, you need to do some simple configuration to make the phone
work. If not, please contact your internet administrator or service provider for more
details.

tiptel VP 28 Getting Started
- 5 -
Configuring via Web Page
Press <OK> button on the keypad of the phone to enter the status page and find out
the IP address of the IP video phone. Enter the IP (for example http://10.1.3.204) into
the address bar of web browser. The default login name and password are
admin/admin.
Note:
Please locate your PC in the same network segment of IP phone (10.1.3.X) to access
the web configuration page. Please consult your system administrator for help.
Network Settings
Choose Network->Internet Port (WAN).
DHCP: By default the phone attempts to contact a DHCP Server in your network in
order to obtain its valid network settings, e.g. IP address, sub mask, gateway, DNS
server, etc.
Static IP Address: If your phone cannot contact a DHCP Server for any reason, you
need to enter the network settings manually via Static IP Address. Please contact your
internet administrator for more details.
PPPoE: If you are using the xDSL Modem, you can connect your phone to the internet
via PPPoE mode. Please contact your ISP for the User Name and Password for
internet access.
Note:
Using the wrong network parameters may result in inaccessibility of your phone and
may also have an impact on your network performance. Please contact your network
administrator.
Account Settings
The phone attempts to register to the SIP server using the account/register data
provided by the automatic or manual initialization.
Choose Account, you will find the following parameters:
Field
Description
Account Active
You can choose enable/disable to set the account respectively.
Display Name
It is shown as Caller ID when making a phone call.
User Name
User account information, provided by VoIP service provider.
Register Name
It is authenticated ID for authentication, provided by ISP.
Password
It is provided by ISP for registration.
SIP Server
Server for registration, provided by ISP.
When you have finished the Network and Account Setting configuration, the Register
Status Icons will be shown in the idle screen:
Register successfully
Register failed

tiptel VP 28 Getting Started
- 6 -
Note:
Should the IP PBX (SIP register) require an authentication, you will be prompted to
enter the correct password. Make sure you are using the appropriate input method or
enter the password via the web user interface.
Configuring via keypad
Network Settings: Click Setting->WAN Option to enter the internet relating
configuration page.
Account Settings: Click Setting->Account to configure the account.
You can refer to the above “Configuring via Web Page” for the parameter details.

tiptel VP 28 Overview
- 7 -
Overview
Keypad Instruction
You can check the following list which introduces the IP phone’s keypad in detail:
Event Indication LED
It will show the event status of the video phone. It will blink when registration failed,
the network is unavailable, there is a missed call or voicemail to the extension or hold/
mute the call or firmware Update.
Power Indication LED
It will show the power status, it will be on if the phone is powered, off if the phone is
power off.
Video Camera
Used for electronic motion picture acquisition.
Context-sensitive Soft keys
There are four soft keys: F1, F2, F3 and F4. Each key performs a specific function
indicated by a corresponding icon displayed near the bottom edge of the screen.

tiptel VP 28 Overview
- 8 -
The specific function is assigned by the internal logic of the videophone and varies from
menu to menu. For example, pressing a soft key corresponding to the Directory
function will to enter the Contacts menu directly.
DTMF Keypad
The DTMF keypad is used for entering numbers, letters and symbols. In a situation
where only numbers are expected, for example, when dialing a phone number, pressing
a key will enter the corresponding digit. For example, pressing will enter the
number 2. In a situation where alphabet or symbol or both are allowed - when entering
a URL address for example - you will need to press the same key repeatedly to reach
the character you want. For example, pressing two times will enter the letter a,
followed by b, c and A, B, C in order. To enter alphabets in lower or upper case, you need
to be in lower case mode or upper case mode, respectively. The current mode is
indicated by one of the following icons shown on the LCD screen.
: All letters and numbers.
: Numeric.
: Letters in lower case.
: Letters in upper case.
Navigation Keys
Use the navigation keys to navigate in the display menus and confirm or cancel actions.
1.Move to select a menu item or a menu entry.
1. Move to select a menu item or a menu entry.
1.Move to select a menu item.
2. During a call, increase the speakerphone volume.
1. Move to select a menu item.
2. During a call, decrease the speakerphone volume.
1. Confirm a selection.
2. Press this key at the idle page to check the status
3. During a call, press this key to put the active call on hold.

tiptel VP 28 Overview
- 9 -
Hard Feature Keys
The feature keys provide a quick way to invoke a feature or a function.
Press to turn on video privacy, the videophone start to send your video
to the recipient. Press again to turn off video privacy;
Mute audio transmission locally during calls;
Allow users to access the Contacts page directly;
1. To active the DND mode.
: 1. Allow users to access the dialed list directly ;
2. In the Dialed list, press this button to dial out the chosen record;
Speakerphone Key
This button is to let you make/answer a call in speakerphone mode, or
switch between the speakerphone mode and handset mode during a
call.
LED Instruction
Table 1 Event Indication LED
LED Status
Description
Blinking green
Power is on but there are some problems: registration
failure, the network is unavailable or there is a missed call or
message to the extension or hold/ mute the call or firmware
Update. The detail will be displayed on the display (LCD or
external display).
Off
There is no any abnormal status
Table 2 Power Indication LED
LED Status
Description
Steady green
Power on
Off
Power off

tiptel VP 28 Overview
- 10 -
Icon Instruction
The IP Phone displays different kinds of icons on its LCD; you can refer to the following
table for their meanings:
Icon
Description
Network Status: Available
Network Status: Unavailable
Network Status: Limited
Account register successful
Account register failed
Missed calls
Call in
Call out
In handset mode
In speaker mode
In headset mode
USB flash device detected
SD memory card detected
SD memory card is write-protect
Call mute
Call hold
Voicemail
Always forward
Busy forward
NO answer forward
DND(Do not Disturb)

tiptel VP 28 Overview
- 11 -
Default 1
Default 2
Default 3
Default 4
User Interface
There are two ways to customize specific options on your phones:
1. Using keypad and display on the phone;
2. Using web user interface in an Internet browser from your PC; please refer to
“Configuration and Registration” to get into the web interface.
In many instances, it is possible to use both the user interfaces to operate the phone
and change settings; some, however, are only possible via a phone or web user
interface. Please refer to the following table for differences:
Phone Options
Phone UI
Web UI
Status
√
√
--Version
--Network
--Account
Call Features
√
--Forward
√
--Call Waiting
√
--Auto Answer
√
--Dial Plan
√
--Speed Dial
--Key as Send
√
Basic Phone Functions
√
--Language
√
--Date & Time
√
--Call Option
√
--Local Video
√
--Screen Saver
--Sound
--Security
√
Advanced Phone Functions
--Account
√
√
--Network
√
√
--Upgrade
√
--Factory
√
√

tiptel VP 28 Overview
- 12 -
--Reboot
√
--Auto provision
√
Other Features
√
--Call History
--Directory
√
--Message
√
Note:
The above table only indicates most of phone functions rather than all of them. Please
refer to the relating parts for more details.
User and Administrator Mode
Your phone can be used in user or administrator mode. Administrator mode is the
default setting with full configuration rights. The default administrator password is
admin.

tiptel VP 28 Customizing Your Phone
- 13 -
Customizing Your Phone
Powering Up the Videophone
1) Plug a Network cable into the network port.
2) Plug in power.
3) It takes about 2 minutes to boot up the videophone. During this period, please do
not touch any keys or turn off the videophone.
The Idle Interface
Check the Status
You can view the status of your phone using the phone interface or the web interface.
You can review the following options:
Version: Software Version, Hardware Version;
Network: IP Address, Mac Address, WAN Port Type and Link Status;
Accounts: Display Name, Phone Number, Server and Status;
To check the Phone Status via phone interface:
1) Click the Status option under the idle.
2) Press the Next soft key to check the status of other accounts.
3) Press the Version Detail soft key to check the details of your version.
To view the Phone Status via web interface:

tiptel VP 28 Customizing Your Phone
- 14 -
Open the web browsers and input the IP Address http://WAN-ip-address; Enter the
account and password (default account and password are “admin/admin”); choose
Status directly to check the status.
Basic Settings
Personalize
This option includes the following parameters
Language: English, Dutch, Turkish, French, German, ect;
Call Option: Voice or Video.
Local Video: Open or Close.
Language
The default language is English.
It can support English, Korean, etc. You can change the language for the phone user
interface and the web user interface independently.
Note:
The available languages depend on the language packs currently loaded to the IP
phone. Please contact with your system administrator for more information about
loading language packs.
To change the language via phone interface
1) Click Setting->Personalize->Language.
2) Scroll through the list of available languages.
3) Press the Save soft key when the desired language is highlighted.

tiptel VP 28 Customizing Your Phone
- 15 -
The language appears on the graphic display will be changed to the one you chose.
4) Press Exit soft key to return to the previous screen.
Note:
The settings of Call Option and Local Video are the same as language .
To change the language via web interface
Choose Phone->Preference->language to do the relating changes. Please refer to the
instruction above for the parameters’ detail.
Note:
If you choose the different language, you need to reboot the phone.
Call Option
Define the mode of calling out.
To change the call option via phone interface
1) Click Setting->Personalize->Call Option.
2) Press <OK> to pop up the pull-down menu, choose Voice or Video as the
default call mode;
3) Press Save to confirm the change;
Other manuals for VP 28
1
Table of contents
Other TIPTEL Telephone manuals

TIPTEL
TIPTEL 1010 User manual

TIPTEL
TIPTEL 2020 User manual

TIPTEL
TIPTEL 31xx series User manual

TIPTEL
TIPTEL 3110 User manual

TIPTEL
TIPTEL IP 284 User manual

TIPTEL
TIPTEL 3020 User manual

TIPTEL
TIPTEL 140 User manual

TIPTEL
TIPTEL 1030 User manual

TIPTEL
TIPTEL 83 system User manual

TIPTEL
TIPTEL IP 286 User manual

TIPTEL
TIPTEL Ergophone C Installation manual

TIPTEL
TIPTEL 114 User manual

TIPTEL
TIPTEL 85 System S0 User manual

TIPTEL
TIPTEL 6120 User manual

TIPTEL
TIPTEL 6240 User manual

TIPTEL
TIPTEL INNOVAPHONE 200 User manual

TIPTEL
TIPTEL 275 User manual

TIPTEL
TIPTEL 118 User manual

TIPTEL
TIPTEL 1020 User manual

TIPTEL
TIPTEL 822XT User manual