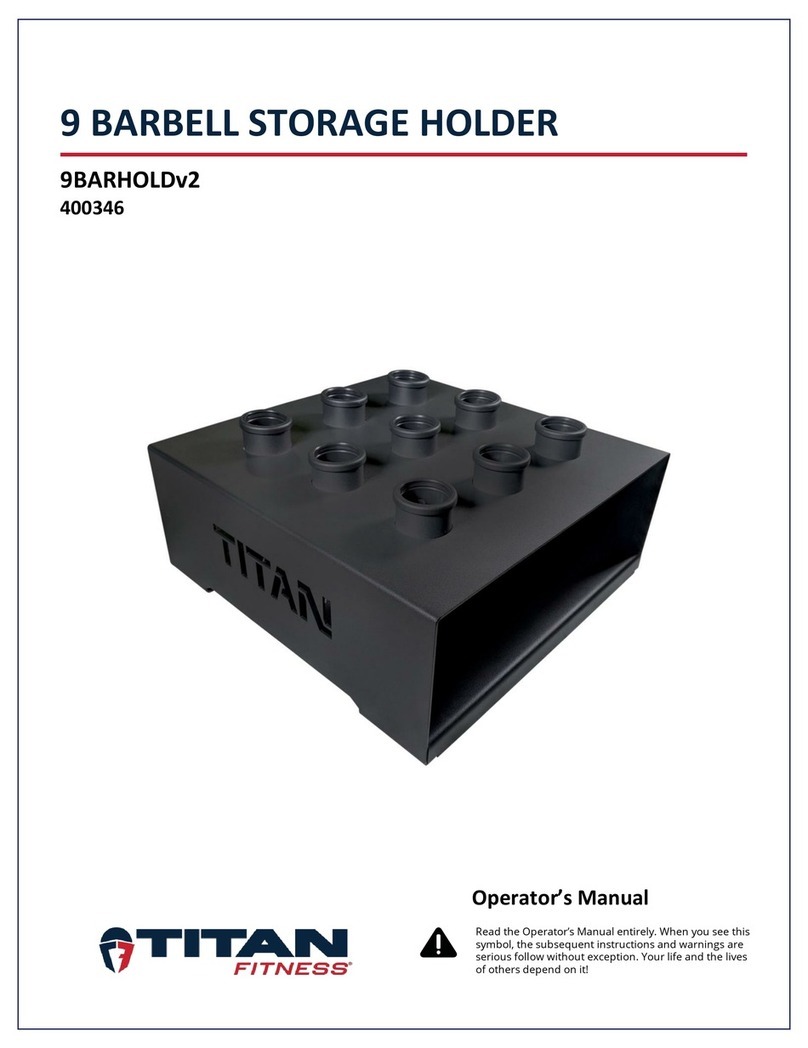
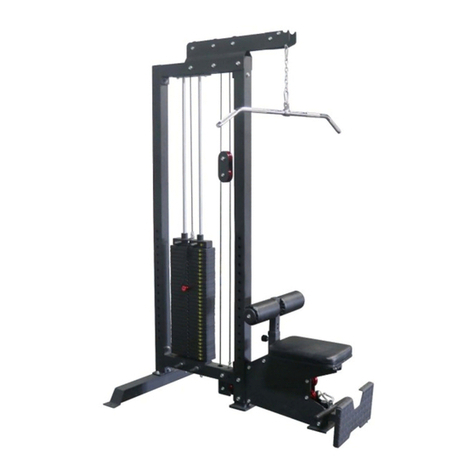
Titan Fitness T-3 YOKE Series User manual
Other Titan Fitness Fitness Equipment manuals
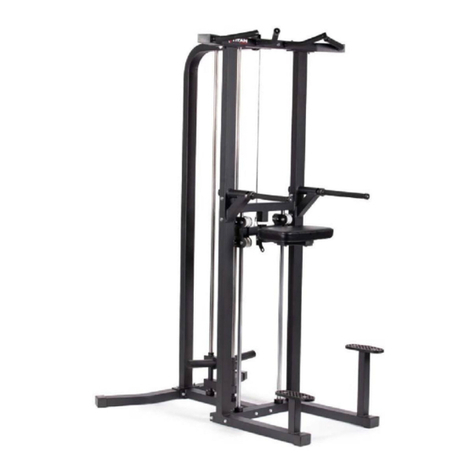
Titan Fitness
Titan Fitness ASSTPULLDP User manual
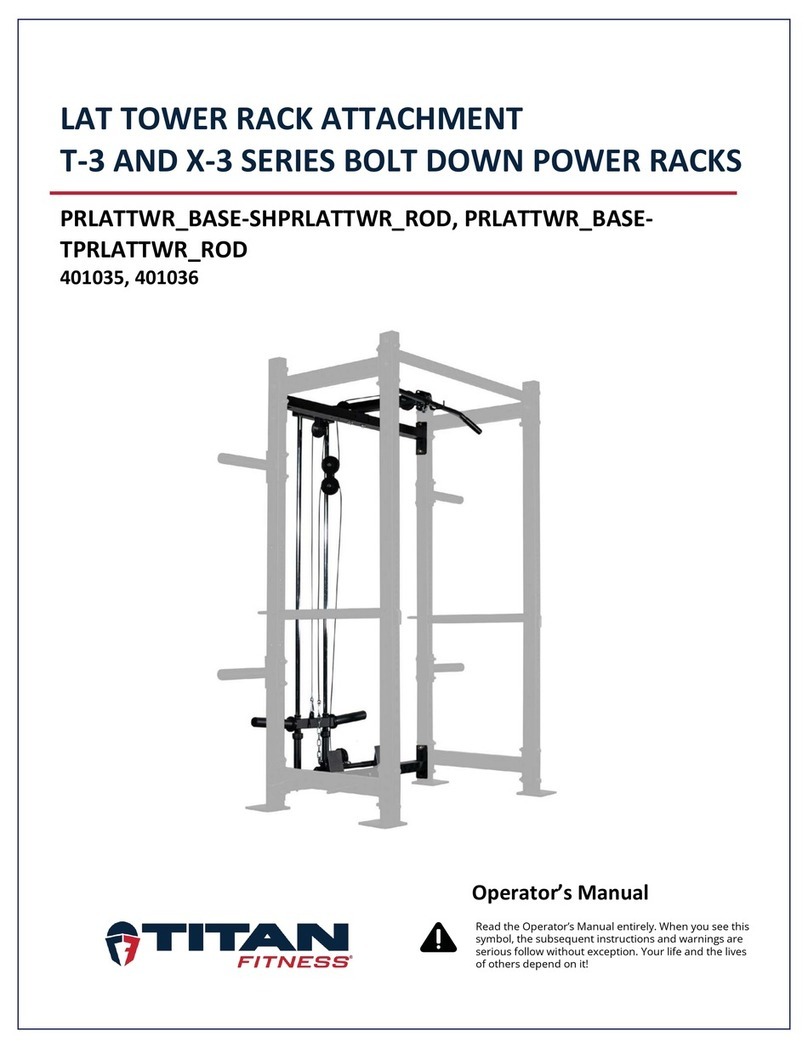
Titan Fitness
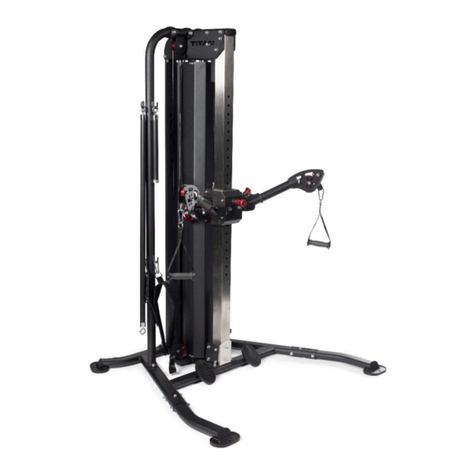
Titan Fitness T-3 Series User manual
Titan Fitness
Titan Fitness NEMESIS CFNTLTNR300 User manual

Titan Fitness
Titan Fitness FMPLYO User manual
Titan Fitness
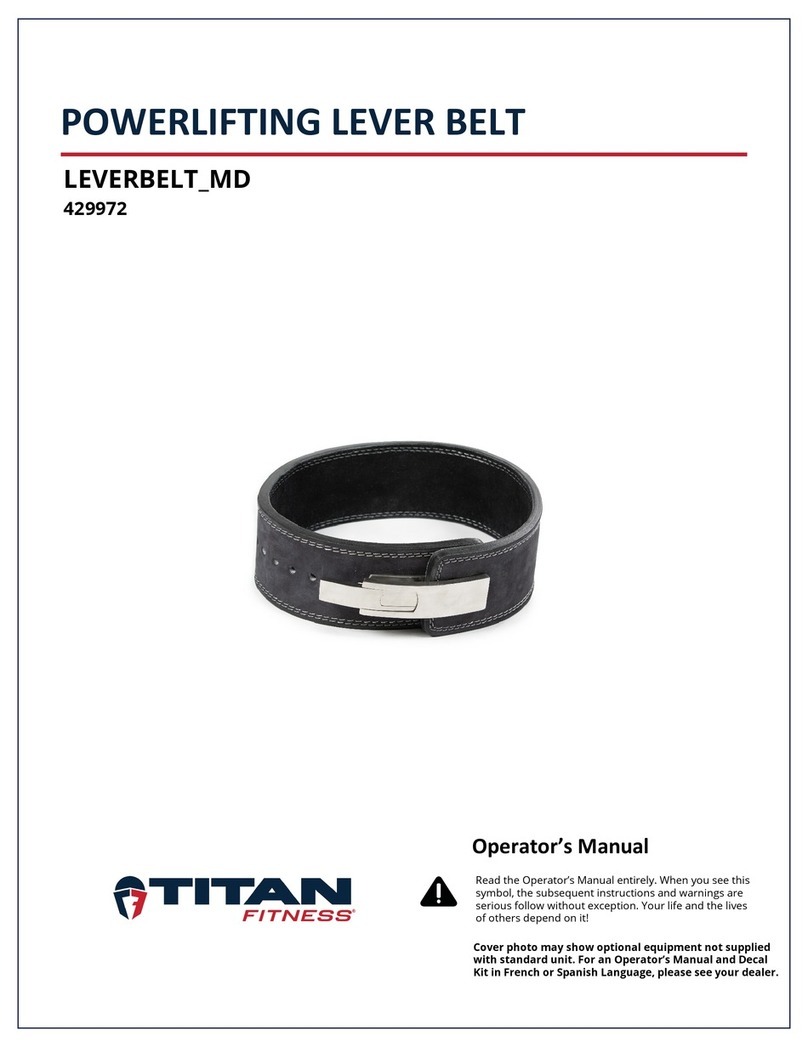
Titan Fitness LEVERBELT MD User manual
Titan Fitness
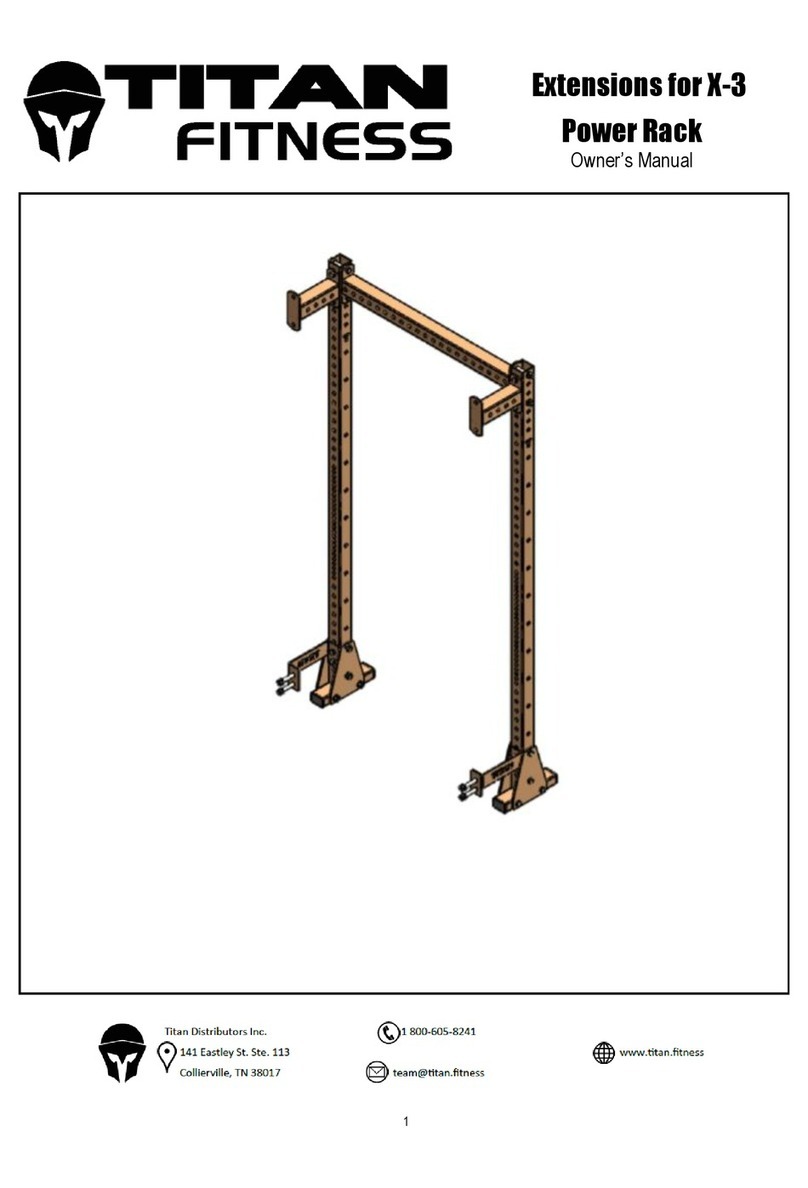
Titan Fitness X-3 User manual
Titan Fitness
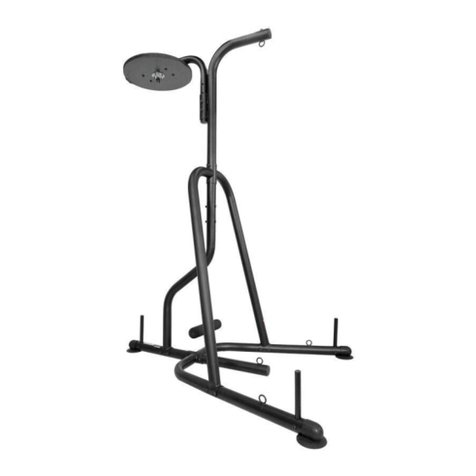
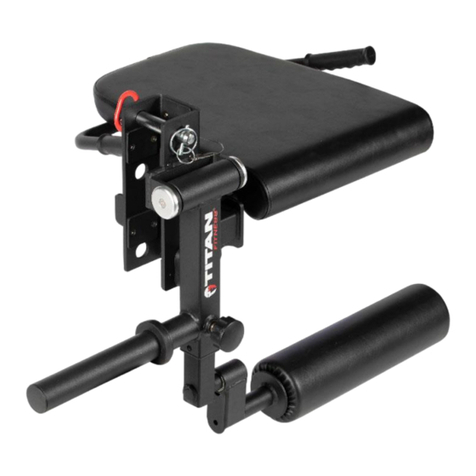
Titan Fitness BOXSTND User manual
Titan Fitness
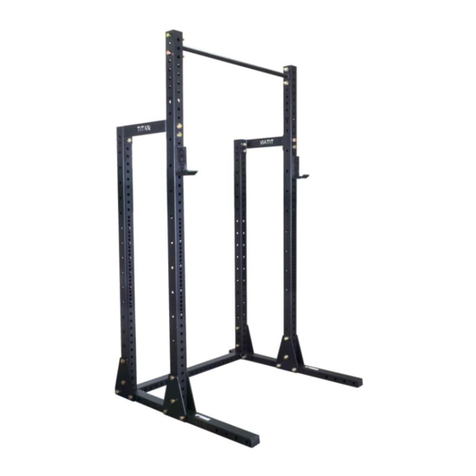
Titan Fitness TITANRACKCRL User manual
Titan Fitness
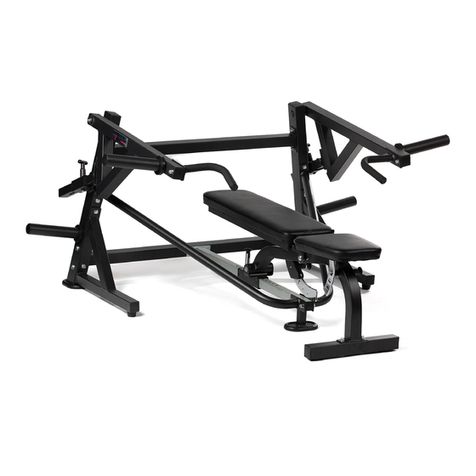
Titan Fitness X3SQUAT1 User manual
Titan Fitness
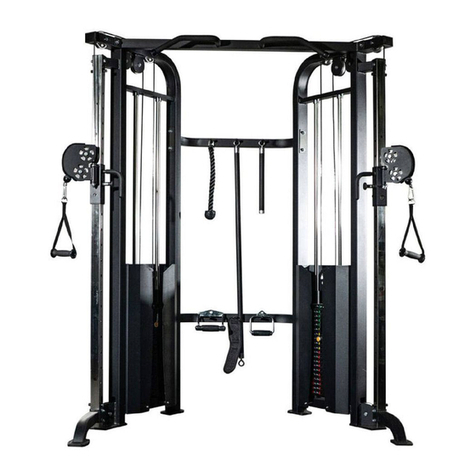
Titan Fitness PLCHSTPRS1 User manual
Titan Fitness
Titan Fitness FNTLTNR User manual

Titan Fitness
Titan Fitness KBCST 5 User manual

Titan Fitness
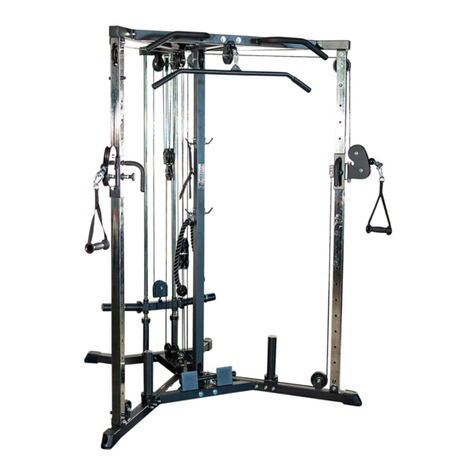
Titan Fitness LVGSQT1 User manual
Titan Fitness
Titan Fitness PLTRAINER1 User manual

Titan Fitness
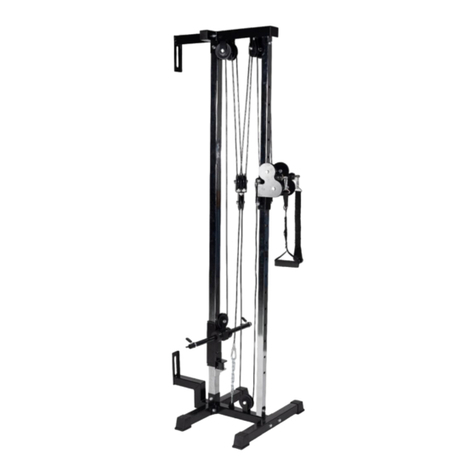
Titan Fitness PLDIP 400899 User manual
Titan Fitness
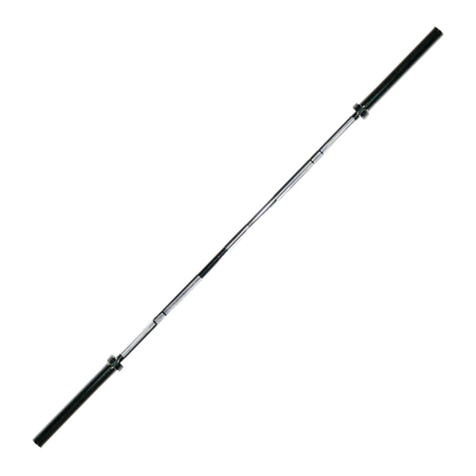
Titan Fitness TLLPULTWRv3 User manual
Titan Fitness
Titan Fitness MIDWAYBAR User manual

Titan Fitness
Titan Fitness PROBAG25 User manual
Titan Fitness
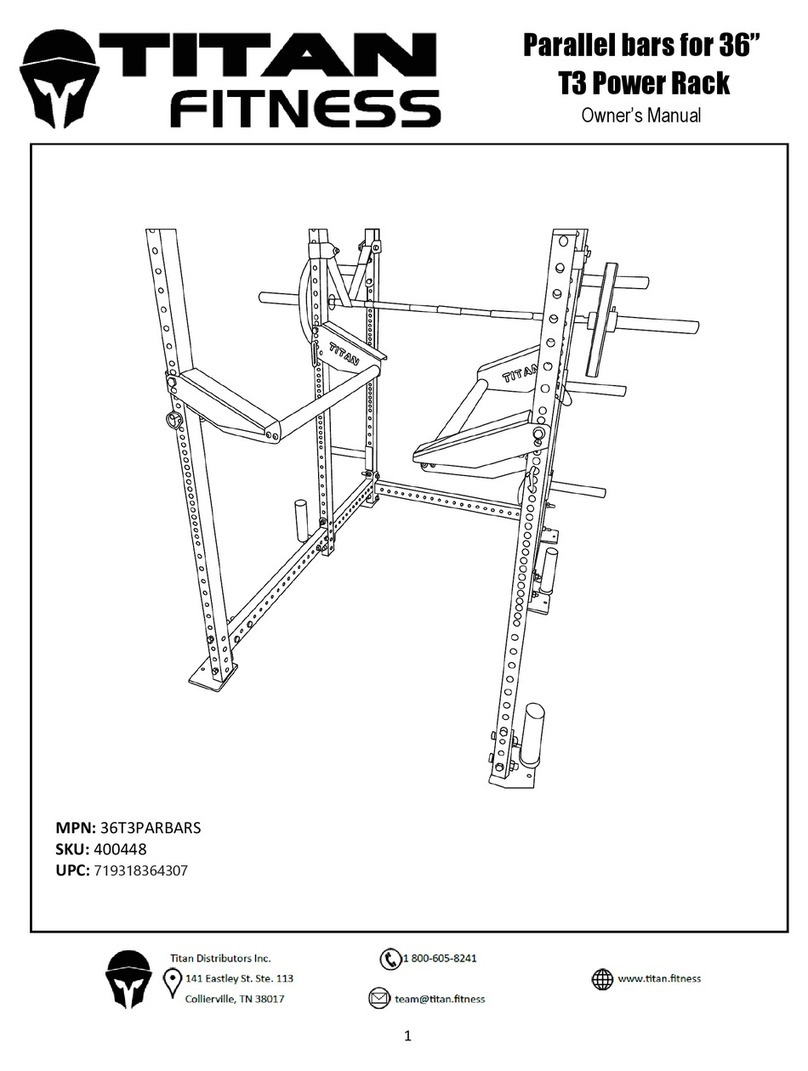
Titan Fitness 36T3PARBARS User manual
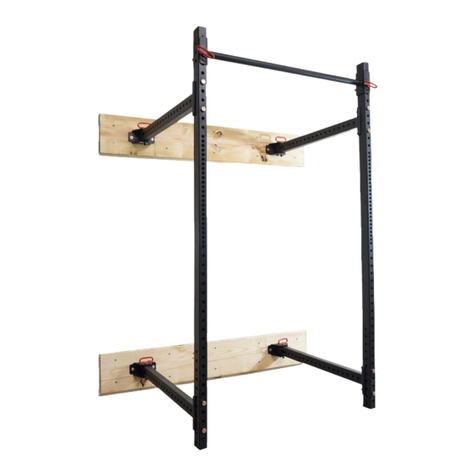
Titan Fitness
Titan Fitness 4FPWR User manual
Popular Fitness Equipment manuals by other brands

G-FITNESS
G-FITNESS AIR ROWER user manual

CAPITAL SPORTS
CAPITAL SPORTS Dominate Edition 10028796 manual

Martin System
Martin System TT4FK user guide

CIRCLE FITNESS
CIRCLE FITNESS E7 owner's manual

G-FITNESS
G-FITNESS TZ-6017 user manual

Accelerated Care Plus
Accelerated Care Plus OMNISTIM FX2 CYCLE/WALK user manual
