manuals.online logo
Brands
  1. Home
  2. •
  3. Brands
  4. •
  5. TMG
  6. •
  7. Tools Storage
  8. •
  9. TMG TMG-WBC10 User manual

TMG TMG-WBC10 User manual

Other TMG Tools Storage manuals

TMG TMG-WBC07 User manual

TMG

TMG TMG-WBC07 User manual

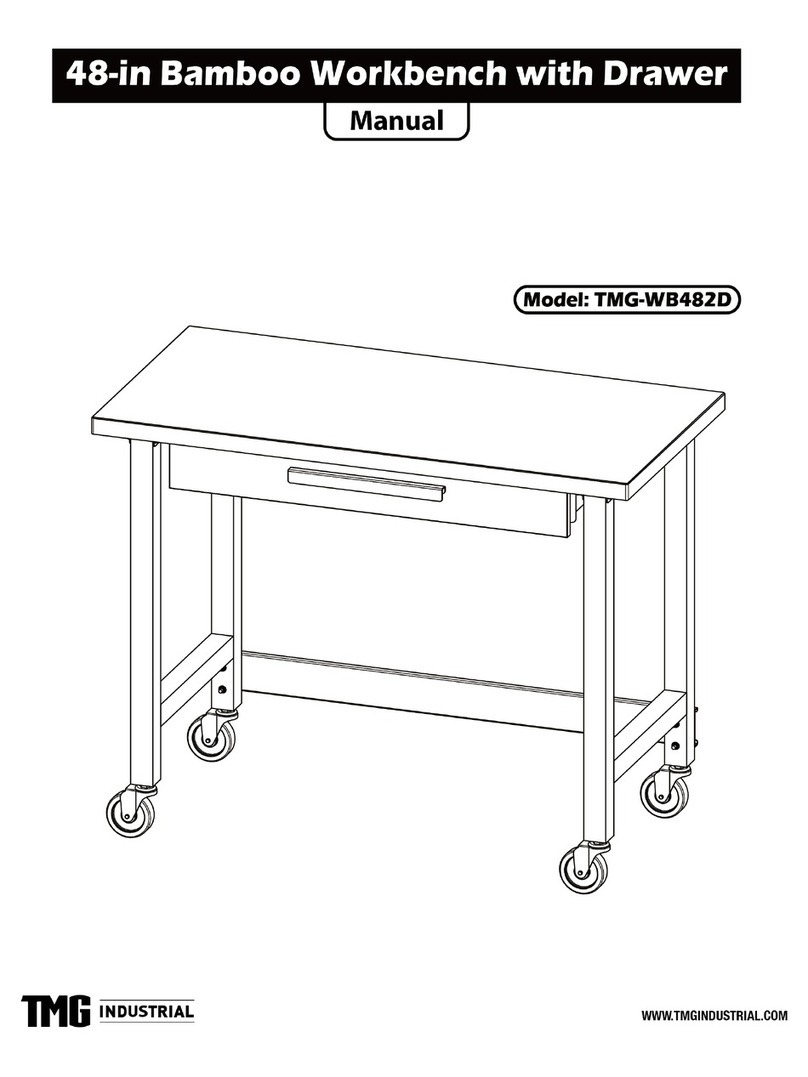
TMG TMG-WB482D User manual

TMG

TMG TMG-WB482D User manual

TMG TMG-WBC72S User manual

TMG

TMG TMG-WBC72S User manual

Popular Tools Storage manuals by other brands
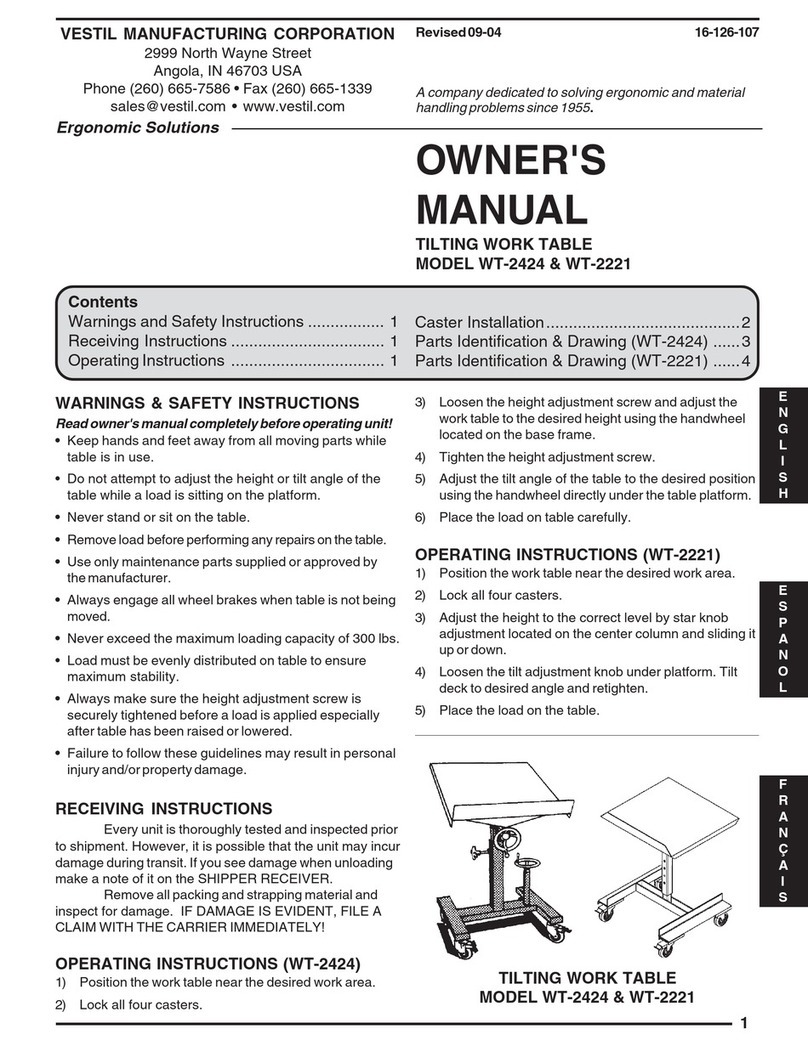
Vestil WT-2424 owner's manual

Vestil

Vestil WT-2424 owner's manual

Kendall Howard ESDW-9630-1000 owner's manual

Kendall Howard

Kendall Howard ESDW-9630-1000 owner's manual

Ryobi RWB03 Original instructions

Ryobi

Ryobi RWB03 Original instructions

Husky H27CH5TR4BGK Use and care guide

Husky

Husky H27CH5TR4BGK Use and care guide

Scheppach ts 2100 Translation from original manual

Scheppach

Scheppach ts 2100 Translation from original manual

DIVERSIFIED WOODCRAFTS SHAIN GSB-6024 Assembly instruction

DIVERSIFIED WOODCRAFTS

DIVERSIFIED WOODCRAFTS SHAIN GSB-6024 Assembly instruction

Cassese CS200 CART user & parts manual

Cassese

Cassese CS200 CART user & parts manual

Cornwell Tools CTB360AKBK Assembly instructions

Cornwell Tools

Cornwell Tools CTB360AKBK Assembly instructions

Workzone 99609 Assembly instructions

Workzone

Workzone 99609 Assembly instructions

Stanley STST83800-1 instruction manual

Stanley

Stanley STST83800-1 instruction manual

Perel ROLLER SHUTTER STORAGE CABINET Assembly instructions

Perel

Perel ROLLER SHUTTER STORAGE CABINET Assembly instructions

BGS technic 4107 manual

BGS technic

BGS technic 4107 manual

Tennsco RXHS-962484 Assembly Instructions/Parts Manual

Tennsco

Tennsco RXHS-962484 Assembly Instructions/Parts Manual

Grizzly T1240 owner's manual

Grizzly

Grizzly T1240 owner's manual

Rubi 66924 manual

Rubi

Rubi 66924 manual

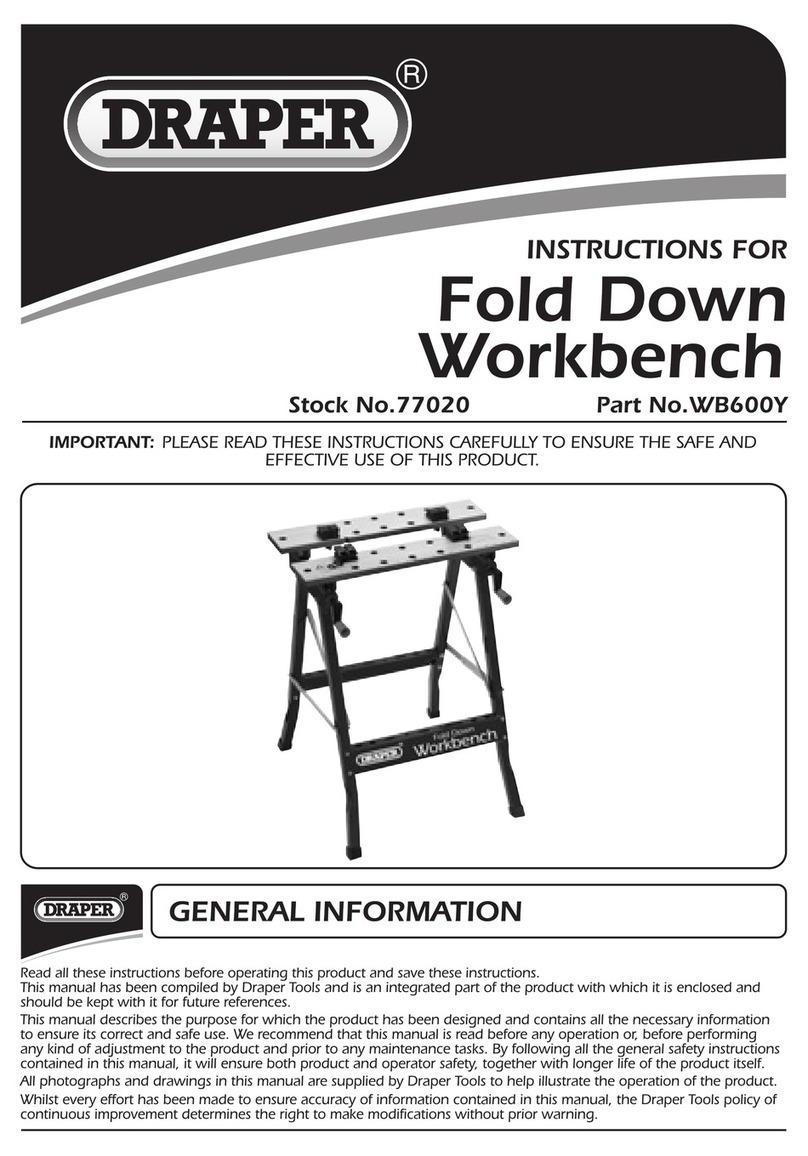
Draper 77020 instructions

Draper

Draper 77020 instructions

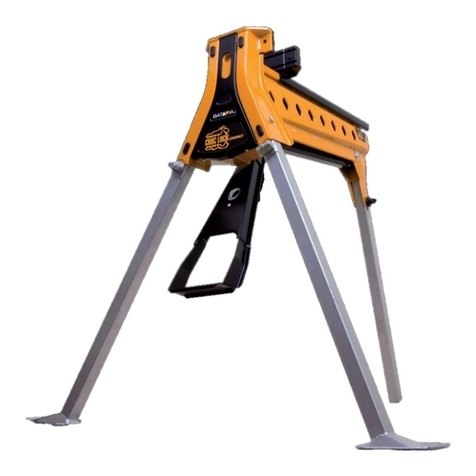
Batavia CROC LOCK COMPACT Translation of the original instructions

Batavia

Batavia CROC LOCK COMPACT Translation of the original instructions

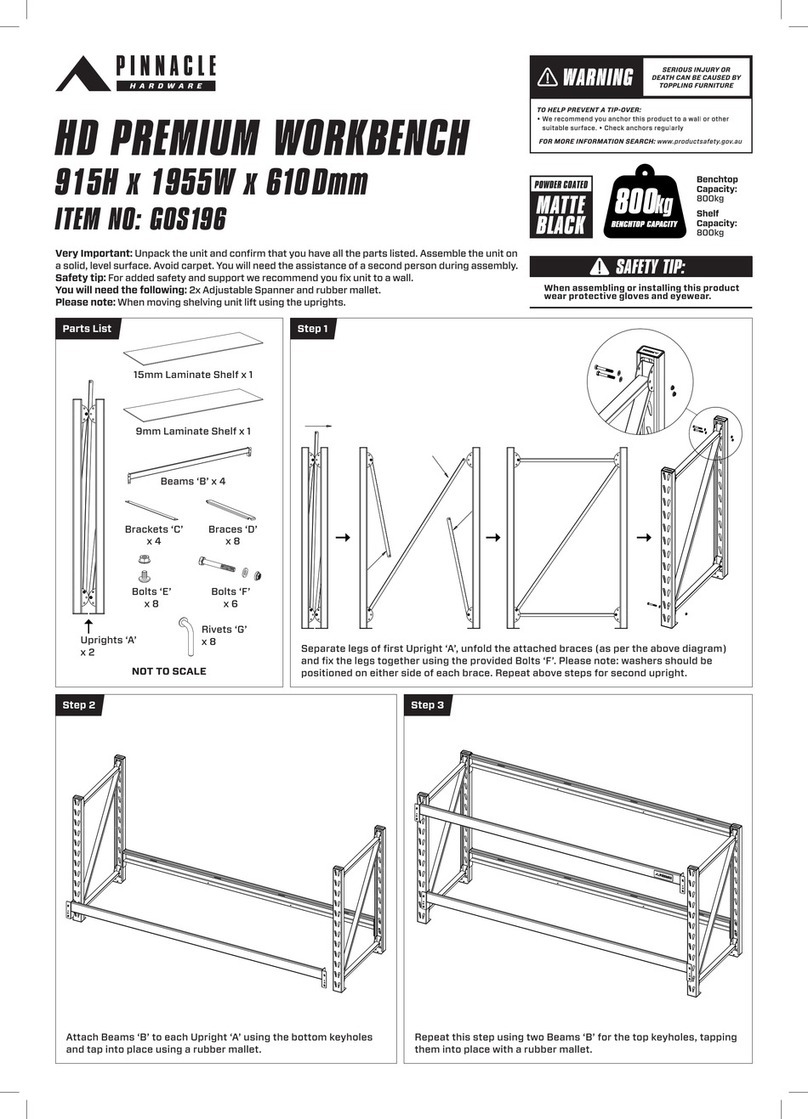
Pinnacle GOS196 quick start guide

Pinnacle

Pinnacle GOS196 quick start guide

manuals.online logo
manuals.online logoBrands
  • About & Mission
  • Contact us
  • Privacy Policy
  • Terms and Conditions

Copyright 2025 Manuals.Online. All Rights Reserved.

PRODUCT MANUAL
v.2022.11.17
TMG-WBC10
• Please read and understand the product manual completely before assembly
• Check against the parts list to make sure all parts are received
• Wear proper safety goggles or other protective gears while in assembly
• Do not return the product to dealer. They are not equipped to handle your requests.
Missing parts or have questions on assembly?
Please call: 1-877-761-2819 or email: [email protected]
TOLL FREE: 1-877-761-2819
WARNING
www.tmgindustrial.com
10' HEAVY-DUTY STEEL
GARAGE WORKBENCH
www.tmgindustrial.com TOLL FREE:1-877-761-2819
Frame structure diagram
www.tmgindustrial.com TOLL FREE:1-877-761-2819
1/14
TMG-WBC10PART LIST
NO. PICTURE DESCRIPTION QUANTITY LENGTH
1Workbench 1
2Hanging panel 1
3Lampshade 1
4Storage table 1
5Strengthen groove 1
6 Hanging panel column 2
7LED light 3
8Lampshade connector 2
9 Socket 1
10 Key 6
11 M8*20 screw 26
2850X923X670mm
2608X986X40mm
2808X316X40mm
2801X250X100mm
2602X80X40mm
1086X100X290mm
400X43X13mm
446X272X23mm
229X55X40mm
38X23X10mm
M8X20mm
M8X10mm
M8
260X117X3mm
597X287X267mm
350X220X195mm
12 M8*10 screw 14
13 M8 Nut 30
14 Z connector 2
15 Bench Vise base 1
16 Bench Vise 1
www.tmgindustrial.com TOLL FREE:1-877-761-2819
2/14
ACCESSORIES LIST
Workbench
NO. PICTURE DESCRIPTION QUANTITY LENGTH
Right door
Left door
Small drawe
big drawe
2
2
6
4
320x634x20mm
330x634x20mm
485x107x527mm
485x150x527mm
1-1
1-2
1-3
1-4
1-4
1-3
1-2
1-1
www.tmgindustrial.com TOLL FREE:1-877-761-2819
3/14
www.tmgindustrial.com TOLL FREE:1-877-761-2819
4/14
TMG-WBC10
INSTALLATION INSTRUCTIONS
STEP1
Connect the hanging panel column to the workbench with M8*20 screw in the direction of the arrow as
show in the figure.
No. Part Qty
1
4
1
1
11
14
14 1
11
www.tmgindustrial.com TOLL FREE:1-877-761-2819
5/14
No. Part Qty
6
1
1
14
11
15
STEP2
Connect the bench vise base to the workbench with M8*20 screws.
No. Part Qty
3
3
1
13
11
16
STEP3
Place the bench vise to bench vise base in the direction of the arrow, keep it flat and connect them with
M8*20 screw and M8 nut.
www.tmgindustrial.com TOLL FREE:1-877-761-2819
6/14
11
16
13
www.tmgindustrial.com TOLL FREE:1-877-761-2819
7/14
No. Part Qty
6
1
5
11
STEP4
As shown in the figure,secure the hanging panel strengthen groove with M8*20 screws to the work-
bench.
11
5
No. Part Qty
4
4
13
11
2
6
www.tmgindustrial.com TOLL FREE:1-877-761-2819
STEP5
Move the hanging panel column to the designatedposition of the workbench as indicated by the
arrow,and tighten and reinforce it with the M8*20 screw and M8 nut.
11
13
6
www.tmgindustrial.com TOLL FREE:1-877-761-2819
8/14
No. Part Qty
1
8
10
2
11
12
18
13
www.tmgindustrial.com TOLL FREE:1-877-761-2819
9/14
STEP6
As shown in the figure, move the hanging panel to the column according to the instructions of the arrow,
fix the hanging paneland the column with M8*10 screws and M8 nuts according to the figure, and con-
nection between the hanging panel and thestrengthen groove is fix with M8*20 screws and M8 nuts.
12
11
2
13