Tobii Dynavox SC Tablet User manual
Other Tobii Dynavox Tablet manuals

Tobii Dynavox
Tobii Dynavox T15 User manual
Tobii Dynavox
Tobii Dynavox SC Tablet User manual
Tobii Dynavox
Tobii Dynavox SC Tablet Mini User manual
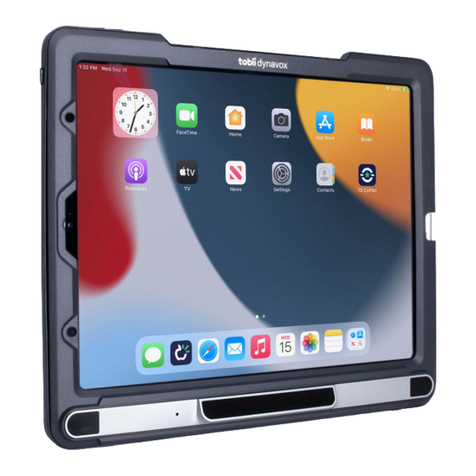
Tobii Dynavox
Tobii Dynavox TD Pilot User manual
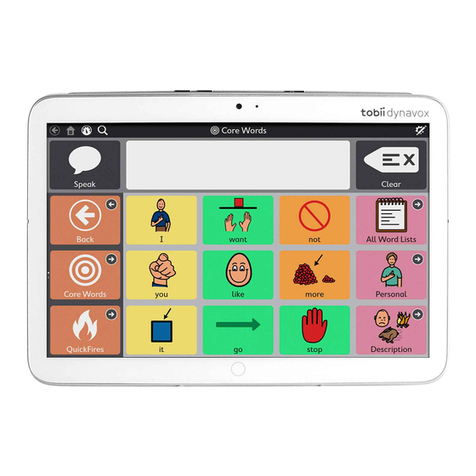
Tobii Dynavox
Tobii Dynavox INDI User manual

Tobii Dynavox
Tobii Dynavox TD Pilot User manual

Tobii Dynavox
Tobii Dynavox TD I-13 User manual
Tobii Dynavox
Tobii Dynavox INDI User manual

Tobii Dynavox
Tobii Dynavox I-Series User manual
Tobii Dynavox
Tobii Dynavox T7 User manual
Tobii Dynavox
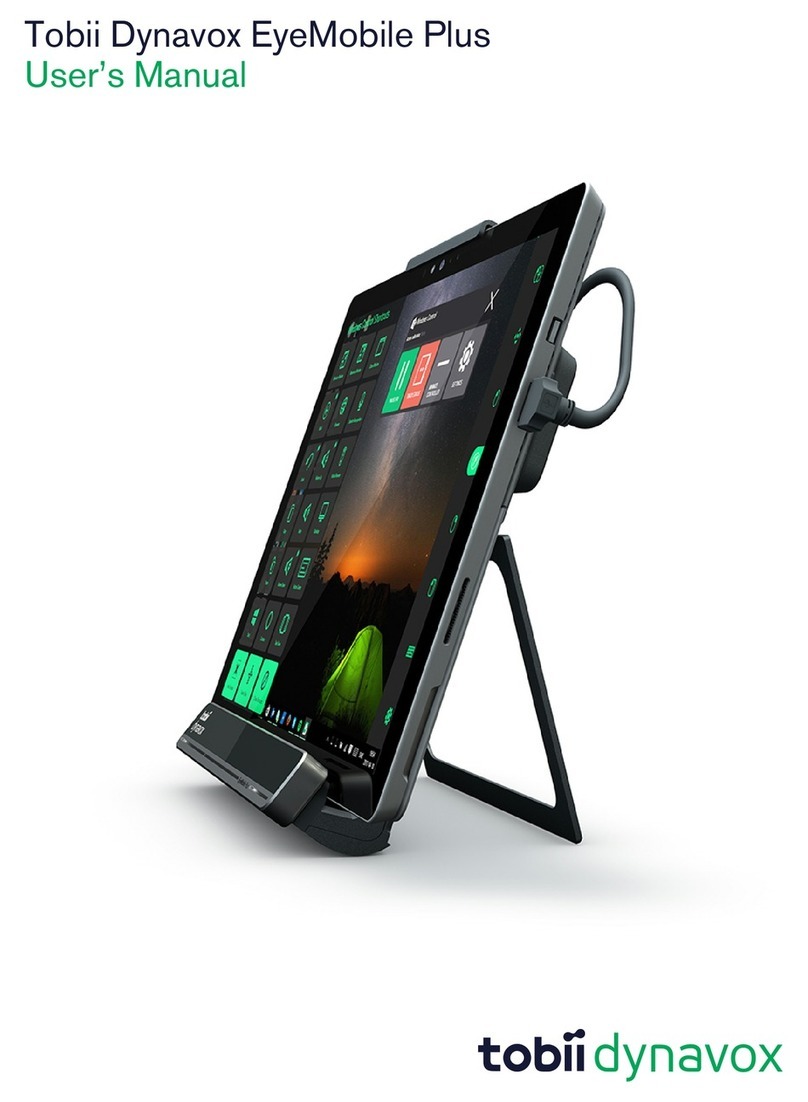
Tobii Dynavox EyeMobile Plus User manual

Tobii Dynavox
Tobii Dynavox SC Tablet User manual

Tobii Dynavox
Tobii Dynavox SC Tablet Mini User manual
Tobii Dynavox
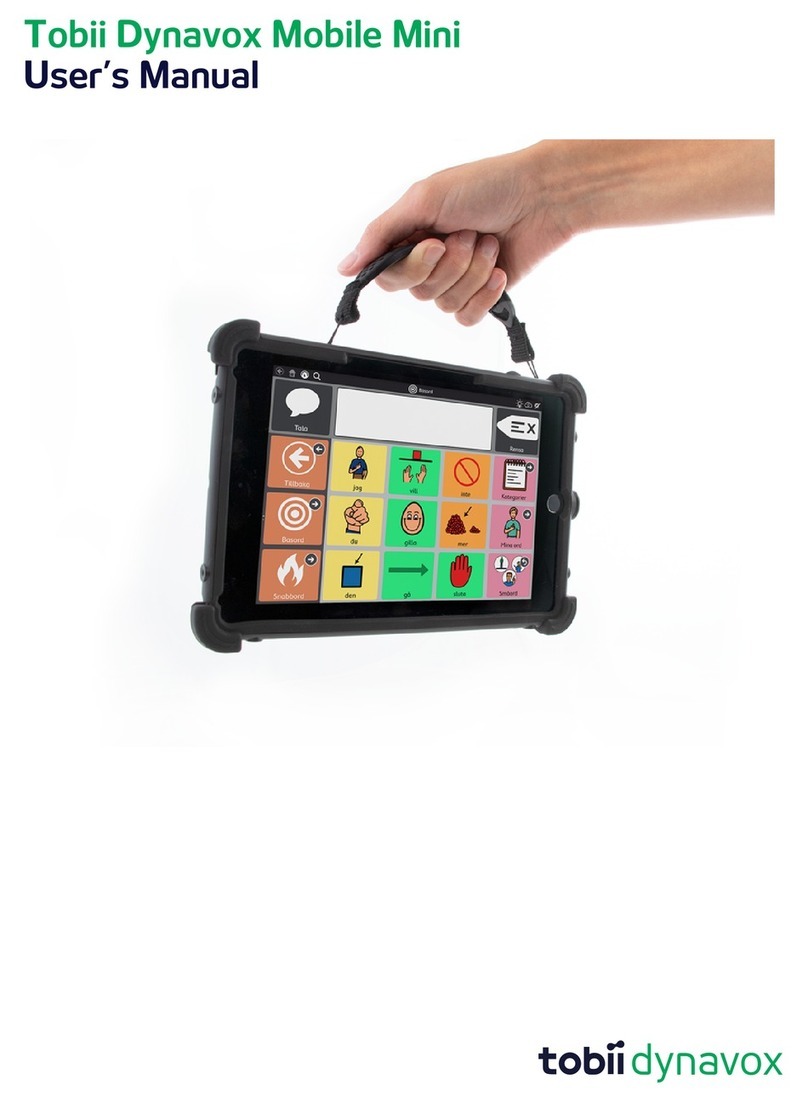
Tobii Dynavox Mobile Mini User manual
Tobii Dynavox
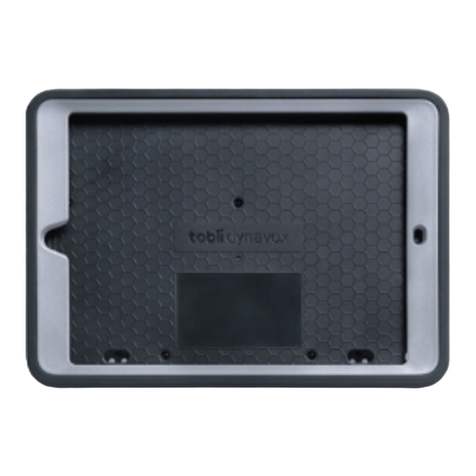
Tobii Dynavox Speech Case User manual

Tobii Dynavox
Tobii Dynavox Speech Case User manual


