manuals.online logo
Brands
  1. Home
  2. •
  3. Brands
  4. •
  5. Top RC Model
  6. •
  7. Toy
  8. •
  9. Top RC Model Super galeb G-4 ARF User manual

Top RC Model Super galeb G-4 ARF User manual

第 1 页
第 2 页
第 3 页
Accessory list for the installation of aileron.
3. Fix the fiber horns to the slots in the aileron with epoxy
glue.
1. Sanding the fiber horns.
4. Fix the fiber horns to the slots in the aileron with
epoxy glue.
2. Sanding the fiber horns.
5. The sketch map when the horns assembled.
第 4 页
6. Assemble the fiber horns to the slots in the flap with epoxy
glue.
9. Servo assembled ready for aileron.
7. Assemble the servos to the servo trays.
10. Servo assembled ready for aileron.
8. Assemble the servos to the servo trays.
11. Servo assembled ready for flap.
第 5 页
12. Assemble the linkage to the servo.
15. The sketch map when the horns in the wings
assembled finished.
13. Apply glue to the slots of flaps and epoxy the horn to
them.
16. Apply instant type AB glue to the horns covers.
14. Assemble the linkage to the horns with screws.
17. The sketch map when the horns covers assembled
completely.
第 6 页
Accessory list for the installation of rudder.
20. Assemble the horns to the slots in the rudder.
18. Apply instand type AB glue to the slots in the rudder,
vertical fin.
21. Assemble the servo to the vertical fin.
19. Assemble the rudder to the vertical fin and make sure it
can move freely.
22. Drag the servo line out.
第 7 页
23. Measure the deepth from the servo to the vertical fin
root.
26. Connect the fiber horns to the servo arms with the
linkage and locked each side with screws.
24. Measure the same length on the surface of the vertical
and mark it out as picture.
Accessory list for the installation of belly speed brake.
25. Trim a slot for the servo arm.
27. Ready to assemble the servo for belly speed brake.
第 8 页
28. Assemble the servo.
Accessory list for the installation of wheel doors.
29. Install the servo to the appropriate position in the
fuselage.
31. Epoxy the pinned hinges to the wheel doors carefully.
30. Connect the belly speed brake to servo arms with the
linkage and locked each side with screws.
32. Cut surplus the pinned hinges, put the wheel doors to
the fuselage via the opened slots.
第 9 页
33. Drill holes to appropriate position in the fuselage and
lock the wheel doors with screws.
36. Add some glue to the pinned hinges to make sure
them don't come off during flying.
34. Drill holes to appropriate position in the wheel doors
and lock the wheel doors with screws.
37. Trim slots to appropriate position on the wheel
doors.
35. Wheel door assembled ready.
38. Epoxy the fiber horns to the wheel doors.
第 10 页
39. Connect the linkage to the fiber horn with screws and
locknuts.
Accessory list for the installation of belly speed brake.
40. Connect the linkage to the fiber horn with screws and
locknuts.
42. Ready for assembly the stabilizers.
41. Connect the linkage to the servos for wheel doors.
43. Assemble the stabilizers to the fuselage.
第 11 页
44. Connect the pushrod to the arm on the stabilizer joiner.
47. Lock the vertical fin with screw.
45. Connect the pushrod to the servo.
48. The picture after the vertical fin assembled.
46. Apply AB glue to the hole in the vertical and assemble the
vertical tube to it.
49. The picture after the stabilizer assembled.
第 12 页
Accessory list for the installation of the retracts.
52. Fix the nose retract to the fuselage with screws.
50. Assemble the servo to the retracts and connect the
linkages.
53. Connect the hatch hinge to the clevis on the Alu sash
with screw.
51. Put the retract to the appropriate position from inner
fuselage.
54. Assemble the main retracts.
第 13 页
55. Assemble the wheel cover to the main retracts.
58. Lock the wing with schrews.
56. The picture when the retracts up.
Accessory list for the installation of bomb.
57. Lock the wing with schrews.
59. Fix the bomb with screws.
第 14 页
60. Glue the fairing cover to the G4 nose.
62. Assemble the turbine engine to the fuselage.
61. Assemble the antenna to the fuselage.
63. Assemble the fuel tank to the fuselage.
Accessory list for the installation of the fuel tank and tail
pipe.
64. Assemble the fuselage hatch.
第 15 页
65. Assemble the canopy to the fuselage.
66. The photo when the model assemble completely.
第 16 页
67. Adjust the travel of each control surface to the values
in the diagrams. These values fit general flight
capabilities.Readjust according to your needs and flight
level.
68. Adjust the travel of each control surface to the values
in the diagrams. These values fit general flight
capabilities.Readjust according to your needs and flight
level.
69. Check all the datas well. make sure all sections glue
tightly. Otherwise if coming off during flights, you'll lose
control of your airplane which leads to accidents!
70.C.G: Never fly before checking the CG's required
position. Never fly the model without well balancing.
第 17 页
第 18 页

Other Top RC Model Toy manuals

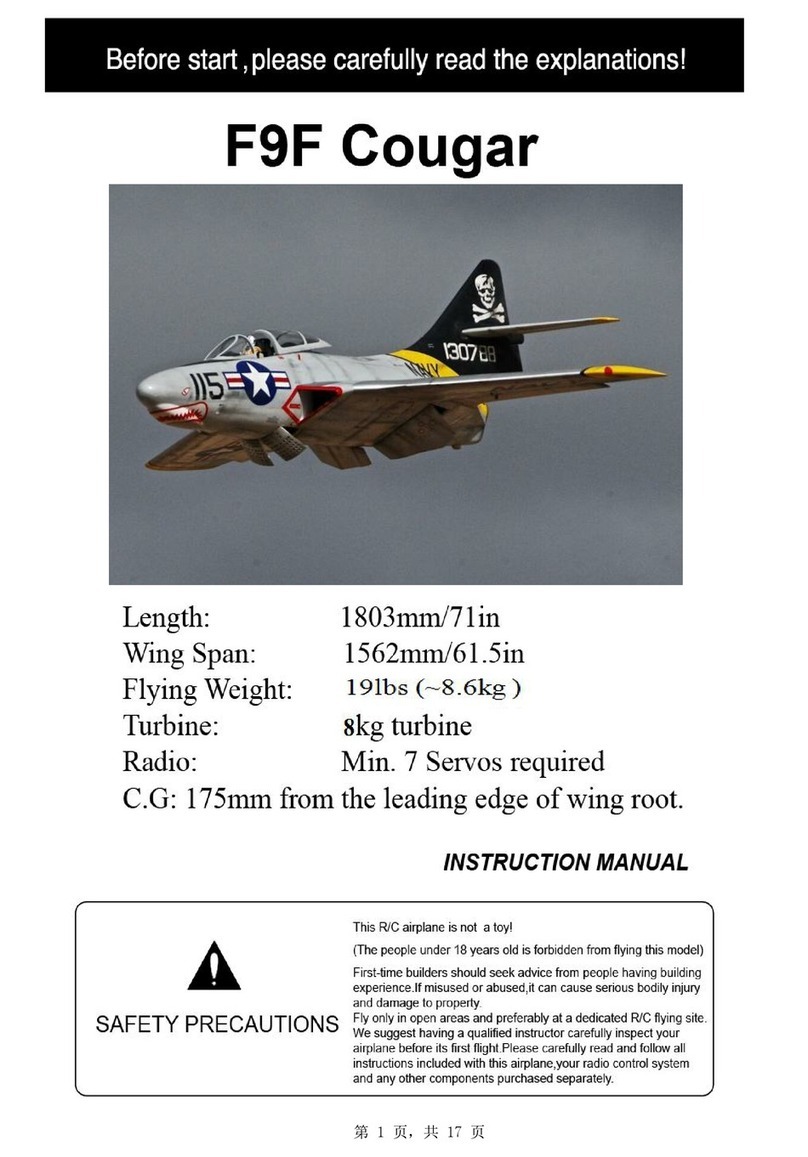
Top RC Model F9F Cougar User manual

Top RC Model

Top RC Model F9F Cougar User manual

Top RC Model Focke-Wulf Fw190A-8 User manual

Top RC Model

Top RC Model Focke-Wulf Fw190A-8 User manual

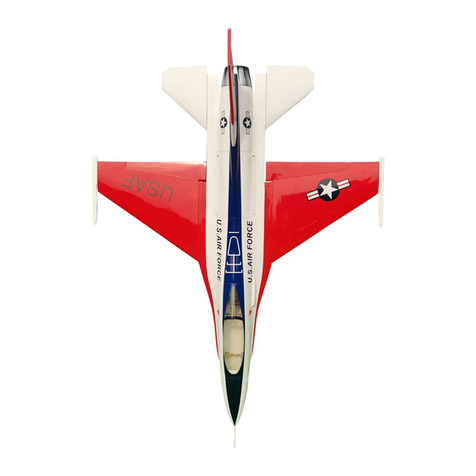
Top RC Model F-16 Fighting Falcon User manual

Top RC Model

Top RC Model F-16 Fighting Falcon User manual

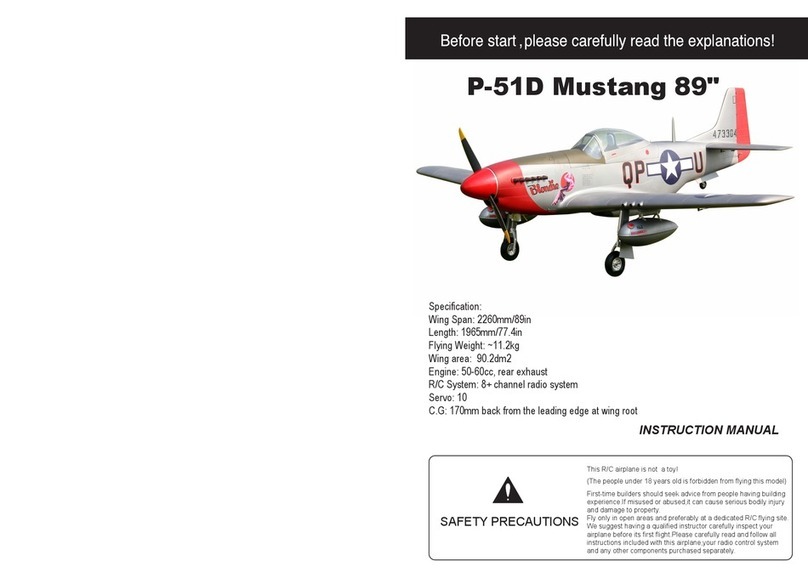
Top RC Model P-51D Mustang 89 inch User manual

Top RC Model

Top RC Model P-51D Mustang 89 inch User manual

Top RC Model Sport Jet Aspire ARF User manual

Top RC Model

Top RC Model Sport Jet Aspire ARF User manual

Top RC Model P-51D Mustang 89 inch User manual

Top RC Model

Top RC Model P-51D Mustang 89 inch User manual

Top RC Model Hurricane MKIIB Mounting instructions

Top RC Model

Top RC Model Hurricane MKIIB Mounting instructions

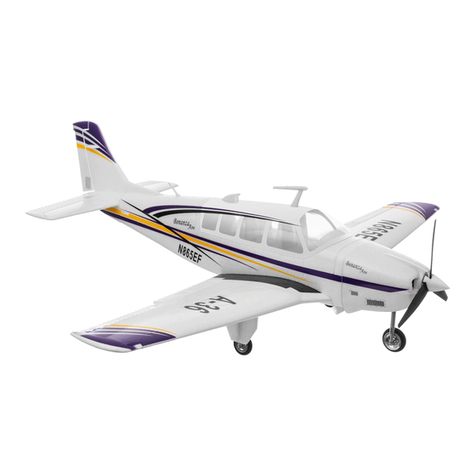
Top RC Model Beechcraft Bonanza V35 User manual

Top RC Model

Top RC Model Beechcraft Bonanza V35 User manual

Top RC Model Sport Jet Odyssey User manual

Top RC Model

Top RC Model Sport Jet Odyssey User manual

Popular Toy manuals by other brands

EB Excalibur Night Raider XC9893 user guide

EB Excalibur

EB Excalibur Night Raider XC9893 user guide

Eduard MiG-25RBT quick start guide

Eduard

Eduard MiG-25RBT quick start guide

Harbor Freight Tools 94840 Set up and operating instructions

Harbor Freight Tools

Harbor Freight Tools 94840 Set up and operating instructions

Railfan Models TRANSFORMER 3 Assembly instructions

Railfan Models

Railfan Models TRANSFORMER 3 Assembly instructions

Fisher-Price DORA THE EXPLORER T6197 instruction sheet

Fisher-Price

Fisher-Price DORA THE EXPLORER T6197 instruction sheet

Fisher-Price Rainforest manual

Fisher-Price

Fisher-Price Rainforest manual

Top Flite Mini Contender Ep instruction manual

Top Flite

Top Flite Mini Contender Ep instruction manual

Faller XXL FRENCH FRIES FAIRGROUND BOOTH manual

Faller

Faller XXL FRENCH FRIES FAIRGROUND BOOTH manual

Eduard FE 1244 quick start guide

Eduard

Eduard FE 1244 quick start guide

Hornby 4 VEP CLASS 423 Operating and maintenance instructions

Hornby

Hornby 4 VEP CLASS 423 Operating and maintenance instructions

LEGO Technic 8001 Assembly guide

LEGO

LEGO Technic 8001 Assembly guide

Fisher-Price Imaginext N0764 instruction sheet

Fisher-Price

Fisher-Price Imaginext N0764 instruction sheet

Eduard Mosquito B Mk.IX interior 1/32 quick start guide

Eduard

Eduard Mosquito B Mk.IX interior 1/32 quick start guide

Fisher-Price B3000 instructions

Fisher-Price

Fisher-Price B3000 instructions

Mattel Disney Pixar Cars GTK91 instructions

Mattel

Mattel Disney Pixar Cars GTK91 instructions

VTech Baby Rattle & Shake Birdie instruction manual

VTech Baby

VTech Baby Rattle & Shake Birdie instruction manual

roco 72812 operating manual

roco

roco 72812 operating manual

marklin START UP 20612 manual

marklin

marklin START UP 20612 manual

manuals.online logo
manuals.online logoBrands
  • About & Mission
  • Contact us
  • Privacy Policy
  • Terms and Conditions

Copyright 2025 Manuals.Online. All Rights Reserved.