manuals.online logo
Brands
  1. Home
  2. •
  3. Brands
  4. •
  5. Toro
  6. •
  7. Utility Vehicle
  8. •
  9. Toro 07297 User manual

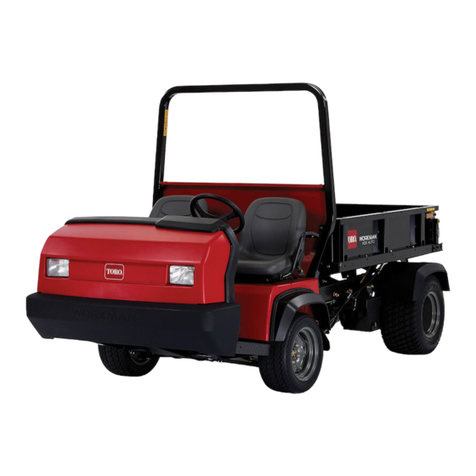
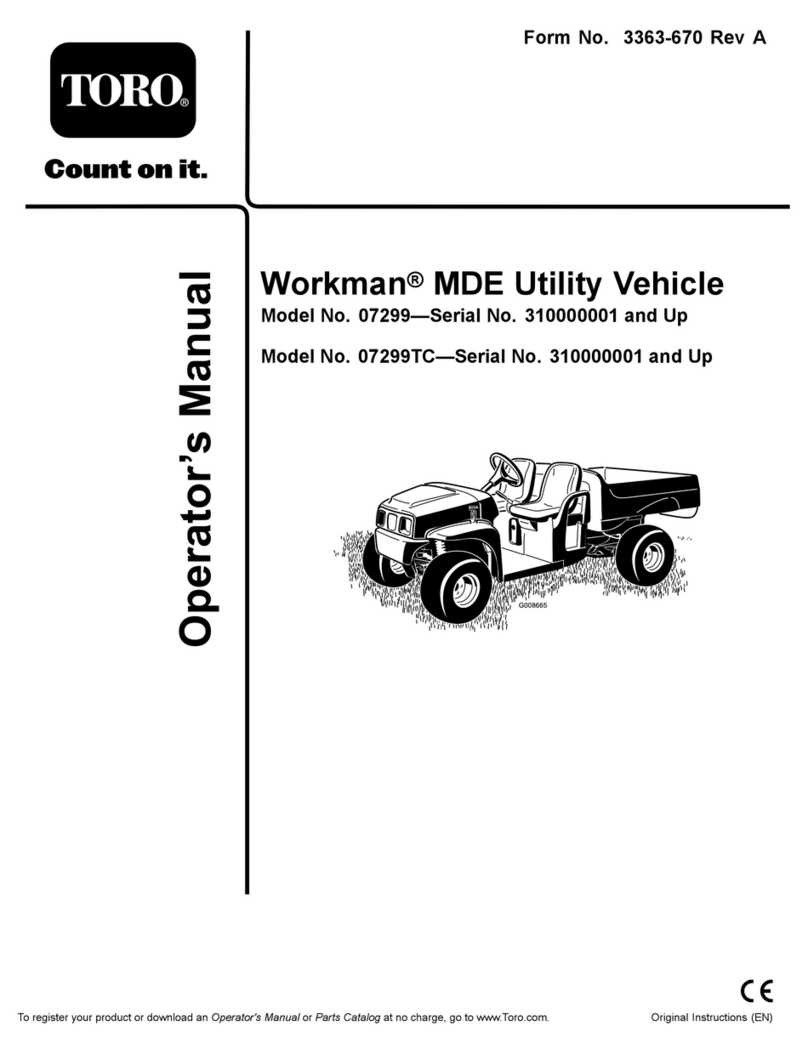
Toro 07297 User manual

This manual suits for next models

1

Other Toro Utility Vehicle manuals

Toro Workman GTX Series User manual

Toro

Toro Workman GTX Series User manual

Toro MB TX 2500S User manual

Toro

Toro MB TX 2500S User manual

Toro Workman MDE 2008 User manual

Toro

Toro Workman MDE 2008 User manual

Toro Workman 07347 User manual

Toro

Toro Workman 07347 User manual

Toro Workman MDX-D User manual

Toro

Toro Workman MDX-D User manual

Toro 130-5615 User manual

Toro

Toro 130-5615 User manual

Toro 7354 User manual

Toro

Toro 7354 User manual

Toro 133-7128 User manual

Toro

Toro 133-7128 User manual

Toro 7253 User manual

Toro

Toro 7253 User manual

Toro 7299 User manual

Toro

Toro 7299 User manual
Toro Workman MDE 07299 User manual

Toro

Toro Workman MDE 07299 User manual

Toro Workman GTX Series User manual

Toro

Toro Workman GTX Series User manual

Toro 7253 User manual

Toro

Toro 7253 User manual

Toro 7280 User manual

Toro

Toro 7280 User manual

Toro Workman 3100 User manual

Toro

Toro Workman 3100 User manual

Toro Sand Pro 3040 User manual

Toro

Toro Sand Pro 3040 User manual

Toro Workman 137-2883 User manual

Toro

Toro Workman 137-2883 User manual

Toro UTV500AAC00000 Manual

Toro

Toro UTV500AAC00000 Manual

Toro TransPro 80 User manual

Toro

Toro TransPro 80 User manual

Toro Groundsmaster 360 User manual

Toro

Toro Groundsmaster 360 User manual

Toro MH-400 User manual

Toro

Toro MH-400 User manual

Toro 07280TC User manual

Toro

Toro 07280TC User manual

Toro Workman GTX User manual

Toro

Toro Workman GTX User manual

Toro Workman GTX User manual

Toro

Toro Workman GTX User manual

Popular Utility Vehicle manuals by other brands
Strautmann Giga-Trailer 1840 operating instructions

Strautmann

Strautmann Giga-Trailer 1840 operating instructions

FORS MW FARMA T 10 Instruction book

FORS MW

FORS MW FARMA T 10 Instruction book

pronovost PUMA-10000 Operator's manual

pronovost

pronovost PUMA-10000 Operator's manual

Polaris ACE 900 SP owner's manual

Polaris

Polaris ACE 900 SP owner's manual

TrailMax T-12-UR manual

TrailMax

TrailMax T-12-UR manual

Floe Cargo Max 9.5-73 Assembly instructions

Floe

Floe Cargo Max 9.5-73 Assembly instructions

Taylor-Dunn B0-050-00 Operation, t roubleshooting and replacement parts manual

Taylor-Dunn

Taylor-Dunn B0-050-00 Operation, t roubleshooting and replacement parts manual

Taylor-Dunn ET 3000 manual

Taylor-Dunn

Taylor-Dunn ET 3000 manual

Kayo S70 Assembly manual

Kayo

Kayo S70 Assembly manual

Cushman Turf Truckster 84069 Parts & maintenance manual

Cushman

Cushman Turf Truckster 84069 Parts & maintenance manual

Landoll 900D Series Operator's manual

Landoll

Landoll 900D Series Operator's manual

Westward Go-4 XTR Operator's manual

Westward

Westward Go-4 XTR Operator's manual

Club Car Carryall I 1999 owner's manual

Club Car

Club Car Carryall I 1999 owner's manual

Etnyre Street Flusher operation, maintenance, parts and safety manual

Etnyre

Etnyre Street Flusher operation, maintenance, parts and safety manual

Landoll 340 Operator's manual

Landoll

Landoll 340 Operator's manual

Range Road RR608 Assembly manual

Range Road

Range Road RR608 Assembly manual

SSI SCHAEFER WEASEL LITE user manual

SSI SCHAEFER

SSI SCHAEFER WEASEL LITE user manual

Cub Cadet Volunteer 4 x 2 Utility Vehicle brochure

Cub Cadet

Cub Cadet Volunteer 4 x 2 Utility Vehicle brochure

manuals.online logo
manuals.online logoBrands
  • About & Mission
  • Contact us
  • Privacy Policy
  • Terms and Conditions

Copyright 2025 Manuals.Online. All Rights Reserved.

1
All Rights Reserved
Printed in the USA
2001 by The Toro Company
8111 Lyndale Avenue South
Bloomington, MN 55420-1196
Canopy Kit
Workman1100/2100 and TwisterUtility Vehicle
Model No. 07297
Model No. 07297R
Form No. 3326-769 Rev B
Installation Instructions
Safety and Instruction Decals
Safety decals and instructions are easily
visible to the operator and are located near
any area of potential danger. Replace any
decal that is damaged or lost.
104-6731
Assembly
1. Position the machine on a level surface. Set the parking
brake, turn the ignition off, and remove the key.
If you leave the key in the ignition switch, someone
could accidently start the engine and seriously
injure you or other bystanders.
Remove the key from the ignition switch before
you do any maintenance.
Caution
2. If your vehicle has a Roll Over Protection System
(ROPS), proceed to step 3. If your vehicle does not
have a ROPS, proceed as follows:
A. Loosely attach the support brackets to the rear
support tube with 8 screws, 4 (5/16 x 2-3/4 in.) and
4 (5/16 x 1-3/4 in.); 16 flat washers (5/16 in.); and 8
flange nuts (5/16 in.) (Fig. 1).
B. Loosely attach the support brackets to the vehicle
with 8 screws (5/16 x 1 in.), 16 flat washers
(5/16 in.), and 8 flange nuts (5/16 in.) (Fig. 1).
3. Remove the rear bolt that holds the front fender to the
dash and front frame support on each side of the
vehicle. Do not remove the fenders from the vehicle
(Fig. 1).
1
23
4
5
6
7
8
9
Figure 1
1. Rear support tube
2. Left-hand support bracket
3. Screw, 5/16 x 2-3/4 in.,
and washer, 5/16 in.
4. Screw, 5/16 x 1-3/4 in.,
and washer, 5/16 in.
5. Flange nut and washer,
5/16 in.
6. Screw, 5/16 x 1 in,. and
washer, 5/16 in.
7. Left-hand front fender
8. Right-hand front support
9. Left-hand front support
2
4. Slide the slotted bracket on the front support between
the fender and vehicle. Loosely attach the front supports
to the floor of the vehicle using the existing hardware
on the vehicle (Fig. 1).
5. Secure the fenders with the bolts removed in step 3.
6. Loosely attach the canopy to the front supports using 4
long screws (5/16 x 2-3/4 in.), 8 flat washers (5/16 in.),
and 4 flange nuts (5/16 in.) (Fig. 2).
Note: The canopy support is already loosely attached to the
canopy (Fig. 2).
6
1
2
3
4
5
5
Figure 2
1. Canopy
2. Right-hand front support
3. Left-hand front support
4. Screw, 5/16 x 2-3/4 in.,
and washer, 5/16 in.
5. Flange nut and washer,
5/16 in.
6. Canopy support
7. If your vehicle has a ROPS, insert the clinch nuts into
the holes in the ROPS (Fig. 3). Lift the canopy and
attach it to the ROPS with 2 screws (3/8 x 1 in.) and 2
flat washers (3/8 in.) (Fig. 3). If your vehicle does not
have a ROPS, lift the canopy assembly and attach it to
the rear support tube with 2 screws (5/16 x 2 in.), 4
washers (5/16 in.), and 2 flange nuts (5/16 in.) (Fig. 4).
1
3
4
2
Figure 3
Vehicle with ROPS
1. ROPS
2. Clinch nut
3. Canopy
4. Screw, 3/8 x 1 in., and
washer 3/8 in.
1
23
4
Figure 4
Vehicle without ROPS
1. Rear support tube
2. Canopy
3. Screw, 5/16 x 2 in., and
washer, 5/16 in.
4. Flange nut and washer,
5/16 in.
8. Starting at the bottom of the vehicle and working your
way to the top, tighten all of the fasteners.
9. Adjust the front suspension; refer to Adjusting the Front
Suspension in the vehicle Operator’s Manual.