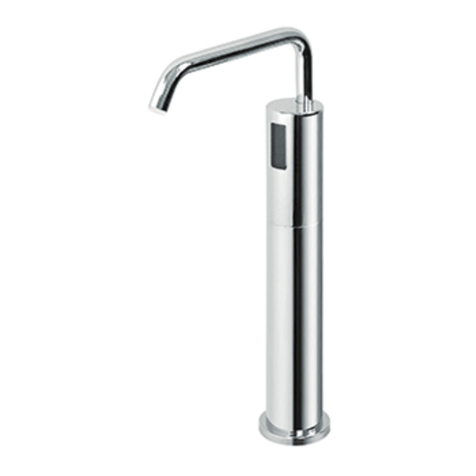
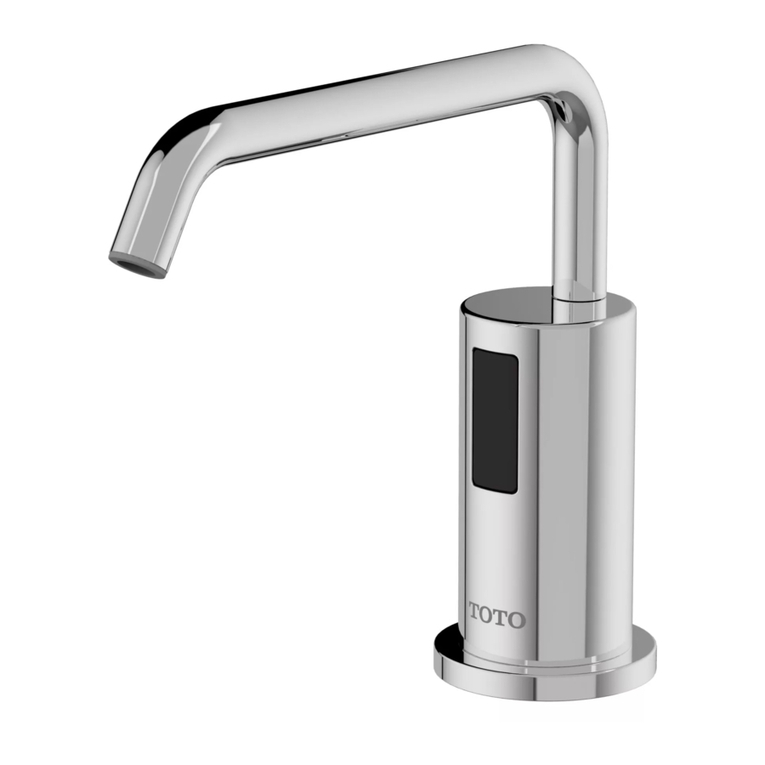
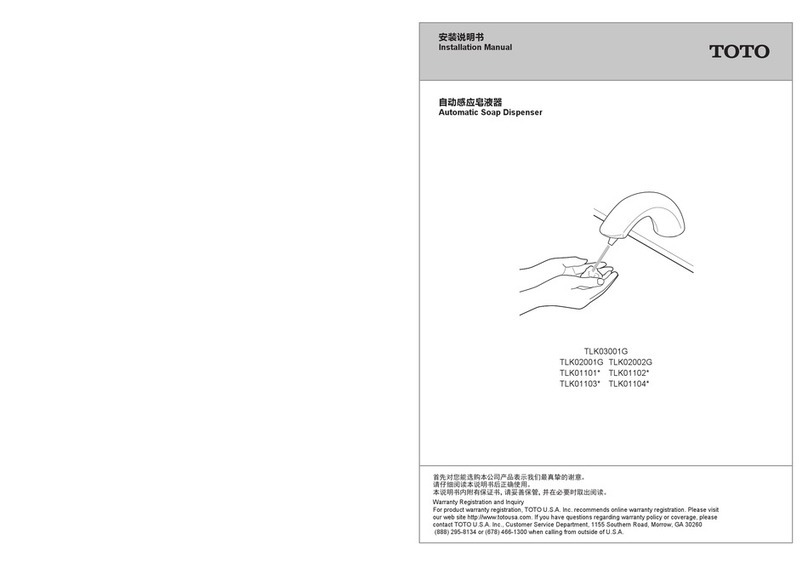
Toto DSE101EEB Installation instructions

Head Office TOTO Europe GmbH TOTO Ltd. All rights reserved. Printed in China.
Firmensitz
Zollhof 2, 40221 Düsseldorf GERMANY TOTO Ltd. Alle lle Rechte vorbehalten.
Gedruckt in China.
Siége social Tel: +49(0)700 8686 0700 TOTO Ltd. Tous droits réservés. Imprimé en Chine.
Sede centrale TOTO Ltd. Tuttii diritti riservati. Stampato in Cina.
Installation and Owner’s Manual
Manual de Instrucciones y del Propietario
Manuel d'installation et d'utilisation
Automatic Soap Dispenser
DSE101EEB
DSE101EEC
DSE101KE
Distributeur automatique de savon
Installations- und Bedienungsanleitung
Soap Dispenser automatico
Automatischer Seifenspender
Please visit our site http://eu.toto.com/
Veuillez consulter notre site http://eu.toto.com/
Gli utenti sono invitati a visitare il sito Web http://eu.toto.com/
Besuchen Sie unsere Website http://eu.toto.com/


2
TABLE OF CONTENTS
WARNINGS
THANK YOU FOR CHOOSING TOTO!
Thank You for Choosing TOTO! ........................................................................... 2
How to Use this Product ....................................................................................... 10
Warnings .............................................................................................................. 2
Before Installation ................................................................................................. 3
Included Parts ....................................................................................................... 3
Position of the Dispenser and Tank .................................................................... 4
Refilling the Soap ................................................................................................. 11
■
Installation Procedure ........................................................................................ 5-9
Testing ................................................................................................................. 10
■
■
■
■
■
■
Common Tools Needed ........................................................................................ 3
Periodic Maintenance .......................................................................................... 13
Warranty ............................................................................................................... 15
Troubleshooting ................................................................................................. 14
Care and Cleaning .......................................................................................... 12-13
Rough-In Dimensions .......................................................................................... 16
The mission of TOTO is to provide the world with healthy, hygienic and more
comfortable lifestyles. We design every product with the balance of form and
function as a guiding principle. Congratulations on your choice.
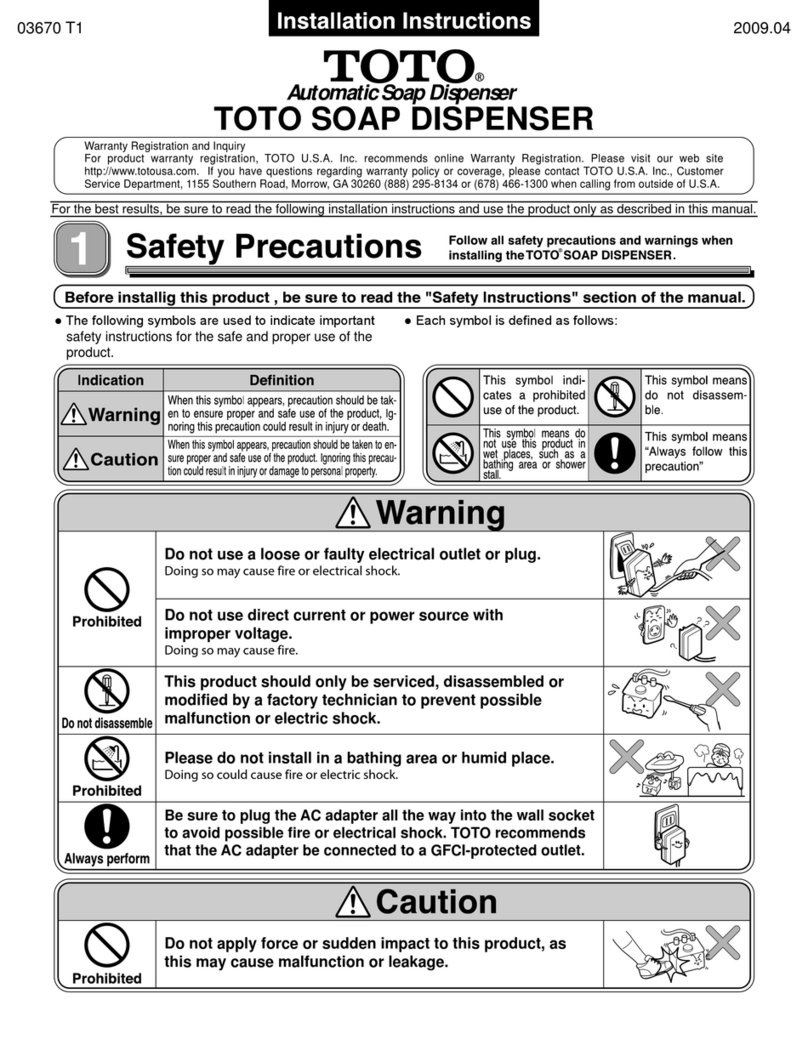
Please read and adhere to the following notes. Failure to do so could result in
personal injury and/or property damage.
No person other than a service engineer should disassemble, repair or modify
this dispenser, unless it is specifically described in this manual. Failure to do so
may result in electric shock or product malfunction, or invalidation of warranty.
Do not use this dispenser in a humid location where condensation may collect
on the surface, especially in a sauna or steam room.
Do not strike or kick the dispenser or controller box, as this may damage the
unit or cause a leak.
Do not use this dispenser if the room temperature drops below freezing.
Make sure the power cord does not come in contact with the hot water supply line
Avoid placing any objects within the detection range of the infrared sensor.
Use only TOTO approved liquid soap.
ENGLISH
■
Make sure the electrical outlet is in a position where it will not get wet during use.
Specifications ..................................................................................................... 14
Long-term suspension of use .............................................................................. 13
■
The appliance is only to be used with the AC adaptor provided:
AC adaptor model GPBSW0601500WD00 for DSE101EEB;
AC adaptor model GPUSW0601500WD00 for DSE101EEC.
■
This appliance can be used by children aged from 8 years and above and persons
with reduced physical, sensory or mental capabilities or lack of experience and
knowledge if they have been given supervision or instruction concerning use of
the appliance in a safe way and understand the hazards involved.
■
Children shall not play with the appliance.
■
Cleaning and user maintenance shall not be made by children without supervision.
■
Always keep the AC adaptor dry. Far away from the water mains or the place that
water splashed easily.
Caution ............................................................................................................... 14
Replacing the Battery [DC Type] ........................................................................... 12

3
BEFORE INSTALLATION
Adjustable Wrench
Spout Assembly Controller
Wall Plug(X3) AC Adapter
Self-tapping Screw(X3)
COMMON TOOLS NEEDED
Battery Case (DC Type)
Self-tapping Screw(X2) Wall Plug(X2)
Screwdriver (Phillips)
Mounting Template
ENGLISH
3-5/32”(80.2mm)
1-37/64”
(40.1mm)
4-41/64”(117.8mm)
Mounting Template
0G398X
■
■
■
Read these instructions carefully to ensure proper installation.
TOTO reserves the right to update product design without notice.
Check to make sure you have the parts indicated on the following page.
INCLUDED PARTS
Alkaline Battery(D 1.5V)
(X4)(DC Type)

4
POSITION OF THE DISPENSER AND TANK
Position of the Dispenser
Hole for installing the dispenser
[1” ~ 1-3/16” (25~30mm) in diameter]
Faucet
Sink
Auto Soap Dispenser
Position of the Tank
Controller
9-1/8”(230mm)
minimum
Tank
Cover
3-1/2"(90mm)
1. Be sure to leave at least 4-3/4"
(120mm) of space between
the soap dispenser and the
faucet to prevent accidental
activation.
1. When installing the
controller, make sure
that the tube and cables
can reach the tank.
2. If the tube is too long,
please cut it to suitable length.
3.Be sure there is adequate space
for refilling/replacing soap tank.
2. Leave 3-1/8"(80mm) of space
maximum from the inside edge
of the sink to the spout installation
hole to ensure that any residual
soap drips from the dispenser
spout into the sink bowl.
(1) Space between the dispenser and
the faucet to be 4-3/4”(120mm) minimum
(2) The distance from the soap
dispenser to the edge of the sink
to be 3-1/8”(80mm) maximum
ENGLISH
Tube length: 17-3/4”(450mm)
Sensor cable length: 19-3/4”(500mm)
Power cord length: 59”(1500mm)
Sensor Cable
Tube
6”~12”(150~300mm)
<4”(100mm) <4”(100mm)
Power cord
Wall Surface
Unit: inches
(mm)
<6”(150mm)

5
ENGLISH
INSTALLATION PROCEDURE - Spout
INSTALLATION PROCEDURE - Controller
Remove Slip washer
Bottom gasket
Nut
Top gasket
Countertop
Countertop
Nut
Sensor cable
Tube
Bottom gasket
Slip washer
Nut
Bottom gasket
Slip washer
Tube
Sensor cable
1.Remove nut, slip washer and bottom gasket.
1.Select the position of the controller
and layout the mounting template.
2.Mark the location of the mounting
holes.
3.Drill 3 holes.
2.Install the spout on the countertop.
3.Install bottom gasket, slip washer
and nut in that order.
4.Confirm the alignment of spout and
tighten nut.
Make sure the sensor cable and soap
tube can reach the mounting template.
Depth : 1”(25mm)
Important: Mounting template to be level.
Mounting template
Size: 7/64" (3mm) without wall plug
1/4" (7mm) with wall plug
3-1/8”
(80mm)
4-5/8”
(118mm)
1-9/16”
(40mm)

6
ENGLISH
Controller
Tank
Self-tapping screw
4.Insert self-tapping screws into the upper
two holes until there is a 1/4”(6mm) gap
between head of screw and wall.
5.Remove the tank from controller.
6.Hang the controller on the
two screws.
7.Insert a self-tapping screw through
bottom hole of controller and tighten.
Use wall plugs if necessary.
1/4”
(6mm)

7
ENGLISH
INSTALLATION PROCEDURE - Tank
Liquid soap
MAX fill line
Tank
Pump Unit
Tube
8.Connect sensor cables.
1.Remove pump unit from the tank.
2.Slowly pour liquid soap into the tank.
3.Replace the pump by pushing it down firmly
over the tank opening until it snaps in place.
NOTE:
NOTE: Fill the tank up to MAX fill line.
NOTE: Use only TOTO approved liquid soap.
Keep pump unit clean while filling
soap, especially keep tube of
pump off from floor.
Sensor cable
from controller
Sensor cable
from spout
Tube

8
ENGLISH
AC Adapter
[AC Type]
Cover
AC adapter cable
INSTALLATION PROCEDURE - Connection to Power Supply
4.Connect the tube to pump.
(Insert the barb into the tube fully)
5.Mount the tank to the controller.
1.Connect AC adapter cable to controller.
2.Plug the AC adapter into an (appropriate) outlet.
3.Close the cover.
NOTE: Do not plug in the AC adapter
upside down.
Tube
Tube
Tank
Pump
NOTE:Make sure that the tube is
not too long to prefent
contacting the floor while
the tank is removed for refilling.
NOTE: Prepare an outlet position in advance that
conforms to the regulations in your country.

9
Self-tapping screw
INSTALLATION PROCEDURE - Battery Box
[DC Type]
1.Select position for the battery case.
Make sure the power supply cable is capable
of reaching the controller.
2.Mark the location of the mounting holes.
4.Insert a self-tapping screw into upper hole until
there is a 1/4”(6mm) gap between head of
screw and wall.
Use wall plugs if necessary.
3.Drill 2 holes. Depth : 1”(25mm)
5.Hang the battery case on the screw.
6.Insert a self-tapping screw through bottom hole
of case and tighten.
7.Connect power cord to controller.
ENGLISH
160mm
1/4”
(6mm)
Size : 7/64" (3mm) without anchor
1/4" (7mm) with anchor
Power cord

10
TESTING
HOW TO USE THIS PRODUCT
Place hands under spout.
150±15mm
5-7/8"±5/8"
After installation is complete, confirm
that the dispenser is working properly
using the following method.
1.Place your hands under the spout
and hold them in place until soap
is discharged.
● Proper amount of soap is dispensed
automatically.
Caution: Please do not put liquid soap
on the spout. If the sensor
gets dirty, it could cause malfunction.
Sensor sensing range is
5-7/8"±5/8"(150mm±15mm).
Caution: Please do not obstruct the
spout opening.
The soap might go flying off
in an unexpected direction.
NOTE: Make sure there is no soap
leaking from the tube and connections.
Sensor
window
ENGLISH

11
ENGLISH
Liquid soap
MAX fill line
Tank
Pump unit
REFILLING THE SOAP
1.Open the cover.
2.Remove the tank from the controller.
3.Remove pump unit from the tank.
4.Slowly pour liquid soap into the tank.
6.Mount the tank to the controller.
7.Close the cover.
5.Replace the pump by pushing it down firmly
over the tank opening until it snaps in place.
NOTE: Fill the tank up to MAX fill line.
NOTE: Use only TOTO approved liquid soap.
Tank
Cover
Controller
Tank
Cover
Pump unit
Tube
NOTE: Clean container before refilling.
8.Fill the tube by holding the hands
under the spout until soap is discharged.
The dispenser can be activated up to
ten times consecutively while
holding hands under the spout
immediately after refilling .

12
REPLACING THE BATTERY [DC Type]
Screws
Batteries
+
-
-
+
CARE AND CLEANING
Sensor window
1.Remove cover of battery case.
2.Install four (4) D size alkaline batteries.
3.Replace battery case cover.
4.Tighten screws.
Battery
case cover
NOTE: Make sure the batteries are
installed in correct orientation
(polarity).
● For Light Cleaning
● When cleaning around the sensor,
please be careful not to scratch
the surface of the sensor window.
Wipe away any debris adhering to the
spout or sensor.
Wipe away debris with a damp cloth
containing a suitable amount of a neutral,
dishwashing detergent.
Then wipe clean with a damp cloth.
● For Heavy-Duty Cleaning
● Do not use detergent that might
damage the surface of spout.
These include:
● Detergents containing acid, chlorine
bleach or alkali.
● Detergents that are coarse granules in
nature, such as polishing powder.
● Solvents such as paint thinner or benzene.
● Abrasive aids such as nylon scrubbers/brushes,
steel wool, etc.
Battery
case
ENGLISH
● The standard life cycle time is 2 years,
based on average use 2000 times/month.

13
ENGLISH
Tank
PERIODIC MAINTENANCE
● For Tank Cleaning
● Once a month:
● Twice a year:
Wash tank out with water to keep it clean.
1.Check all tube connections for any signs of leakage.
1.Check all fixed connections and tighten as needed.
2.Wipe away any dust on AC adapter [AC type only].
● For Nozzle Cleaning Nozzle
Brush
Clean the nozzle with a soft brush to
remove any dirt form the screen.
Pump Unit
● For Pump Unit Cleaning
If the pump sticks or backflow occurs,
wash pump unit with water while holding
upside down and manually squeeze pump
several times.
LONG-TERM SUSPENSION OF USE
If there will be long periods of time where the dispenser will not be used,
remove all soap from dispenser using the following method.
1.Remove soap from tank and wash the tank out with water.
2.Fill the tank with water and set up the dispenser as usual.
3.Flush the tube with water by the dispenser until no soap comes out from the
spout. Refill water if necessary.
4.Discard any water left in tank and let it dry.
5.Place the tank back into the controller.
6.Disconnect the power supply until and proceed with "REFILLING THE SOAP".

14
ENGLISH
TROUBLESHOOTING
Problem Operating Solution
No soap comes out
Green LED flashing Fill tank with liquid soap.
Red LED flashing Battery is low Replace batteries.
Green LED solid on
Clean the pump unit.
Soap won’t
stop running
- Sensor window is dirty Clean sensor window.
- There is an obstruction in front of sensor window Remove the obstruction.
Soap comes out
unexpectedlly
Sensor window is dirty Clean sensor window.
Soap will be automatic dispersed after 48 hours of non-usage to
prevent clogging. -
Amount of dispensed
soap is small Pump is not working correctly Clean the pump unit.
SPECIFICATIONS
Power supply
Sensor detection range 5-7/8"±5/8"(150mm±15mm)
Ambient temperature 32~104°F (1~40°C)
Humidity Max. 90% RH
Cause
Soap is low
Pump is sticking
-Clean sensor window.
- Sensor cable is disconnected Connect cable.
-Remove the obstruction.
Sensor window is dirty
There is an obstruction in front of sensor window
- Connect cable.
- Tube is disconnected Connect tube.
-Plug in the AC adapter.
Power supply (AC adapter or battery box) is disconnected
AC adapter is not plugged in
-
-
-
Change to TOTO
approved liquid soap.
Soap viscosity is high
Tank capacity 50 oz (1500ml)
Soap volume 0.03-0.04 oz (0.8-1.2ml)
Type DSE101EEB
AC
AC 100~240V
DSE101EEC
AC
AC 100~240V
AC adaptor GPBSW0601500WD00 GPUSW0601500WD00
Input 100-240 VAC, 50/60 Hz
Output 6,0 VDC, 1500 mA
CAUTION
Correct Disposal of this product
This marking indicates that this product should not be disposed with other household
wastes throughout the EU. To prevent possible harm to the environment or human
health from uncontrolled waste disposal, recycle it responsibly to promote the
sustainable reuse of material resources. To return your used device, please use the
return and collection systems or contact the retailer where the product was purchased.
They can take this product for environmental safe recycling.
DSE101KE
DC
4×D 1.5V alkaline batteries
/
/
/

15
ENGLISH
WARRANTY
LIMITED TWO YEARS WARRANTY
1. TOTO warrants its products to be free from manufacturing defects under normal use and service for a period of two
(2) years from the date of purchase. This warranty is extended only to the ORIGINAL PURCHASER.
2. TOTO's obligations under this warranty are limited to repair or replacement, at TOTO's option, of products or parts
found to be defective, provided that such products were properly installed and used in accordance with this OWNER'S
MANUAL. TOTO reserves the right to make such inspections as may be necessary to determine the cause of the
defect. TOTO will not charge for labor or parts in connection with warranty repairs or replacements.
TOTO is not responsible for the cost of removal, return and/or reinstallation of products.
3. This warranty does not apply to the following items:
a) Damage or loss sustained in a natural calamity such as fire, earthquake, flood, thunder, electrical storm, etc.
b) Damage or loss resulting from any unreasonable use, misuse, abuse, negligence, or improper maintenance of the
product.
c) Damage or loss resulting from removal, improper repair, or modification of the product.
d) Damage or loss resulting from sediments or foreign matter contained in a water system.
e) Damage or loss resulting from the quality of water in the region where the product is used.
f) Damage or loss resulting from improper installation or from installation of a unit in a harsh and/or hazardous
environment.
4. This warranty gives you specific legal rights. You may have other rights which vary from country to country.
5. To obtain warranty repair service under this warranty, you must take the product or deliver it prepaid to a TOTO
service facility, together with a letter stating the problem, or contact a TOTO distributor or product service contractor,
or directly to TOTO sales office. If, because of the size of the product or nature of the defect, the product can not be
returned to TOTO, receipt by TOTO of written notice of the defect shall constitute delivery. In such case, TOTO may
choose to repair the product at the purchaser's location or pay to transport the product to a service facility.
THIS WRITTEN WARRANTY IS THE ONLY WARRANTY MADE BY TOTO. REPAIR OR
REPLACEMENT AS PROVIDED UNDER THIS WARRANTY SHALL BE THE EXCLUSIVE
REMEDY AVAILABLE TO THE PURCHASER. TOTO SHALL NOT BE RESPONSIBLE FOR LOSS
OF USE OF THE PRODUCT OR FOR OTHER INCIDENTAL, SPECIAL, OR CONSEQUENTIAL
DAMAGE OR EXPENSES INCURRED BY PURCHASER, OR FOR LABOR OR OTHER COSTS
DUE TO INSTALLATION OR REMOVAL, OR COSTS OF REPAIRS BY OTHERS, OR FOR
ANY OTHER EXPENSE NOT SPECIFICALLY STATED ABOVE. EXCEPT TO THE EXTENT
PROHIBITED BY APPLICABLE LAW, ANY IMPLIED WARRANTIES, INCLUDING THAT OF
MERCHANTABILITY OR FITNESS FOR USE, ARE EXPRESSLY LIMITED TO THE DURATION
OF THIS WARRANTY. SOME STATES DO NOT ALLOW LIMITATIONS ON HOW LONG AN
IMPLIED WARRANTY LASTS, OR THE EXCLUSION OR LIMITATION OF INCIDENTAL OR
CONSEQUENTIAL DAMAGE, SO THE ABOVE LIMITATION AND EXCLUSION MAY NOT APPLY
TO YOU.

16
ENGLISH
ROUGH - IN / DIMENSIONS
Floor surface
Wall Surface
Unit: inches(mm)
FRONT VIEW
SIDE VIEW
Floor surface
1-7/16”(36mm)
6”~12”(150~300mm)
12-3/16”(310mm)
5-3/16”(131mm)
5-3/16”(131mm)
4-1/2”
(114mm)
5-3/8”(135mm)
Tube lengh:17-3/4”(450mm)
Sensor cable length:19-3/4”(500mm)
1-3/16”(30mm)
max deck thickness
Power cord length: 59”(1500mm)
Min 1"(25mm)
Max 1-3/16"(30mm)
This manual suits for next models
2
Table of contents
Other Toto Dispenser manuals

Toto
Toto TLK02001 Series User manual

Toto
Toto TS125R User manual

Toto
Toto TES100AA Installation instructions

Toto
Toto TES100DA Installation instructions

Toto
Toto TES201A Series Installation instructions

Toto
Toto TLK01101 Series User manual

Toto
Toto DSE101E User manual

Toto
Toto Soap dispenser User manual

Toto
Toto TLK01103 Series User manual

Toto
Toto TES4ADC-12 User manual
Popular Dispenser manuals by other brands

Hilti
Hilti HIT-P 8000 D Original operating instructions

Nordson
Nordson Ultimus V operating manual

Nordson
Nordson EFD 1500 Series operating guide

TEFAL
TEFAL Hot water Urn BR 301 User instructions

BOWMAN
BOWMAN FP-121 quick start guide

Larson Electronics
Larson Electronics XLE-MD-DF-AD-LS-120V instruction manual