manuals.online logo
Brands
  1. Home
  2. •
  3. Brands
  4. •
  5. TP-Link
  6. •
  7. Switch
  8. •
  9. TP-Link TL-RP108GE User manual

TP-Link TL-RP108GE User manual

Installation Guide
©2020
7106508747 REV1.0.0
LED Explanation
Power
On: Power on
O: Power o or abnormal power supply
Link/Act
Package Content: the Reverse PoE Switch, Installation Guide, DC Power Cable (0.3 m)
Connection
8-Port Gigabit Managed Reverse PoE Switch
Link/Act (Green)
On: Running at 10/100/1000 Mbps
O: No device is linked to the
corresponding port
Flashing:Transmitting or receiving data
Conguration
The switch is plug and play. To congure the switch, you can use the Web-based
GUI or the conguration utility.
The utility is only supported on Windows now.
Using the Conguration Utility
1. Go to https://www.tp-link.com/support and search the model number of your
switch. Download the Easy Smart Conguration Utility from the product
Support web page on your PC.
Using the Web-based GUI
Note: If the switch gets a new IP address from the DHCP server, your connection to
the switch will be lost. Enter the new IP address in your browser to access the
switch again.
1. Find out the IP address of the switch.
By default, the switch receives an IP addess from a DHCP server (or a router
that functions as a DHCP server) in your network. You can nd out this IP
address on the DHCP server.
If the switch cannot receive an IP address from a DHCP server, it uses the
static IP address of 192.168.0.1, with a subnet mask of 255.255.255.0.
2. Congure IP address on your PC to make sure the switch and PC are in the
same subnet.
If the switch uses an IP address assigned by a DHCP server, set your PC to
obtain an IP address automatically from the DHCP server.
If the switch uses 192.168.0.1 as the IP address, congure your PC’s IP
address as 192.168.0.x (”x” ranges from 2 to 254), and subnet mask as
255.255.255.0.
Launch a web browser on your PC, enter the IP address of the switch in the
address bar and press Enter. Log in with admin as both user name and
password.
3.
Now you can congure the switch using the Web-based GUI. For further
information, refer to the User Guide.
Go to https://www.tp-link.com/support, search the model number of your switch,
and you can nd this guide on the product Support web page. Now you can congure the switch using the conguration utility. For further
information, refer to the Easy Smart Conguration Utility User Guide.
Go to https://www.tp-link.com/support, search the model number of your switch,
and you can nd this guide on the product Support web page.
Double click the icon on the desktop, and the
utility Home page will display a list of TP-Link
switches on the local network.
3.
2. Decompress the downloaded le, run the
installation wizard and follow the prompts to install
the Easy Smart Conguration Utility.
4.
If the switch uses an IP address assigned by a
DHCP server, set your PC to obtain an IP
address automatically from the DHCP server.
If the switch uses 192.168.0.1 as the IP address,
congure your PC’s IP address as 192.168.0.x
(”x” ranges from 2 to 254), and subnet mask as
255.255.255.0.
Click to nd out IP parameters of the switch.
Double click the switch that you want to congure. Log in with admin as both
user name and password.
5.
User
LAN IN
PWR
DC
Data+Power In
PoE Injector
(24/48 VDC)
User
......
Data+Power Out
DC out
LAN INPWR
DC
12
Note:
1. DC out is a power output port,do not connect it to any power source.
2. Set the required voltage of the powered device before connection.
Power
Data
Frequently Asked Questions (FAQ)
Q1. Why is the Power LED not lit?
By default, the Power LED should be lit when the power system is working normally.
If the Power LED is not lit, please try the following:
A1:
Make sure the power source is ON, and PoE-in ports are connected to power
sourcing devices.
A2:
Make sure the voltage of the power supply meets the requirements of the
input voltage of the switch (specic range refers to Disclaimer No.3).
A3:
Make sure the electric current of DC out/port 8 is within the proper range
(specic range refers to Disclaimer No. 4).
Q2. Why is the Link/Act LED not lit while a device is
connected to the corresponding port?
Please try the following:
A1:
Make sure that the cable connectors are rmly plugged into the switch and the
device.
A2
:
Make sure the connected device is turned on and works normally.
A3
:
The cable must be less than 100 meters long (328 feet). The actual distance
varies under dierent voltage and electric current. When higher electric
current is in need, the transmission distance is shorter.
Environmental and Physical Specications
Operating Temperature
Storage Temperature
Operating Humidity
Storage Humidity
0 ˚C to 40 ˚C (32 ˚F to 104 ˚F)
-40 ˚C to 70 ˚C (-40 ˚F to 158 ˚F)
10% RH to 90% RH non-condensing
5% RH to 90% RH non-condensing
Specications
General Specications
Protocol
Standard
Interface
LED indicators
Transfer Method
IEEE802.3ab, IEEE802.3i, IEEE802.3p
IEEE802.3q, IEEE802.3x, IEEE802.3u
CSMA/CD
Ethernet:
10 Mbps (Half Duplex), 20 Mbps (Full Duplex)
Fast Ethernet:
100 Mbps (Half Duplex), 200 Mbps (Full Duplex)
Gigabit Ethernet:
2000 Mbps (Full Duplex)
10Base-T:
UTP category 3, 4, 5 cable (maximum 100 m)
EIA/TIA-568 100
Ω
STP (maximum 100 m)
100Base-TX:
UTP category 5, 5e cable (maximum 100 m)
EIA/TIA-568 100
Ω
STP (maximum 100 m)
1000Base-T:
UTP category 5e cable (maximum 100 m)
EIA/TIA-568 100 Ω STP (maximum 100 m)
7 Passive PoE-in RJ45 Ports:
10/100/1000Mbps Auto-Negotiation
Voltage: 24/48 V (mixture is not supported)
Power pin of Ethernet cable: 4/5+ 7/8-
1 Passive PoE-out RJ45 Port:
10/100/1000Mbps Auto-Negotiation
Voltage: depending on the input voltage of PoE-in
ports
Power pin of Ethernet cable: 4/5+ 7/8-
1 DC Output Port:
Voltage: 5/12 V
Power, Link/Act LED
Store-and-Forward
Automatically Learning, Automatically Aging
10Base-T: 14881 pps/Port
100Base-TX: 148810 pps/Port
1000Base-T: 1488095 pps/Port
Yes
65 mm
MAC Address Learning
Frame Forward Rate
Data Transfer Rate
Network Media (Cable)
Wall Mountable
Distance Between
Mounting Holes
Safety Information
Keep the device away from water, re, humidity or hot environments.
Do not attempt to disassemble, repair, or modify the device. If you need service, please
contact us.
Do not use damaged charger or USB cable to charge the device.
Do not use any other chargers than those recommended.
TP-Link hereby declares that the device is in compliance with the essential requirements and
other relevant provisions of directives 2014/30/EU, 2014/35/EU, 2009/125/EC, 2011/65/EU and
(EU)2015/863.
The original EU declaration of conformity may be found at https://www.tp-link.com/en/ce.
EU Declaration of Conformity
For technical support, the user guide and other information, please
visit https://www.tp-link.com/support, or simply scan the QR code.
If you have any suggestions or needs on the product guides,
welcome to email techwriter@tp-link.com.cn.
To ask questions, find answers, and communicate with TP-Link users
or engineers, please visit https://community.tp-link.com to join
TP-Link Community.
Please read and follow the above safety information when operating the device. We cannot
guarantee that no accidents or damage will occur due to improper use of the device. Please use
this product with care and operate at your own risk.
Disclaimer
1. When the reverse switch functions, do not use the alternation switch to change
output voltage of the DC output port, and do not plug in or plug out cables
connected to port 1-8.
2. It is recommended to use PoE injectors with current limiting protection.
3. The input voltage of PoE-in ports should be higher than 18 V and lower than
51 V.
4. When the input voltage of port 1-7 is 24 V (±5%), the total output power should
be ≤10 W, the maximum output current of DC out is 1.2 A/5 V and 0.8 A/12 V. .
When the input voltage of port 1-7 is 48 V (±5%), the total output power should
be ≤ 26 W, the maximum output current of DC out is 0.9 A/5 V and 1.0 A/12 V.
5. The device connected to port 8 should support passive PoE, otherwise, the
impedance between pair 4&5 and pair 7&8 should be higher than 1 MΩ.
Other TP-Link Switch manuals

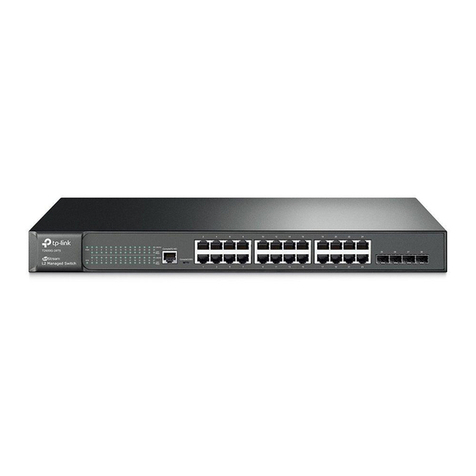
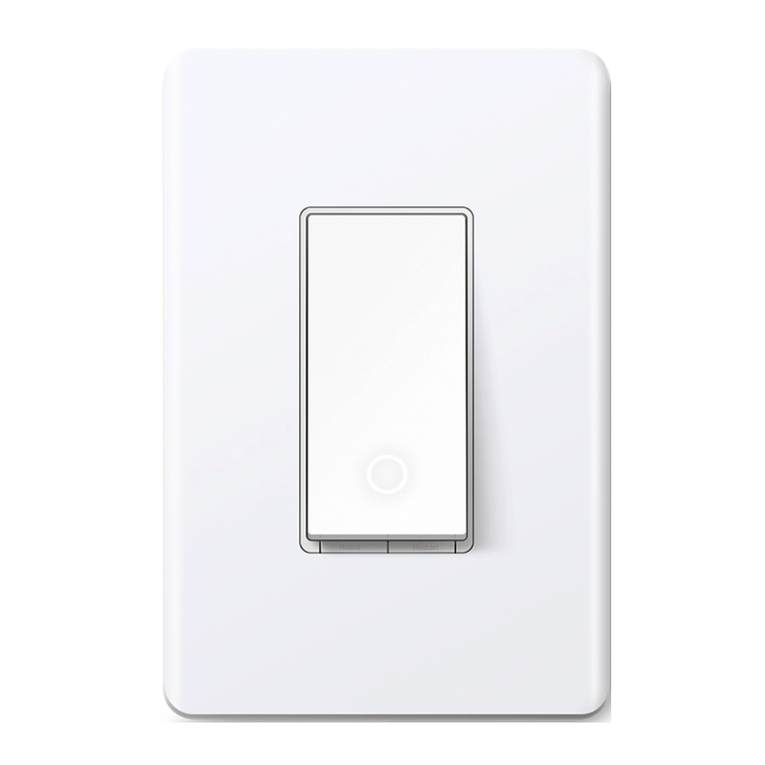
TP-Link tapo 7106509958 User manual

TP-Link

TP-Link tapo 7106509958 User manual

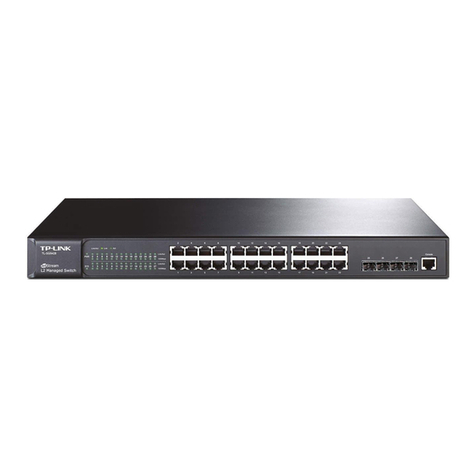
TP-Link JetStream TL-SG5428 User manual

TP-Link

TP-Link JetStream TL-SG5428 User manual

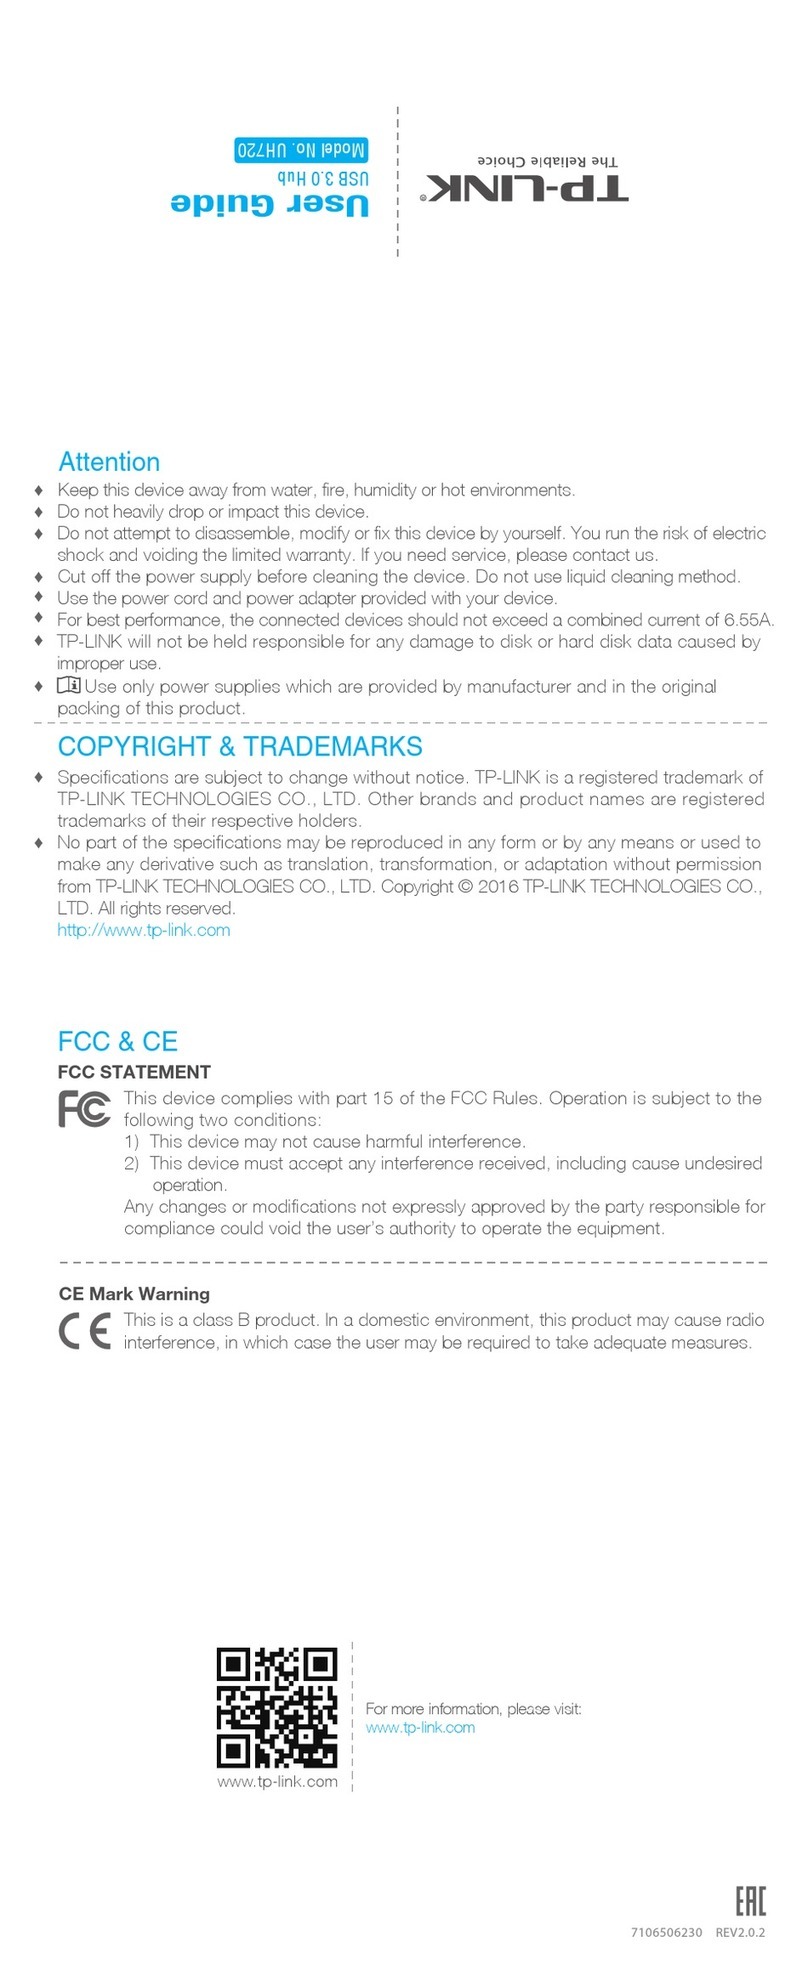
TP-Link UH720 User manual

TP-Link

TP-Link UH720 User manual

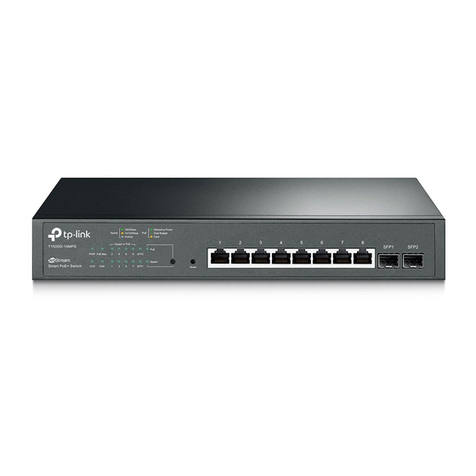
TP-Link T1500 Series User manual

TP-Link

TP-Link T1500 Series User manual

TP-Link LiteWave LS105G User manual

TP-Link

TP-Link LiteWave LS105G User manual

TP-Link UH720 User manual

TP-Link

TP-Link UH720 User manual

TP-Link LiteWave LS1005 User manual

TP-Link

TP-Link LiteWave LS1005 User manual

TP-Link T2500G-10TS Instruction Manual

TP-Link

TP-Link T2500G-10TS Instruction Manual

TP-Link TL-SL1117 User manual

TP-Link

TP-Link TL-SL1117 User manual

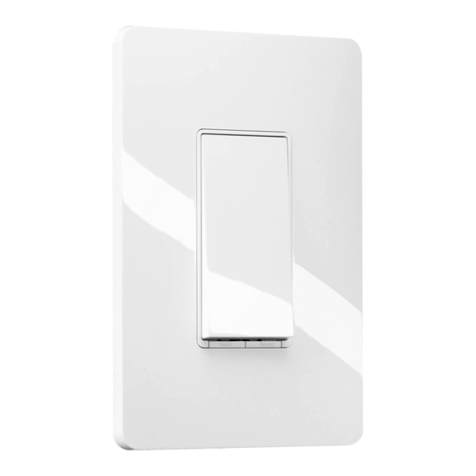
TP-Link HS200 User manual

TP-Link

TP-Link HS200 User manual

TP-Link TL-SG2216WEB User manual

TP-Link

TP-Link TL-SG2216WEB User manual

TP-Link JetStream T1500G-10MPS User manual

TP-Link

TP-Link JetStream T1500G-10MPS User manual

TP-Link JetStream T1600G-52TS User manual

TP-Link

TP-Link JetStream T1600G-52TS User manual

TP-Link JetStream L2 Lite TL-SG3210 User manual

TP-Link

TP-Link JetStream L2 Lite TL-SG3210 User manual

TP-Link TL-SG3109 User manual

TP-Link

TP-Link TL-SG3109 User manual

TP-Link kasa smart KS200 User manual

TP-Link

TP-Link kasa smart KS200 User manual

TP-Link Jetstream Series User manual

TP-Link

TP-Link Jetstream Series User manual

TP-Link T2500G-10MPS User manual

TP-Link

TP-Link T2500G-10MPS User manual

TP-Link JetStream TL-SL3428 User manual

TP-Link

TP-Link JetStream TL-SL3428 User manual

TP-Link Tapo H100 User manual

TP-Link

TP-Link Tapo H100 User manual

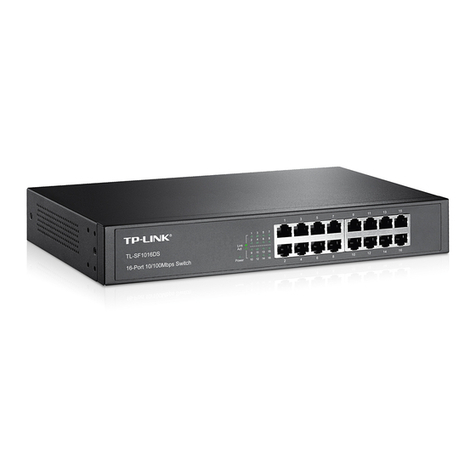
TP-Link TL-SF1005D User manual

TP-Link

TP-Link TL-SF1005D User manual

TP-Link TL-SG2216 User manual

TP-Link

TP-Link TL-SG2216 User manual

TP-Link JetStream TL-SL3428 User manual

TP-Link

TP-Link JetStream TL-SL3428 User manual

TP-Link JetStream L2 Lite TL-SG3210 Instruction Manual

TP-Link

TP-Link JetStream L2 Lite TL-SG3210 Instruction Manual

Popular Switch manuals by other brands

Wi-Tek WI-PS306GF-I installation guide

Wi-Tek

Wi-Tek WI-PS306GF-I installation guide

Dungs GGW A4/2 X Series manual

Dungs

Dungs GGW A4/2 X Series manual

Intek Rheotherm 100CS manual

Intek

Intek Rheotherm 100CS manual

Sky Sat 4O3A Signature Antenna Genius 8x2 Plus v2 user manual

Sky Sat

Sky Sat 4O3A Signature Antenna Genius 8x2 Plus v2 user manual

Honeywell PEHA PHC Installation and operating instruction

Honeywell

Honeywell PEHA PHC Installation and operating instruction

Quintech RFS 0702 Operation and Adjustment Procedure

Quintech

Quintech RFS 0702 Operation and Adjustment Procedure

Altusen KVM Over the NET KN2124v user manual

Altusen

Altusen KVM Over the NET KN2124v user manual

LEGRAND Belanko 617 076 manual

LEGRAND

LEGRAND Belanko 617 076 manual

Allied Telesis AT-8900 SERIES Quick install guide

Allied Telesis

Allied Telesis AT-8900 SERIES Quick install guide

Acnodes KVS1602 user manual

Acnodes

Acnodes KVS1602 user manual

IOGear GCS1644 installation guide

IOGear

IOGear GCS1644 installation guide

Extron electronics SW AV user manual

Extron electronics

Extron electronics SW AV user manual

LevelOne GNS-8000A user manual

LevelOne

LevelOne GNS-8000A user manual

Nexxt Solutions NHE-T100 instructions

Nexxt Solutions

Nexxt Solutions NHE-T100 instructions

Belkin F1DN116KVM-UN-4 Quick installation guide

Belkin

Belkin F1DN116KVM-UN-4 Quick installation guide

CTC Union TSB1000 Series product manual

CTC Union

CTC Union TSB1000 Series product manual

ATEN Altusen KL1508Ai quick start guide

ATEN

ATEN Altusen KL1508Ai quick start guide

No Wires Needed Pelican 1100 user manual

No Wires Needed

No Wires Needed Pelican 1100 user manual

manuals.online logo
manuals.online logoBrands
  • About & Mission
  • Contact us
  • Privacy Policy
  • Terms and Conditions

Copyright 2025 Manuals.Online. All Rights Reserved.