SPECIFICATIONS
Temperature—
Range: 32.0 to 122.0 °F / 0.0 to 50.0 °C
Resolution: 0.1°
Humidity—
Range: 10.0 to 95.0% RH
Resolution: 0.1%
Barometric Pressure—
Range: 10.0 to 1100 hPa
(hectopascals) {1 hPa = 1 millibar}
Resolution: 0.1 up to 999.9, 1 over 999.9
Range: 7.5 to 825.0 mmHg
(millimeters of mercury)
Resolution: 0.1
Range: 0.29 to 32.48 inHg
(inches of mercury)
Resolution: 0.01
Dew Point—
Range: -13.5 to 120.1 °F / 25.3 to 48.9 °C
Resolution: 0.1°
Update Rate: 1 second
Battery: 4 each AAA (1.5V)
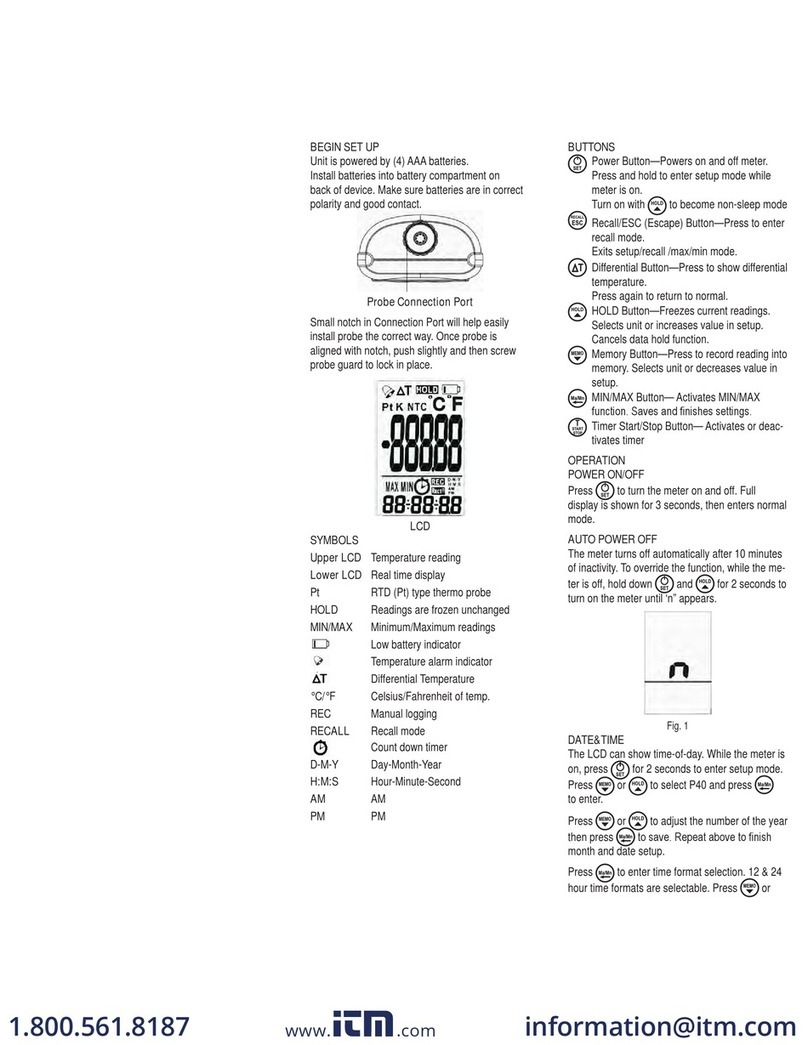
DISPLAY MODES
The meter may be set to the following display modes:
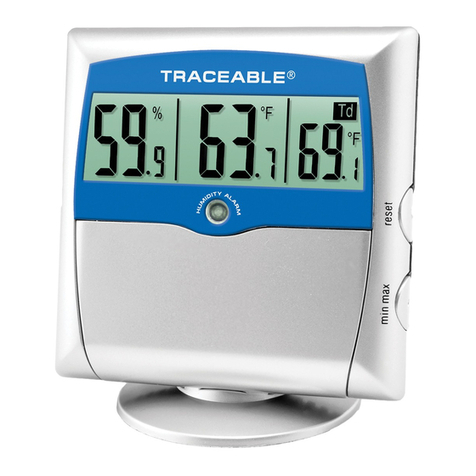
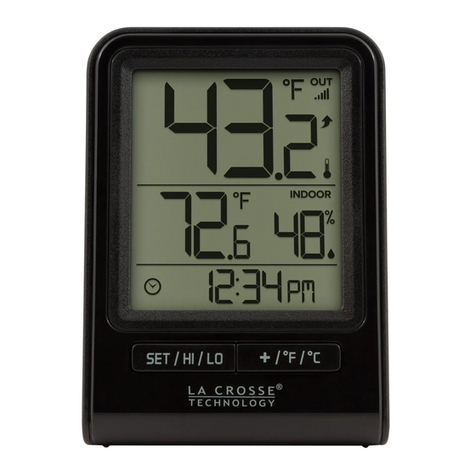
rH/tP - Humidty and Temperature
(Humidity reading shown in the upper display, temperature shown
in the lower display)
rH/dP - Humidity and Dew Point
(Humidity reading shown in the upper display, Dew Point
temperature shown in the lower display)
bAro/tP - Barometer and Temperature
(Barometer reading shown in the upper display, temperature
shown in the lower display)
bAro/rH - Barometer and Humidity
(Barometer reading shown in the upper display, humidity shown
in the lower display)
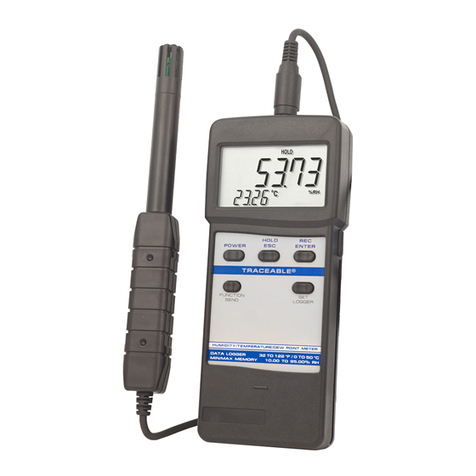
To change the display mode, press and hold the
REC button. After approximately three (3) seconds,
the display will cycle through the available display
modes (rH/tP->rH/dP->bAro/lP->bAro/rH-> rH/tP ...
). Once the desired display mode appears, release
the REC button.
OPERATION
1. Press the POWER button to turn the meter on.
2. Select the desired display mode (see the
“Display Modes” section).
3. Take the desired measurements.
4. Press the POWER button to turn the meter off.
To preserve battery life, always turn the meter
off when not in use.
If no button is pressed for ten (10) minutes, the
meter will turn off automatically to preserve battery
life (see the “Automatic Shutoff” section).
SELECTING °F OR °C (Temperature/Dew Point)
The following procedure is used to change the
temperature/dew point display from °F to °C, or
from °C to °F.
1. With the meter turned off, press and hold the
HOLD button, then press and release the
POWER button.
2. Continue to hold the HOLD button until “o ”
appears on the display.
3. Release the HOLD button. The meter will
return to the selected display mode and the
temperature/dew-point reading will now appear
in the opposite display mode. If the meter had
been displaying °F, it will now display °C, and
vice-versa.
The unit of measure selected will be the default
unit of measure for both temperature and dew
point until changed.
SELECTING BAROMETER UNIT OF MEASURE
1. Press the POWER button to turn the meter on.
2. Select the Barometer/Temperature or
Barometer/Humidity display mode (see the
“Display Modes” section).
3. Press and hold the HOLD button. After
approximately three (3) seconds, the
display will ash. Use the UP arrow key to
cycle through the available display modes
(hPa→mmHg→inHg→hPa...). Once the
desired display mode appears, release the
HOLD button.
HOLD FUNCTION
The hold function allows the readings on the
display to be “frozen” so that they may be
recorded.
1. Press and release the HOLD button to “freeze”
the display at the current reading. “HOLD” will
appear at the top of the display.
2. Once the reading has been recorded, press and
release the HOLD button to return the display to
the current reading. “HOLD” will no longer
appear on the display.
RECORD MODE (Min/Max Memories)
While in the Record Mode, the maximum and
minimum readings for Humidity (rH/tP or rH/dP
mode) or Barometric Pressure (bAro/tP or bAro/
rH mode) will be recorded, depending on the
display mode. Record Mode records the minimum/
maximum values achieved for the upper display
only. While in the Record Mode, the Automatic
Shutoff feature is disabled so that long term
monitoring may be performed.
1. Select the desired display mode (see the
“Display Modes” section).
2. To enter the Record Mode, press and release
the REC button. “REC” will appear on display.
3. To recall the maximum and minimum readings
achieved since entering the Record Mode
(“REC” appearing on the display), press and
release the REC button.
4. The rst press of the REC button will display
the maximum reading achieved since entering
the Record Mode. (“REC MAX” will appear on
the display).
5. The second press of the REC button displays
the minimum reading achieved since entering
the Record Mode. (“REC MIN” will appear on
the display).
6. To return the display to the current reading,
press and release the HOLD button. “MAX” or
“MIN” will no longer appear on the display.
7. To exit from the Record Mode, press and hold
the REC button for 3 seconds. “REC” will no
longer appear on the display. The maximum
and minimum readings are automatically
cleared once the Record Mode has been exited.
AUTOMATIC SHUTOFF (Disable)
If no button has been pressed for ten (10) minutes,
the Automatic Shutoff feature will turn the meter off
to preserve battery life.
The automatic shutoff feature setting is overridden
while in the Record Mode. (See the “Record
Mode” section)
To disable the Automatic Shutoff feature, place the
unit into the Record Mode (see the “Record Mode”
section).
ALL OPERATION DIFFICULTIES
If this meter does not function properly for any
reason, replace the batteries with a new, high
quality batteries (see the “Battery Replacement”
section). Low battery power can occasionally
cause an number of “apparent” operational
difculties. Replacing the batteries with new fresh
batteries will solve most difculties.
www. .com information@itm.com1.800.561.8187
