manuals.online logo
Brands
  1. Home
  2. •
  3. Brands
  4. •
  5. TrailFX
  6. •
  7. Automobile Accessories
  8. •
  9. TrailFX A0002S User manual

TrailFX A0002S User manual

Page 1 of 4 Rev 010115
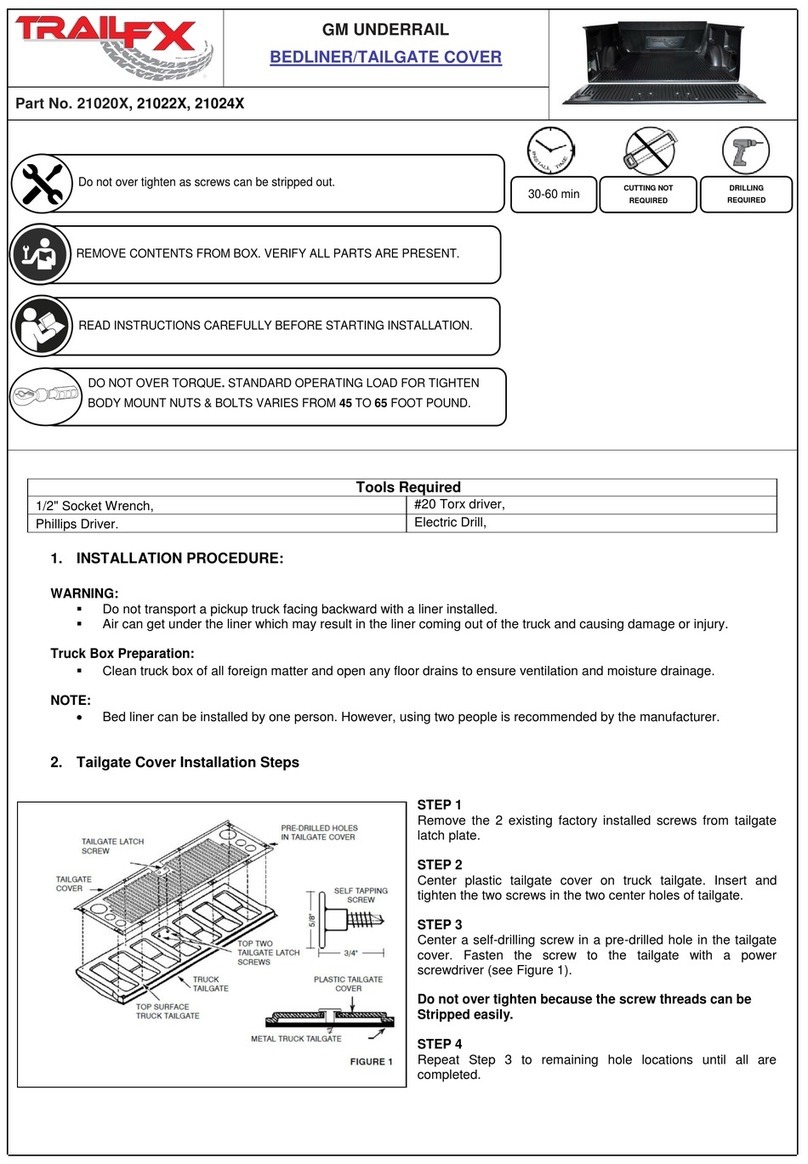
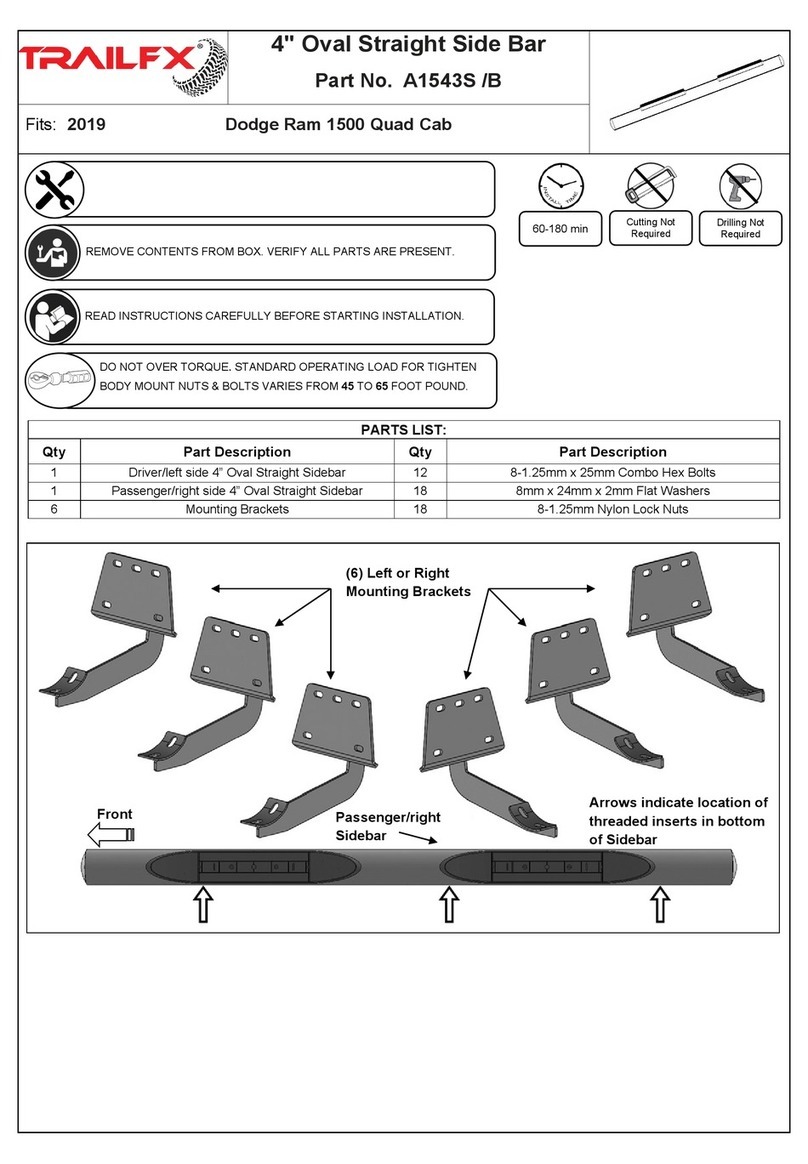
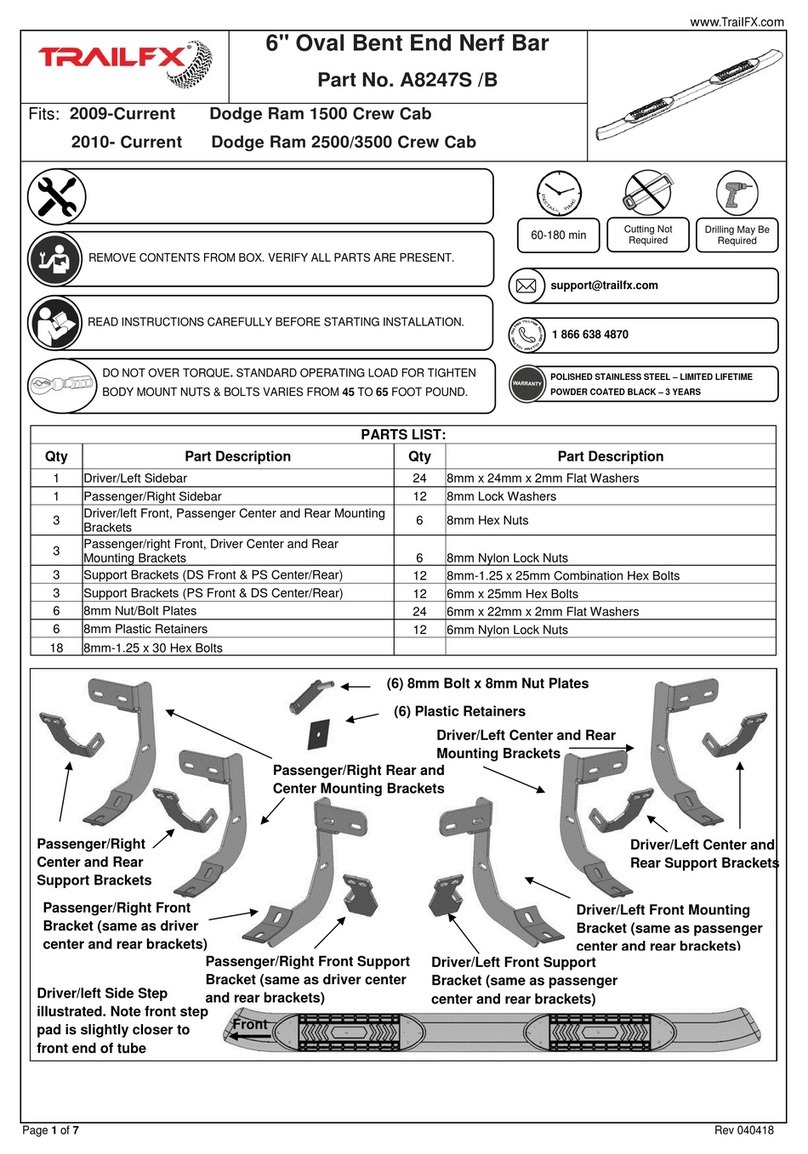
REMOVE CONTENTS FROM BOX. VERIFY ALL PARTS ARE PRESENT.
READ INSTRUCTIONS CAREFULLY BEFORE STARTING INSTALLATION.
DO NOT OVER TORQUE. STANDARD OPERATING LOAD FOR TIGHTEN
BODY MOUNT NUTS & BOLTS VARIES FROM
45
TO
65
FOOT POUND.
30-60 min
Cutting Not
Required
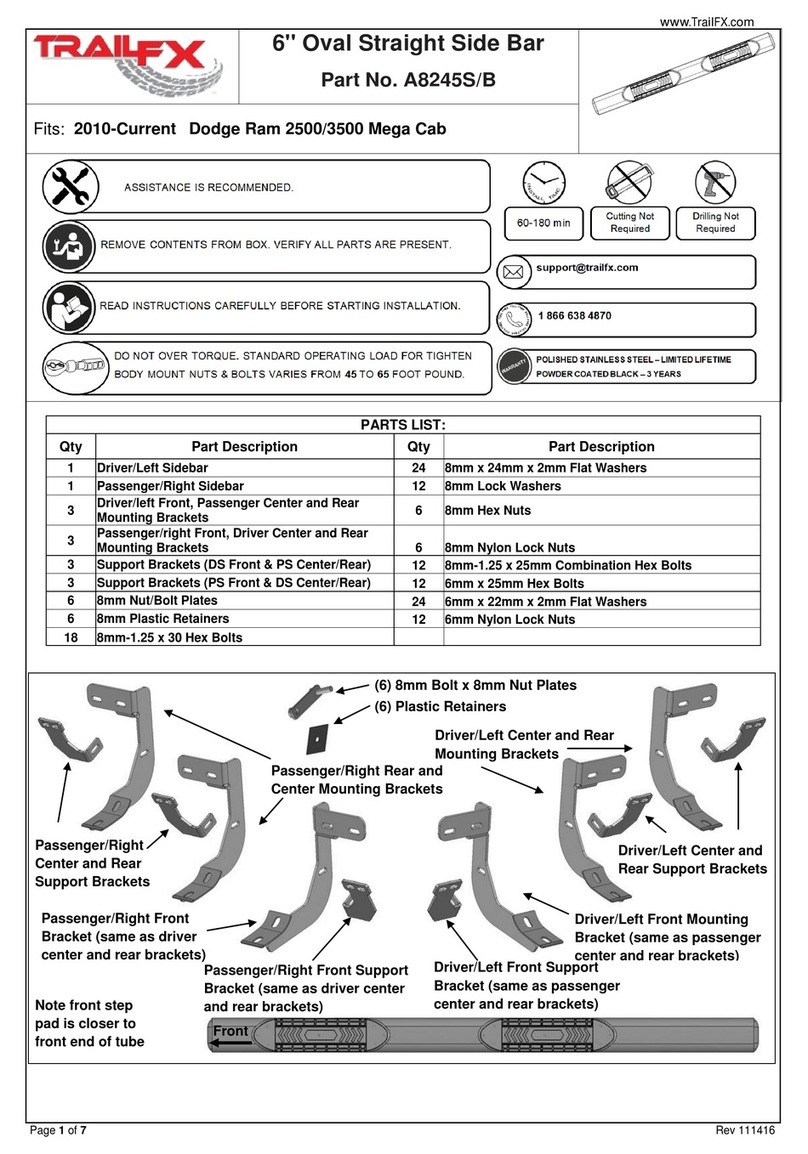
PARTS LIST:
Qty
Part Description
Qty
Part Description
1 Set
Side Bar
8
3/8"-16 Hex Nut
1 Set
Front Mounting Bracket -Short
2
1/2"-13 Hex Nut
1 Set
Rear Mounting Bracket –Long
4
1/2"-13 x 2" Hex Head Bolt
1 Set
Front Support Bracket A
10
1/2" Lock Washer
1 Set
Front Support Bracket B
12
1/2" Flat Washer
1 Set
Rear Support Bracket
4
M12-1.75 x 120mm Hex Head Bolt
4
3/8" Plastic Washer
4
1/2”-1.88” Spacer washer
2
1/2"-13 x 1½’’ Hex Head Bolt
4
3/8’’-16 x 11/5" ‘’T’’ Bolt Plate
4
3/8"-16 x 1½" Hex Head Bolt
4
½” Plastic plate
12
3/8” Flat Washer
8
3/8” Lock Washer
`
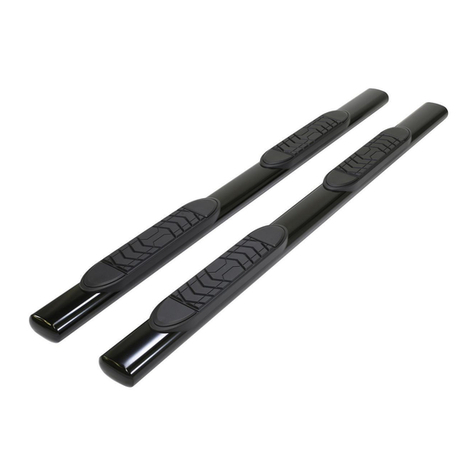
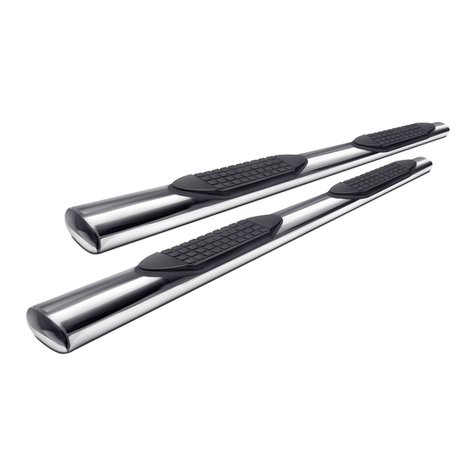
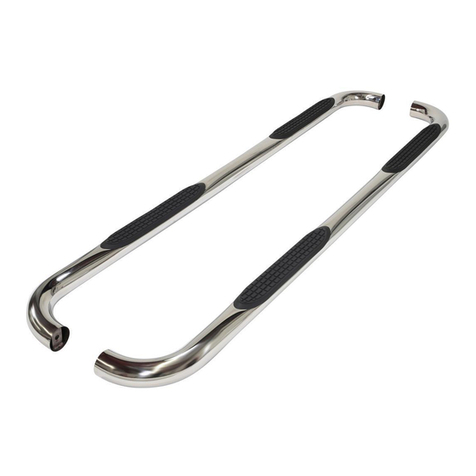
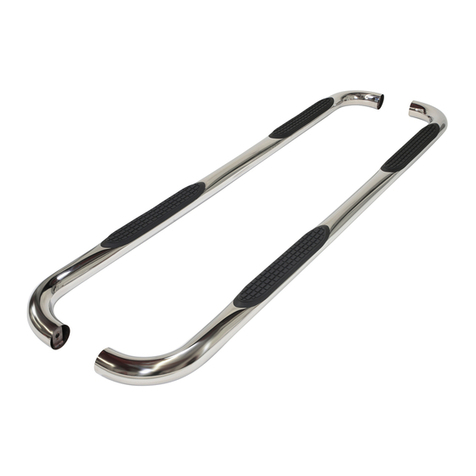
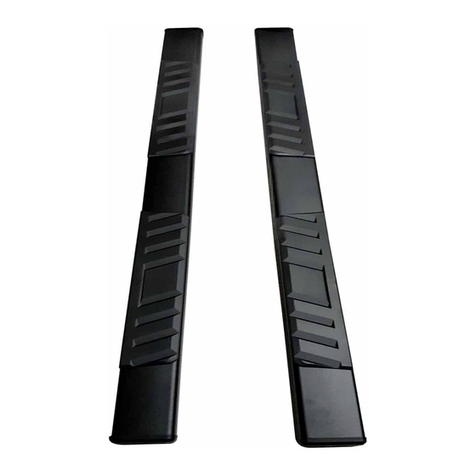
3” Side Bar
Part No.
A0002S/B
Fits: 2002-2008 Dodge Ram 1500 Quad Cab
2003-2009 Dodge Ram 2500/3500 Quad Cab
Drilling Not
Required
Page 2 of 4 Rev 010115
INSTALLATION PROCEDURE
1. From underside the driver side front of the vehicle, remove the factory body mount bolt. Remove but do not discard the rubber
bushing. Install (1) M12-1.75mm x 120mm Hex Bolt with (1) 1/2”-1.88” Spacer washer and (1) 1/2” Lock Washer through the
Driver Side Front Mounting Bracket. Position (1) Spacer Plate between the Mounting Bracket and the factory rubber bushing,
(Figure 4). Slide the complete assembly up into position under the cab mounting bracket and thread the 12mm Hex Bolt into
the factory mounting hole. Snug but do not tighten at this time.
2. Next select the correct Front Support Bracket for your application.
2002-2005 Models.
Select the straight 2-hole Support Bracket. Attach one end to the side of the Front Mounting Bracket with (1) 3/8"-16 x 1½"
Hex Head Bolt, (2) 3/8" Flat Washers, (1) 3/8" Lock Washer and (1) 3/8" Hex Nut. Rotate the Support Bracket up to meet the
factory body mount bracket and line up the hole in the body mount bracket with the Support Bracket, (Figure 1). Bolt the
Support Bracket to the body mount bracket with (1)1/2"-13 x 1½’’ Hex Head Bolt, (2)1/2" Flat Washers, (1) 1/2" Lock Washer
and (1)1/2" Hex Nut. NOTE: Some models may require drilling a mounting hole in the factory body mount bracket if not
equipped.
IMPORTANT! Any cutting or drilling tool may break or shatter. Government regulations require safety glasses & equipment at
all times when cutting or drilling.
2006-2008 Models.
Select the front Support Bracket with the angled end. Remove the sealing tape on the inner body panel to uncover the
mounting location. Partially thread (1) 3/8" Plastic Washer onto a 3/8’’-16 x 11/5" ‘’T’’ Bolt Plate. Insert the Bolt Plate into the
mounting hole and thread the Plastic Washer down until it is flush against the body panel, (Figure 3). NOTE; The Plastic
Washer is designed to prevent the Bolt Plate from falling into the body cavity when properly installed. Secure the Support
Bracket to the Bolt Plate with (1) 3/8" Flat Washer, (1) 3/8" Lock Washer and (1) 3/8" Hex Nut. Attach the Support Bracket to
the front-facing side of the Mounting Bracket with (1) 3/8"-16 x 1½" Hex Head Bolt, (2)3/8" Flat Washers, (1) 3/8" Lock
Washer and (1) 3/8" Hex Nut, (Figure 5). Snug but do not tighten hardware at this time.
3.Repeat Step 2 for the rear Mounting Bracket installation, (Figure 2).
4Next, select the rear Support Bracket (90-degree bend on one end). NOTE: The rear Support Bracket is not used on the
Regular Cab models. Remove the sealing tape on the inner body panel to uncover the mounting location. Partially thread (1)
3/8" Plastic Retainer onto a 3/8’’-16 x 11/5" ‘’T’’ Bolt Plate. Insert the Bolt Plate into the mounting hole and thread the Plastic
Retainer down until it is flush against the body panel, (Figure 3). NOTE; The Plastic Retainer is designed to prevent the Bolt
Plate from falling into the body cavity when properly installed. Secure the Support Bracket to the Bolt Plate with (1) 3/8" Flat
Washer, (1) 3/8" Lock Washer and (1) 3/8" Hex Nut. Attach the Support Bracket to the front-facing side of the Mounting
Bracket with (1) 3/8"-16 x 1½" Hex Head Bolt, (2) 3/8" Flat Washers, (1) 3/8" Lock Washer and (1) 3/8" Hex Nut. Snug but do
not tighten hardware at this time.
5.Carefully unwrap the Sidebars and select the driver sidebar. Line up the end of the Sidebar with the front Mounting Bracket
and secure with (1) 1/2"-13 x 2’’ Hex Head Bolt, (1) 1/2" Lock washer and (1) 1/2" Flat Washer. Do not tighten hardware at this
time. Repeat this step to bolt the Sidebar to the rear Mounting Bracket.
6.Align and adjust the Sidebar then tighten all hardware.
Page 3 of 4 Rev 010115
FIG.3
Page 4 of 4 Rev 010115
1. Hardware’s are not of correct size.
In GMC / Chevrolet truck model 2006 & up, customer needs to reuse the factory body bolts to install the bracket. If your vehicle is not
GMC / Chevrolet 2006 & up, ensure that holes are not partially covered with any plastic grommet or rust? If it is, remove the plastic
grommet & rust from the thread holes & re-try the installation.
2. Mounting Bracket are not getting Installed properly.
In some cases Illustration images shown in Installation manual may not be the exactly same as per actual vehicle images ,also if Driver /
Passenger side mounting brackets are very identical in the design, suggest referring Parts Identification guide to avoid fitment issue.
3. Products are thumping / rattling after installation.
Ensure that all required mounting brackets / hardware’s are installed & tighten correctly. Suggest using white lithium / regular grease
between the metal to metal contact surfaces.
4. Side Bar is not aligning with vehicle / Step Pads are not aligning with vehicle doors.
Side bar may be interchanged or mounting brackets are not installed at the correct position in the vehicle. Refer Parts identification guide.
5. Missing / Excess Hardware.
Recheck hardware count as per the part list.
6. Product not installing properly.
Ensure make model year, cab length and bed size of your vehicle is listed in the application. All installation steps are followed correctly.
PARTS IDENTIFICATION GUIDE
Driver Side tube taped in “Red” Color. Passenger Side tube taped in “Blue” Color.
No.
Parts Identification
1
Passenger / Right ‘Rear’ Bracket marked “RR”
2 Driver / Left ‘Rear’ Bracket marked “RL”
3 Passenger / Right ‘Center’ Bracket marked “CR”
4 Driver / Left ‘Center’ Bracket marked “CL”
5 Passenger / Right ‘Front’ Bracket marked “FR”
6 Driver / Left ‘Front’ Bracket marked “FL”
7 ‘Left’ marked “L”
8 ‘Right’ marked “R”
Note:
This guide is to identify the parts and not a reference for part count.
Product / Bracket image is for representative purpose only.
Actual design may vary based on application.
Refer Parts List for Hardware.
Periodically check the product to ensure all fasteners are tight and components are intact.
Regular waxing is recommended to protect the finish of the product.
Use ONLY Non-Abrasive automotive wax. Use of any soap, polish or wax that contains an abrasive is detrimental and can scratch the
finish leading to corrosion.
Aluminum polish may be used to polish small scratches and scuffs for Stainless Steel finish.

Mild soap may be used to clean the product for both
Stainless Steel and Black finish.

This manual suits for next models

1

Other TrailFX Automobile Accessories manuals

TrailFX A7024S User manual

TrailFX

TrailFX A7024S User manual

TrailFX A1017S User manual

TrailFX

TrailFX A1017S User manual

TrailFX A7013S User manual

TrailFX

TrailFX A7013S User manual

TrailFX TFX5523 User manual

TrailFX

TrailFX TFX5523 User manual

TrailFX A7001S User manual

TrailFX

TrailFX A7001S User manual

TrailFX 21020 Series User manual

TrailFX

TrailFX 21020 Series User manual

TrailFX A8245S/B User manual

TrailFX

TrailFX A8245S/B User manual

TrailFX A1537S User manual

TrailFX

TrailFX A1537S User manual

TrailFX RBA006TI User manual

TrailFX

TrailFX RBA006TI User manual

TrailFX A1543S/B User manual

TrailFX

TrailFX A1543S/B User manual

TrailFX A0065S/T User manual

TrailFX

TrailFX A0065S/T User manual

TrailFX A7057S User manual

TrailFX

TrailFX A7057S User manual

TrailFX A0057S/B User manual

TrailFX

TrailFX A0057S/B User manual

TrailFX 210101 User manual

TrailFX

TrailFX 210101 User manual

TrailFX A7060S/B User manual

TrailFX

TrailFX A7060S/B User manual

TrailFX FHDB006TI User manual

TrailFX

TrailFX FHDB006TI User manual

TrailFX 69527B User manual

TrailFX

TrailFX 69527B User manual

TrailFX J042T User manual

TrailFX

TrailFX J042T User manual

TrailFX RBV05B User manual

TrailFX

TrailFX RBV05B User manual

TrailFX A1018S/T User manual

TrailFX

TrailFX A1018S/T User manual

TrailFX JTSB01 User manual

TrailFX

TrailFX JTSB01 User manual

TrailFX A8247S /B User manual

TrailFX

TrailFX A8247S /B User manual

TrailFX 160481S User manual

TrailFX

TrailFX 160481S User manual

TrailFX 150361 User manual

TrailFX

TrailFX 150361 User manual

Popular Automobile Accessories manuals by other brands

Motorola H500 Features and Functions Guide

Motorola

Motorola H500 Features and Functions Guide

Whispbar K672W Fitting instructions

Whispbar

Whispbar K672W Fitting instructions

Black Horse IM-FOF1CC installation instructions

Black Horse

Black Horse IM-FOF1CC installation instructions

HUSKY LINERS 6341 Care and use instructions

HUSKY LINERS

HUSKY LINERS 6341 Care and use instructions

Whispbar K513W Fitting instructions

Whispbar

Whispbar K513W Fitting instructions

PAC RP4-CH11 manual

PAC

PAC RP4-CH11 manual

EVBox BusinessLine Installation and user manual

EVBox

EVBox BusinessLine Installation and user manual

Masterack 022553KP Assembly/installation instructions

Masterack

Masterack 022553KP Assembly/installation instructions

VELOSSA TECH BIG MOUTH LIT KIT installation guide

VELOSSA TECH

VELOSSA TECH BIG MOUTH LIT KIT installation guide

Arnott P-3243 installation manual

Arnott

Arnott P-3243 installation manual

Raptor Series MAGNUM RT GTS25CH manual

Raptor Series

Raptor Series MAGNUM RT GTS25CH manual

Harmar Mobility AL001 Installation and owner's manual

Harmar Mobility

Harmar Mobility AL001 Installation and owner's manual

Yakima K571 installation instructions

Yakima

Yakima K571 installation instructions

Enelion LUMINA quick start guide

Enelion

Enelion LUMINA quick start guide

AMERICAN SPORTSWORKS CREWMATE 16265 installation instructions

AMERICAN SPORTSWORKS

AMERICAN SPORTSWORKS CREWMATE 16265 installation instructions

Bedrug BRJL18R2 installation instructions

Bedrug

Bedrug BRJL18R2 installation instructions

Rampage Trailview Tonneau Top installation instructions

Rampage

Rampage Trailview Tonneau Top installation instructions

Axxess AXDSPX-FD2 installation instructions

Axxess

Axxess AXDSPX-FD2 installation instructions

manuals.online logo
manuals.online logoBrands
  • About & Mission
  • Contact us
  • Privacy Policy
  • Terms and Conditions

Copyright 2025 Manuals.Online. All Rights Reserved.