manuals.online logo
Brands
  1. Home
  2. •
  3. Brands
  4. •
  5. Nav TV
  6. •
  7. Automobile Accessories
  8. •
  9. Nav TV NTG3 Technical specifications

Nav TV NTG3 Technical specifications

100 NW 11th street, Boca Raton, FL 33432
Tel. 561-955-9770 Fax. 561-955-9760
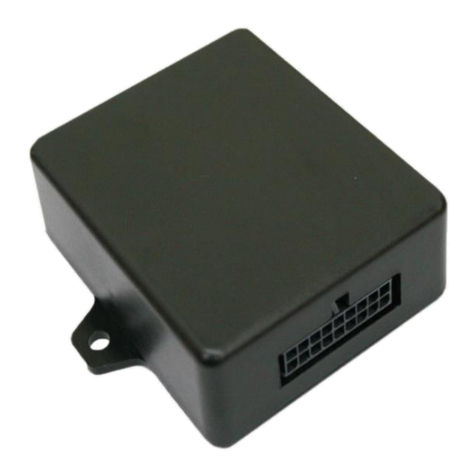
Thank you for purchasing the NTG3, a multi-featured integration interface designed specifically
for 2009 Model Year Mercedes Vehicles equipped with next-generation radios.
Backup Camera: Vehicles not equipped with a Backup Camera can be retrofitted with a Camera in an OEM fashion.
Programming is done via the NTG3 interface, All required wiring is included; OEM-Grade Cameras are available
separately from NAV-TV.
Rear Seat Entertainment: Adding Rear screens, headphones and rear DVD players could not be easier. The NTG3
interface comes standard with zoned A/V outputs. The front DVD player can be used to drive rear screens, even
while the driver is listening to Radio, HD, MP3’s, iPod or SAT radio. Rear passengers can enjoy iPod, Radio or SAT
music while the driver listens to CD’s. Additionally, a rear mounted DVD player or Video iPod could be routed to the
radio for Front passenger entertainment (Not for the driver’s use while operating the vehicle, see Agreement below). An
additional AUX Audio input labeled REAR is available as well for CE devices such as Music players.
Video-in-motion: Where applicable by law, and for passenger use only, Front DVD and AUX video could be enabled
while the vehicle is in motion. Please do not drive and watch movies! it is illegal in many states and most importantly
- dangerous.
NAV-TV
www.nav-tv.com info@nav-tv.com
NTG3 2.10.09 Moni
Rev. 1.5 Tony Yankovsky
Product Description
2009-up Mercedes GL/ML/R/E/CLS/SLK New Generation
Backup camera / AV input / RSE / Video In Motion interface
NTG3 / NTG3E /NTG3SLK
Agreement: End user agrees to use this product in compliance with all State and Federal laws. NAV-TV Corp. Would not be held liable for misuse of it’s product.
If you do not agree, please discontinue use immediately and return product to place of purchase.
This product is intended for off-road use and passenger entertainment only.
WARNING: Check entire surroundings while backing. Do not become distracted by using COMAND.
100 NW 11th street, Boca Raton, FL 33432
Tel. 561-955-9770 Fax. 561-955-9760
www.nav-tv.com info@nav-tv.com
NTG3 2.10.09 Moni
Rev. 1.5 Tony Yankovsky
Operation Instructions
2009-up Mercedes GL/ML/R/E/CLS/SLK New Generation
Backup camera / AV input / RSE / Video In Motion interface
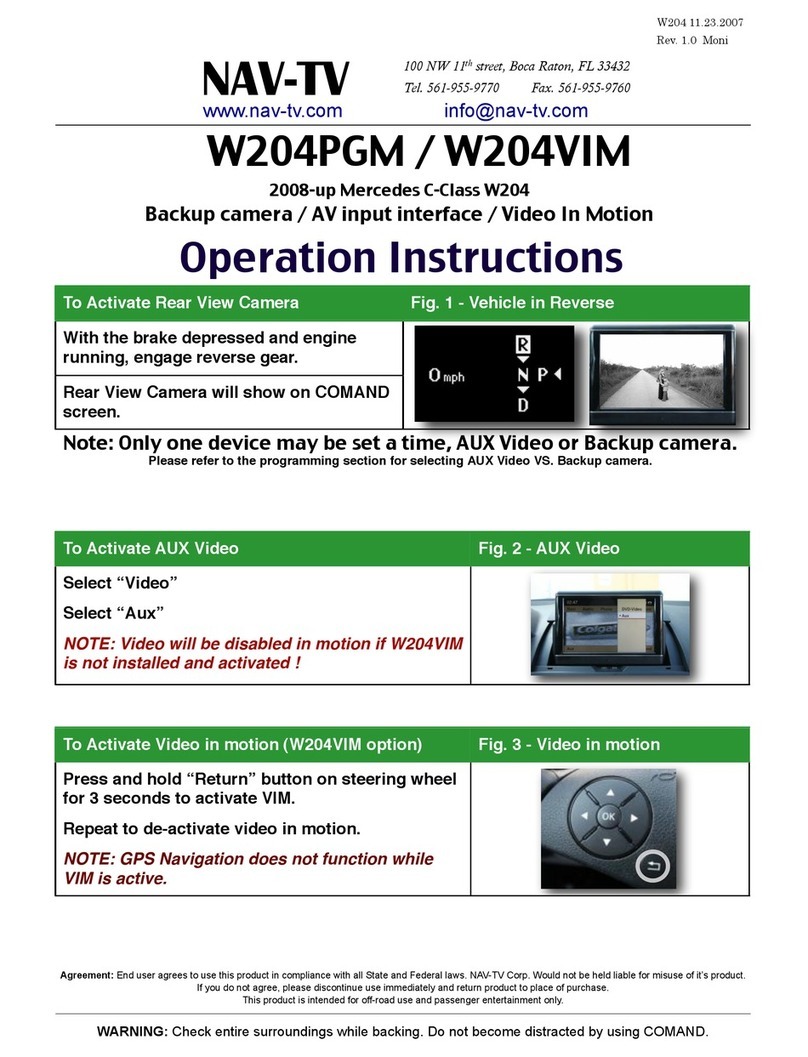
To Activate Rear View Camera
Fig. 1 - Vehicle in Reverse
With the brake depressed and engine running,
engage reverse gear.
Rear View Camera will show on radio screen.
To Activate Video in motion (GL, ML, R Class)
Fig. 4 - Video in motion
Double click the (Voice Off) button.
Repeat to de-activate video in motion.
NOTE: Navigation does not track while VIM is active.
To Activate AUX Video
Fig. 2 - AUX Video
Select “Video”
Select “Aux”
NTG3 / NTG3E /NTG3SLK
To Set Active Audio Source For the Rear
Fig. 3 - RSE
Select the source name at the bottom-left of the screen
(example - “DVD-Video”)
Select “Activate Audio Source For The Rear”
Selected Audio source and DVD / AUX Video are now
available for rear headphones and screens (if installed)
To activate Video in motion (E, CLS, SL Class)
Fig. 5 - Video in motion
Press VOL UP and SEEK UP simultaneously.
Repeat to de-activate video in motion.
NOTE: Navigation does not track while VIM is active.
NAV-TV
To activate Video in motion (SLK Class)
Fig. 6 - Video in motion
Press VOL UP and VOL DOWN simultaneously.
Repeat to de-activate video in motion.
NOTE: Navigation does not track while VIM is active.
100 NW 11th street, Boca Raton, FL 33432
Tel. 561-955-9770 Fax. 561-955-9760
www.nav-tv.com info@nav-tv.com
NTG3 2.10.09 Moni
Rev. 1.5 Tony Yankovsky
Remove Radio
Fig. 1 - Radio Removal (GL)
1. Remove 2 TORX T20 Screws behind ashtray,
unplug and remove ashtray.
2. Using a plastic trim tool, carefully pop out A/C
control trim, Then unplug.
3. Remove 2 TORX T20 screws below radio, then
move metal locking tabs DOWN.
4. Pull radio out and unplug.
NTG3 / NTG3E /NTG3SLK
Installation Instructions
Wiring - NTG3
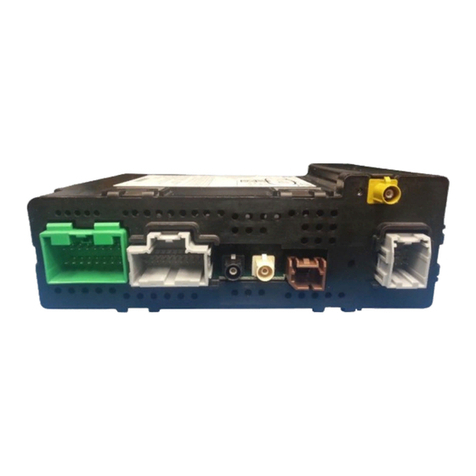
Fig. 2 - Plugs at rear of Radio
1. Unplug factory power connector from radio.
2. Remove Fiber connector from factory plug by
releasing the latch and pulling the connector
outwards. Plug Fiber connector into supplied plug
and play harness connector.
3. Plug in the NTG3 adapter harness to factory harness,
Radio and NTG3 Module.
4. If adding Rear-view Camera: Plug video cable to
Green FAKRA, Connect to Camera.
5. Plug supplied A/V harness into Black 18-pin
connector. connect as needed: A/V out, AUX Video in,
Secondary (RSE) Audio in.
6. For your convenience, The following OUTPUTS are
included. DO NOT EXCEED 500mA !!!
White / Purple: +12V VIM Mode, 500mA
White / Green: +12V Acc. OUT, 500mA
(connect to Camera or turn on for RSE)
NOTE: The 3.5mm Audio jack in the glovebox is shared for both AUX modes, AUX
Audio and AUX VIDEO. If installing an additional A/V source such as Video ipod, Rear
DVD Player etc., the AUX Audio port will be occupied.
We advise to use the secondary AUX Audio Labeled “REAR” on the
AUDIO Menu as a substitute AUX Audio source and run a new 3.5mm jack
or Stereo RCA!s to the glovebox (Jacks not included).
Please inform your customer of the changes if needed.
Camera Video
Green FAKRA
NAV-TV
100 NW 11th street, Boca Raton, FL 33432
Tel. 561-955-9770 Fax. 561-955-9760
Rear View Camera
GL, ML, R Class
ON:
Press and hold 6 seconds:
VR OFF + TALK
OFF:
Press and hold 6 seconds
VR + TALK
www.nav-tv.com info@nav-tv.com
NTG3 2.10.09 Moni
Rev. 1.5 Tony Yankovsky
Programming Instructions
Note: Prior to programming,
Shut the vehicle off and remove the key for 30 seconds, Then turn the key to IGN ON.
AUX Video
GL, ML, R Class
ON:
Press and hold 6 seconds:
VR OFF + HANG
OFF:
Press and hold 6 seconds:
VR + HANG
NTG3 / NTG3E / NTG3SLK
RSE
GL, ML, R Class
ON:
Press and hold 6 seconds:
VR OFF + VOL DOWN
OFF:
Press and hold 6 seconds:
VR + VOL DOWN
NAV-TV
Factory Reset GL, ML, R Class
Press and hold
30 seconds:
VR OFF + VR
All Features
E & CLS
ON:
Press and hold 30 seconds:
VOL UP + SEEK UP
OFF:
Factory Reset E & CLS
Press and hold 30 seconds:
VOL DOWN + SEEK DOWN
During programming, the radio screen
will display DIAGNOSIS, Then restart.
Important Note:
NTG3 Must learn the VIN and can not be
re-installed in a different vehicle unless origi-
nal vehicle has been reset to factory settings!
All Features
SLK
ON:
Press and hold 30 seconds:
TALK + HANG
OFF:
Factory Reset SLK
Press and hold 30 seconds:
UP + DOWN

This manual suits for next models

2

Other Nav TV Automobile Accessories manuals

Nav TV TOOKI-MB User manual

Nav TV

Nav TV TOOKI-MB User manual

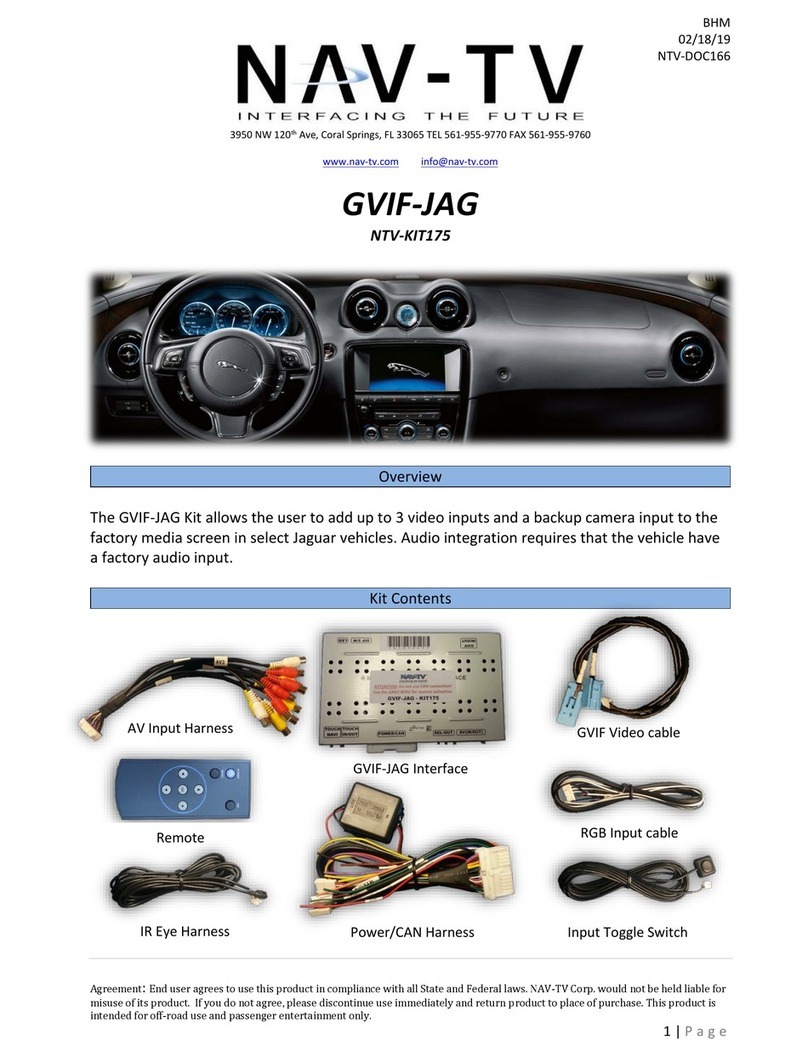
Nav TV GVIF-JAG User manual

Nav TV

Nav TV GVIF-JAG User manual

Nav TV AUDI-P60 User manual

Nav TV

Nav TV AUDI-P60 User manual

Nav TV PCM41-CAM Manual

Nav TV

Nav TV PCM41-CAM Manual

Nav TV ZEN-A2B User manual

Nav TV

Nav TV ZEN-A2B User manual

Nav TV Barracuda-CTS Installation and operating instructions

Nav TV

Nav TV Barracuda-CTS Installation and operating instructions

Nav TV CHRY UNI-CAM User manual

Nav TV

Nav TV CHRY UNI-CAM User manual

Nav TV MOST-H.U.R. MB V2 User manual

Nav TV

Nav TV MOST-H.U.R. MB V2 User manual

Nav TV NTV-KIT586 User manual

Nav TV

Nav TV NTV-KIT586 User manual

Nav TV GVIF-CTS User manual

Nav TV

Nav TV GVIF-CTS User manual

Nav TV PCM3-AV User manual

Nav TV

Nav TV PCM3-AV User manual

Nav TV AUDI-P60H Manual

Nav TV

Nav TV AUDI-P60H Manual

Nav TV NTV-KIT187 User manual

Nav TV

Nav TV NTV-KIT187 User manual

Nav TV OPV-2BMW User manual

Nav TV

Nav TV OPV-2BMW User manual

Nav TV NTV-KIT899 User manual

Nav TV

Nav TV NTV-KIT899 User manual

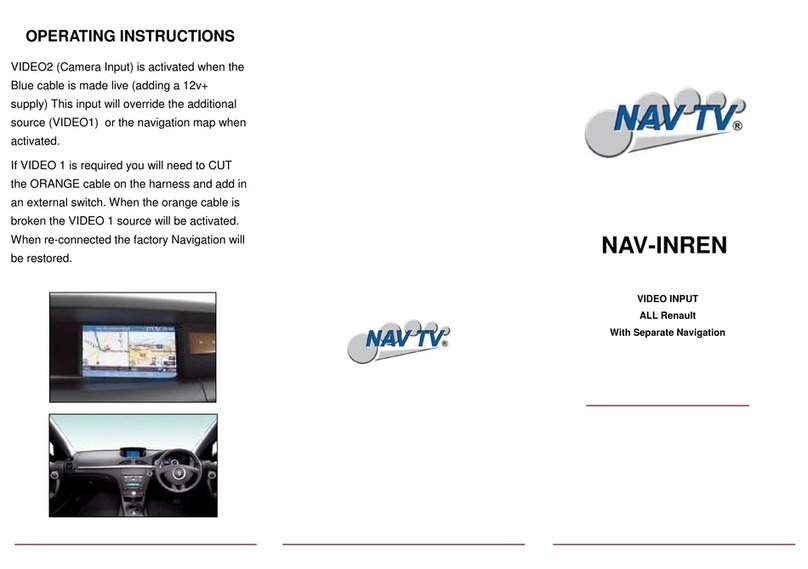
Nav TV NAV-INREN User manual

Nav TV

Nav TV NAV-INREN User manual

Nav TV MOST-H.U.R. NTV-KIT155 User manual

Nav TV

Nav TV MOST-H.U.R. NTV-KIT155 User manual

Nav TV W204PGM User manual

Nav TV

Nav TV W204PGM User manual

Nav TV AVBMW User manual

Nav TV

Nav TV AVBMW User manual

Nav TV Ford 4 UNI-CAM NTV-KIT600 User manual

Nav TV

Nav TV Ford 4 UNI-CAM NTV-KIT600 User manual

Nav TV ZEN-25 User manual

Nav TV

Nav TV ZEN-25 User manual

Nav TV BNT-Audio V2 User manual

Nav TV

Nav TV BNT-Audio V2 User manual

Nav TV MAS-GT NTV-KIT423 User manual

Nav TV

Nav TV MAS-GT NTV-KIT423 User manual

Nav TV BMW56-CAN User manual

Nav TV

Nav TV BMW56-CAN User manual

Popular Automobile Accessories manuals by other brands

GTS race chip user manual

GTS

GTS race chip user manual

Baja Design LP9 PRO quick start guide

Baja Design

Baja Design LP9 PRO quick start guide

Jaeger 21500616 Fitting instructions

Jaeger

Jaeger 21500616 Fitting instructions

Hamron 609-208 operating instructions

Hamron

Hamron 609-208 operating instructions

panthera Leo ASC installation instructions

panthera

panthera Leo ASC installation instructions

Thule 2 Bike Carrier 977 instructions

Thule

Thule 2 Bike Carrier 977 instructions

Whispbar K172W Fitting instructions

Whispbar

Whispbar K172W Fitting instructions

Kuda-Phonebase 043340 Installation instruction

Kuda-Phonebase

Kuda-Phonebase 043340 Installation instruction

Britton BabyWay instruction manual

Britton

Britton BabyWay instruction manual

dji C4S90-4 user manual

dji

dji C4S90-4 user manual

G3 KRONO 240 manual

G3

G3 KRONO 240 manual

AVS Bugflector installation instructions

AVS

AVS Bugflector installation instructions

Prorack K114 Fitting instructions

Prorack

Prorack K114 Fitting instructions

NavLinkz RL4-NAC08 manual

NavLinkz

NavLinkz RL4-NAC08 manual

Akyga AK-CH-02 user manual

Akyga

Akyga AK-CH-02 user manual

Mountain Top MTC800-ROLL installation manual

Mountain Top

Mountain Top MTC800-ROLL installation manual

Black Horse Off Road EX-K376 installation instructions

Black Horse Off Road

Black Horse Off Road EX-K376 installation instructions

Oris 037-181 FITTING INSTRUCTION

Oris

Oris 037-181 FITTING INSTRUCTION

manuals.online logo
manuals.online logoBrands
  • About & Mission
  • Contact us
  • Privacy Policy
  • Terms and Conditions

Copyright 2025 Manuals.Online. All Rights Reserved.