Gasket for top lid and junction box shall be replaced at
intervals of one year. (Part No. 5001 0040 and 5001 0041).
Gaskets shall be of same type as originals. One set of
replacement gaskets are included in shipment.
The navigation light should be inspected according to
Company routines. The manufacturer suggests regular
check for water intrusion / condensation which should
be removed immediately. When cleaning, use only mild
detergents. Alcohol or petroleum based products may
damage lens, paint or plastic components.
TEF 2850 Ex NAVIGATION LIGHT USER MANUAL
TOOLS REQUIRED
Thank you for purchasing this product!
For installation, maintenance and assurance of a long life
of this product, please follow this manual.
CONTENT IN BOX
The product is fully assembled, and ready for installation.
SAFETY PRECAUTIONS
Note that changes made to the product and/or installation
of components which do not conform to the approval,
may be a safety violation. The manufacturer will in no
circumstance be held responsible for such activity. For
your health and safety, always use safety gear suited for
the task. Be certain to follow codes, regulations and/or
specific procedures that are related to the installation.
INTRODUCTION
Regular tools required for installation.
• Wrench(es) suitable for selected M10 bolts for fixing
navigation light to mast / ships structure.
• Flat screwdriver for opening junction box.
• 27mm wrench for installing of cable gland.
• 19 mm wrench for opening top lid.
• Small flat screwdriver for terminating wires.
IMPORTANT INFORMATION
The navigation lights are supplied with galvanic isolators.
These should be placed between the navigation lights and
the wall, thus preventing corrosion to either. There should
be used acid resistant stainless steel fixing screws/bolts.
Never paint the navigation light or any of its components.
Use only spare parts as described.
MAINTENANCE INSTRUCTIONS
INSTALLATION INSTRUCTIONS
The navigation light should be installed according to IMO reg-
ulations and other relevant rules and regulations for electrical
installations onboard ships.
Consider the difference in material between the navigation
light (seawater resistant brass) and the wall/mast it is to be
installed on. Use galvanic isolators whenever there is a risk of
corrosion.
• Fix navigation light to mast / ships structure using M10
bolts (not supplied). Use acid resistant screws/bolts.
Tight firmly, max. 25 Nm.
• Open junction box to install and secure electrical cable.
The cable must be clamped near up to the navigation
light according to relevant rules and regulations for
electrical installations onboard ships.
• Connect electrical wires. Max. 2.5mm2. Strip length
8mm. Tightening force 0.6-0.8nm. Connect ground wire
to M5 earth screw in junction box.
• Screw on junction box lid. Max. tightening force: 5 Nm.
Make sure that gasket is centered and covering the
whole perimeter.
• External bonding conductor. Connect bonding wire to
point shown in illustration below.
At intervals according to company routines, the restricted
breathing properties should be verified. Remove stopping
plug at test port (M20). See illustration below. Connect
pressure meter / vacuum pump and conduct test according
to IEC 60079-15(2010) 23.2.3.2.1.1. Note: M20 gland for
connection of Ø5-10mm hose is included in shipment.
Note: According to approval, test of restricted breathing
properties is not required.
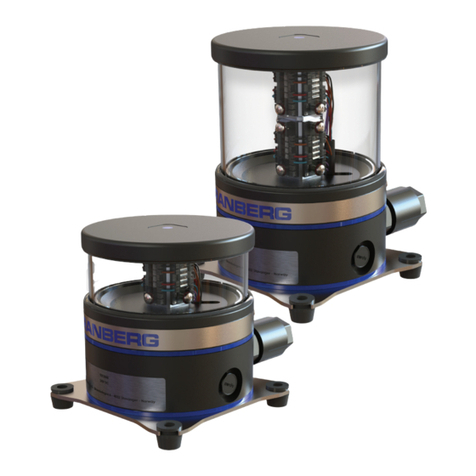
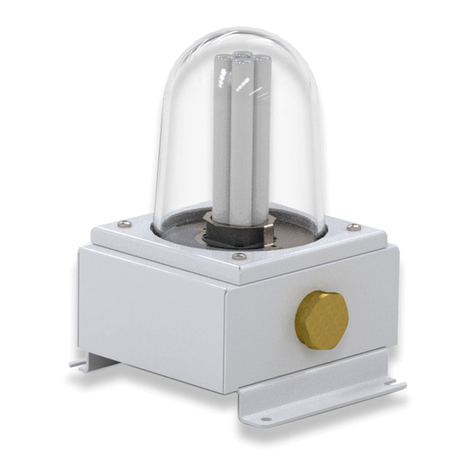
Allround Navigation Light Sector Navigation Light
