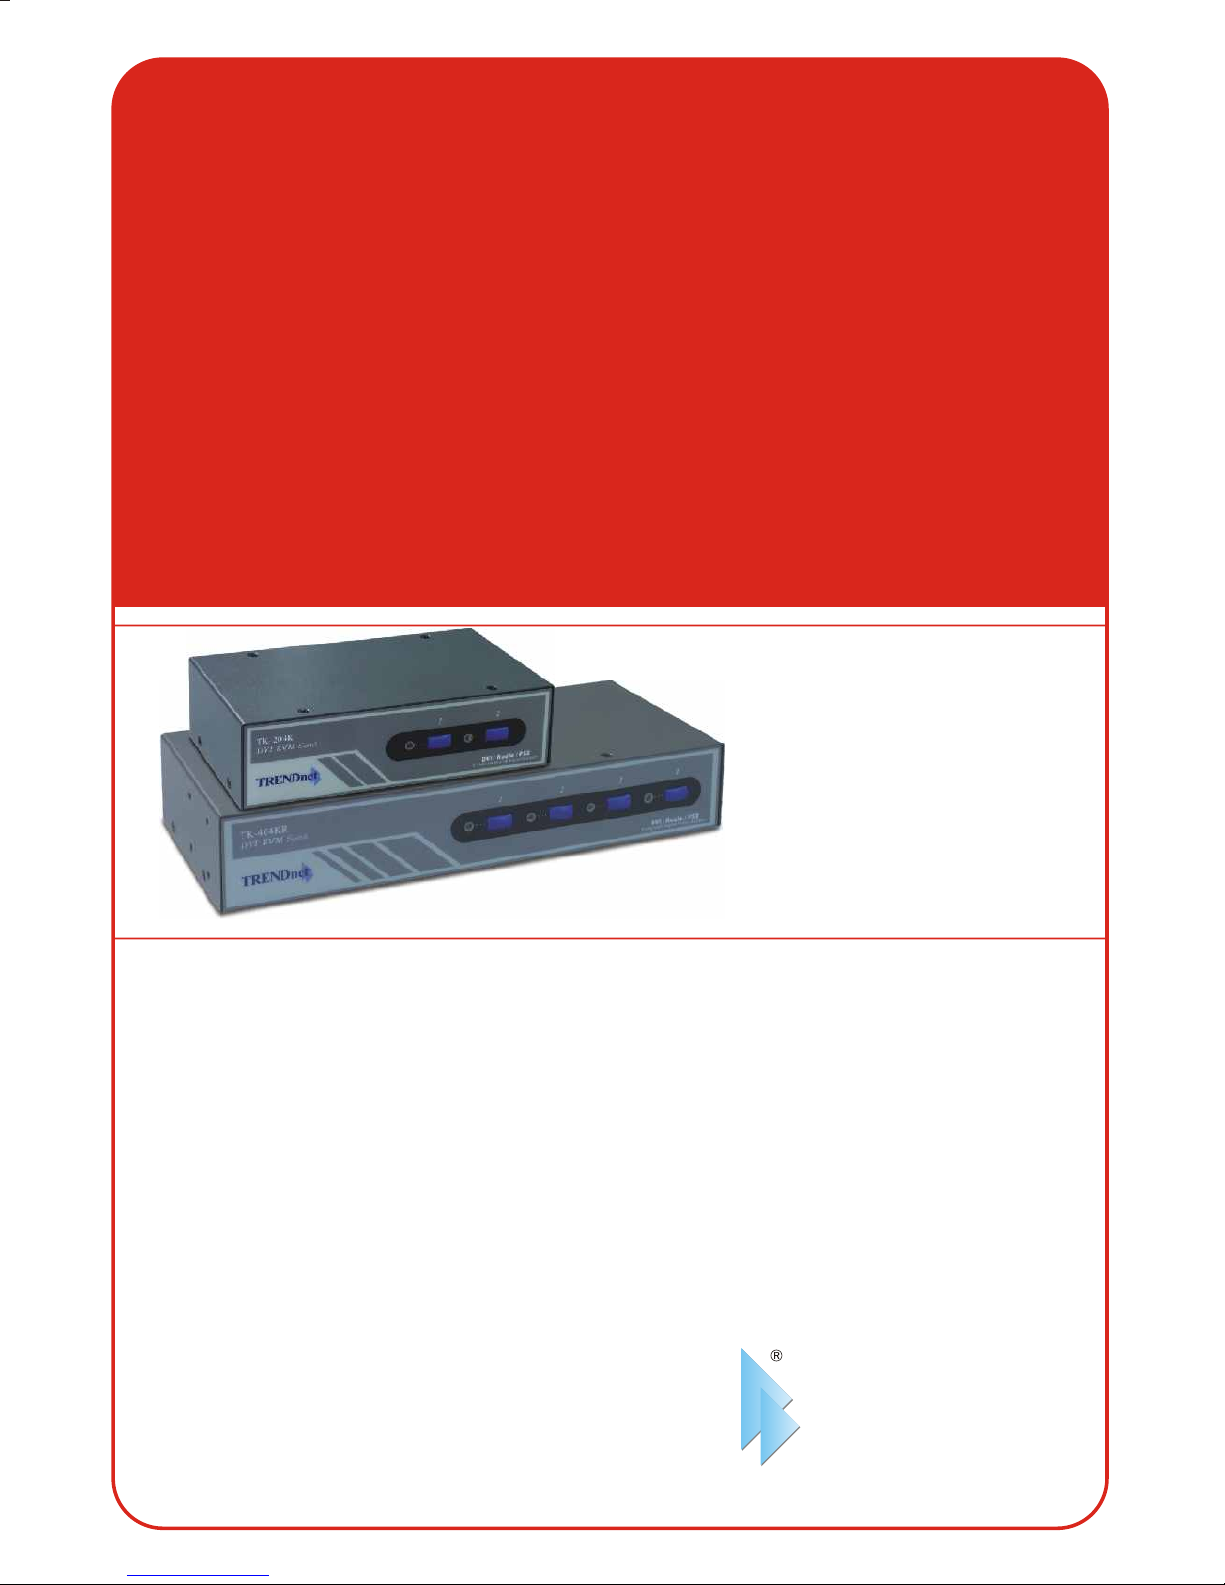
TRENDnet TK-204K User manual


Other manuals for TK-204K
2
This manual suits for next models
1
Other TRENDnet Switch manuals

TRENDnet
TRENDnet TK-207K - KVM Switch - USB User manual

TRENDnet
TRENDnet TK-1603R User manual

TRENDnet
TRENDnet TK-200K User manual

TRENDnet
TRENDnet TPE-1620WS User manual

TRENDnet
TRENDnet TK-208K User manual

TRENDnet
TRENDnet TK-1602R User manual

TRENDnet
TRENDnet TE100-S32plus User manual

TRENDnet
TRENDnet TEG-S16Dg User manual

TRENDnet
TRENDnet TEG-S50G User manual

TRENDnet
TRENDnet TC-P08C6AS User manual

TRENDnet
TRENDnet TEG-S50TXE SHEETS User manual

TRENDnet
TRENDnet TK-IP101 User manual

TRENDnet
TRENDnet TPE-117Gi User manual

TRENDnet
TRENDnet TI-G102i User manual

TRENDnet
TRENDnet TEG-S240TX - DATA SHEETS User manual

TRENDnet
TRENDnet TEG-448WS - Switch User manual

TRENDnet
TRENDnet TE100-S5 User manual

TRENDnet
TRENDnet TEG-ECSFP User manual

TRENDnet
TRENDnet TE100-S16Eg User manual

TRENDnet
TRENDnet TK-200K User manual


