manuals.online logo
Brands
  1. Home
  2. •
  3. Brands
  4. •
  5. Triumph
  6. •
  7. Motorcycle Accessories
  8. •
  9. Triumph A9758100 User manual

Triumph A9758100 User manual

1 of 5
English
Publication part number A9900015 issue 6, DC 72182
© Triumph Designs Ltd. 2015
Fitting Instructions:
Thruxton (not California & Taiwan models)
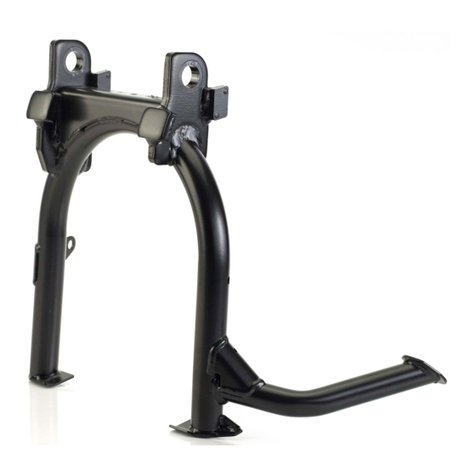
Centre Stand Kit - A9758100
Thank you for choosing this Triumph genuine accessory kit. This accessory kit is the product of Triumph's use of proven
engineering, exhaustive testing, and continuous striving for superior reliability, safety and performance.
Completely read all of these instructions before commencing the installation of the accessory kit in order to become
thoroughly familiar with the kit’s features and the installation process.
These instructions should be considered a permanent part of your accessory kit, and should remain with it even if your
accessory equipped motorcycle is subsequently sold.
Parts Supplied:
1. Centre stand 1 off 9. Flanged sleeve 2 off
2. Lock nut, M10 3 off 10. Bolt, M10 x 40 mm 2 off
3. Plastic plug 1 off 11. Spring retainer 1 off
4. Rubber stop 1 off 12. Lock nut, M8 1 off
5. Rubber strip, self adhesive 1 off 13. Shim, 2.5 mm 1 off
6. Stop extension 1 off 14. Cleaning swab (not shown) 1 off
7. Spring 1 off 15. Sachet, grease (not shown) 1 off
8. C-bracket 1 off
1
2
3
4
5
6
7
8
9
10
11 12
13
2 of 5
Note:
• Arrow exhaust system kits are not compatible
with this centre stand kit.
1. Fit the spring retainer to the hole on the left hand
side of the frame, above the centre stand mounting
brackets as shown. Fit the M8 lock nut and tighten to
27 Nm.
1. Spring retainer
2. Lubricate the flanged sleeves with the grease
supplied and fit them to the stand ensuring each
sleeve is fitted from the right hand side as shown
below.
1. Flanged sleeves
2. Centre stand
3. Align the centre stand to the mounting brackets on
the frame. Position the stand on the right hand side
of the brackets.
Warning
This accessory kit is designed for use on Triumph
Thruxton motorcycles only and should not be fitted to
any other Triumph model or to any other
manufacturer’s motorcycle. Fitting this accessory kit to
any other Triumph model or to any other
manufacturer’s motorcycle, may interfere with the rider
and could affect the stability or other aspects of the
motorcycle’s operation which may result in loss of
motorcycle control and an accident.
Warning
Always have Triumph approved parts, accessories and
conversions fitted by a trained technician of an
authorised Triumph dealer. The fitment of parts,
accessories and conversions by a technician who is not
of an authorised Triumph dealer may affect the
handling, stability or other aspects of the motorcycle’s
operation which may result in loss of motorcycle control
and an accident.
Warning
When fitting this accessory kit, ensure that the
motorcycle is stabilised and adequately supported to
prevent risk of injury from the motorcycle falling.
Warning
Failure to tighten any of the fasteners to the correct
torque specification may result in loss of motorcycle
control and an accident. Always use a calibrated torque
wrench.
cdju
1
T908.CS.03
1
2
3 of 5
4. Insert the M10 x 40 mm bolts from the inside so that
the threaded ends of the bolts face outwards. Fit a
M10 lock nut to the bolt on the left hand side of the
motorcycle and tighten to 45 Nm.
1. B o l t s
2. Centre stand
5. Recover the shim from the kit and attempt to insert it
(without using force) between the mounting bracket
on the frame and the centre stand on the right hand
side of the motorcycle.
1. S h i m
2. Centre stand
3. Frame mounting bracket
6. If the shim does not slide freely between the stand
and the frame, discard the shim and continue from
step 7. If the shim slides freely between the stand
and the frame, install it as described below:
• Remove the bolt on the right hand side of the
motorcycle, withdraw the flanged sleeve and fit
the shim between the frame mounting bracket
and the centre stand. Refit the flanged sleeve.
• Refit the bolt as described in step 4, fit the lock
nut and tighten to 45 Nm.
• Check the operation of the centre stand, ensuring
the stand operates freely and properly. If the stand
does not operate freely, remove the shim, fit a
new lock nut (supplied) and tighten to 45 Nm.
Continue from step 8.
7. If the shim is not required, fit the lock nut to the bolt
on the right hand side of the motorcycle and tighten
to 45 Nm.
8. Fit the rubber stop to the rear hole on the left hand
silencer bracket then insert the stop extension
through the hole in the rubber stop.
1. Silencer bracket
2. Rubber stop
3. Stop extension
1
2
cdjv
1
2
cdjv
3
Warning
Installing the shim by force will prevent the centre stand
from retracting fully, or may result in damage to the
frame or centre stand. Riding the motorcycle with a
centre stand which does not retract fully, or with a
damaged frame or centre stand, may interfere with the
rider and could affect the stability or other aspects of the
motorcycle’s operation which may result in loss of
motorcycle control and an accident.
21
3
4 of 5
9. Fit the spring into the smaller hole in the C-bracket.
1. S p r i n g
2. C-bracket
10. Hook the spring into its lug on the centre stand and
locate the larger hole on the C-bracket to the spring
retainer fitted in step 1.
11. Check the operation of the centre stand, ensuring
the spring holds it securely in the retracted position.
12. Use the cleaning swab provided to clean the left
hand side of the centre stand.
13. Peel the backing from the rubber strip and affix to
the centre stand such that it prevents contact
between the centre stand and the side stand.
14. Insert the plastic plug into the centre stand bracket as
shown.
1. P l a s t i c p l u g
15. If the gap between the centre stand foot finder and
the silencer is greater than 10 mm, remove the
plastic plug fitted in step 14. If the gap is still greater
than 10 mm, remove the stop extension fitted in
step 8.
16. Operate the centre stand a few times then re-torque
the M10 bolts to 45 Nm.
17. Every year or 6,000 miles (10,000 km) (whichever is
sooner):
• detach the spring and remove the centre stand
nuts and bolts (discard the nuts)
• if installed, collect the shim, noting its fitted
position
• lubricate the flanged sleeves with grease to NLGI 2
specification (we recommend Mobil HP222)
• install the shim (if fitted), bolts and new nuts
• tighten the nuts to 45 Nm
• refit the spring.
Warning
Wear hand, eye and face protection when fitting the
spring. Take great care to minimise the risk of personal
injury and loss of components.
Warning
Read the warning advice printed on the cleaning swab
packaging.
TT908.CS.06
1
2
T908.CS.07
canv
1
5 of 5
Warning
After fitting the accessory kit the motorcycle will exhibit
new handling characteristics. Operate the motorcycle in
a safe area free from traffic to gain familiarity with any
new handling characteristics. Operation of the
motorcycle when not familiar with any new handling
characteristics may result in loss of motorcycle control
and an accident.
Warning
Never ride an accessory equipped motorcycle (including
those fitted with Triumph approved windscreens and
luggage systems) at speeds above 80 mph (130 km/h).
The presence of accessories such as windscreens and
luggage systems will cause changes in the stability and
handling of the motorcycle. Failure to allow for changes
in motorcycle stability may lead to loss of control or an
accident.
Remember that the 80 mph (130 km/h) limit will be
reduced by the fitting of non-approved accessories,
incorrect loading, worn tyres, overall motorcycle
condition and poor road or weather conditions.
Warning
If, after fitment of this accessory kit, you have any doubt
about the performance of any aspect of the motorcycle,
contact an authorised Triumph dealer and do not ride
the motorcycle until the authorised dealer has declared
it fit for use. Riding a motorcycle when there is any
doubt as to any aspect of the performance of the
motorcycle may result in loss of control of the
motorcycle leading to an accident.
Warning
This motorcycle must not be operated above the legal
road speed limit except in authorised closed course
conditions.
Warning
Only operate this Triumph motorcycle at high speed in
closed course, on-road competition or on closed course
racetracks. High speed operation should only be
attempted by riders who have been instructed in the
techniques necessary for high speed riding and are
familiar with the motorcycle’s characteristics in all
conditions.
High speed operation in any other circumstances is
dangerous and will lead to loss of motorcycle control
and an accident.
Other Triumph Motorcycle Accessories manuals

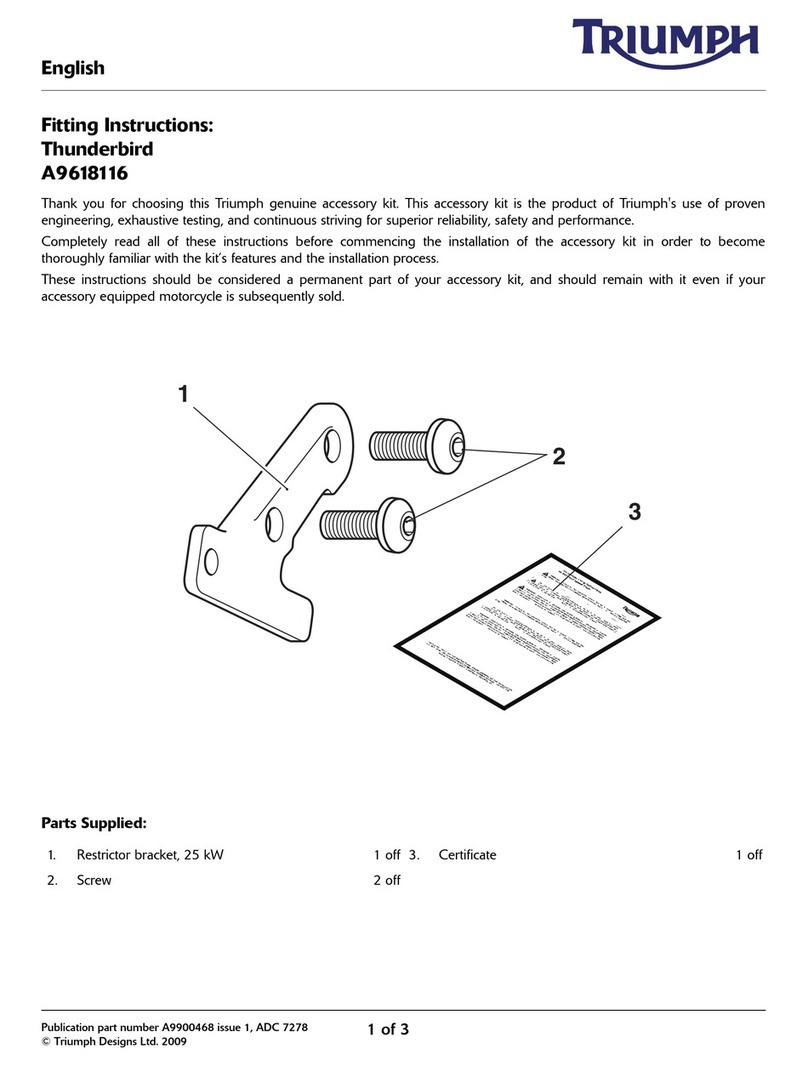
Triumph A9618116 User manual

Triumph

Triumph A9618116 User manual

Triumph A9508184 User manual

Triumph

Triumph A9508184 User manual

Triumph A9758013 User manual

Triumph

Triumph A9758013 User manual

Triumph 197.1 Service manual

Triumph

Triumph 197.1 Service manual

Triumph A9510289 User manual

Triumph

Triumph A9510289 User manual

Triumph My Triumph Connectivity User guide

Triumph

Triumph My Triumph Connectivity User guide

Triumph A9708355 User manual

Triumph

Triumph A9708355 User manual

Triumph ACCESORIES 2005 Instruction Manual

Triumph

Triumph ACCESORIES 2005 Instruction Manual

Triumph ST3 User manual

Triumph

Triumph ST3 User manual

Triumph ACCESORIES 2006 Instruction Manual

Triumph

Triumph ACCESORIES 2006 Instruction Manual

Triumph ACCESORIES 2007 Instruction Manual

Triumph

Triumph ACCESORIES 2007 Instruction Manual

Triumph Clothing Range 2006 Manual

Triumph

Triumph Clothing Range 2006 Manual

Triumph A9510323 User manual

Triumph

Triumph A9510323 User manual

Triumph Connectivity Module User guide

Triumph

Triumph Connectivity Module User guide

Triumph Tiger XR Series User manual

Triumph

Triumph Tiger XR Series User manual

Triumph A9501275 User manual

Triumph

Triumph A9501275 User manual

Triumph A9758306 User manual

Triumph

Triumph A9758306 User manual

Triumph A9808081 User manual

Triumph

Triumph A9808081 User manual

Triumph 46-2015F User manual

Triumph

Triumph 46-2015F User manual

Triumph Accesories Manual

Triumph

Triumph Accesories Manual

Triumph A9708044 User manual

Triumph

Triumph A9708044 User manual

Triumph 184.1 Service manual

Triumph

Triumph 184.1 Service manual

Popular Motorcycle Accessories manuals by other brands

Sena R2 EVO quick start guide

Sena

Sena R2 EVO quick start guide

BRUUDT Tail Tidy Mounting instructions

BRUUDT

BRUUDT Tail Tidy Mounting instructions

hepco & becker 7009521 00 01 manual

hepco & becker

hepco & becker 7009521 00 01 manual

DYNATEK DDK2-17C installation guide

DYNATEK

DYNATEK DDK2-17C installation guide

Cobra 01-3265 instruction manual

Cobra

Cobra 01-3265 instruction manual

LSL 377-810SW manual

LSL

LSL 377-810SW manual

Suzuki DF115BG DF140BG owner's manual

Suzuki

Suzuki DF115BG DF140BG owner's manual

ItsImagical neo secura manual

ItsImagical

ItsImagical neo secura manual

MOSKO MOTO Reckless 80 Revolver Assembly instructions

MOSKO MOTO

MOSKO MOTO Reckless 80 Revolver Assembly instructions

Shark S 700 user manual

Shark

Shark S 700 user manual

Free Spirits 309022 Instruction

Free Spirits

Free Spirits 309022 Instruction

Crivit 322172 1901 Instructions for use

Crivit

Crivit 322172 1901 Instructions for use

hepco & becker 650541 00 01 manual

hepco & becker

hepco & becker 650541 00 01 manual

Ventura Bike-Pack System SR18B Instructions and warranty

Ventura

Ventura Bike-Pack System SR18B Instructions and warranty

WIA BLUE FX user manual

WIA

WIA BLUE FX user manual

LSL 110B058 FITTING INSTRUCTION

LSL

LSL 110B058 FITTING INSTRUCTION

Sena FREEWIRE quick start guide

Sena

Sena FREEWIRE quick start guide

DYNATEK DDK7-1 installation guide

DYNATEK

DYNATEK DDK7-1 installation guide

manuals.online logo
manuals.online logoBrands
  • About & Mission
  • Contact us
  • Privacy Policy
  • Terms and Conditions

Copyright 2025 Manuals.Online. All Rights Reserved.