manuals.online logo
Brands
  1. Home
  2. •
  3. Brands
  4. •
  5. Triumph
  6. •
  7. Motorcycle Accessories
  8. •
  9. Triumph ST3 User manual

Triumph ST3 User manual

Triumph ST3 Instructions:
Before you start, prepare a flat area and cover with a soft cloth or towel to protect the
screen from scratches.
Take your time with the installation and assembly to avoid any damage to parts and bike.
Please note that you are working with metal parts which may have sharp edges.
First, apply masking tape either side of the cowl as shown, to allow you to mark the desired
hole locations.
1
Next, you need to use the base brackets to mark the four hole positions.
Attach them in the approximate positions shown with masking tape and manoeuvre them
until they are 240mm apart (as accurately as you can).
Once you are happy with their positions, mark through the tape to leave a marking on the
cowl tape.
2
Carefully and clearly mark the centre positions, ready for drilling.
Before removing the cowl to drill the holes, mark where the outside edge (on both sides)
meets the cowl - you will need this location to apply two foam pads.
3
Remove the cowl and carefully drill the four hole positions - it is best to pre-drill the holes
with a couple of smaller bits before finishing with the correct 9.5mm drill.
Next, apply the two foam pads so they will rest on the bevel edge when refitted.
4
An additional support bracket will need to be fitted to improve the rigidity of the cowl.
Align approximately, as shown, in the centre section, mark and drill a 6mm hole then attach
as shown - be sure to fit a nylon washer to both sides of the cowl to protect the paint finish.
Tighten the nut, ensuring the bracket is squarely aligned - do not overtighten.
Before loosening the lamp clamp, mark the position of the lights so they can replaced in the
same position later.
Remove the front bolt and insert the small piece of thin rubber towards the back section of
the clamp - this will be required to maintain the clamping force after installing the extra
bracket.
5
Refit the cowl, taking care to locate the bracket in line with the front clamp bolt and reinsert
the bolt.
Tighten front bolt then the rear, taking care to realign the lights in their original position
before fully tightening.
6
Refit the three cowl/bevel fasteners then install the four rubber threaded inserts.
Attach the base brackets using the M5 fasteners provided - making sure a finishing washer is
fitted under the head and a nylong washer is attached on the underside, as shown.
7
Loosely fit both brackets and recheck their spacing (should be approximately 240-245mm
apart).
When you are happy with their positions, tighten the screws but take care not to
overtighten.
8
You now need to fit the screen-side brackets taking care to use the correct locations for the
plastic washers provided.
The screen can now be attached.
9
Preinstall the 4 screen fasteners, ensuring a finishing washer is installed under the screw
heads and a rubber washer is fitted on the inside.
Inserts the screen fasteners into the bracket tabs and secure with the washers/nuts - take
care not to overtighten; just enough to apply light pressure onto the rubber washers.
CAUTION:
Please make sure you only tighten the Screen fasteners just before the point where the
rubber washers are starting to be compressed - this is a precaution to prevent the screen
from cracking.
Double check the security of all the fasteners.
You re now ready to test your new screen kit.
Final checks need to be made to make sure the guards do not contact the screen brackets -
put the steering on full lock and if there is any contact, loosen the bar clamp bolts slightly
(bottom of the mirror stalk) and rotate as necessary to give clearance. Repeat for the other
side.
Take care to familiarise yourself with the bike's new characteristics and if any adjustments
are required, stop the bike, reposition, and check the security of the fasteners again before
riding.
GPS / Accessory Bar
10
This part will come with 2 extra fasteners and washers.
Ensure a plastic washer sits between the Bar and the bracket.
11

Other Triumph Motorcycle Accessories manuals
Triumph A9758100 User manual

Triumph

Triumph A9758100 User manual

Triumph A9501275 User manual

Triumph

Triumph A9501275 User manual

Triumph My Triumph Connectivity User guide

Triumph

Triumph My Triumph Connectivity User guide

Triumph A9510323 User manual

Triumph

Triumph A9510323 User manual

Triumph A9758013 User manual

Triumph

Triumph A9758013 User manual

Triumph ACCESORIES 2007 Instruction Manual

Triumph

Triumph ACCESORIES 2007 Instruction Manual

Triumph ACCESORIES 2006 Instruction Manual

Triumph

Triumph ACCESORIES 2006 Instruction Manual

Triumph Connectivity Module User guide

Triumph

Triumph Connectivity Module User guide

Triumph Accesories Manual

Triumph

Triumph Accesories Manual

Triumph A9808081 User manual

Triumph

Triumph A9808081 User manual

Triumph A9618116 User manual

Triumph

Triumph A9618116 User manual

Triumph 184.1 Service manual

Triumph

Triumph 184.1 Service manual

Triumph ACCESORIES 2005 Instruction Manual

Triumph

Triumph ACCESORIES 2005 Instruction Manual

Triumph 46-2015F User manual

Triumph

Triumph 46-2015F User manual

Triumph Clothing Range 2006 Manual

Triumph

Triumph Clothing Range 2006 Manual

Triumph A9758306 User manual

Triumph

Triumph A9758306 User manual

Triumph A9708355 User manual

Triumph

Triumph A9708355 User manual

Triumph Tiger XR Series User manual

Triumph

Triumph Tiger XR Series User manual

Triumph A9510289 User manual

Triumph

Triumph A9510289 User manual

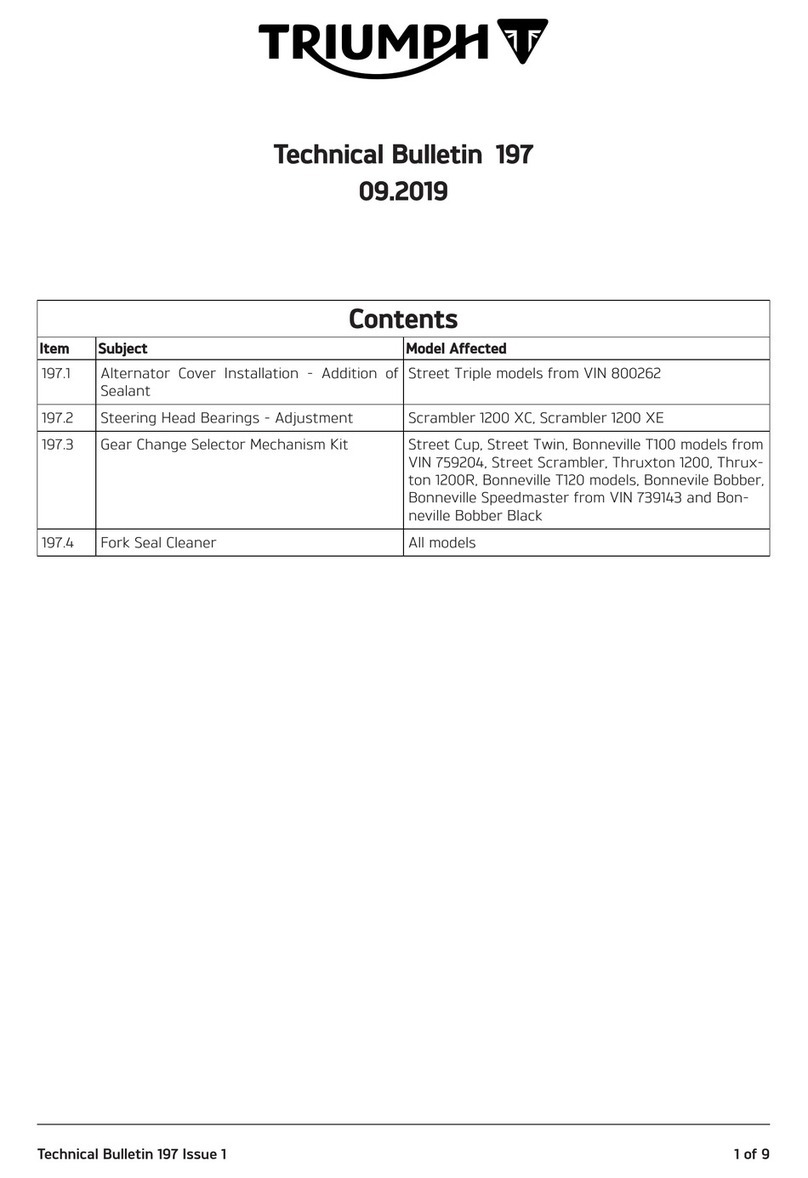
Triumph 197.1 Service manual

Triumph

Triumph 197.1 Service manual

Triumph A9508184 User manual

Triumph

Triumph A9508184 User manual

Triumph A9708044 User manual

Triumph

Triumph A9708044 User manual
Popular Motorcycle Accessories manuals by other brands

Oxford Heritage Series Guideline

Oxford

Oxford Heritage Series Guideline

hepco & becker 6503522 00 01 manual

hepco & becker

hepco & becker 6503522 00 01 manual

Rally-Raid RRP 466 quick start guide

Rally-Raid

Rally-Raid RRP 466 quick start guide

hepco & becker 6707603 00 01 quick start guide

hepco & becker

hepco & becker 6707603 00 01 quick start guide

Starke TR-2503 Operation manual

Starke

Starke TR-2503 Operation manual

ClearWater Lights Darla installation manual

ClearWater Lights

ClearWater Lights Darla installation manual

Malina Safety CleanAIR CA-40 user manual

Malina Safety

Malina Safety CleanAIR CA-40 user manual

hepco & becker 6307577 00 01 manual

hepco & becker

hepco & becker 6307577 00 01 manual

Powerlet PKT-065 Installation

Powerlet

Powerlet PKT-065 Installation

hepco & becker 7009523 00 01 manual

hepco & becker

hepco & becker 7009523 00 01 manual

AGV RP60 Owner's instructions

AGV

AGV RP60 Owner's instructions

HealTech Electronics GIpro DS Series Installation and operation manual

HealTech Electronics

HealTech Electronics GIpro DS Series Installation and operation manual

PowerMadd 34452 ATV/MX Mount quick start guide

PowerMadd

PowerMadd 34452 ATV/MX Mount quick start guide

hepco & becker KR4999-111 installation instructions

hepco & becker

hepco & becker KR4999-111 installation instructions

hepco & becker 700315 quick start guide

hepco & becker

hepco & becker 700315 quick start guide

MRA 4025066162918 Mounting instructions

MRA

MRA 4025066162918 Mounting instructions

hepco & becker Lock-it 506011-7 quick start guide

hepco & becker

hepco & becker Lock-it 506011-7 quick start guide

Caberg JET FLYON II manual

Caberg

Caberg JET FLYON II manual

manuals.online logo
manuals.online logoBrands
  • About & Mission
  • Contact us
  • Privacy Policy
  • Terms and Conditions

Copyright 2025 Manuals.Online. All Rights Reserved.