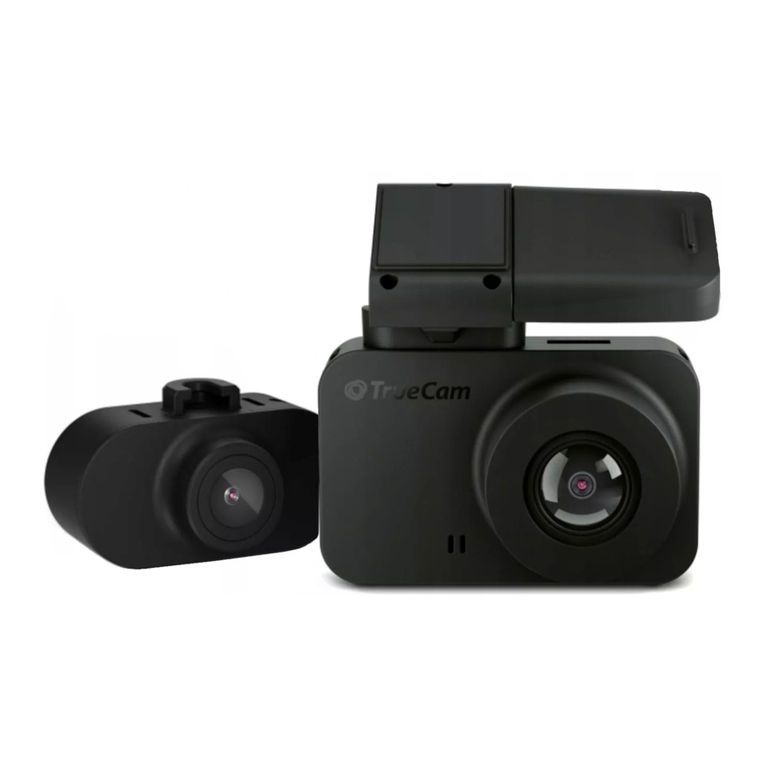
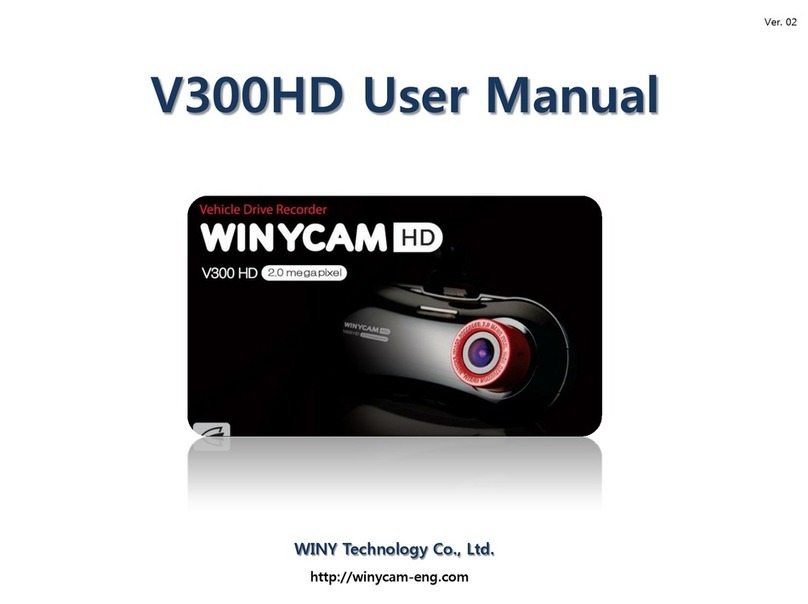
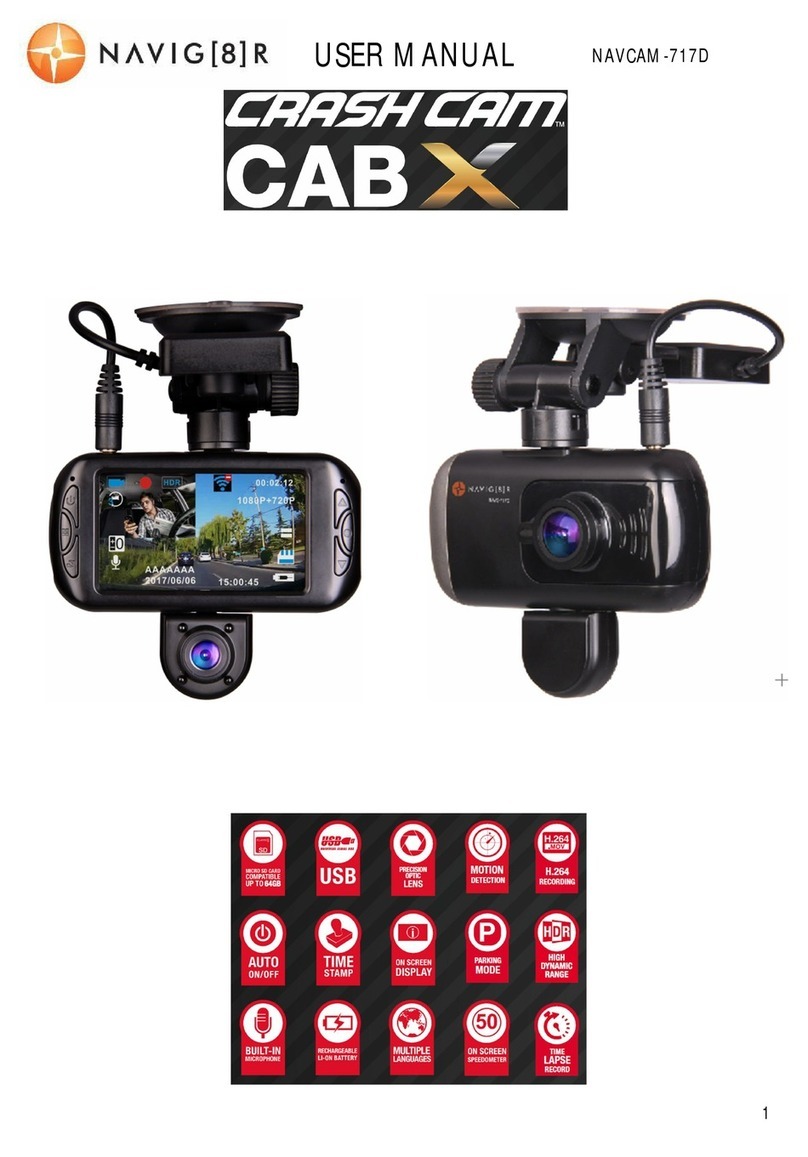
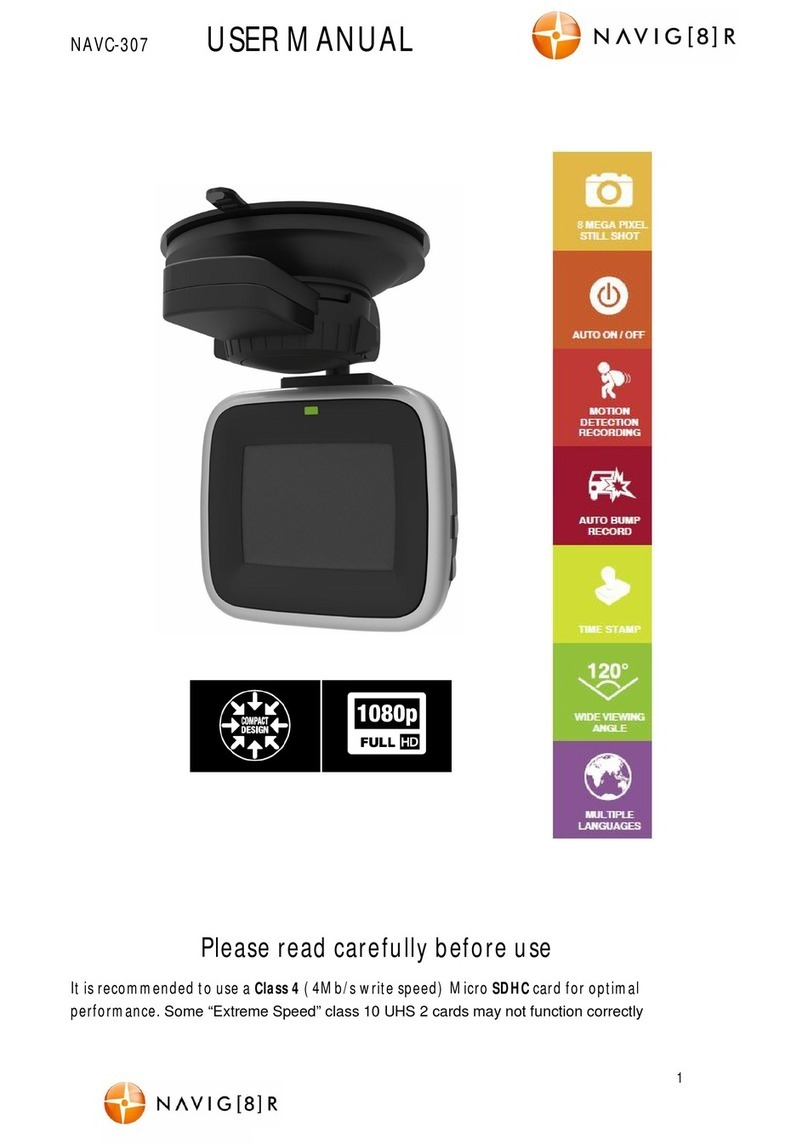
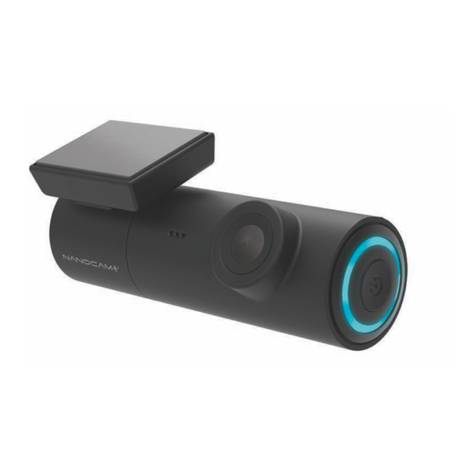
TrueCam H5 User manual

2

3
TrueCam H5
Dash Cam with Integrated
Wi-Fi and Magnetic Holder
TRUECAM H5
User manual
1080P Full HD
GPS (optional)
WiFi
Magnetic Holder

4
Product Diagram & Functions........................................................................................................1
a) Device Introduction ..........................................................................................................................1
b) Button Functions..............................................................................................................................2
c) LED Status List..................................................................................................................................... 3
d) Product Accessories............................................................................................................................. 3
Basic Setup......................................................................................................................................4
a) SD Card Installation ............................................................................................................................. 4
b) GPS (optional) ........................................................................................................................................... 4
c) Charging............................................................................................................................................... 5
Basic Features.................................................................................................................................6
a) Motion detection ..............................................................................................................................6
b) Loop Settings ....................................................................................................................................... 6
c) LDWS System ...................................................................................................................................... 6
d) G-Sensor Function ............................................................................................................................... 6
e) Parking Mode ....................................................................................................................................... 7
Modes ....................................................................................................................................... 10
a) Video Mode ........................................................................................................................................ 10
b) Photo Mode........................................................................................................................................ 10
c) Playback Mode................................................................................................................................... 10
Important Features .................................................................................................................. 11
Connection.....................................................................................................................................11
a) Connecting to a Computer ................................................................................................................. 11
Menu Settings................................................................................................................................12
a) In Video / Photo Mode........................................................................................................................ 12
b) In Playback Mode............................................................................................................................... 13
Software Player..............................................................................................................................18
Technical Specications...............................................................................................................19

1
Product Diagram & Functions
a) Device Introduction
1. Power / OK 7. SD Card Slot 13. Mount with 3M Adhesive Pad
2. Menu / Mode 8. Magnetic Power Input 14. USB Power Input
3. Up 9. Wide-Angle Lens 15. Power LED
4. Down 10. Toughened Optical Glass 16. Magnetic Power Supply Output
5. Reset 11. 1,5’’ Display 17. GPS connector
6. Microphone 12. Status LED
5
1
2 4
3
10
8
17
6 7
11
12
16
14
15
13
9

2
b) Button Functions
Reset
Power / OK
Menu / Mode Down
Up
MIC
Power / OK Button
- To turn the device on / o, press and hold this button for 2 to 3 seconds.
- In video mode, the key works as a start / stop button.
- In the settings menu, press to conrm selection.
Reset Button
- If the device malfunctions, press this button to perform a hard reset.
Menu / Mode Button
- In video mode, press to go to the video settings menu. Double tap to go to the camera settings menu.
- In video mode (whilst recording), press to manually lock the current recording, to protect it from being overwritten when
loop recording.
- In the settings menu, it serves as a “back” button.
- Press and hold to toggle between modes. Video – Photo – Playback
- In playback mode, press to enter the menu where you can lock / unlock the les or view them (when a le is locked,
the “Key” icon is displayed).
Up Button
- In video or photo mode, press to zoom in.

3
- In video mode, press and hold to rotate the screen 180 degrees.
- In the settings menu, press to go to the previous item.
- In playback mode, press to select the previous le.
- In playback mode, when the camera is recording video, press to rewind.
Down Button
- In video or photo mode, press to zoom out.
- In video mode, press and hold to turn on Wi-Fi.
- In the settings menu, press to go to the next item.
- In playback mode, press to select the next le.
- In playback mode, when the camera is playing video, press to forward.
c) LED Status List
LED Light Status Meaning
Camera Status LED
(red)
Blinking Camera is recording
On Camera is in standby or playback mode
O Camera is turned o
Mount status LED
(blue)
On Camera is connected to the power supply
O Camera is not connected to the power supply
d) Product Accessories
1. Car Camera 1x 2. Car charger 1x 3. Camera holder 1x
4. 3M adhesive pads 2x 5. USB cable 1x 6. 3M power cable adhesive pads 5x
7. User Manual 8. Micro SD adapter 1x

4
Basic Setup
a) SD Card Installation
Insert the Micro SD card into the slot so that the connectors on the card are facing towards the camera display.
When inserting or removing the SD card, keep your camera turned o.
We recommend formatting the SD card while in use once a month. This will prevent
the creation of corrupt les and helps to protect the SD card itself against damage.
b) GPS (optional)
The GPS module is located directly in the camera mount.

5
Install the device on the windscreen with the 3M adhesive pad. When not connected to a GPS satellite, the GPS icon
will be shown in red on the LCD display. When connected to a GPS satellite, the GPS icon will be shown
on the LCD display.
c) Charging
Connect the USB charging port of the mount to the input port of the car charger / cigarette lighter, then start the engine.
The camera automatically turns on and starts recording. Note: recording will only start automatically when the socket in
the vehicle is powered by the ignition key.

6
Basic Features
a) Motion detection
1. In video mode, press the Menu button to enter the settings, then select Motion Detection.
2. If the camera registers moving objects within its range, a ashing red dot “ “ will appear on the display and the
device will begin recording. When the device does not detect a moving object, it automatically stops recording after
10 seconds.
Note: We do not recommend using motion detection and loop recording at the same time. The motion detection
function is superior in this respect. We recommend that you have the camera connected to the power
supply for optimal use, otherwise the recording time is limited by the capacity of the battery, which
decreases with each recording made.
b) Loop Settings
Loop recording allows continuous recording regardless of the memory card capacity. You can choose from three time
intervals: 1 min / 3 min / 5 min / 10 min. The selected interval determines the length of recording time which the camera
will save. The advantage of using this setup is that you will never run out of space on your memory card. Moreover, it is
very easy to send very small les via e.g. e-mail for use as evidence.
c) LDWS System
The Lane Departure Warning System (LDWS) alerts the driver as soon as the vehicle starts veering out of its lane. This
system is designed to minimize trac accidents due to driver inattention caused by distractions or drowsiness. It’s an
additional feature with a live video preview.
d) G-Sensor Function
In case of an accident, the gravity sensor (G-sensor) can gather direction and other important collision data. According
to the value set for the G-sensor sensitivity, the camera will determine whether to lock the recording or not. If protection
mode is not turned on, the current video may be overwritten by loop recording. Be careful when setting the G-sensor to a
high sensitivity as it may cause le locking even when driving on a rough road. This might ll up the memory card quickly.

7
G-sensor directions are shown in the picture bellow:
e) Parking Mode
When the function is activated in the menu, the camera will protect the vehicle during your absence. If the vehicle moves
slightly, the camera begins recording automatically. After 60 seconds, the recording stops and the camera turns o if the
movement is not repeated. The device uses a built-in battery for power. To extend the time that the vehicle is monitored,
which is up to 24 hours with a fully-charged battery, connect the device to an external power source, such as a car
lighter. Each time you start recording, the battery charge level decreases.

8
Basic Controls
- Icons Displayed in Video Mode:
3
14:25:30
WDR
13
AAAAAA
F
1080FHD Camera Resolution
WiFi
On
TimeDate
WiFi
O
Battery Indicator
Memory Card Inserted
Parking Mode
GPS (optional) Icon
Mic
O
Mic
On
WDR Function
Exposure
Recording Time
Video Mode
Blinking red dot means the
camera is currently recording
Loop Time Lenght
Motion Detection
G-Sensor
Driver Name

9
- Icons Displayed in Standby Mode:
3
WDR
14:25:30
13
AAAAAA
F
1080FHD Camera Resolution
WiFi
On
TimeDate
WiFi
O
Battery Indicator
Memory Card Inserted
Parking Mode
GPS (optional) Icon
Mic
O
Mic
On
WDR Function
Exposure
Remaining Recording Time
(according to space left
on memory card)
Video Mode
Loop Time Lenght
Motion Detection
G-Sensor
Driver Name

10
Modes
a) Video Mode
Power / OK Button Start / Stop
Menu Button Opens the settings menu / Locks the current recording being made
Up Button Zoom in / Hold to rotate the screen by 180 degrees
Down Button Zoom out / Hold to turn on Wi-Fi
b) Photo Mode
In video mode, press and hold the menu button to switch to photo mode. Then press the OK button to take a photo.
Press the menu in photo mode to go to the settings menu.
Power / OK Button Take a photo
Menu Button Open the settings menu
Up Button Zoom in the image
Down Button Zoom out the image
c) Playback Mode
To enter, press and hold the menu button twice, then use the up and down keys to select any video or photo on the
memory card.
Up Button Previous le / During playback, it has a rewind function of 2x, 4x 8x
Down Button Next le / During playback, it has a fast rewind function of 2x, 4x 8x
Power / OK Button Start/ Stop / Conrm
Menu Button Open settings menu

11
Important Features
Automatically Display GPS Coordinates (optional) – display the GPS position directly on the video. The position is
displayed in the form of coordinates.
Automatically Display Speed (optional) – display the speed of the vehicle directly on the video. This can be used for
review later. Speed displayed is based on GPS satellites and is only indicative.
Video Lock – protect the video against being overwritten by subsequent recordings. Videos can be locked in both video
and playback mode.
Motion Detection – automatically starts recording when the camera detects sucient motion, for example when revers-
ing.
Delay Power O – this feature is used to delay the shutdown of the camera after the car engine has been turned o.
Therefore, you can record what happens when you leave your vehicle.
Connection
a) Connecting to a Computer
1. Insert the microSD card into your computer (or into a USB or SD adapter).
2. Open the removeable disk folder and play any le.

12
Menu Settings
The device works with two modes – video / photo and playback.
a) In Video / Photo Mode
Function Menu Item Note
Resolution 1080FHD / 720P / WVGA 848x480 /
VGA 640x480
Sets the video resolution.
Loop Recording O / 1 minute / 3 minutes / 5 minutes
/ 10 minutes
Sets the length of the video time loop.
Image Size 12MP / 10MP / 8MP / 5MP / 3MP /
2MPHD / 1.3MP
Sets the photo resolution.
Exposure +2.0; +5/3; +4/3; +1.0; +2/3; +1/3; 0;
-1/3; -2/3; -1.0; -4/3; -5/3; -2.0
“+” increases recording brightness and “-” de-
creases brightness and darkens the recording.
White Balance Auto / Daylight / Cloudy / Tungsten /
Fluorescent
We recommend setting it to Auto. White Bal-
ance depends on light conditions.
Photo Burst O / On Take 3 sequential shots in a second.
Quality Good / Normal / Economy The higher the chosen quality, the more
details will be captured (the le size will also
increase).
Sharpness Strong/ Normal / Soft This feature indicates degree of sharpness
during recording. Select higher sharpness for
better capturing of details and face recognition.
WDR O / On WDR settings.
Motion Detection O / On Motion Detection function settings.
Parking Mode O / On Parking mode function settings.
G-Sensor O / Low / Medium / High G-Sensor sensitivity settings.
Record Audio O / On Audio Recording settings.
Date Stamp O / On Timestamp in the video settings.

13
Driver Name - - - - - - To conrm the selected character, press Menu.
Press the OK button to conrm your full name.
Date/Time YY/MM/DD Date and Time settings.
Power o Delay O / 10 s / 20 s / 30 s Sets the delay when turning the camera o.
Auto Power O O / 1 min / 3 min / 5 min The camera switches o automatically in
standby mode after a given period of time if it
does not detect any motion.
Beep Sound O / On Switches the camera tones On / O.
Screensaver Display o: 1 min / 3 min / 5 min / O Instead of playing recorded footage, the
camera screen can be turned o after a certain
time interval.
Frequency 50Hz / 60Hz Video frequency settings.
Language English / French / German / Russian
/ Polish / Czech / Slovak / Hungarian
/ Lithuanian
Language settings.
Format Cancel / OK Formats data on the memory card.
Factory Settings Cancel / OK Resets the camera to the original factory
settings.
Software Version xxxx Displays the installed FW version.
b) In Playback Mode
Delete Delete current / Delete all
Protect Lock current / Unlock current / Lock all / Unlock all
Presentation 2 seconds / 5 seconds / 8 seconds

14
Turn On Wi-Fi and Install the LuckyCam App
1. First install the LuckyCam app on your device, available for download for Android and
iOS.
Please scan the following QR code to download the ’’LuckyCam’’ app.
2. Turn on the Wi-Fi on the TrueCam H5- go to the settings → Settings → Wi-Fi → Turn On.
In playback mode, you can turn on the Wi-Fi simply by pressing and holding the down
button.
3. After turning on Wi-Fi, the display shows the Wi-Fi name (SSID): TrueCam H5 and
password PWD: 12345678.
4. On your device select the Wi-Fi network of the camera: TrueCam H5 and enter the
password: 12345678 and then connect to the camera.
5. After the phone is connected to the camera Wi-Fi network, the Wi-Fi icon on the camera
will turn green.
6. The distance between the TrueCam H5 and the device should be no more than 10 m.
Launching the LuckyCam App
1. When your device is successfully connected to the TrueCam H5 Wi-Fi network, open the LuckyCam app.
2. After you open LuckyCam, the app automatically connects to the TrueCam H5 and a live video preview is displayed
on your device.

15
Application Controls
a) Live Video Preview
Camera Resolution
Mute / Unmute Video
Audio
Wi-Fi Signal Strenght
Battery Status
Memory Card
Photo mode Files
Video mode Camera Settings

16
b) File List
Table of contents
Languages:
Other TrueCam Dashcam manuals

TrueCam
TrueCam M9 GPS User manual
TrueCam
TrueCam A5 User manual
TrueCam
TrueCam A7s User manual
TrueCam
TrueCam A7 User manual

TrueCam
TrueCam A5s User manual

TrueCam
TrueCam H25 GPS 4K User manual
TrueCam
TrueCam H7 User manual
TrueCam
TrueCam M5 WiFi User manual

TrueCam
TrueCam A7 User manual
TrueCam
TrueCam A4 User manual


