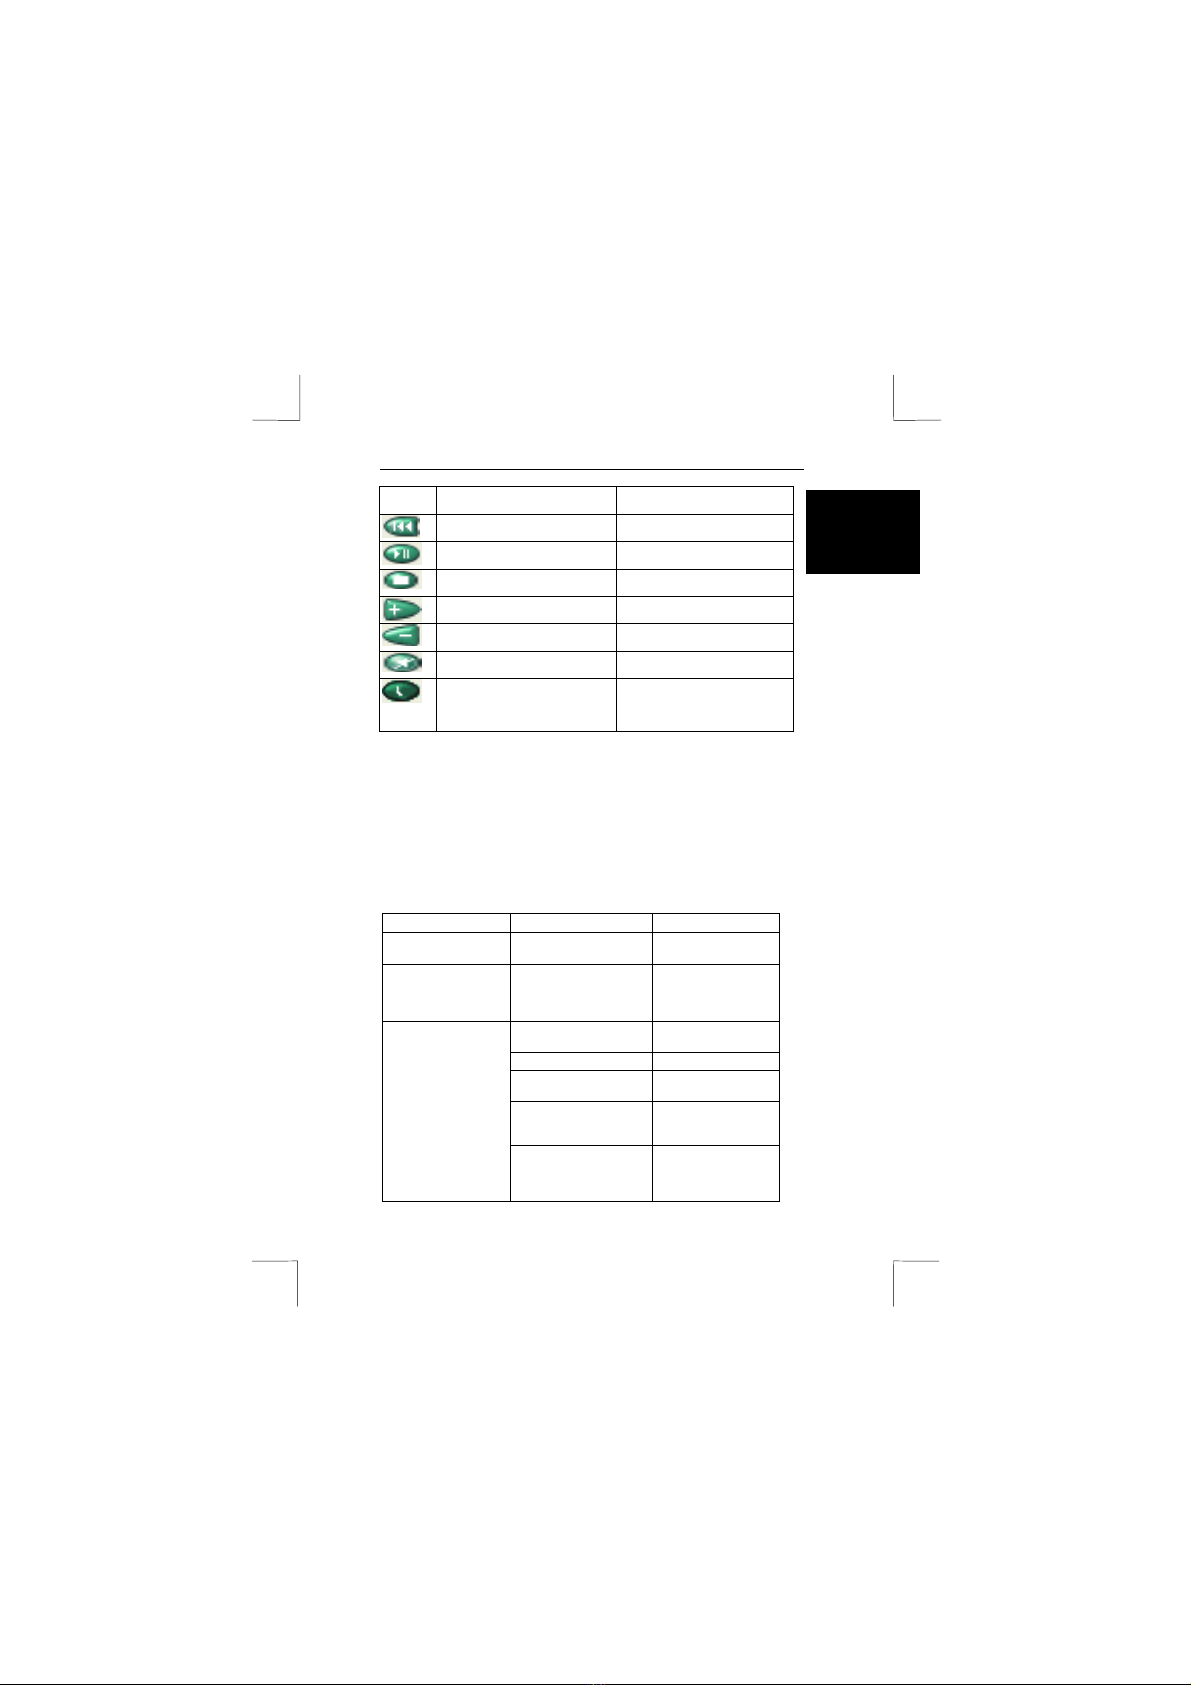
TRUST WIRELESS KEYBOARD + MOUSE 300KD
3
UK
be selected by the receiver for the keyboard and by the software for the mouse. The
ID code is not displayed but when you will have another Trust Wireless Keyboard +
Mouse 300KD you will see that there is no interference. This feature can also be
disabled, allowing other Wireless pointing devices to operate your computer. This
feature does not function as a security feature.
5.1 Connecting the Wireless Mouse ID Code
You can choose between to options:
1. Connect ID: The unique ID code of your mouse is recognised and another
RF pointing device will not function on your computer. Move the Wireless
Mouse for a few seconds to establish a connection, then click “Connect ID”.
2. Not connect the ID: If no other RF pointing devices are within 3 meters
range or if you want other RF pointing devices to be able to access your
computer. Click “Exit”.
5.2 Changing the Wireless Mouse ID Code
You can use a new Wireless Mouse on your computer without changing the Radio
receiver; you just need to change the ID code. Refer to the following:
1. Press [Shift + Alt + F11] or [Shift + Alt + F12] to call up the Wireless Mouse
ID Code window.
2. Move the Wireless Mouse for a few seconds to establish a connection, then
click Connect ID.
3. The new ID code is connected and the Wireless Mouse window closes.
4. To exit with out changing the ID code click “Exit”.
5.3 Connecting the Wireless Keyboard ID Code
Manually establish communication between the receiver and keyboard.
1. Press any key from the keyboard
2. Press the “ID Connect” button on the receiver, the green LED light above the
ID connect button will show you that the keyboard ID is connected. If the
green LED light is off then keyboard ID is disconnect.
6 Software
6.1 Keyboard software
1. Double-click on the keyboard icon in the system tray.
2. The screen with the ‘Hot Keys’ menu will appear. See figure 3.
3. In the ‘Hot Keys’ menu you can:
• Set hotkeys; select the button you want and assign a function to it.
When you select “iKeyWorksOffice” the hotkeys are configured for MS
Office commands. Then use the overlay called “office mode”. When
you select “ Hot Keys to Default Mode “ the hotkeys will be configured
for multimedia purposes. Then you do not have to use a overlay.
A function can also be set manually, in this case you can use the
overlay called “personal”.
Select the button that you want to change. Then select ‘custom’ then
press ‘select’. Then select the “command type”:
Shell Execution, when you want to run a *.exe file with the specific
button.
Key strokes, when you want to have one keystroke for a combination
of others keys.
Office shortcut, when you want to select a standard office
application.
Generic comand, when you want to select a standard windows
command.