manuals.online logo
Brands
  1. Home
  2. •
  3. Brands
  4. •
  5. Tucano Urbano
  6. •
  7. Motorcycle Accessories
  8. •
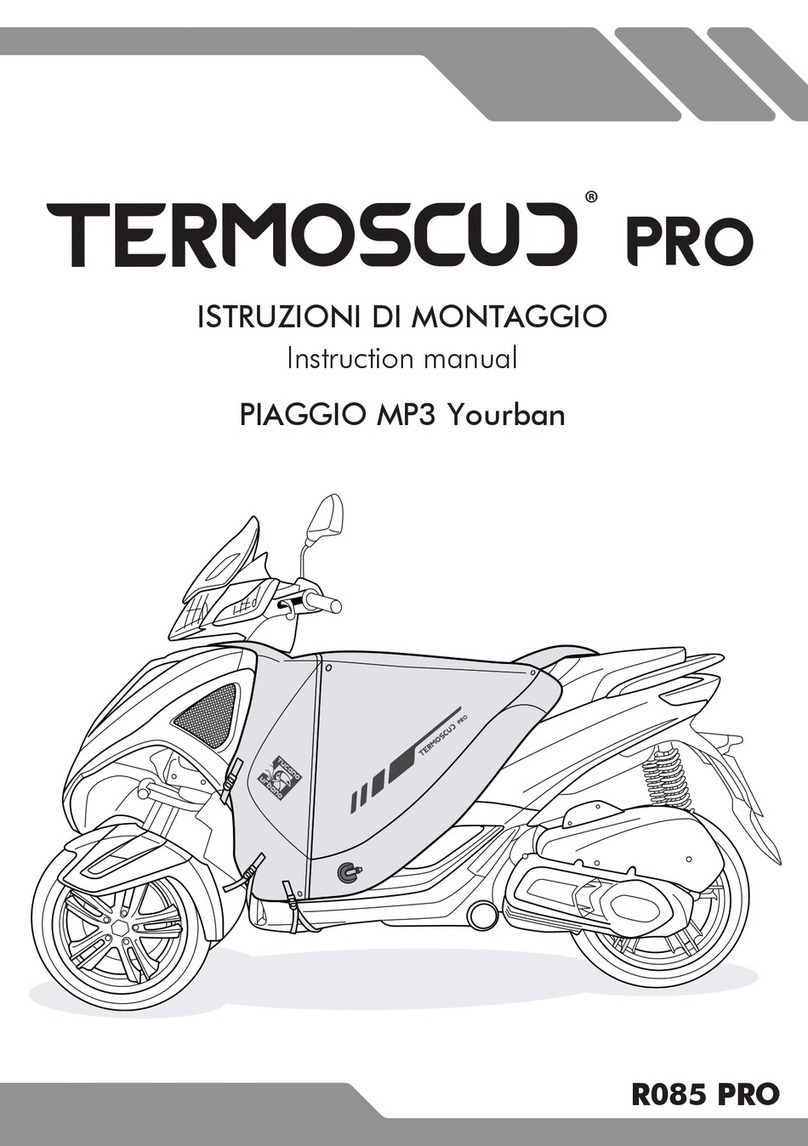
  9. Tucano Urbano TERMOSCUD-R204X User manual

Tucano Urbano TERMOSCUD-R204X User manual

GB
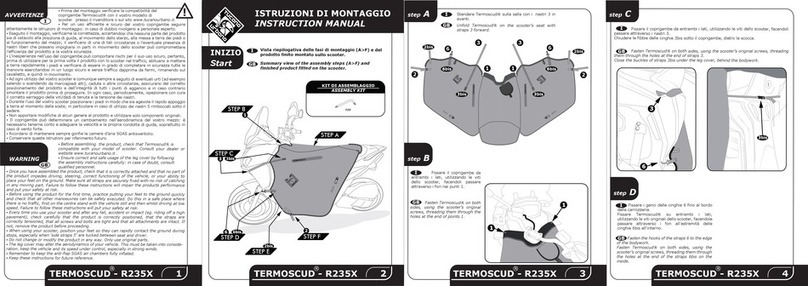
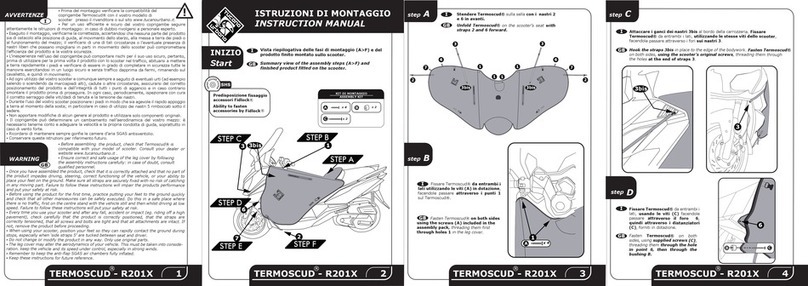
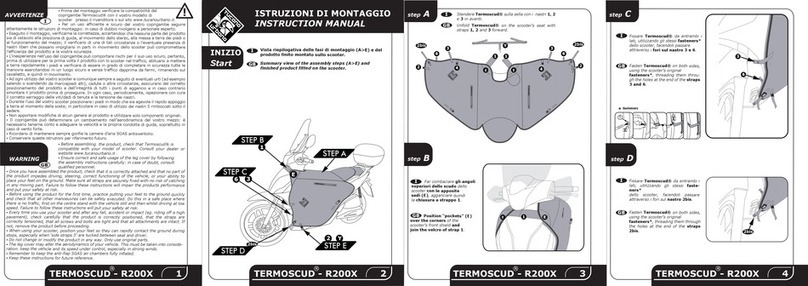
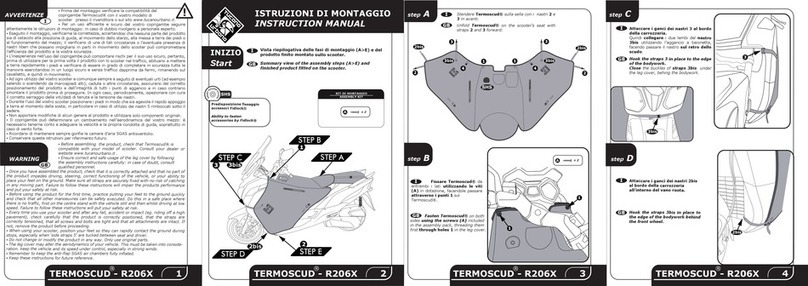
IVista riepilogativa delle fasi di montaggio (A>F) e del
prodotto finito montato sullo scooter.
Summary view of the assembly steps (A>F) and
finished product fitted on the scooter.
GB
I
GB
I
TERMOSCUD - R191
®
2
step
C
step
A
step
D
3
GB
I
GB
I
1
!
TERMOSCUD - R191
®
I
GB
KIT DI MONTAGGIO
ASSEMBLY KIT
x 2
A
Predisposizione fissaggio
accessori Fidlock®
Ability to fasten
accessories by Fidlock®
SHS
x 2
A
AVVERTENZE
WARNING
INIZIO
Start
ISTRUZIONI DI MONTAGGIO
INSTRUCTION MANUAL
Stendere Termoscud® sulla sella con i nastri 2e
3in avanti.
Unfold Termoscud® on the scooter’s seat with
straps 2and 3 forward.
Fissare Termoscud® da
entrambi i lati utilizzando le viti
(A) in dotazione, facendole passare
attraverso i punti 1 sul
Termoscud®.
Fasten Termoscud® on both
sides using the screws (A) included
in the assembly pack, threading them
first through holes 1 in the leg cover.
Attaccare i ganci dei nastri 3 al
bordo della carrozzeria.
Hook the straps 3 in place to
the edge of the bodywork.
Fissare Termoscud® da entrambi i
lati, utilizzando le stesse viti dello
scooter, facendole passare
attraverso i fori sul nastro 6.
Fasten Termoscud® on both sides,
using the scooter’s original
screws, threading them through
the holes at the end of the straps 6.
i
,
le
l
io
io
l
è
n
r
o
g
y
h
If
g
▪Prima del montaggio verificare la compatibilità del
coprigambe Termoscud® con il vostro modello di
scooter presso il rivenditore o sul sito www.tucanourbano.it.
▪Per un uso efficiente e sicuro del vostro coprigambe seguire
attentamente le istruzioni di montaggio: in caso di dubbio rivolgersi a personale esperto.
▪Eseguito il montaggio, verificarne la correttezza, accertandosi che nessuna parte del prodotto
sia di ostacolo alla posizione di guida, al movimento dello sterzo, alla messa a terra dei piedi o
al funzionamento del mezzo; il verificarsi di una di tali circostanze o l’eventuale presenza d
nastri liberi che possano impigliarsi in parti in movimento dello scooter può compromettere
l’efficienza del prodotto e la vostra sicurezza.
▪L’inesperienza nell’uso del coprigambe può comportare rischi per il suo uso sicuro, pertanto
prima di utilizzare per la prima volta il prodotto con lo scooter nel traffico, abituarsi a mettere
a terra rapidamente i piedi e verificare di essere in grado di completare in sicurezza tutte
manovre esercitandosi in un luogo sicuro e senza traffico dapprima da fermi, rimanendo su
cavalletto, e quindi in movimento.
▪Ad ogni utilizzo del vostro scooter e comunque sempre a seguito di eventuali urti (ad esemp
salendo o scendendo da marciapiedi alti), cadute o altre circostanze, assicurarsi del corretto
posizionamento del prodotto e dell’integrità di tutti i punti di aggancio e in caso contrario
smontare il prodotto prima di proseguire. In ogni caso, periodicamente, ispezionare con cura
il corretto serraggio delle viti/dadi di tenuta e la tensione dei nastri.
▪Durante l’uso del vostro scooter posizionare i piedi in modo che sia agevole il rapido appogg
a terra al momento della sosta; in particolare in caso di utilizzo dei nastri 5 rimboccati sotto i
sedere.
▪Non apportare modifiche di alcun genere al prodotto e utilizzare solo componenti originali.
▪Il coprigambe può determinare un cambiamento nell’aerodinamica del vostro mezzo:
necessario tenerne conto e adeguare la velocità e la propria condotta di guida, soprattutto i
caso di vento forte.
▪Ricordarsi di mantenere sempre gonfie le camere d’aria SGAS antisventolio.
▪Conservare queste istruzioni per riferimento futuro.
▪Before assembling the product, check that Termoscud® is
compatible with your model of scooter. Consult your dealer o
website www.tucanourbano.it .
▪Ensure correct and safe usage of the leg cover by following
the assembly instructions carefully: in case of doubt, consult
qualified personnel.
▪Once you have assembled the product, check that it is correctly attached and that no part of
the product impedes driving, steering, correct functioning of the vehicle, or your ability t
place your feet on the ground. Make sure all straps are securely fixed with no risk of catchin
in any moving part. Failure to follow these instructions will impair the products performance
and put your safety at risk.
▪Before using the product for the first time, practice putting your feet to the ground quickl
and check that all other manoeuvres can be safely executed. Do this in a safe place where
there is no traffic, first on the centre stand with the vehicle still and then whilst driving at low
speed. Failure to follow these instructions will put your safety at risk.
▪Every time you use your scooter and after any fall, accident or impact (eg. riding off a hig
pavement), check carefully that the product is correctly positioned, that the straps are
correctly tensioned, that all screws and bolts are tight and that all attachments are intact.
not, remove the product before proceeding.
▪When using your scooter, position your feet so they can rapidly contact the ground durin
stops, especially when ‘side straps 5’ are tucked between seat and driver.
▪Do not change or modify the product in any way. Only use original parts.
▪The leg cover may alter the aerodynamics of your vehicle. This must be taken into conside-
ration. keep the vehicle and its speed under control, especially in strong winds.
▪Remember to keep the anti-flap SGAS air chambers fully inflated.
▪Keep these instructions for future reference.
M
A
X
I
M
U
M
P
R
E
S
S
U
R
E
0
,
1
B
A
R
/
1
,
3
P
S
I
M
A
X
I
M
U
M
P
R
E
S
S
U
R
E
0
,
1
B
A
R
/
1
,
3
P
S
I
M
A
X
I
M
U
M
P
R
E
S
S
U
R
E
0
,
1
B
A
R
/
1
,
3
P
S
I
TERMOSCUD - R191
®
TERMOSCUD - R204X
®1TERMOSCUD - R204X
®2TERMOSCUD - R204X
®3TERMOSCUD - R204X
®4
step
A
step
C
1
STEP B
11
2
3
2bis 2bis
STEP A
STEP C
2
STEP E
step
B
3
STEP F
3
244
1
3
2bis
SHS
6
STEP D
6 6
6
step
B
GB
I
step
F
I
GB
Le foto e i disegni sono puramente indicativi. Tucano Urbano si riserva il diritto
di modificare o migliorare il prodotto in qualsiasi momento, senza preavviso e
senza obblighi di dover applicare tali modifiche su prodotti già venduti.
Photos and drawings are purely indicative. Tucano Urbano reserves
the right to modify or improve the product at any time, without prior
notification and with no obligation to apply such modifications to products
already sold.
NOTE
I
GB
TERMOSCUD - R204X
®
ISTRUZIONI DI MONTAGGIO
INSTRUCTION MANUAL
mod. R204X
for
SYM HD 300 > 2019
Vedi dettagli
See details
step E
M
A
X
I
M
U
M
P
R
E
S
S
U
R
E
0
,
1
B
A
R
/
1
,
3
P
S
I
GB
I
Attaccare i ganci dei nastri 2bis al
bordo della carrozzeria.
Hook the straps 2bis in place to
the edge of the bodywork.
Fissare Termoscud® da entrambi i lati, utilizzando le stesse viti dello
scooter, facendole passare attraverso i fori sul nastro 2, sotto la pedana.
Fasten Termoscud® on
both sides, using the
scooter’s original
screws, threading them
through the holes at the
end of the straps 2,
under the footboard.
2
TERMOSCUD - R204X
®5
GB
IUtilizzare i punti di regolazione dei nastri per adattare Termoscud® alla forma dello
scooter e metterlo bene in tensione, così da evitare lo sventolio e l’entrata di
spifferi.
Infine gonfiare le camere d’aria S.G.A.S.
Terminate le regolazioni, le porzioni di nastro libere vanno rimboccate
all’interno sotto ai bordi di Termoscud®.
I nastri verde e giallo n° 4 non sono necessari per il montaggio, ma vanno utiliz-
zati solamente per arrotolare Termoscud® nella stagione calda.
Adjust the position of Termoscud® using the regulations of the straps to fit
perfectly on the shield.
Finally inflate S.G.A.S. tubes.
Exceeding portions of the straps must be tucked under the Termoscud®
cover to avoid flapping.
The green and yellow straps 4 are not necessary for assembly.
They are only for rolling up Termoscud® in warm weather.
Note !
TERMOSCUD - R204X
®6
BREVETTATO
PATENTED
S.G.A.S. (sistema brevettato antisventolio) con nuova valvola dotata
di tappo integrato e chiusura stagna a vite.
Adattatore S.G.A.S. in dotazione per gonfiare a fiato/con pompa:
rende igienico il gonfiaggio ed evita la fuoriuscita dell’aria durante la
chiusura della valvola.
S.G.A.S. (patented anti-flap inflatable system) with new valve fitted
with incorporated cap and watertight closure.
S.G.A.S. adapter included for manual/ pump inflation: makes
pumping hygienic and prevents air leakage when the valve is being
closed.
TERMOSCUD - R204X
®7
I
DETTAGLI
GB
DETAILS
T
A
R
G
A
:
A
B
3
7
6
5
4
5100
4
1
2
5
6
3
4
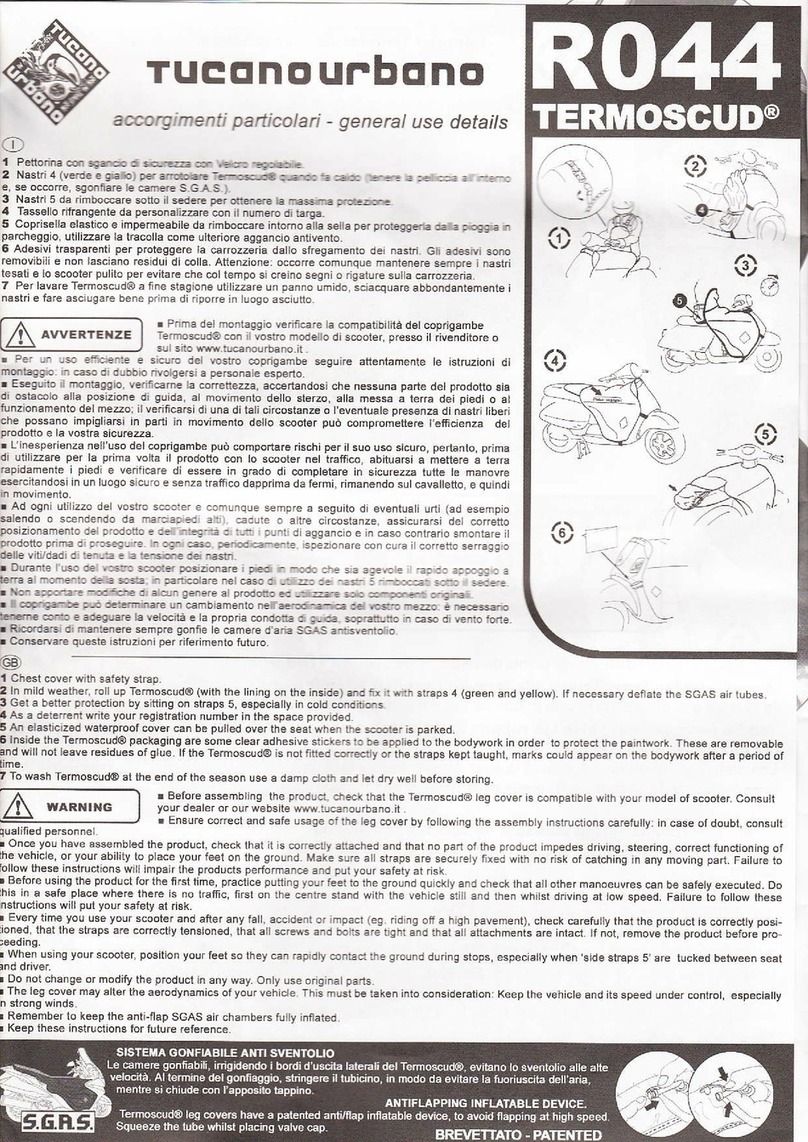
1Pettorina con sgancio di sicurezza con Velcro regolabile.
2 Nastri 4 (verde e giallo) per arrotolare al Termoscud®
quando fa caldo (tenere la pelliccia all’interno e, se occorre,
sgonfiare le camere S.G.A.S.).
3 Nastri 5 da rimboccare sotto il sedere per ottenere la
massima protezione.
4Tassello rifrangente da personalizzare con il numero di
targa.
5Coprisella elastico e impermeabile da rimboccare intorno
alla sella per proteggerla dalla pioggia in parcheggio,
utilizzare la tracolla come ulteriore aggancio antivento.
6Adesivi trasparenti per proteggere la carrozzeria dallo
sfregamento dei nastri. Gli adesivi sono removibili e non
lasciano residui di colla.
Attenzione: occorre comunque mantenere sempre i nastri
tesati e lo scooter pulito per evitare che col tempo si creino
segni o rigature sulla carrozzeria.
7Per lavare Termoscud® a fine stagione utilizzare un pano
umido, sciacquare abbondantemente i nastri e fare asciugare
bene prima di riporre in luogo asciutto.
1Chest cover with safety strap.
2In mild weather, roll up Termoscud® (with the lining on
the inside) and fix it with straps 4 (green and yellow). If
necessary deflate the S.G.A.S. air tubes.
3Get a better protection by sitting on straps 5, especially
in cold conditions.
4As a deterrent write your registration number in the
space provided.
5An elasticized waterproof cover can be pulled over the
seat when the scooter is parked.
6Inside the Termoscud® packaging are some clear
adhesive stickers to be applied to the bodywork in order
to protect the paintwork. These are removable and will not
leave residues of glue. If the Termoscud® is not fitted
correctly or the straps kept taught, marks could appear on
the bodywork after a period of time.
7To wash Termoscud® at the end of the season use a
damp cloth and let dry well before storing.
2bis

Other Tucano Urbano Motorcycle Accessories manuals

Tucano Urbano TERMOSCUD R200X User manual

Tucano Urbano

Tucano Urbano TERMOSCUD R200X User manual

Tucano Urbano R369X User manual

Tucano Urbano

Tucano Urbano R369X User manual

Tucano Urbano R206X User manual

Tucano Urbano

Tucano Urbano R206X User manual

Tucano Urbano TERMOSCUD R198X User manual

Tucano Urbano

Tucano Urbano TERMOSCUD R198X User manual

Tucano Urbano TERMOSCUD-R202X User manual

Tucano Urbano

Tucano Urbano TERMOSCUD-R202X User manual

Tucano Urbano R367X User manual

Tucano Urbano

Tucano Urbano R367X User manual

Tucano Urbano TERMOSCUD - R232X User manual

Tucano Urbano

Tucano Urbano TERMOSCUD - R232X User manual

Tucano Urbano R235X User manual

Tucano Urbano

Tucano Urbano R235X User manual

Tucano Urbano TERMOSCUD R184 User manual

Tucano Urbano

Tucano Urbano TERMOSCUD R184 User manual

Tucano Urbano Termoscud PRO R187PRO User manual

Tucano Urbano

Tucano Urbano Termoscud PRO R187PRO User manual

Tucano Urbano TERMOSCUD R199 User manual

Tucano Urbano

Tucano Urbano TERMOSCUD R199 User manual

Tucano Urbano TERMOSCUD R224X User manual

Tucano Urbano

Tucano Urbano TERMOSCUD R224X User manual

Tucano Urbano R363X User manual

Tucano Urbano

Tucano Urbano R363X User manual

Tucano Urbano R044 TERMOSCUD User manual

Tucano Urbano

Tucano Urbano R044 TERMOSCUD User manual

Tucano Urbano TERMOSCUD R192X User manual

Tucano Urbano

Tucano Urbano TERMOSCUD R192X User manual

Tucano Urbano TERMOSCUD PRO User manual

Tucano Urbano

Tucano Urbano TERMOSCUD PRO User manual

Tucano Urbano Termoscud Pro User manual

Tucano Urbano

Tucano Urbano Termoscud Pro User manual

Tucano Urbano TERMOSCUD R201X User manual

Tucano Urbano

Tucano Urbano TERMOSCUD R201X User manual

Tucano Urbano R363 User manual

Tucano Urbano

Tucano Urbano R363 User manual

Tucano Urbano TERMOSCUD PRO Series User manual

Tucano Urbano

Tucano Urbano TERMOSCUD PRO Series User manual

Popular Motorcycle Accessories manuals by other brands

hepco & becker 5054537 00 01 manual

hepco & becker

hepco & becker 5054537 00 01 manual

Donner TECH Tenere 700 Mounting instructions

Donner TECH

Donner TECH Tenere 700 Mounting instructions

hepco & becker YAMAHA Tenere 700 quick guide

hepco & becker

hepco & becker YAMAHA Tenere 700 quick guide

hepco & becker 6506526 00 01 manual

hepco & becker

hepco & becker 6506526 00 01 manual

R&G YTI0012BK Fitting instructions

R&G

R&G YTI0012BK Fitting instructions

HJC CS-R1 owner's manual

HJC

HJC CS-R1 owner's manual

hepco & becker 6607602 00 01 manual

hepco & becker

hepco & becker 6607602 00 01 manual

hepco & becker 6613518 01 01 quick start guide

hepco & becker

hepco & becker 6613518 01 01 quick start guide

Sena R2 EVO quick start guide

Sena

Sena R2 EVO quick start guide

R&G LP0083BK Fitting instructions

R&G

R&G LP0083BK Fitting instructions

Nolan N-Com R Series manual

Nolan

Nolan N-Com R Series manual

SRC H-CRF300L-32-01 Installation

SRC

SRC H-CRF300L-32-01 Installation

Suzuki 990D0-17K40-001 installation instructions

Suzuki

Suzuki 990D0-17K40-001 installation instructions

NATURE & DECOUVERTES 52152280 manual

NATURE & DECOUVERTES

NATURE & DECOUVERTES 52152280 manual

hepco & becker 400556 00 01 quick start guide

hepco & becker

hepco & becker 400556 00 01 quick start guide

Parkside 409157 2207 Operation and safety notes translation of the original instructions

Parkside

Parkside 409157 2207 Operation and safety notes translation of the original instructions

ACEBIKES CapStrap manual

ACEBIKES

ACEBIKES CapStrap manual

hepco & becker 6307578 00 01 quick start guide

hepco & becker

hepco & becker 6307578 00 01 quick start guide

manuals.online logo
manuals.online logoBrands
  • About & Mission
  • Contact us
  • Privacy Policy
  • Terms and Conditions

Copyright 2025 Manuals.Online. All Rights Reserved.