TFP181
Page 5 of 6
Installation
The TYCO Series RFII must be in-
stalled in accordance with the follow-
ing instructions.
NOTICE
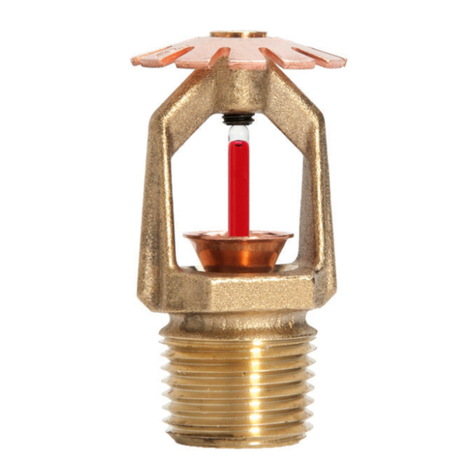
Do not install any bulb-type sprinkler if
the bulb is cracked or there is a loss
of liquid from the bulb. With the sprin-
kler held horizontally, a small air bub-
ble should be present. The diameter
of the air bubble is approximately 1/16
inch (1,6 mm) for the 155°F/68°C and
3/32 inch (2,4 mm) for the 200°F/93°C
temperature ratings.
Obtain a 1/2 inch NPT sprinkler joint
by applying a minimum to maximum
torque of 7 to 14 ft.-lbs. (9,5 to 19,0
Nm). Higher levels of torque can dis-
tort the sprinkler Inlet with consequent
leakage or impairment of the sprinkler.
Do not attempt to compensate for in-
sufficient adjustment in the Sprinkler
by under- or over-tightening the Sprin-
kler/Support Cup Assembly. Re-adjust
the position of the sprinkler fitting to
suit.
Step 1. Install the sprinkler only in the
pendent position with the center-line
of the sprinkler perpendicular to the
mounting surface.
Step 2. Remove the Protective Cap.
Step 3. With pipe thread sealant ap-
plied to the pipe threads, hand-tighten
the sprinkler into the sprinkler tting.
Step 4. Wrench-tighten the sprinkler
using only the RFII Sprinkler Wrench.
(Refer to Figure 3.) Apply the RFII
Sprinkler Wrench to the Sprinkler as
shown in Figure 3.
Step 5. Replace the Protective Cap
by pushing it upwards until it bottoms
out against the Support Cup. (Refer
to Figure 4.) The Protective Cap helps
prevent damage to the Deector and
Arms during ceiling installation and/or
nish. You can also use the Protective
Cap to locate the center of the clear-
ance hole by gently pushing the ceiling
material up against the center point of
the Protective Cap.
NOTICE
As long as the Protective Cap remains
in place, the system is considered
“Out of Service”.
Step 6. After the ceiling has been com-
pleted with the 2-1/2 inch (63,5 mm) di-
ameter clearance hole and in prepa-
ration for installing the Cover Plate/
Retainer Assembly, remove and dis-
DBSEUIF1SPUFDUJWF$BQ7FSJGZUIBUUIFDeector moves up and down freely.
If the Sprinkler is damaged and the
Deector does not move up and down
freely, replace the entire Sprinkler.
Do not attempt to modify or repair a
damaged sprinkler.
Step 7. When installing an Air and Dust
4FBMSFGFSUP'JHVSFPUIFSXJTFQSP-
ceed to Step 8. To attach the Air and
Dust Seal, verify the angle of the out-
side edge of the seal is oriented ac-
cording to Figure 5. Start the edge of
the Retainer in the grooved slot of the
Air and Dust Seal and continue around
the retainer until the entire Air and Dust
Seal is engaged.
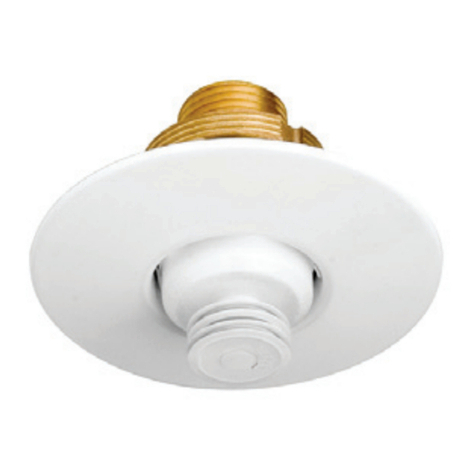
Step 8. Screw on the Cover Plate/
Retainer Assembly until the Retainer
(shown in Figure 2) or the Air and Dust
Seal (shown in Figure 5) contacts the
ceiling. Do not continue to screw on
the Cover Plate/Retainer Assembly
so that it lifts a ceiling panel out of its
normal position. If you cannot engage
the Cover Plate/Retainer Assembly
with the Support Cup or you cannot
engage the Cover Plate/Retainer As-
sembly sufciently to contact the ceil-
ing, you must reposition the Sprinkler
Fitting.
Care and
Maintenance
The TYCO Series RFII must be
maintained and serviced in accordance
with the following instructions.
NOTICE
Before closing a fire protection sys-
tem main control valve for maintenance
work on the fire protection system that
it controls, obtain permission to shut
down the affected fire protection sys-
tem from the proper authorities and no-
tify all personnel who may be affected
by this action.
Absence of the Cover Plate/Retainer
Assembly can delay sprinkler opera-
tion in a re situation.
When properly installed, there is a
nominal 3/32 inch (2,4 mm) air gap be-
tween the lip of the Cover Plate and the
ceiling, as shown in Figure 2.
This air gap is necessary for proper
operation of the sprinkler. If the ceil-
ing requires repainting after sprinkler
installation, ensure that the new paint
does not seal off any of the air gap.
Do not pull the Cover Plate relative to
the Enclosure. Separation may result.
Replace sprinklers that:
rare leaking or exhibiting visible signs
of corrosion.
rwere modied or over-heated.
Never paint, plate, coat, or otherwise
alter automatic sprinklers after they
leave the factory. Never repaint facto-
ry-painted Cover Plates. If necessary,
replace them with factory-painted
units. Non-factory applied paint can
adversely delay or prevent sprinkler
operation in the event of a re.
Exercise care to avoid damage to
sprinklers before, during, and after in-
stallation. Replace sprinklers damaged
by dropping, striking, wrench twisting,
wrench slipping, or the like. Also, re-
place any sprinkler that has a cracked
bulb or that has lost liquid from its
bulb. (Refer to the Installation section.)
If you must remove a sprinkler, do not
reinstall it or a replacement without re-
installing the Cover Plate/Retainer As-
sembly. If a Cover Plate/Retainer As-
sembly becomes dislodged during
service, replace it immediately.
Responsibility lies with sprinkler own-
ers for the inspection, testing, and
maintenance of their re protection
system and devices in compliance
with this document, as well as with the
applicable standards of the National
Fire Protection Association (for exam-
ple, NFPA 25), in addition to the stan-
dards of any other authorities having
jurisdiction. Contact the installing con-
tractor or sprinkler manufacturer re-
garding any questions.
Automatic sprinkler systems should be
inspected, tested, and maintained by a
qualied Inspection Service in accor-
dance with local requirements and/or
national code.

