manuals.online logo
Brands
  1. Home
  2. •
  3. Brands
  4. •
  5. Tyco
  6. •
  7. Security Camera
  8. •
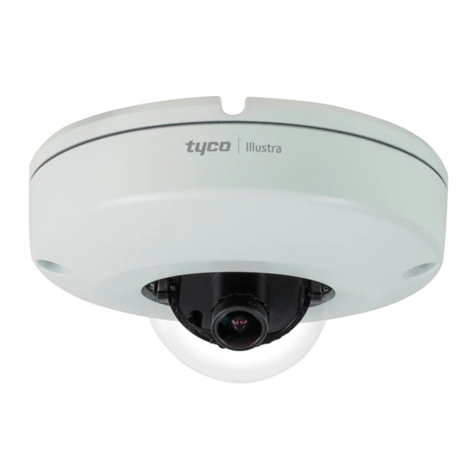
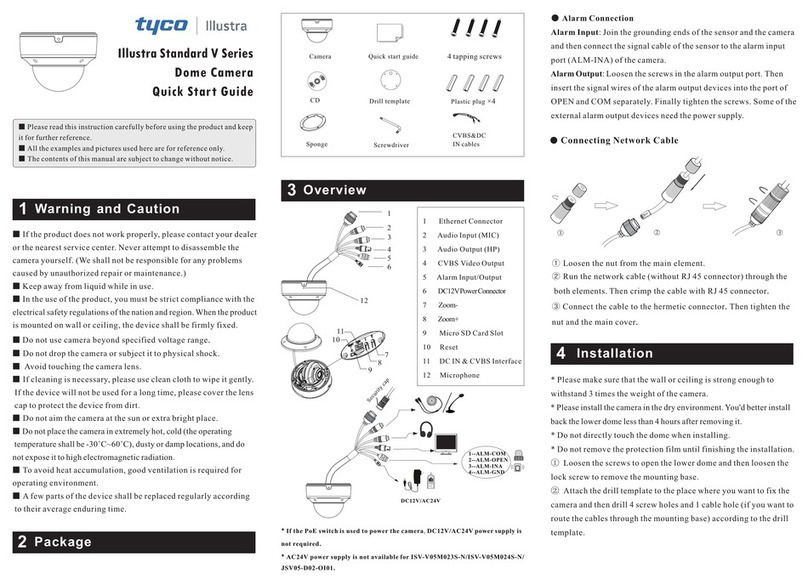
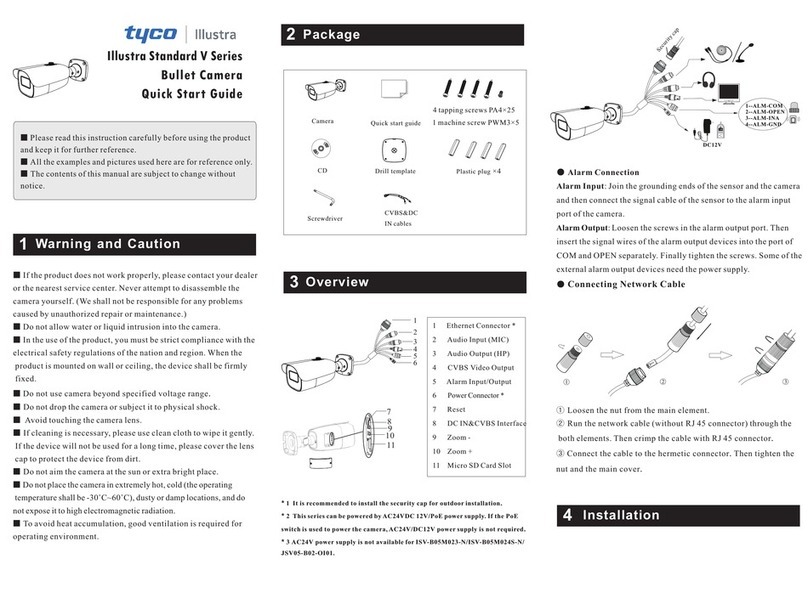
  9. Tyco Illustra Flex Gen 3 User manual

Tyco Illustra Flex Gen 3 User manual

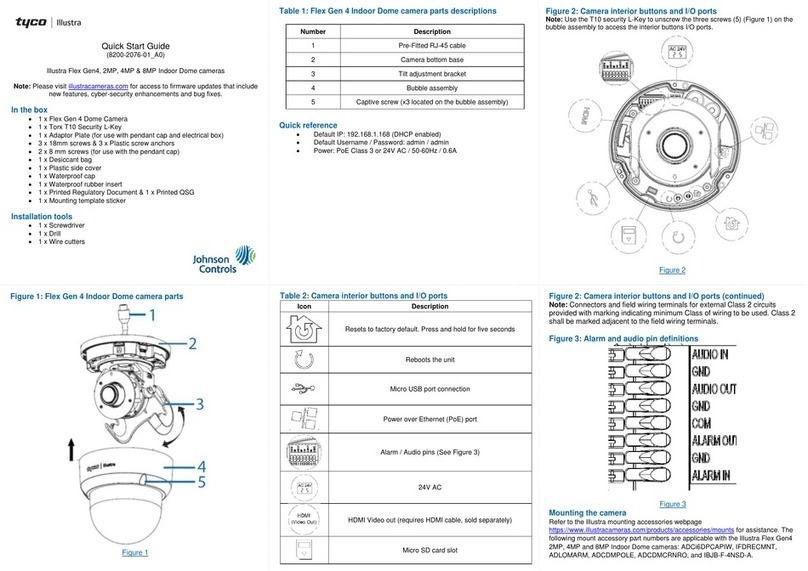
Quick Start Guide
(8200-1937-01_C0)
Illustra Flex Gen 3 Indoor Dome Camera
In the box
y1 x Indoor dome camera
y1 x Mounting template sticker
y1 x Mounting plate
y2 x 50x4mm tapping screws
y2 x 40x6mm plastic screw anchors
y2 x 10x4mm mounting plate screws
y1 x Printed Quick Start Guide
Installation tools
y1 x Drill
y1 x Screw Driver
Camera Parts: Figure 1
Quick reference
yDefault IP: 192.168.1.168 (DHCP enabled)
yDefault Username / Password: admin / admin
yPower: AC24V / PoE 802.3af
Table 1: Camera part descriptions
Camera Part Description
1
Mounting Plate
2
Camera base
3
Camera body
4
Camera Lens
5
Camera lens cover
6
Dome Cover
Mounting and powering up the camera
1. Place the mounting template sticker on the surface that you want to
attach the camera.
2. On the surface drill two Ø 6mm holes and cut out a cable hole as per
the markings identied on the mounting template sticker.
3. Securely place the two screw anchors into the two Ø 6mm holes.
Mounting and powering up the camera (continued)
4. Hold the camera dome with one hand and rotate the camera base to
unlock it and remove it from the dome.
Note: The camera dome includes a ‘lock’ and ‘unlock’ symbol to assist
with step 4.
5. Gently pull up and remove the camera lens cover (5) (Figure 1) to
easily access the cable connections and buttons.
6. Connect the PoE cable to the PoE slot on the camera or the AC24V
cable to the AC24 connection on the camera.
7. Before you secure the mounting plate (1) (Figure 1) to the camera base
(2) (Figure 2) you must place the cable through the cable hole on the
camera mounting plate.
8. Place the mounting plate onto the camera base so that the three
semicircular swellings on the mounting plate t correctly into the three
screw holes on the camera base.
9. Place the cable through the cable hole on the mounting surface.
10. Hold the mounting plate with camera base up to the mounting template
and align two screw holes on the camera base with the two screw holes
on the mounting surface.
11. Insert the two screws into the two holes on the camera base and
securely attach the mounting plate and camera base to the surface.
12. Insert the camera lens cover (5) (Figure 1) on to the camera lens.
Mounting and powering up the camera (continued)
13. Hold the camera dome (6) (Figure1) up to the camera base and rotate
the camera dome to securely lock it to the camera base.
Note: The camera dome includes a ‘lock’ and ‘unlock’ symbol to assist
with step 13.
14. Connect the AC 24V cable to an AC 24V terminal or connect the RJ-45
jack to a PoE compatible network device that supplies power through
the Ethernet cable.
Camera buttons and connections: Figure 2
Table 2: Camera buttons and connections descriptions
Camera button /
connection Description
1
AC cable connection
2
USB cable connection
3
Factory reset
yHold for 5 seconds for soft reset
yHold for 20 seconds for hard reset
4
Focus button
yHold for 3 seconds to run one touch focus
5
Audio / Alarm cable connection
6
Micro SD card insert
7
PoE cable slot
Figure 1
1
2
3
4
5
6
Figure 2
5 6 7
1
2
4
3
Warnings
yThis product is intended for professional installation, please follow local
wiring regulations.
yTo meet EU security immunity requirements this product should be used
with an Uninterruptable Power Supply to feed the mains input of any power
adaptor.
yThe product should be powered by a limited power supply (LPS) sized
according to the product rating label.
yThe LAN symbol on the unit means this is not intended for connection to a
public network or a LAN from a di󰀨erent building.
yDo not install where children are likely to have access.
© 2020 Johnson Controls. All rights reserved.
JOHNSON CONTROLS, TYCO and ILLUSTRA are trademarks and/or
registered trademarks. Unauthorized use is strictly prohibited.
Adjusting the camera position
Figure 3
3
2
1
1. Rotate: The rotate range of the 3-axis gimbal is 0° to a minimum of
355°.
2. Tilt: The tilt range of the 3-axis gimbal is 0° to 67°.
3. Pan: The pan range of the 3 axis gimbal is 0° to 355°.
Table 3: Mounting plate symbols and descriptions
Symbol Name Description
A Single Gang Box
Attach the plate to a North American
single gang electrical box.
B Octagon Box
Attach the plate to a North American
octagon electrical box.
C Double Gang Box
Attach the plate to a North American
double gang electrical box.
D 4S Junction Box
Attach the plate to a North American
4 inch square electrical box.
Removing or installing the dome cover
To remove the dome:
yHold the camera dome (6) (Figure 1) with one hand and rotate the
camera base (2) (Figure 1) to unlock it and remove it from the dome.
Note: The camera dome includes a ‘lock’ and ‘unlock’ symbol to assist
with the above step.
To install the dome:
yHold the camera dome (6) (Figure1) up to the camera base (2) (Figure 1)
and rotate the camera dome to securely lock it to the camera base.
Note: The camera dome includes a ‘lock’ and ‘unlock’ symbol to assist
with the above step.
PT01-005693A

Other Tyco Security Camera manuals

Tyco Illustra Essentials 1MP User manual

Tyco

Tyco Illustra Essentials 1MP User manual

Tyco American Dynamics Illustra 625 User manual

Tyco

Tyco American Dynamics Illustra 625 User manual

Tyco Illustra Pro series User manual

Tyco

Tyco Illustra Pro series User manual

Tyco E Series User manual

Tyco

Tyco E Series User manual

Tyco Illustra Standard E Series User manual

Tyco

Tyco Illustra Standard E Series User manual

Tyco Illustra Standard V Series User manual

Tyco

Tyco Illustra Standard V Series User manual

Tyco Illustra Standard E Series User manual

Tyco

Tyco Illustra Standard E Series User manual

Tyco Illustra Standard Series User manual

Tyco

Tyco Illustra Standard Series User manual

Tyco IFS02-D12-ITA4 User manual

Tyco

Tyco IFS02-D12-ITA4 User manual

Tyco DSC-D114 User manual

Tyco

Tyco DSC-D114 User manual

Tyco Illustra Standard V Series User manual

Tyco

Tyco Illustra Standard V Series User manual

Tyco Illustra Standard V Series User manual

Tyco

Tyco Illustra Standard V Series User manual

Tyco Illustra Pro IPS03CFOCWST User manual

Tyco

Tyco Illustra Pro IPS03CFOCWST User manual

Tyco Illustra Pro User manual

Tyco

Tyco Illustra Pro User manual

Popular Security Camera manuals by other brands

Digital Watchdog Star-Light Plus DWC-D4583WTIR user manual

Digital Watchdog

Digital Watchdog Star-Light Plus DWC-D4583WTIR user manual

HDVision R8VDHS installation guide

HDVision

HDVision R8VDHS installation guide

Black BLK-CWD208VH2 user manual

Black

Black BLK-CWD208VH2 user manual

Ingrasys D3010E Quick installation guide

Ingrasys

Ingrasys D3010E Quick installation guide

urmet domus 1092/165H user manual

urmet domus

urmet domus 1092/165H user manual

Ameba CC-9760 User instruction manual

Ameba

Ameba CC-9760 User instruction manual

King Security CVIOD-EL1MPIR50-E user manual

King Security

King Security CVIOD-EL1MPIR50-E user manual

advidia P-3360-OD installation guide

advidia

advidia P-3360-OD installation guide

EzwatchPro EZDOME-VP user manual

EzwatchPro

EzwatchPro EZDOME-VP user manual

Iget Super HD SmartCam Plus quick start guide

Iget

Iget Super HD SmartCam Plus quick start guide

Conrad 75 17 25 operating instructions

Conrad

Conrad 75 17 25 operating instructions

Samsung SNB-5003 user manual

Samsung

Samsung SNB-5003 user manual

Wisenet QNB-6002 quick guide

Wisenet

Wisenet QNB-6002 quick guide

American Dynamics Discover 600 Series Specifications

American Dynamics

American Dynamics Discover 600 Series Specifications

Moxa Technologies VPort P06HC-1V Series Quick installation guide

Moxa Technologies

Moxa Technologies VPort P06HC-1V Series Quick installation guide

ZTV Electron ZT-809 user manual

ZTV Electron

ZTV Electron ZT-809 user manual

Vitek Alpha VTD-AR2812/I datasheet

Vitek

Vitek Alpha VTD-AR2812/I datasheet

Foscam FI8608 user manual

Foscam

Foscam FI8608 user manual

manuals.online logo
manuals.online logoBrands
  • About & Mission
  • Contact us
  • Privacy Policy
  • Terms and Conditions

Copyright 2025 Manuals.Online. All Rights Reserved.