manuals.online logo
Brands
  1. Home
  2. •
  3. Brands
  4. •
  5. U-Line
  6. •
  7. Tools
  8. •
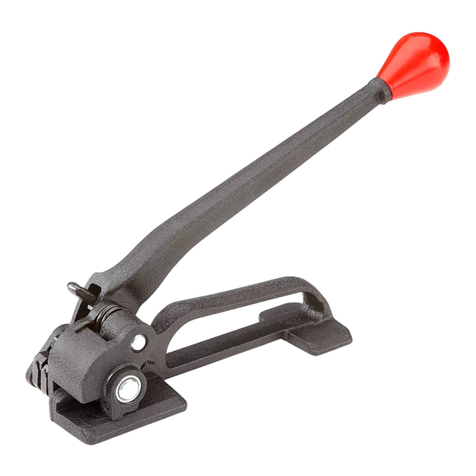
  9. U-Line H-2585 User manual

U-Line H-2585 User manual

0413 IH-2585PAGE 1 OF 3
GENERAL SAFETY CONSIDERATIONS
1. Before using tool read its operation instructions.
2. Wear eye and hand protection.
3. Keep work areas uncluttered and well lit.
4. Take good care of the tool. Inspect and adjust it
daily. Replace worn or broken parts. Clean and
lubricate it weekly.
5. Seals must be properly crimped or notched.
6. Retract strap and back into dispenser when not in use.
SAFETY PROCEDURES FOR TOOL OPERATION
1. Follow the operating instructions.
2. Place strap properly around the load.
3. Make sure that the bottom strap is inserted under
the gripper properly.
4. When tensioning or sealing, position yourself to one
side of strap.
5. Maintain proper footing and balance when
operating tool.
6. Use short strokes on tensioning handle. Do not
tension strap when you are in an awkward position.
7. The warning sign (shown below) is located on the
handle of your tool and alerts you to the following:
a. Caution should be exercised when applying final
tension as excessive tensioning can cause strap
breakage.
b. Position yourself in such a manner that strap
failure, or hands slipping off the handle will not
cause loss of balance.
c. Never increase the length of tensioning handle
by any means, such as slipping a pipe over the
handle to extend its length.
d. Read operation and safety instructions.
8. Apply tensions that are proper for the size and type
of strap being used and is compatible with the
loads being strapped and its corner characteristics.
Determine such tensioning levels by trial, using
proper operating procedures.
9. Tuck the strap end back into the strap dispenser
when you are not using it.
10. It is advisable that safety belts be worn by operators
working on high loads.
SAFETY PROCEDURE FOR CUTTING
TENSIONED STRAP
1. Wear eye and hand protection.
2. Before cutting strap, make sure all bystanders are at
a safe distance.
3. Stand clear of strap. Cut strap.
SAFETY
H-2585
TENSIONER
STRAP IS AWAY FROM STRAP GUIDE
STRAP IS AGAINST STRAP GUIDE
WRONG
CORRECT
BASE
GRIPPER
BOTTOM
STRAP

WARNING
!FAILURE TO FOLLOW THE INFORMATION
BELOW COULD RESULT IN SERIOUS INJURY
•
Sudden strap breakage due to over tensioning will cause tool to violently release from the
strap. Always tension the strap by facing the edge of the load with your body well away from
the edge so that if the strap breaks you don’t fall off the load. If you are tensioning the strap
using improper body position (with respect to the tool) on the top or side of the load, you could
fall if the strap breaks. Read the tool manual.
•
Never extend the handle’s length as this will make it easier to break the strap while positioning.
•
Wear safety glasses that conform to ANSI Standard Z87.1 or European Norm 166.
177896
0413 IH-2585PAGE 2 OF 3
STRAP PLACEMENT AROUND LOAD
1. Place strap around load as shown in the illustrations.
WARNING! Failure to place the strap around
the load or an unstable or shifted load could
result in a sudden loss of strap tension during
tensioning. This could result in a sudden loss of
balance causing you to fall.
If the load corners are sharp use edge
protectors. Failure to follow the above could
result in serious injury or death.
Use only 2" wide (minumum) x .044" thick
(minimum) high tensile strap. Failure to use
the proper tool or strap can result in serious
personal injury.
2. Thread the seal/seals on both straps. Bend the lower/
inner strap backwards to hold seals in place. Bend
the upper/outer strap away from the load to permit
insertion into the windlass of the tensioner.
STRAPPING INSTRUCTIONS
HORIZONTAL
STRAP SIDE LOAD
VERTICAL
STRAP SIDE LOAD
TOP
STRAP LOAD
SEAL SEAL
STRAP BENT FORWARD
TO ACCEPT WINDLASS
STRAP BENT BACK
TO CONTAIN SEALS
PACKAGE LOAD
INSERT STRAP INTO THE TOOL
1. Rotate tensioning handle all the way down to lock
the gripper in the open position. Adjust the drum so
that the slot is in line with the angle of the strap.
2. Insert lower/inner strap in opening between gripper
and base of tensioner until the strap is fully in
contact with the inner wall of the base (strap guide).
Make sure that the lower/inner strap is inserted over
the base foot. Insert top/outer strap fully into the
windlass slot. Approximately 2 to 4 inches should
extend beyond drum. Cut off any excessive length
before tensioning.
TYPICAL ORIENTATION
FOR TOP LOADS
STRAP IS AGAINST STRAP GUIDE
BASE
GRIPPER
BOTTOM
STRAP
TYPICAL ORIENTATION
FOR TOP LOADS
BEND TO HOLD SEALS IN PLACE
SEALS
DRUM
REAR BASE FOOT
TYPICAL ORIENTATION
FOR SIDE LOADS
REAR BASE FOOT
TYPICAL ORIENTATION
FOR SIDE LOADS
REAR BASE FOOT
SEALS
0413 IH-2585PAGE 3 OF 3
FOR ON TOP OF LOAD
1. Bring tensioning handle upward, allowing the
gripper to contact the lower strap.
Rotate the tensioning handle
back and forth to take up
slack in the strap.
When strap is snug,
the operator should
kneel perpendicular to the
strap and apply the final tension
using short tensioning strokes.
2. Open sealer fully and center sealer jaws of sealer
over each seal. Crimp or notch each seal the
proper number of times by
bringing the top handle
downward as far as it will
go. Consult your sealer
manual for the proper
number of crimps or
notches needed for
your application.
3. Release tensioner from strap by
bringing handle down until the
gripper release cam locks
in tensioning handle pin.
Remove tensioner by
twisting drum slot out
of strap curl and sliding
tool away from strap.
FOR ON SIDE OF LOAD (VERTICAL)
1. Bring tensioning handle downward,
allowing the gripper to contact
the lower strap. Rotate tensioning
handle back and forth to take up
slack in strap. When strap is snug,
the operator should stand to the
side of the tool and apply the
final tension using short
tensioning strokes.
2. Open sealer fully and
center sealing jaws of
sealer over each seal.
Crimp or notch each
seal the proper number of
times by bringing the top
handle downward as
far as it will go. Consult
your sealer manual for the proper
number of crimps or notches
needed for your application.
3. Release tensioner from strap by
rotating handle until it contacts
and locks into the gripper release
cam. Remove tensioner by twisting
drum slot out of strap curl and
sliding tool away from strap.
WARNING! While tensioning strap, do not rotate the tensioning
handle to the point where it will contact the gripper release cam.
This will result in a sudden loss of strap tension. Be careful when
applying final tension, as excessive tension could cause strap
breakage. Position yourself in such a manner than strap breakage
or hands slipping off the handle will not cause a loss of balance.
Never increase the length of the tensioning handle by any means,
such as slipping a pipe over the handle to extend its length.
OPERATING INSTRUCTIONS
RECOMMENDED
OPERATING
RANGE
GRIPPER
RELEASE
CAM
GRIPPER
RELEASE
CAM
GRIPPER
RELEASE
CAM
GRIPPER
RELEASE
CAM
FOR WALL ANCHORED OR SIDE (HORIZONTAL) LOADS
The positioning of the tensioner on the strap for horizontal use
is the same as on top of load operation. After the slack strap is
taken up, final tension is applied by short push type strokes, as
illustrated at left. Note that a tensioner is used on each strap to
ensure equal tension. The sealing operation is also the same as
for top of load use (Refer to top of load instructions).
π CHICAGO • ATLANTA • DALLAS • LOS ANGELES • MINNEAPOLIS • NYC/PHILA • SEATTLE • MEXICO • CANADA
1-800 -295-5510
uline.com

Other U-Line Tools manuals

U-Line H-5642 User manual

U-Line

U-Line H-5642 User manual

U-Line H-1381 User manual

U-Line

U-Line H-1381 User manual

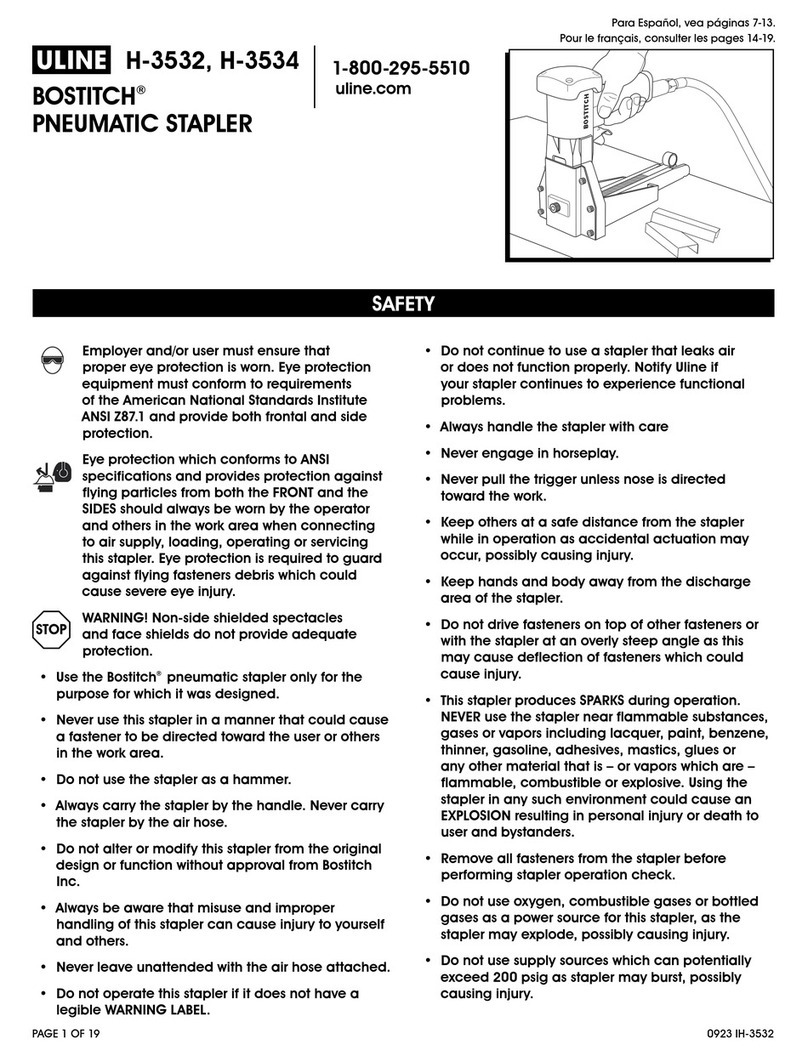
U-Line BOSTITCH H-3532 User manual

U-Line

U-Line BOSTITCH H-3532 User manual

U-Line H-38 User manual

U-Line

U-Line H-38 User manual

U-Line H-2584 User manual

U-Line

U-Line H-2584 User manual

U-Line H-3068 User manual

U-Line

U-Line H-3068 User manual

U-Line Kihlberg JK35-590 User manual

U-Line

U-Line Kihlberg JK35-590 User manual

U-Line H-8073 User manual

U-Line

U-Line H-8073 User manual

U-Line H-3533 User manual

U-Line

U-Line H-3533 User manual

U-Line H-9151 User manual

U-Line

U-Line H-9151 User manual

U-Line H-540 User manual

U-Line

U-Line H-540 User manual

U-Line H-350 User manual

U-Line

U-Line H-350 User manual

U-Line KIHLBERG H-3531 User manual

U-Line

U-Line KIHLBERG H-3531 User manual

U-Line Kihlberg JK35-590 User manual

U-Line

U-Line Kihlberg JK35-590 User manual

U-Line H-1030 User manual

U-Line

U-Line H-1030 User manual

U-Line H-9152 User manual

U-Line

U-Line H-9152 User manual

U-Line H-779 User manual

U-Line

U-Line H-779 User manual

U-Line BOSTITCH H-3530 Instruction Manual

U-Line

U-Line BOSTITCH H-3530 Instruction Manual

U-Line BOSTITCH H-3532 User manual

U-Line

U-Line BOSTITCH H-3532 User manual

U-Line H-1440 User manual

U-Line

U-Line H-1440 User manual

U-Line H-3069 User manual

U-Line

U-Line H-3069 User manual

U-Line H-3402 User manual

U-Line

U-Line H-3402 User manual

Popular Tools manuals by other brands

NEO TOOLS 10-606 user manual

NEO TOOLS

NEO TOOLS 10-606 user manual

H&S MFT OPERATING RECOMMENDATIONS

H&S

H&S MFT OPERATING RECOMMENDATIONS

Sealey VS5125 instructions

Sealey

Sealey VS5125 instructions

Porta-Nails PORTAMATIC owner's manual

Porta-Nails

Porta-Nails PORTAMATIC owner's manual

RED ROOSTER RRI-4021/4 manual

RED ROOSTER

RED ROOSTER RRI-4021/4 manual

SPX 1503 Parts list and operating instructions

SPX

SPX 1503 Parts list and operating instructions

Malco TSF2A operating instructions

Malco

Malco TSF2A operating instructions

HAEMMERLIN 340001201 owner's manual

HAEMMERLIN

HAEMMERLIN 340001201 owner's manual

BGS technic 8978 instruction manual

BGS technic

BGS technic 8978 instruction manual

Blue Line CORNER FINISHER quick start guide

Blue Line

Blue Line CORNER FINISHER quick start guide

Cen-Tec 2A installation manual

Cen-Tec

Cen-Tec 2A installation manual

C.R. Laurence TAPER-LOC TLEX1 user manual

C.R. Laurence

C.R. Laurence TAPER-LOC TLEX1 user manual

Aircat 6410 Operations manual & parts list

Aircat

Aircat 6410 Operations manual & parts list

Centech 91381 Assembly & operating instructions

Centech

Centech 91381 Assembly & operating instructions

Power Tec 71395 owner's manual

Power Tec

Power Tec 71395 owner's manual

Hellermann Tyton TagPrintPRO user manual

Hellermann Tyton

Hellermann Tyton TagPrintPRO user manual

Glas Craft GCP2RA user manual

Glas Craft

Glas Craft GCP2RA user manual

parktool FFG-2 instructions

parktool

parktool FFG-2 instructions

manuals.online logo
manuals.online logoBrands
  • About & Mission
  • Contact us
  • Privacy Policy
  • Terms and Conditions

Copyright 2025 Manuals.Online. All Rights Reserved.