5115 Hadley Ave. N., St. Paul, MN 55128 (USA) www.parktool.com
PARK TOOL CO.
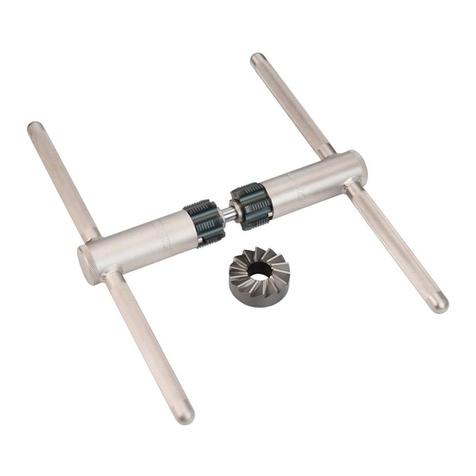
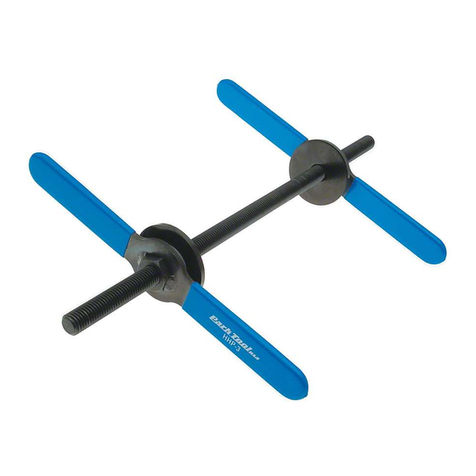
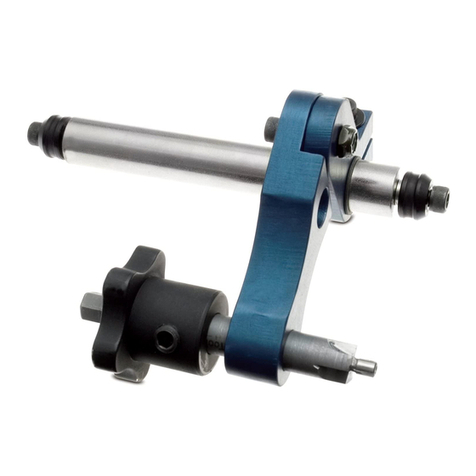
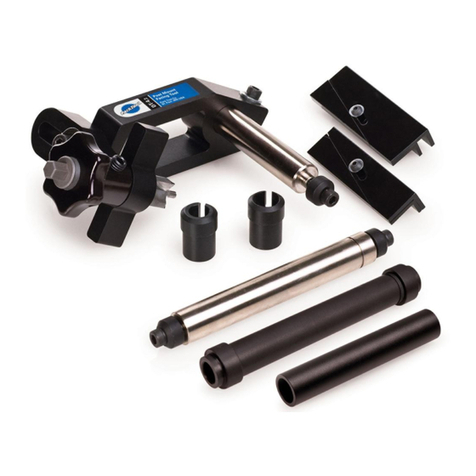
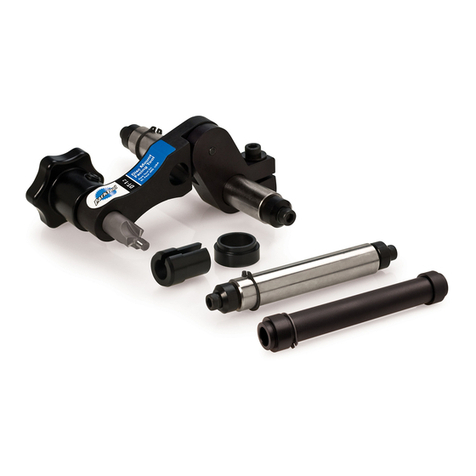
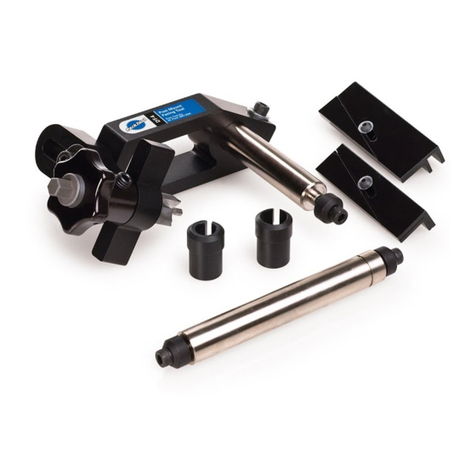
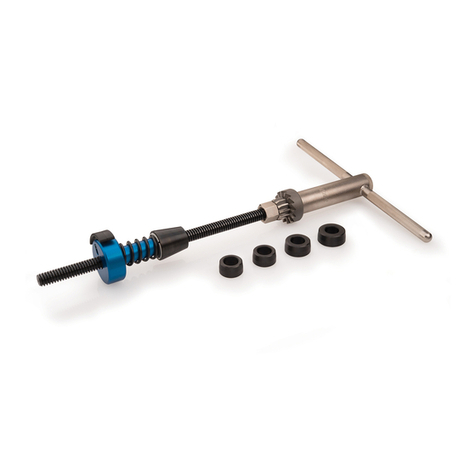
FFG-2 Frame and Fork End Alignment Gauge Set
• Accurately gauges alignment of frame and fork dropouts
• Long handles afford plenty of leverage for straightening
• Helps diagnose and correct shifting and tracking problems
• Helps prevent bent and broken axles
• Works on frames and forks with dropout spacing up to 160mm
• Comfortable, molded grips
Instructions:
1. Insert both FFG-2 assemblies equally into dropout axle slots. Secure each
assembly by holding inner bushing (#922) while turning handle (#916)
clockwise. For rear dropouts, slide spacers (#919) to inside of dropouts.
For front dropouts, slide spacers to outside of dropouts.
2. Adjust outer bushings (#923) until there is a slight gap between the two
parts. View gap between outer bushings from a variety of angles, looking
for any alignment error.
3. Holding handle in one hand and outer bushing in the other hand, bend
dropout(s) as needed until the two outer bushings are aligned with
each other.
Note: Suspension fork dropouts, frames with “bonded” dropouts, and frames
using extremely thick dropouts often cannot be bent into alignment. Consult
with the frame manufacturer for specific recommendations regarding drop
out alignment. When the manufacturer advises against bending, the FFG-2
should only be used to check dropout alignment.
FFG-2 Mess- und Richtwerkzeug für Ausfallenden
• Exaktes Vermessen von Ausfallenden an Rahmen und Gabel
• Lange Hebel für leichtes Justieren
• Ermitteln & Korrigieren von Problemen bei Geradeauslauf und
Schaltverhalten
• Vermeidet verbogene und gebrochene Achsen
• Passend für Rahmen und Gabeln bis 160 mm Baubreite
• Komfortabel geformte Handgriffe
Bedienungsanleitung:
1. Setzen Sie beide Lehren des FFG-2 auf die gleiche Weise in die
Ausfallenden ein. Fixieren Sie sie, indem Sie die innere Buchse (#922)
halten und dabei den Handgriff im Uhrzeigersinn festdrehen. Platzieren
Sie die Unterlegscheiben (#919) jeweils bei Hinterbauten auf der
Innenseite der Ausfallenden, bei Gabeln auf der Außenseite.
2. Justieren Sie die äußeren Buchsen (#923) bis nur noch ein schmaler
A bstand zwischen beiden besteht. Taxieren Sie die Anordnung der
äußeren Buchsen aus verschiede nen Blickwinkeln und suchen Sie nach
Abweichungen
3. Justieren Sie bei Bedarf die Ausfallenden, indem sie die jeweilige Lehre
mit einer Hand an der äußeren Buchse und mit der anderen am Griff
fassen. Richten Sie die äußeren Buchsen exakt aufeinander aus.
Hinweis: Federgabeln, Rahmen mit geklebten oder extrem dicken
Ausfallenden lassen sich häufig nicht zurecht biegen. Wenden Sie sich im
Zweifelsfall an den jeweiligen Hersteller für spezifische Hinweise zum Richten
der Ausfallenden.Wenn der Hersteller das Zurechtbiegen der Ausfallenden
verbietet, verwenden Sie das FFG-2 nur zur Kontrolle der Ausfallenden.
FFG-2 Campanas para Alinear Patas y Puntas
• Accurately gauges alignment of frame and fork dropouts
• Long handles afford plenty of leverage for straightening
• Helps diagnose and correct shifting and tracking problems
• Helps prevent bent and broken axles
• Works on frames and forks with dropout spacing up to 160mm
• Comfortable, molded grips
Mode d‘emploi:
1. Placer les deux embouts du FFG-2 dans les pattes de cadre. Bien fixer
chaque partie en tenant la pièce interne (#922) avec votre main en
tournant la poignée (#916) dans le sens des aiguilles d‘une montre. Pour
les pattes arrières, introduire des bagues d‘espacement à l‘intérieur des
pattes. . Pour les pattes avant, introduire des bagues d‘espacement à
l‘extérieur des pattes.
2. Positionner les douilles (#923) en laissant une très légère ouverture entre
les deux douilles. Examiner cet espace de chaque côté pour évaluer les
erreurs d‘alignement.
3. En tenant la poignée avec une main et la douille extérieure
avec l‘autre plier la patte avec suffisamment de force pour aligner
parfaitement les deux douilles.
A noter : les pattes de fourches à suspension, ainsi que certaines pattes
surdimensionnées ne peuvent pas être „plier“ pour les redresser. Bien
vérifier les notices techniques des fabricants.Lorsque le fabricant
déconseille de „plier“ les pattes le FFG-2 est à utiliser seulement pour vérifier
l‘alignement.
FFG-2 Campanas para Alinear Patas y Puntas
• Alinea patas de cuadros y puntas de tijera
• Manerales largos y reforzados para facilitar la alineación
• Diagnostica el problema de alineación para corregir la función de los
cambios
• Previene el daño y ruptura de ejes de maza
• Trabaja con cuadros y tijeras con espacios hasta de 160mm
• Mango cubierto con grips
Instrucciones de Uso:
1. Inserte a ambos lados el FFG-2 donde se colocan los ejes. Asegure cada
uno insertándolos en las patas o puntas girando el maneral (#919) y con
la otra mano tome el bushing (#916) girando en sentido a las manecillas
de reloj. Para las patas traseras del cuadro utilice los espaciadores (#919)
por el lado interno y para las puntas de tijera por el lado externo.
2. Ajuste los bushings de diámetro grande (#923) girando estos hasta dejar
un espacio pequeño entre ambos.Observe la separación desde varios
ángulos para diagnosticar el problema a corregir.
3. Sostenga con una mano el maneral y con la otra por el lado interno
el bushing, ejerciendo palanca hasta conseguir corregir el problema
checando que ambas campanas queden alineadas.
Nota: Puntas de tijeras de suspensión; cuadros con patas adheridas con
pegamento especial; cuadros con patas muy gruesas, no deberán alinearse.
Debe consultar al fabricante del cuadro para que le recomiende como hacerlo.
FFG-2 Instructions/Instructions/Anleitung/Instrucciones
12 3
