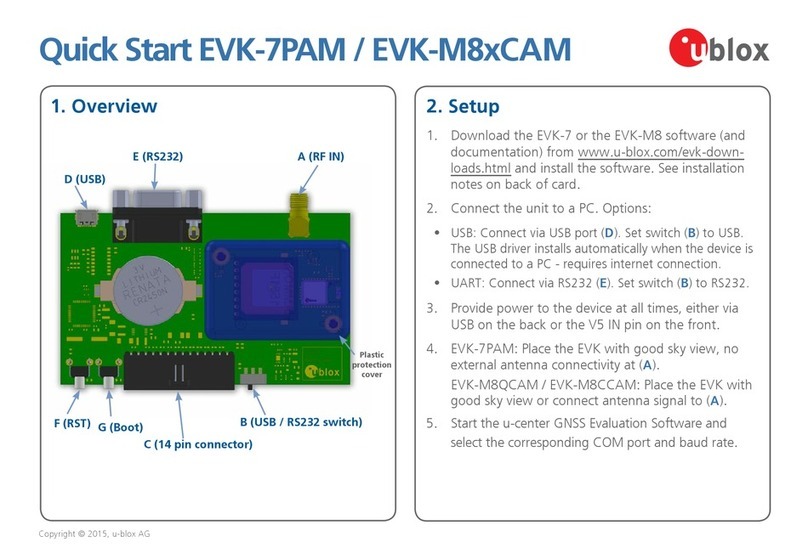
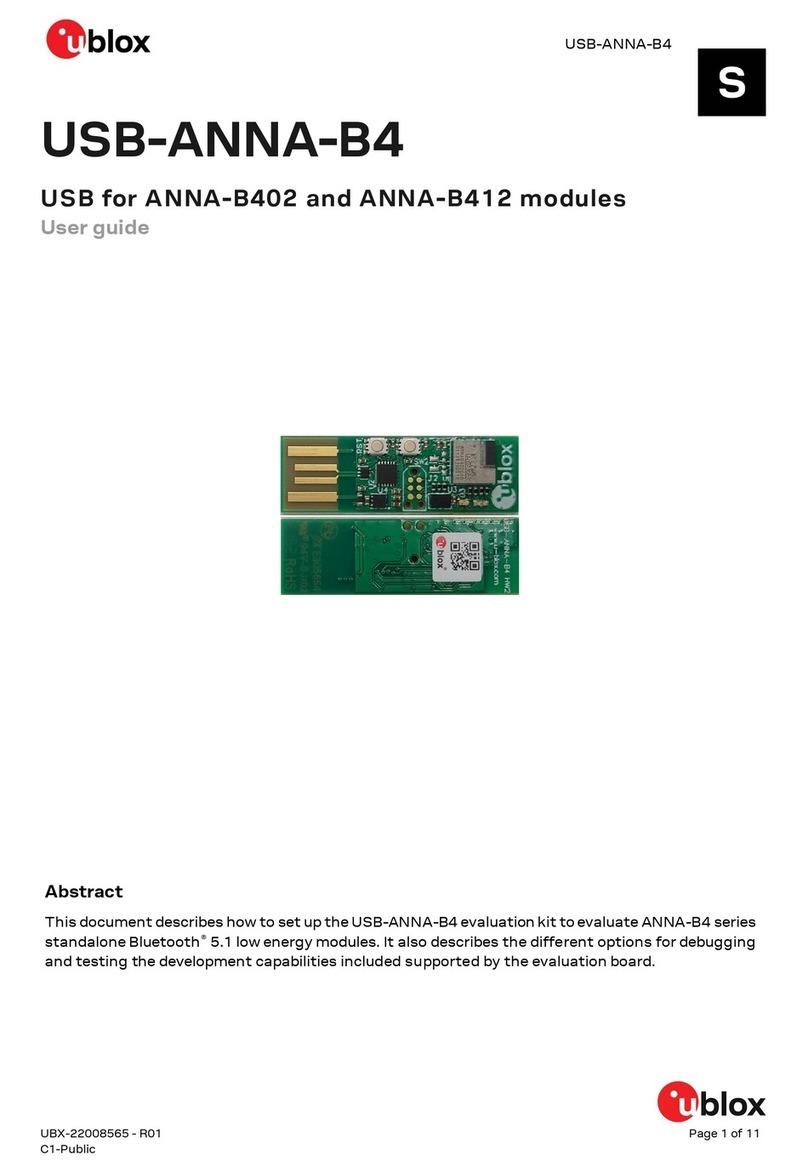
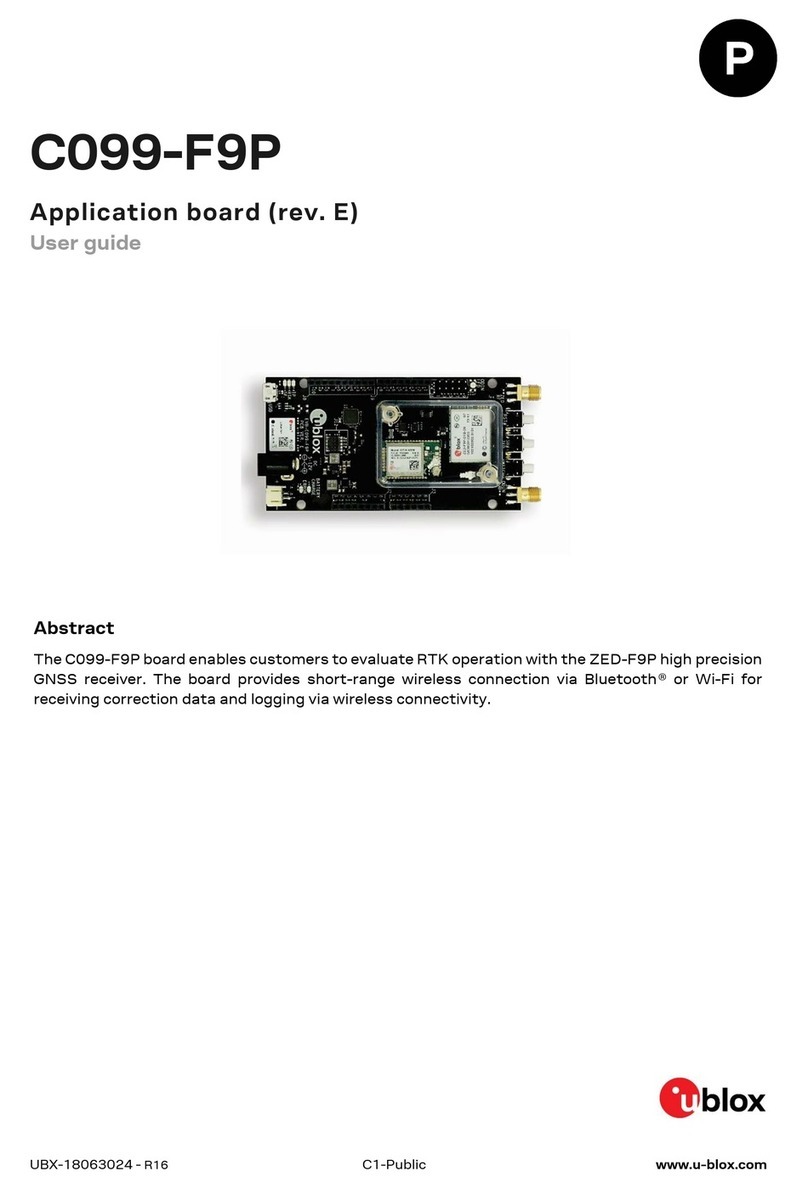
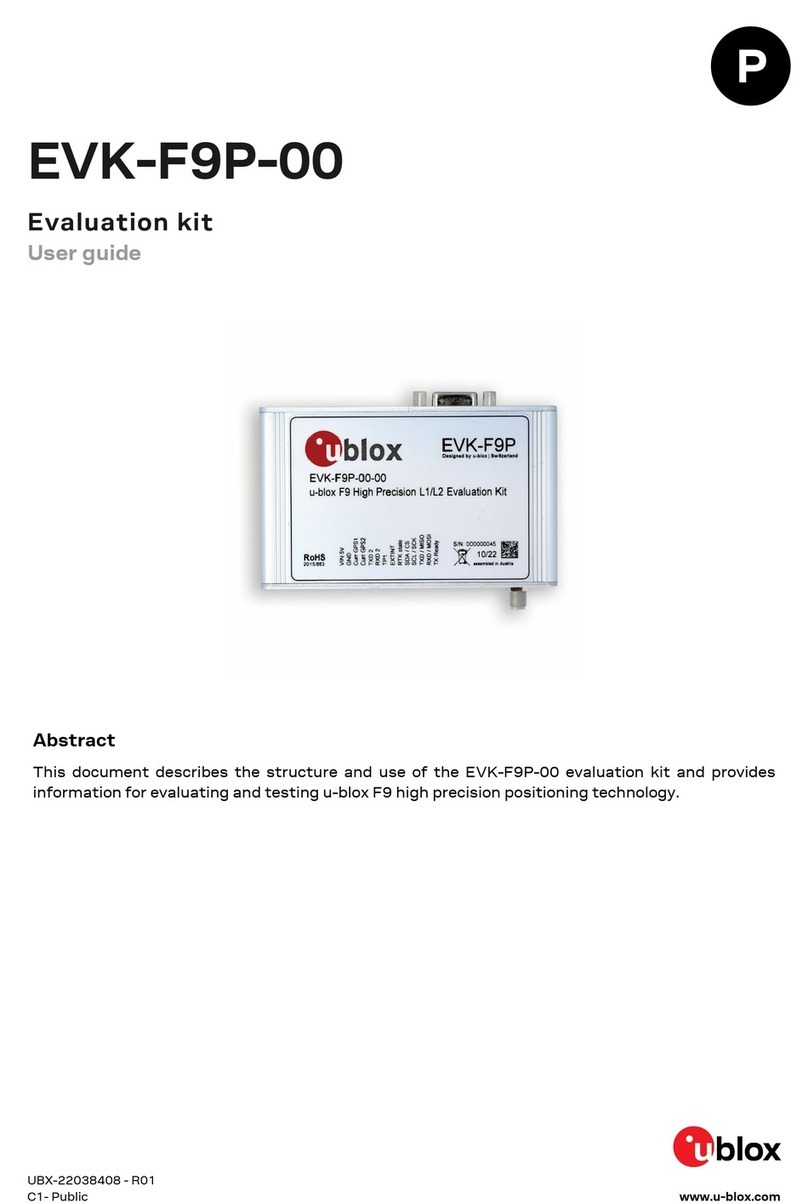
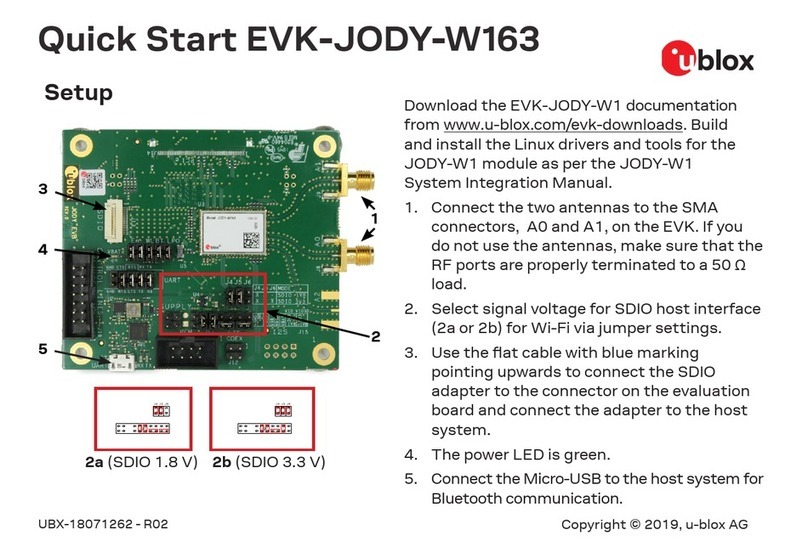
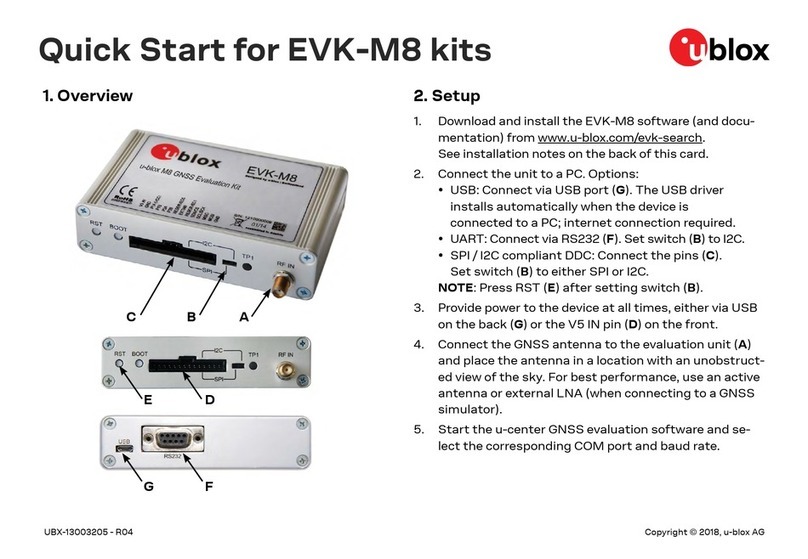
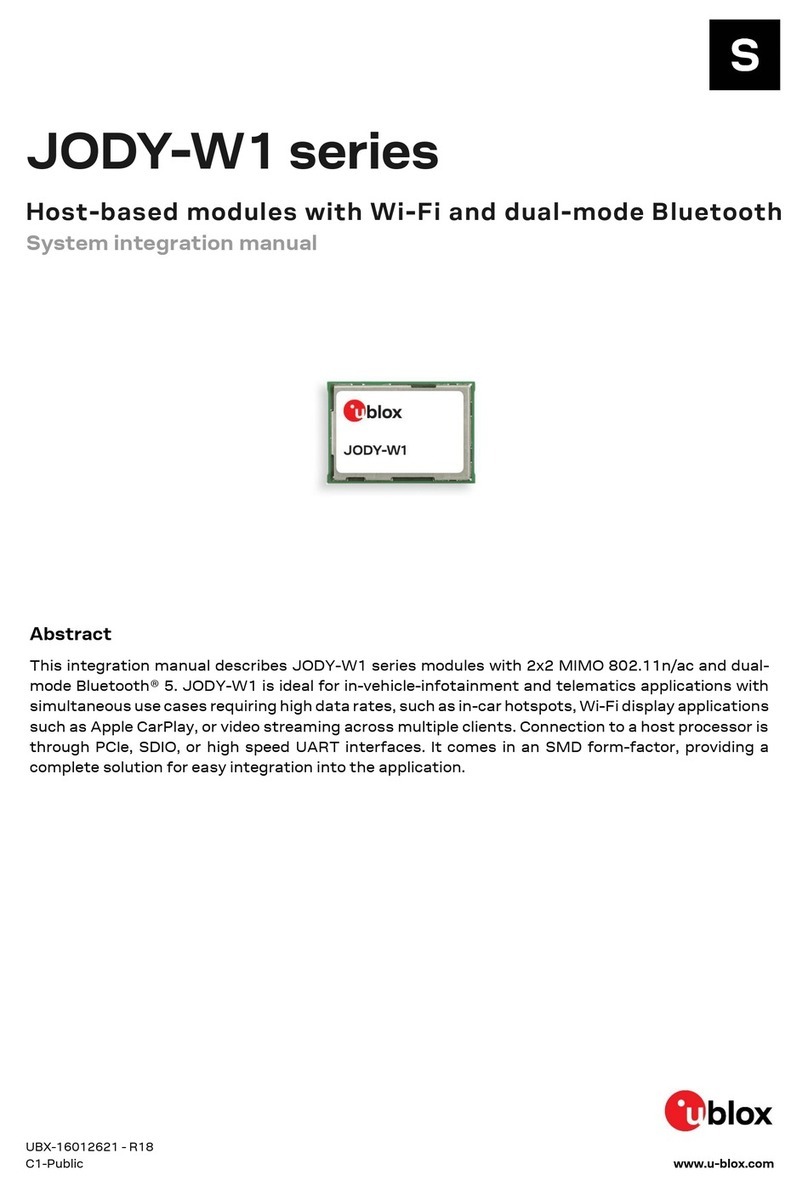
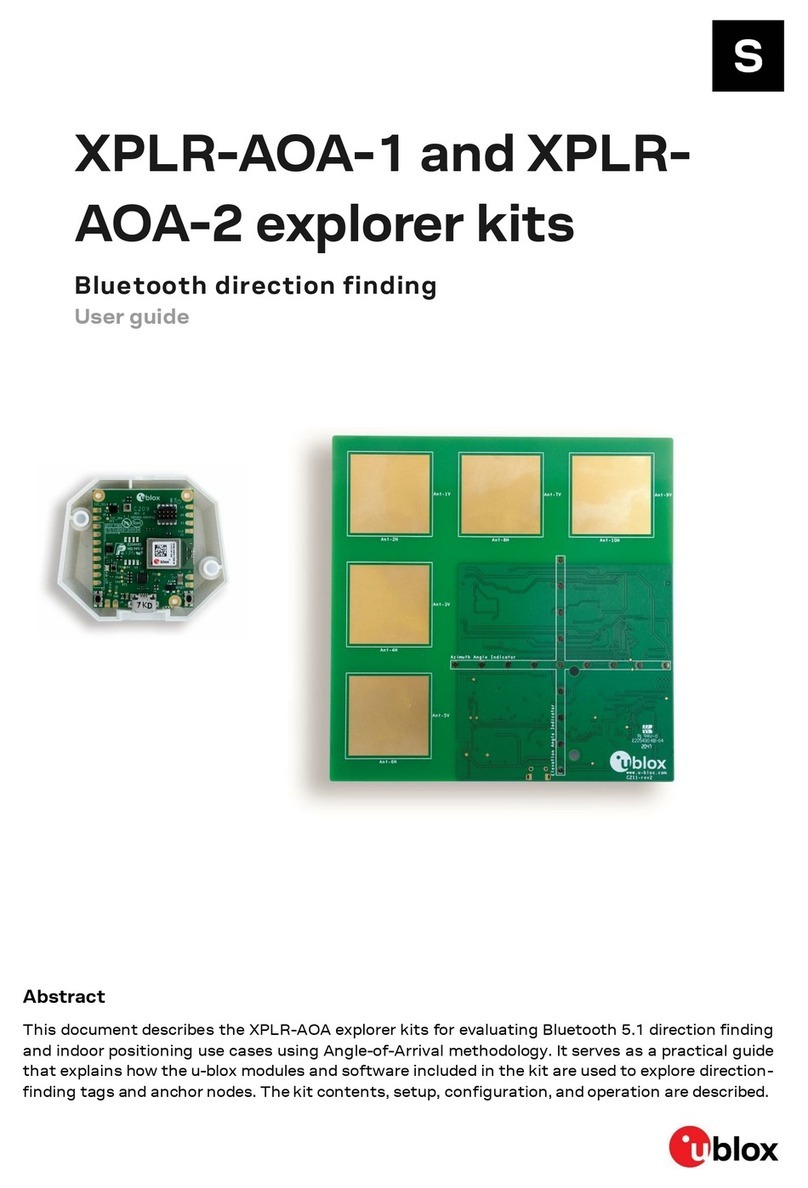
Ublox NEO-D9S User manual

UBX- 22008160 - R02 www.u-blox.com
C1-Public
NEO-D9S and ZED-F9
configuration
SPARTN L-band correction data reception
Application Note
Abstract
This document explains how to configure the NEO-D9S correction data receiver together with ZED-
F9 high precision modules in order to receive and use SPARTN L-band correction data.

NEO-D9S and ZED-F9 configuration
UBX- 22008160 - R02 Document information Page 2 of 17
C1-Public
Document information
Title NEO-D9S and ZED-F9 configuration
Subtitle SPARTN L-band correction data reception
Document type Application note
Document number UBX- 22008160
Revision and date R02 27-Jul-2022
Disclosure restriction C1-Public
☞Check if the ZED-F9 product that you are using supports the SPARTN protocol and the related
configurations.
u
-blox or third parties may hold intellectual property rights in the products, names, logos, and designs included in this
document.
Copying, reproduction, or modification of this document or any part thereof is only permitted with the express
written permission of u
-blox. Disclosure to third parties is permitted for clearly public documents only.
The information contained herein is provided “as is” and u
-blox assumes no liability for its use. No warranty, either express or
implied, is given, including but not limited
to, with respect to the accuracy, correctness, reliability, and fitness for a particular
purpose of the information. This document may be revised by u
-blox at any time without notice. For the most recent
documents, visit www.u
-blox.com.
Copyright © u
-blox AG.

NEO-D9S and ZED-F9 configuration
UBX- 22008160 - R02 Contents Page 3 of 17
C1-Public
Contents
Document information................................................................................................................................2
Contents ..........................................................................................................................................................3
1Introduction.............................................................................................................................................4
2NEO-D9S configuration .......................................................................................................................6
2.1 L-band point to multipoint (PMP) configuration ..................................................................................6
2.2 Interface configuration .............................................................................................................................. 6
2.3 Functional check ......................................................................................................................................... 7
3ZED-F9 configurations.........................................................................................................................8
3.1 L-band configuration.................................................................................................................................. 8
3.2 Interface configuration .............................................................................................................................. 8
3.3 Dynamic keys ...............................................................................................................................................9
3.4 Functional check ......................................................................................................................................... 9
4Example configuration for PointPerfect..................................................................................... 11
4.1 NEO-D9S L-band configuration .............................................................................................................11
4.2 Setting ZED-F9 keys ................................................................................................................................11
AGlossary ................................................................................................................................................. 16
Related documentation ........................................................................................................................... 17
Revision history.......................................................................................................................................... 17
Contact.......................................................................................................................................................... 17

NEO-D9S and ZED-F9 configuration
UBX- 22008160 - R02 Introduction Page 4 of 17
C1-Public
1Introduction
The ZED-F9 high precision modules have integrated multiband PPP-RTK technology for centimeter-
level accuracy using SPARTN [8] State Space Representation (SSR) type of correction.
SSR services rely on a GNSS reference station network to model key errors (such as satellite or
atmospheric errors) over large geographical regions and provide corrections to the rover via broadcast
link such as internet or satellite L-band, all receivers receive the same data over a large area.
☞Check if the ZED-F9 product that you are using supports the SPARTN L-band stream formatted
as UBX-RXM-PMP messages, and the related configurations.
Figure 1 represents how NEO-D9S and ZED-F9 work together:
Figure 1: NEO-D9S and ZED-F9 scenario
NEO-D9S is a satellite data receiver for L-band correction broadcasts, which can be configured to
work with a variety of correction services. This document provides instructions on how to configure
NEO-D9S for this purpose and provides configuration examples for the PointPerfect service, SPARTN
L-band correction, and ZED-F9 receivers. Figure 2 represents the NEO-D9S and ZED-F9 connection:
Figure 2: NEO-D9S and ZED-F9 connection
The NEO-D9S and ZED-F9 receivers follow the u-blox configuration concept. The UBX-CFG-VALSET,
UBX-CFG-VALGET, and UBX-CFG-VALDEL messages can be used to configure the SPARTN L-band
correction data reception. See the D9 PMP 1.04 Interface description [4] and the F9 HPG 1.32
Interface description [5] for further details.
For the correction data, NEO-D9S and ZED-F9 can be connected via their respective UART2
interfaces, as shown in Figure 2. The UART2 connection is commonly used and recommended for
customer designs, while The UART1 can be used as the main host interface for configuration,
NEO-D9S and ZED-F9 configuration
UBX- 22008160 - R02 Introduction Page 5 of 17
C1-Public
monitoring, and control. The USB interface is provided for host communication purposes and can be
used for monitoring or logfiles collection.
Figure 3 shows the series of actions to be done:
Figure 3: ZED-F9 and NEO-D9S configuration sequence diagram
Configuration strings are provided in the following sections of the document for each configuration
item. If you are using u-center, the strings can be sent via a custom message:
Figure 4: Send Custom message with u-center
For more details, see the u-center user guide [3].
The easiest way to test how to configure the NEO-D9S and ZED-F9 receivers is to make use of the
C099-F9P and C101-D9S application boards. See the related user guides [6] and [7], and in particular
Chapter 4 of the C101-D9S User Guide.

NEO-D9S and ZED-F9 configuration
UBX- 22008160 - R02 NEO-D9S configuration Page 6 of 17
C1-Public
2NEO-D9S configuration
NEO-D9S needs to be configured to receive SPARTN L-band correction data and forward these,
encapsulated in UBX-RXM-PMP messages, to the ZED-F9 receiver via UART2.
2.1 L-band point to multipoint (PMP) configuration
Table 1 lists the NEO-D9S L-band default configuration values, which will vary depending on the
service provider. Once the related values have been obtained from the service provider, they can be
set accordingly with the UBX-CFG-VALSET configuration messages (see the interface description [4]
for further details).
Configuration item
Value
CFG-PMP-CENTER_FREQUENCY
1539812500 Hz
CFG-PMP-SEARCH_WINDOW
2200 Hz
CFG-PMP-USE_SERVICE_ID
1 (true)
CFG-PMP-SERVICE_ID 50821
CFG-PMP-DATA_RATE
2400 (B2400) bps
CFG-PMP-USE_DESCRAMBLER
1 (true)
CFG-PMP-DESCRAMBLER_INIT
23560
CFG-PMP-USE_PRESCRAMBLING
0 (false)
CFG-PMP-UNIQUE_WORD
0xe15ae893e15ae893
Table 1: NEO-D9S L-band default configuration values
Section 4 outlines how to obtain the L-band configuration values for the PointPerfect service.
2.2 Interface configuration
Table 2 shows the configuration items needed to configure the UART2 interface of NEO-D9S so that
it can communicate with the ZED-F9.
Configuration item
Value
CFG-UART2OUTPROT-UBX
1 (true)
CFG-UART2-BAUDRATE 38400
Table 2: NEO-D9S UART2 configuration items
To facilitate the configuration, examples of the configuration strings for RAM and Flash layers are
shown here:
RAM layer configuration string:
b5 62 06 8a 11 00 00 01 00 00 01 00 53 40 00 96 00 00 01 00 76 10 01 54 ef
Flash layer configuration string:
b5 62 06 8a 11 00 00 04 00 00 01 00 53 40 00 96 00 00 01 00 76 10 01 57 1f
When sending Flash layer configuration strings, the receiver needs to be restarted to apply them in RAM.
The UBX-RXM-PMP message is enabled by default in the output to the NEO-D9S UART2 interface.

NEO-D9S and ZED-F9 configuration
UBX- 22008160 - R02 NEO-D9S configurationPage 7 of 17
C1-Public
2.3 Functional check
Firstly, some initial functional checks are required to verify that NEO-D9S is operating correctly:
•NEO-D9S communication has been established (e.g., via u-center) through UART1 or USB
•The L-band antenna is plugged in
•The L-band and interface configurations have been sent
•The UBX-RXM-PMP message can be used to check the received correction data (Figure 5)
•The UBX-MON-TXBUF message can be used to check the data sent via UART2 (Figure 6)
Figure 5 and Figure 6 show the messages as they appear in u-center.
Figure 5: UBX-RXM-PMP message in u-center
Figure 6: UBX-MON-TXBUF message in u-center

NEO-D9S and ZED-F9 configuration
UBX- 22008160 - R02 ZED-F9 configurations Page 8 of 17
C1-Public
3ZED-F9 configurations
ZED-F9 needs to be configured to receive and use the SPARTN L-band correction stream, in the form
of UBX-RXM-PMP messages from NEO-D9S.
3.1 L-band configuration
The CFG-SPARTN-USE_SOURCE configuration key needs be set to LBAND:
Configuration item
Value
CFG-SPARTN-USE_SOURCE
1 - LBAND
Table 3: ZED-F9 configurations for SPARTN L-band data reception
The configuration strings for RAM and Flash layers are:
RAM layer configuration string:
b5 62 06 8a 09 00 00 01 00 00 01 00 a7 20 01 63 6c
Flash layer configuration string:
b5 62 06 8a 09 00 00 04 00 00 01 00 a7 20 01 66 84
When sending Flash layer configuration strings, the receiver needs to be restarted to apply them in RAM.
3.2 Interface configuration
The UBX protocol needs to be enabled on the ZED-F9 UART2 input:
Configuration item
Value
CFG-UART2INPROT-UBX
1 (true)
Table 4: ZED-F9 UART2 configuration item
☞For some ZED-F9 receivers, the UBX input protocol is already enabled by default on UART2. For
example, it is enabled by default on ZED-F9P with firmware HPG 1.32. Check the default interface
configuration for your ZED-F9 receiver in the related interface description.
The configuration strings for RAM and Flash layers are:
RAM layer configuration string:
b5 62 06 8a 09 00 00 01 00 00 01 00 75 10 01 21 b6
Flash layer configuration string:
b5 62 06 8a 09 00 00 04 00 00 01 00 75 10 01 24 ce
When sending Flash layer configuration strings, the receiver needs to be restarted to apply them in RAM.

NEO-D9S and ZED-F9 configuration
UBX- 22008160 - R02 ZED-F9 configurations Page 9 of 17
C1-Public
3.3 Dynamic keys
ZED-F9 may require proper keys to decrypt a SPARTN data stream. Once the key or keys are
obtained from the correction service provider, the UBX-RXM-SPARTNKEY message needs to be
formatted and sent to the ZED-F9 receiver. The following is an example of a UBX-RXM-SPARTNKEY
construction for the PointPerfect service. For more details, read about UBX-RXM-SPARTNKEY in
the interface description [5].
The following shows a UBX-RXM-SPARTNKEY construction example for PointPerfect:
b5 62 02 36 00 2c 01 02 00 00 00 10 88 08 4d 82 04 00 00 10 88 08 ce 29 05 00 XX XX XX XX XX XX XX XX XX XX XX XX XX XX XX XX
XX XX XX XX XX XX XX XX XX XX XX XX XX XX XX XX de 77
☞The keys are not stored in non-volatile memory and will be deleted on every module reset or restart.
In such cases, the keys need to be re-entered.
3.4 Functional check
Firstly, some initial functional checks are required to verify that ZED-F9 is operating correctly:
•ZED-F9 communication has been established (e.g., via u-center) through UART1 or USB
•The GNSS antenna is plugged in
•The L-band and interface configurations have been sent, as well as the dynamic keys
•The ZED-F9 UART2 has been connected to the NEO-D9S UART2
Then, the UBX-MON-COMMS message can be enabled to verify that UBX messages are received on
the ZED-F9 UART2, including UBX-RXM-PMP:
Figure 7: UBX-MON-COMMS message in u-center

NEO-D9S and ZED-F9 configuration
UBX- 22008160 - R02 ZED-F9 configurations Page 10 of 17
C1-Public
The UBX-RXM-COR message can be enabled to check if SPARTN corrections, encapsulated in UBX-
RXM-PMP messages, are being received, decrypted, and used (in the red square) by the ZED-F9
receiver:
Figure 8: UBX-RXM-COR message in u-center
If all these checks pass, the ZED-F9 receiver should go into an RTK fix or float solution depending on
the satellite visibility and environmental condition:
Figure 9: Position and status visualization windows in u-center

NEO-D9S and ZED-F9 configuration
UBX- 22008160 - R02 Example configuration for PointPerfect Page 11 of 17
C1-Public
4Example configuration for PointPerfect
To create a Thingstream account and a PointPerfect Thing, use the following link:
https://developer.thingstream.io/guides/location-services/pointperfect-getting-started
PointPerfect L-band SPARTN service is only available to qualified customers. The service is not
available for consumer customers.
4.1 NEO-D9S L-band configuration
Contact the Thingstream support at support@thingstream.io to obtain the NEO-D9S PointPerfect
L-band configuration keys value for your region.
The configuration should be applied as mentioned at section 2.1.
4.2 Setting ZED-F9 keys
The keys should be in the following format:
Figure 10: PointPerfect SPARTN Keys
Once the keys have been obtained from the PointPerfect account, the UBX-RXM-SPARTNKEY
message needs to be formatted and sent to the ZED-F9 receiver, as shown in section 3.
ZED-F9 will first use the “Current key”, and when it expires the “Next key” will be used. Users should
take care to download new keys periodically and update accordingly.
Setting the keys via the u-center MQTT client
From your Thingstream account and after the PointPerfect Thing has been created for the L-band
service, it will be possible to download the u-center config file (JSON file) and save it in your u-center
working folder:
Figure 11: PointPerfect MQTT credentials and u-center configuration file

NEO-D9S and ZED-F9 configuration
UBX- 22008160 - R02 Example configuration for PointPerfect Page 12 of 17
C1-Public
Connect u-center, version 22.05 or newer, to the F9 receiver and open the MQTT client dialog box from
the Receiver menu. Browse for the JSON file from the u-center working folder, tick the key topic box,
and select the OK button. Then the keys will be loaded in the F9 receiver.
Figure 12: u-center MQTT client and key topic
The MQTT client dialog windows also include topics for providing data to the receiver via an IP
connection – AssistNow for GNSS assistance and the SPARTN correction data.
Settings the keys manually via u-center
The UBX-RXM-SPARTNKEY message can be formatted, for example, using u-center [3]. Figure 14
shows the UBX-RXM-SPARTNKEY message view in u-center:
Figure 13: UBX-RXM-SPARTNKEY message view in u-center

NEO-D9S and ZED-F9 configuration
UBX- 22008160 - R02 Example configuration for PointPerfect Page 13 of 17
C1-Public
“Key 1” in the message view represents the Current Key received form the PointPerfect Thing as
shown in Figure 11, and “Key 2” represents the Next Key.
For each key, the related fields should be filled in as follows:
•Encryption algorithm = 0 – AES
•Key length = 16 (Bytes)
For Key 1, the fields “Valid from WNO” and “Valid from TOW” can be filled in with the current date
expressed in GNSS data format, while for Key 2 these fields can be filled in using the Key 1 expiration
date.
As an example, consider 22 March 2022 as the current date (you could use a GNSS online data
translator, e.g., http://navigationservices.agi.com/GNSSWeb)and fill in the fields as shown below:
Figure 14: Example of current date in GNSS data format
WNO and TOW can be used to fill the related fields in the UBX-RXM-SPARTNKEY message, as shown
in Figure 16.

NEO-D9S and ZED-F9 configuration
UBX- 22008160 - R02 Example configuration for PointPerfect Page 14 of 17
C1-Public
Figure 15: UBX-RXM-SPARTNKEY with Current Key entered
The UBX-RXM-SPARTANKEY message is shown within the red outline in Figure 16. This can be sent
to the connected receiver by clicking Send, or it can be copied and sent separately (e.g., from the
customer host processor).
The Next Key can also be updated, and it will automatically be used instead of the Current key when
the latter expires.
From the example in Figure 11, the Current Key expiration date is 01:59 Apr 09, 2022. As previously
stated, you can use the GNSS data translator to convert it to the appropriate GNSS data format:
Figure 16: Example of expiration date in GNSS data format
518400 is the TOW at 00:00 Apr 09, 2022.
In the current example (Current Key expiration date: 01:59 Apr 09, 2022):
TOW = 518400 + 7200 (2 hours) = 525600
The figure below shows the related UBX-RXM-SPARTNKEY message:

NEO-D9S and ZED-F9 configuration
UBX- 22008160 - R02 Example configuration for PointPerfect Page 15 of 17
C1-Public
Figure 17: UBX-RXM-SPARTNKEY with Current and Next Keys entered
As mentioned previously, this can be sent to the receiver by clicking Send, or it can be copied and sent
separately (e.g., from the customer host processor).

NEO-D9S and ZED-F9 configuration
UBX- 22008160 - R02 Appendix Page 16 of 17
C1-Public
Appendix
AGlossary
Abbreviation Definition
GNSS Global Navigation Satellite System
HPG High Precision
RAM Random Access Memory
SPARTN Secure Position Augmentation for Real Time Navigation
RTK Real Time Kinematic
SSR State Space Representation
TOW Time Of Week
UART Universal Asynchronous Receiver Transmitter
USB Universal Serial Bus
WNO Week Number
Table 5: Explanation of the abbreviations and terms used

NEO-D9S and ZED-F9 configuration
UBX- 22008160 - R02 Related documentation Page 17 of 17
C1-Public
Related documentation
[1] NEO-D9S Integration manual, UBX-19026111
[2] ZED-F9P Integration manual, UBX-18010802
[3] u-center User guide, UBX-13005250
[4] u-blox D9 PMP 1.04 Interface description, UBX- 21040023
[5] u-blox F9 HPG 1.32 Interface description, UBX-22008968
[6] C099-F9P application board User guide,UBX- 18063024
[7] C101-D9S application board User guide, UBX-20031865
[8] Secure Position Augmentation for Real-Time Navigation (SPARTN) Interface Control
Document, Version 2.0.1, September 2021.
☞For product change notifications and regular updates of u-blox documentation, register on our
website, www.u-blox.com.
Revision history
Revision Date Name Comments
R01 13-Jun-2022 dama Initial release
R02 27-Jul-2022 dama Section 2.3 updated
Contact
For further support and contact information, visit us at www.u-blox.com/support.
Other manuals for NEO-D9S
1
This manual suits for next models
1
Table of contents
Other Ublox Computer Hardware manuals

Ublox
Ublox C099-F9P User manual

Ublox
Ublox JODY-W1 Series Quick setup guide

Ublox
Ublox C101-D9S User manual

Ublox
Ublox XPLR-AOA-1 User manual

Ublox
Ublox RCB-F9T Use and care manual

Ublox
Ublox EVK-JODY-W163 User manual

Ublox
Ublox LENA-R8 Series Quick setup guide

Ublox
Ublox USB-ANNA-B4 User manual

Ublox
Ublox AWS ExpressLink SARA-R5 User manual

Ublox
Ublox EVK-NINA-W13 User manual