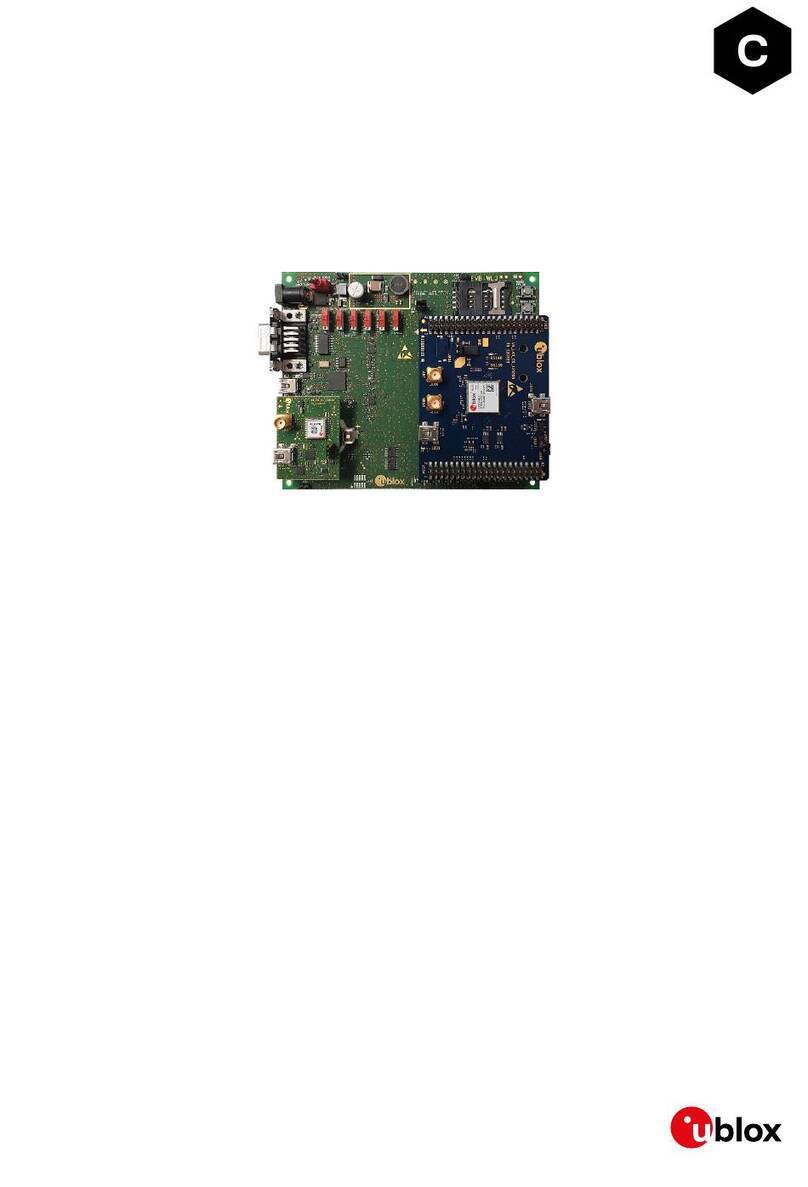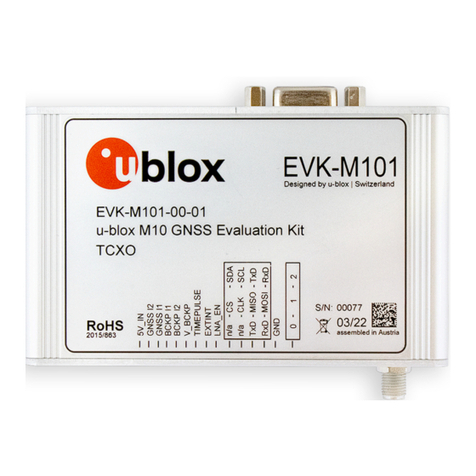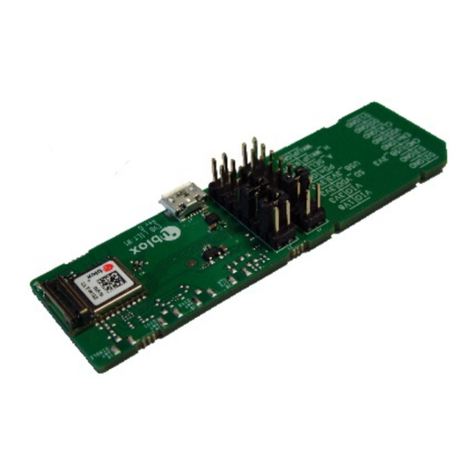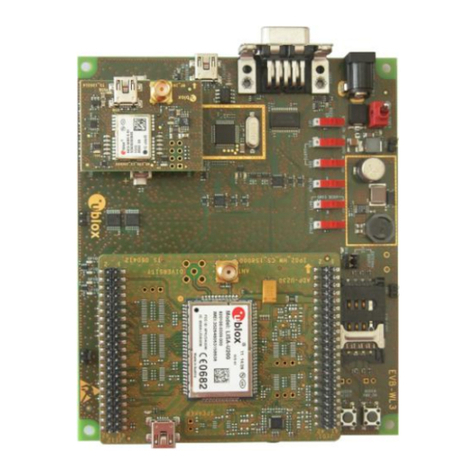
EVK-L4 - User Guide
UBX-17013792 - R01 Contents
Page 3 of 23
Contents
Contents..............................................................................................................................3
1Starting up....................................................................................................................4
1.1 EVK-L4 overview................................................................................................................................... 4
1.2 EVK-L4 block diagram .......................................................................................................................... 6
1.3 Switches, jumpers and buttons ............................................................................................................. 7
1.4 LEDs ..................................................................................................................................................... 8
1.5 Connectors........................................................................................................................................... 9
1.6 EVK-L4 pin out ................................................................................................................................... 10
1.6.1 Routing of TOBY-L4 modules’ pins up to connectors available on the ADP-L4 ............................. 10
1.6.2 Pin-out of the 42-pin Dual-In-Line Board-to-Board connectors on the ADP-L4 ............................. 12
1.6.3 Routing of the TOBY-L4 modules’ UART1, UART2 and/or UART3 interface.................................. 13
1.7 Software installation........................................................................................................................... 13
1.8 Board setup........................................................................................................................................ 14
1.9 Enabling error result codes ................................................................................................................. 15
1.10 PIN code insertion (when required).................................................................................................. 15
1.11 Registration on a cellular network................................................................................................... 16
1.12 Switching off the EVK-L4 ................................................................................................................ 16
Appendix ..........................................................................................................................17
ASetting up AT terminal applications for communication with the EVK-L4.............17
BSetting up cellular packet data connection on PC....................................................18
CExamples of AT commands........................................................................................20
C.1 Define a default bearer for connectivity .............................................................................................. 20
DCurrent consumption measurement .........................................................................21
Declaration of conformities.............................................................................................22
Related documents ..........................................................................................................22
Revision history................................................................................................................22
Contact..............................................................................................................................23
