manuals.online logo
Brands
  1. Home
  2. •
  3. Brands
  4. •
  5. Ultimaker
  6. •
  7. 3D Printer
  8. •
  9. Ultimaker S5 Material Station User manual

Ultimaker S5 Material Station User manual

For internal use only
Ultimaker S5 Material Station
Decoupler calibration instructions
Entering calibration mode
1. Open the Material Station door
3. Remove the power cable from the Material
Station and wait 5 seconds
5. Release the eject buttons
2. Push and hold the two right eject buttons
This starts the calibration of decoupler 2
2. Push and hold the two left eject buttons
This starts the calibration of decoupler 1
or
Note: The Material Station can be powered on and connected to an
Ultimaker S5 when starting this procedure
Note: For the next steps, keep holding the eject buttons until the
instructions specify to release them
4. Reconnect the power cable to the Material
Station and wait 5 seconds
Note: The Material Station now enters calibration mode. The frame
LEDs will indicate the progess of the calibration procedure.
Note: The Material Station will ash once.
Decoupler calibration
1. Access the correct decoupler at the back of
the Material Station
4. Hold the slider down, but do not compress the
spring. Conrm with the eject button
3. Conrm by pressing one of the eject buttons
2. Push the slider of the decoupler all
the way down, into the spring. You will
feel some resistance
Note: Ensure you have access to both the front and the back of
the Material Station.
The calibration is performed on the decoupler at the back, and
each step is conrmed by pressing an eject button at the front.
Note: Keep the Bowden tube in the specied position until you have
pressed the eject button.
Note: It does not matter which of the eject buttons you press
to conrm each step.
Note: The Material Station will ash two times.
5. Pull the slider up, but do not compress the
spring. Conrm with the eject button
Note: The Material Station will ash three times.Note: The Material Station will ash four times.
6. Pull the slider up as far as possible.
You will feel some resistance
Conrm the last step by pressing one of the eject
buttons. If the calibration was successful, the
Material Station frame lights will stay on.
Note: If the Material Station goes back to ashing just once during
this procedure, the input was unsuccessful. The procedure will
start over from step 1.
Position 2
Free down
Position 1
Tension down
Position 3
Free up
Position 4
Tension up

Other manuals for S5 Material Station

6

Other Ultimaker 3D Printer manuals

Ultimaker 2 Extended User manual

Ultimaker

Ultimaker 2 Extended User manual
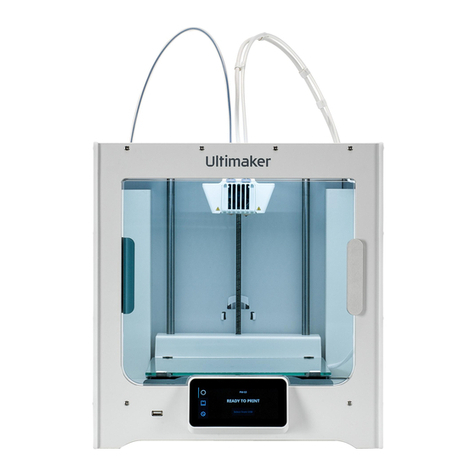
Ultimaker Original User manual

Ultimaker

Ultimaker Original User manual

Ultimaker 3 Extended User manual

Ultimaker

Ultimaker 3 Extended User manual

Ultimaker S5 Material Station User manual

Ultimaker

Ultimaker S5 Material Station User manual

Ultimaker 2 Extended User manual

Ultimaker

Ultimaker 2 Extended User manual

Ultimaker 3 Extended User manual

Ultimaker

Ultimaker 3 Extended User manual

Ultimaker UM2 User manual

Ultimaker

Ultimaker UM2 User manual

Ultimaker S3 User manual

Ultimaker

Ultimaker S3 User manual
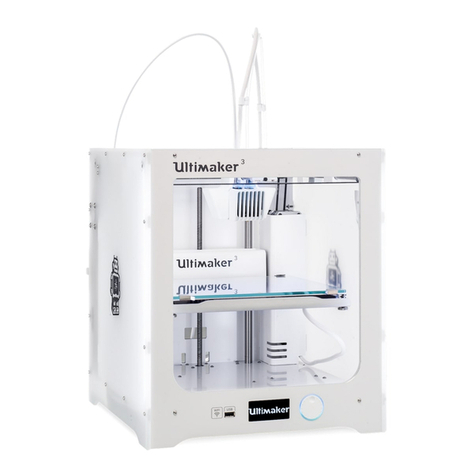
Ultimaker EXTRUSION UPGRADE User manual

Ultimaker

Ultimaker EXTRUSION UPGRADE User manual

Ultimaker 2 Extended User manual

Ultimaker

Ultimaker 2 Extended User manual

Ultimaker 3 Extended Guide

Ultimaker

Ultimaker 3 Extended Guide

Ultimaker 2 Extended User manual

Ultimaker

Ultimaker 2 Extended User manual
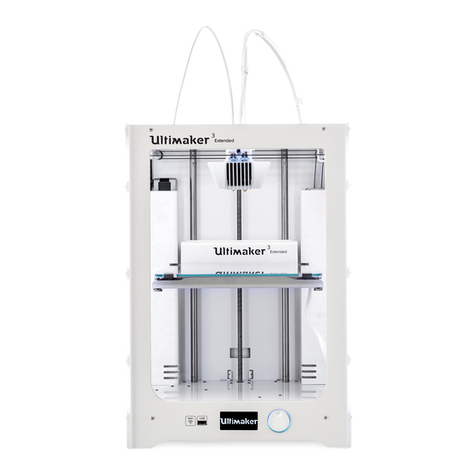
Ultimaker S3 User manual

Ultimaker

Ultimaker S3 User manual

Ultimaker 3 Extended Configuration guide

Ultimaker

Ultimaker 3 Extended Configuration guide

Ultimaker ORIGINAL+ User manual

Ultimaker

Ultimaker ORIGINAL+ User manual

Ultimaker 2 Extended User manual

Ultimaker

Ultimaker 2 Extended User manual
Ultimaker S5 Material Station User manual

Ultimaker

Ultimaker S5 Material Station User manual

Ultimaker Heated Bed Upgrade Kit User manual

Ultimaker

Ultimaker Heated Bed Upgrade Kit User manual

Ultimaker 2 Extended User manual

Ultimaker

Ultimaker 2 Extended User manual

Ultimaker 2 Extended User manual

Ultimaker

Ultimaker 2 Extended User manual

Ultimaker 2 Extended User manual

Ultimaker

Ultimaker 2 Extended User manual

Ultimaker 2 Extended User manual

Ultimaker

Ultimaker 2 Extended User manual

Ultimaker S5 Material Station User manual

Ultimaker

Ultimaker S5 Material Station User manual

Ultimaker EXTRUSION UPGRADE User manual

Ultimaker

Ultimaker EXTRUSION UPGRADE User manual

Popular 3D Printer manuals by other brands

CNC3D QB2 manual

CNC3D

CNC3D QB2 manual

zortrax M200 manual

zortrax

zortrax M200 manual

Geeetech Prusa I3 M201 manual

Geeetech

Geeetech Prusa I3 M201 manual

Rapid Shape RS cure quick start guide

Rapid Shape

Rapid Shape RS cure quick start guide

Geeetech Prusa I3 M201 Building instructions

Geeetech

Geeetech Prusa I3 M201 Building instructions

Eryone ER-20 user manual

Eryone

Eryone ER-20 user manual

Mass Portal Pharaoh ED user manual

Mass Portal

Mass Portal Pharaoh ED user manual

SeeMeCNC orion delta user manual

SeeMeCNC

SeeMeCNC orion delta user manual

Allevi Allevi 1 user guide

Allevi

Allevi Allevi 1 user guide

Creality CR20Pro Guide book

Creality

Creality CR20Pro Guide book

Elegoo Saturn 3 Ultra user manual

Elegoo

Elegoo Saturn 3 Ultra user manual

Tumaker NX PRO DUAL user manual

Tumaker

Tumaker NX PRO DUAL user manual

Creality CR-10S Pro user manual

Creality

Creality CR-10S Pro user manual

Wasp DELTA 2040 Use and maintenance manual

Wasp

Wasp DELTA 2040 Use and maintenance manual

CraftBot CB4 FLOW Series user guide

CraftBot

CraftBot CB4 FLOW Series user guide

Hello Bee Prusa DIY 3D PRINTER KIT user manual

Hello Bee Prusa

Hello Bee Prusa DIY 3D PRINTER KIT user manual

Geeetech A30M user manual

Geeetech

Geeetech A30M user manual

SainSmart INFI-20 user manual

SainSmart

SainSmart INFI-20 user manual

manuals.online logo
manuals.online logoBrands
  • About & Mission
  • Contact us
  • Privacy Policy
  • Terms and Conditions

Copyright 2025 Manuals.Online. All Rights Reserved.