manuals.online logo
Brands
  1. Home
  2. •
  3. Brands
  4. •
  5. Ultra Secure
  6. •
  7. Security System
  8. •
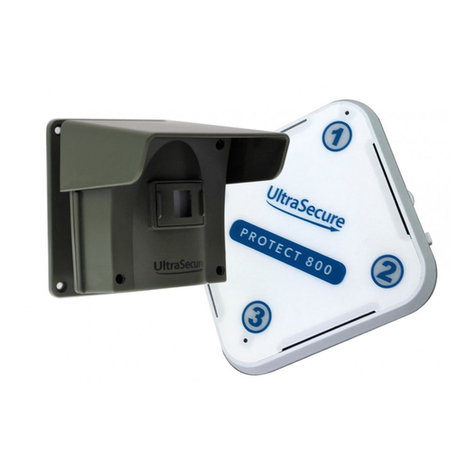
  9. Ultra Secure PROTEC 800 User manual

Ultra Secure PROTEC 800 User manual

Environmental Informaon for Customers in the European
Union European Direcve 2002/96/EC requires that the
equipment bearing this symbol on the product and/or its
packaging must not be disposed of with unsorted municipal waste.
The symbol indicates that this product should be disposed of
separately from regular household waste streams. It is your
responsibility to dispose of this and other electric and electronic
equipment via designated collecon facilies appointed by the government or
local authories. Correct disposal and recycling will help prevent potenal
negave consequences to the environment and human health.
For more detailed informaon about the disposal of your old equipment,
please contact your local authories, waste disposal service, or the shop where
you purchased the product.
ULTRA SECURE LTD,
9-10 RYEHILL COURT,
LODGE FARM I/E, NORTHAMPTON, NN5 7EU
UNITED KINGDOM
www.ultrasecuredirect.com
Sales & Technical Helplines
Our Sales & Technical helplines are open
Monday to Friday from 8.00am to 5.00pm
SALES
++44 (0)1604 589414 (and press opon 1)
info@ultrasecuredirect.com
TECHNICAL
++44 (0)1604 589414 (and press opon 2)
technical@ultrasecuredirect.com
User Manual
P800-MT/2
V2020.9.14
USER MANUAL
Parts & Function
Belt Clip
Wall Mount Bracket
Battery
Cover
Power Installation
Remove the screws to open the battery
cover
Insert a CR123A battery
and replace the battery
cover
Mounting on the wall
Indoor
Outdoor
o
/ 7mm
25mm
50mm
50mm
Marking the holes
using a pencil.
Drilling holes using an electric drill.
Marking the holes using a pencil. Drilling
holes using an electric drill as above
Mount the bracket using screwdriver.
Put the rubber pads to cover the
screw.
Mount the transmitter and bracket
using screwdriver. Put the rubber
pads cover the screw.
Code Conflict
If the transmitter coding is the same as another transmitter you must change the code. When you have
changed the code re-pair the transmitter
Open the battery cover remove the CR-123A
battery
Press and hold the call button, insert
the battery whilst holding the button
for 5 seconds. The LED will flash 5 times
when a new code is generated
Battery Low
Accessory
When the battery is battery low, The LED will blink 5 times after operation and It will send the battery low
information to the receiver together with trigger signal. The battery low information also show on the
receiver.
FCC Statement:
This equipment has been tested and found to comply with the limits for a Class B digital device,
pursuant to part 15 of the FCC Rules. These limits are designed to provide reasonable protection
against harmful interference in a residential installation. This equipment generates, uses and can
radiate radio frequency energy and, if not installed and used in accordance with the instructions,
may cause harmful interference to radio communications.
However, there is no guarantee that interference will not occur in a particular installation. If this
equipment does cause harmful interference to radio or television reception, which can be
determined by turning the equipment off and on, the user is encouraged to try to correct the
interference by one or more of the following measures:
* Reorient or relocate the receiving antenna.
* Increase the separation between the equipment and receiver.
* Connect the equipment to an outlet on a circuit different from that to which the receiver is
connected.
This device complies with part 15 of the FCC rules. Operation is subject to the following two
conditions: (1) This device may not cause harmful interference, and (2) this device must accept any
interference received, including interference that may cause undesired operation.
Note: Modifications to this product will void the user's authority to operate this equipment.
RoHS
2002/95/EC
CR-123A
+
Call
button
LED indicator
(under the button)
Split-ring for
attaching
Lanyard Mount Kit Mounting Bracket Belt Clip Spacer Double-sided
adhesive
For mounting PCBA to
waterproof box
Regenerate the code
Lanyard
P800-M T/2
If the transmitter is installed outdoors, to prevent it
from being easily stolen, you can install it as follows
Attach the transmitter to
the bracket together with
screw provided.
Pairing
Install the belt clip
Need to pair the transmitter & receiver before use, The pairing step please refer to the user manual of receiver
Place the belt clip on the
back side of the transmitter Tie the screw with a coin

This manual suits for next models

1

Other Ultra Secure Security System manuals

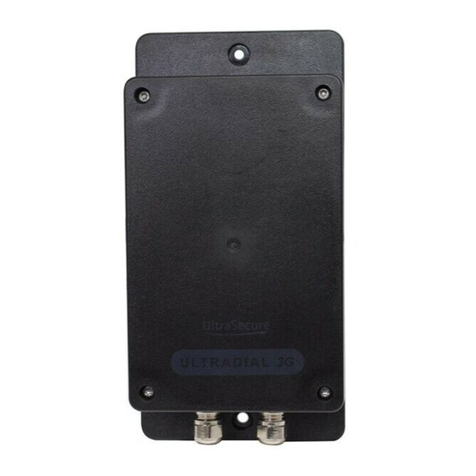
Ultra Secure PROTECT 800 User manual

Ultra Secure

Ultra Secure PROTECT 800 User manual

Ultra Secure UltraDial User manual

Ultra Secure

Ultra Secure UltraDial User manual

Popular Security System manuals by other brands

Clover LCD2284DVR instruction manual

Clover

Clover LCD2284DVR instruction manual

AFRISO WGA 01 D user manual

AFRISO

AFRISO WGA 01 D user manual

MSC HOME8 H12015 quick start guide

MSC

MSC HOME8 H12015 quick start guide

Honeywell NOTIFIER PAN1-PLUS-EN3 Installation and user manual

Honeywell

Honeywell NOTIFIER PAN1-PLUS-EN3 Installation and user manual

Technaxx TX-104 user manual

Technaxx

Technaxx TX-104 user manual

D+H RT 45 Original instructions

D+H

D+H RT 45 Original instructions

Owon 216 quick start guide

Owon

Owon 216 quick start guide

Monitor 24hr home protection system quick start guide

Monitor

Monitor 24hr home protection system quick start guide

GSI Electronics Agri-Alert 800EZe Quick installation guide

GSI Electronics

GSI Electronics Agri-Alert 800EZe Quick installation guide

Honeywell Comtronics Smart Homes Instructions for use

Honeywell

Honeywell Comtronics Smart Homes Instructions for use

Redarc LCA1224 instruction sheet

Redarc

Redarc LCA1224 instruction sheet

i-onik WS-100 quick start guide

i-onik

i-onik WS-100 quick start guide

ADT Ademco Vista 20P/PSIA quick guide

ADT

ADT Ademco Vista 20P/PSIA quick guide

GE TX-7201-05-1 quick start guide

GE

GE TX-7201-05-1 quick start guide

Swann SWDVK-840004D Specifications

Swann

Swann SWDVK-840004D Specifications

MOFLASH SIGNALLING LEDA125-01 Series INSTALLATION & TECHNICAL INFORMATION

MOFLASH SIGNALLING

MOFLASH SIGNALLING LEDA125-01 Series INSTALLATION & TECHNICAL INFORMATION

ADEMCO VIA-30PSE installation instructions

ADEMCO

ADEMCO VIA-30PSE installation instructions

Swann SW351-WSA operating instructions

Swann

Swann SW351-WSA operating instructions

manuals.online logo
manuals.online logoBrands
  • About & Mission
  • Contact us
  • Privacy Policy
  • Terms and Conditions

Copyright 2025 Manuals.Online. All Rights Reserved.