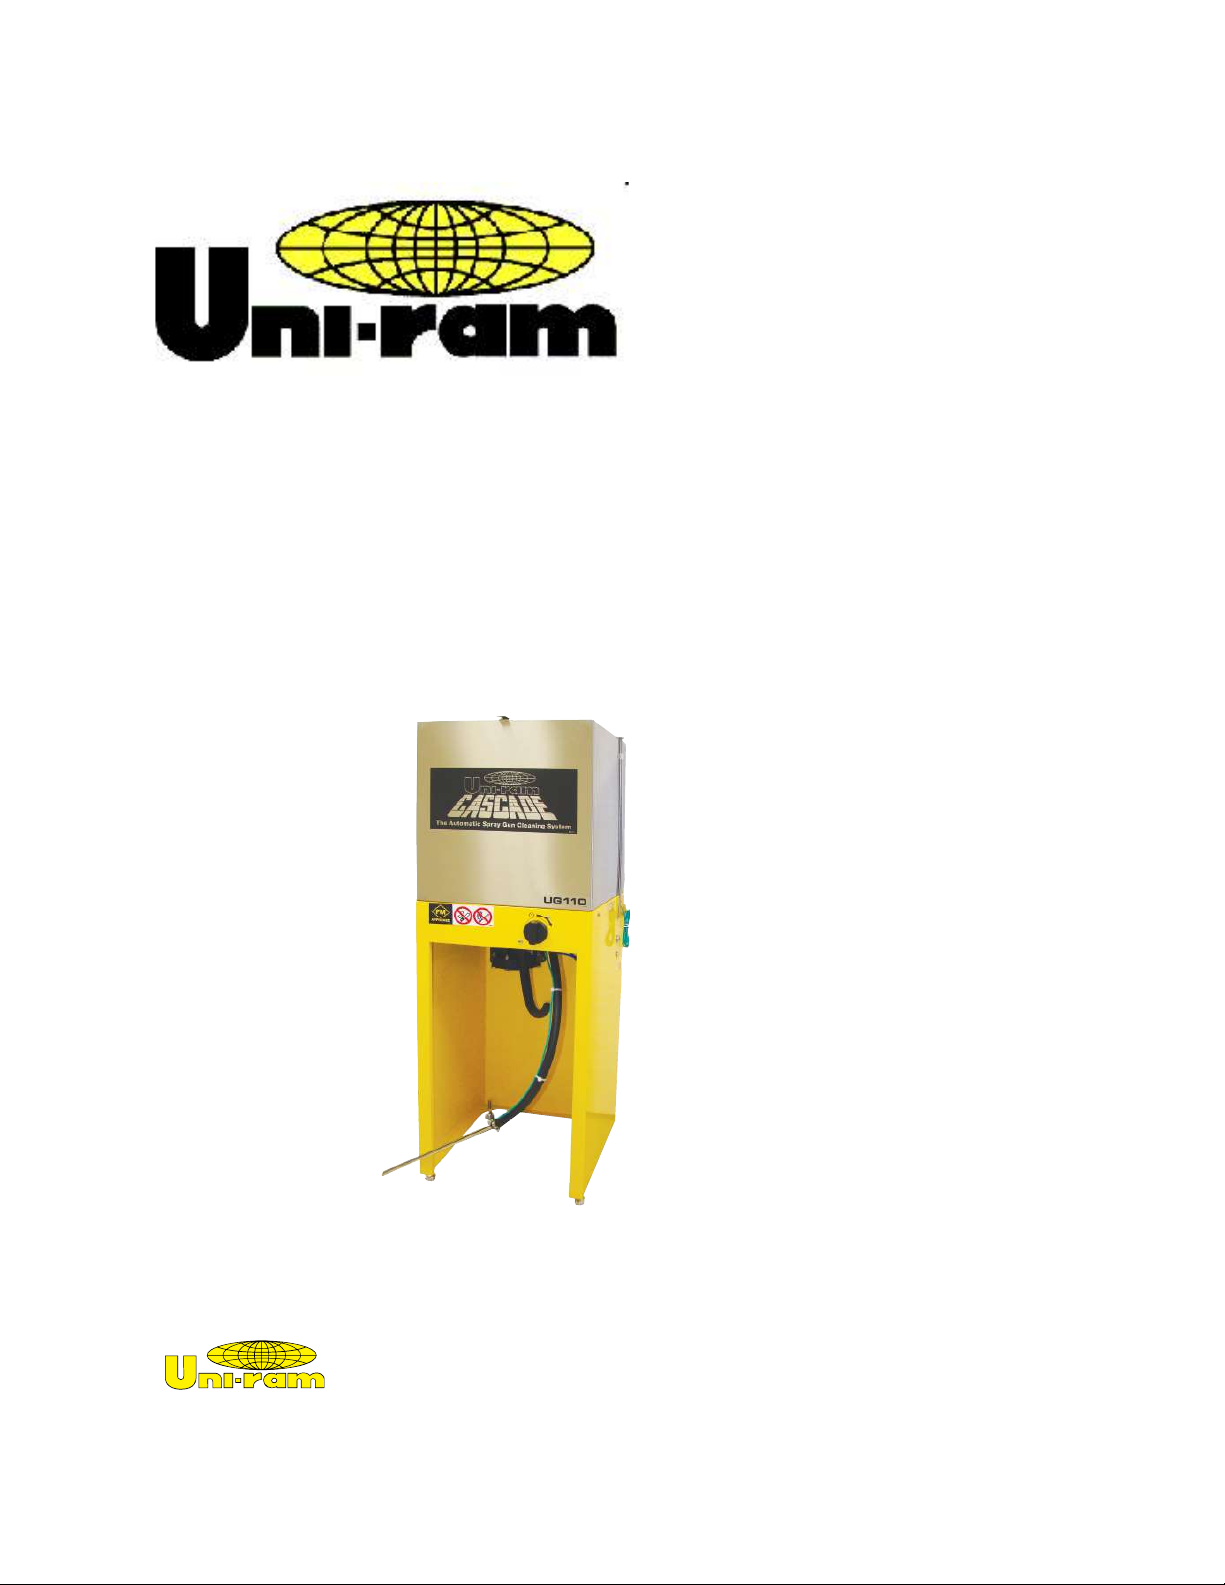
MANUAL - UG110 SERIES GUN CLEANERS REVISED 2020-06
4
SETUP
INSPECTION AND ASSEMBLY
• Report any transport damage immediately to the carrier and your vendor. Initiate a freight claim with
the carrier. The manufacturer is not responsible for freight damage.
• Remove the machine from the carton by opening the bottom flaps and sliding the carton up over the
machine.
• Make sure the bag of accessories contains the following:
• Manual
• Kit-Plug, Guns w. Trigger Lock Springs, 2 pieces (Part No. 140-2340)
• Nozzle Adapters:
110-430 Push-on, conventional systems only
110-430PPS Push-on, disposable cup or conventional systems
Note: Adapter #780-3530 is installed for use with disposable cup system only
If any item is missing, contact your supplier.
GROUND WIRE INSTALLATION
• For safety, two ground wires are provided to discharge static electricity. One is already installed be-
tween the the body and the Suction Pipe.The other must be attached at one end to the outside of the
body (the screw near the Air Input is recommended) and, at the other end, to an external grounded
object (see page 4).
DO NOT OPERATE THE UNIT UNLESS BOTH GROUND WIRES ARE SECURELY CONNECTED
LOCATION
Position in a well-ventilated area away from sparks, heat and open flames.
LEVELING, MOISTURE FILTER AND AIR SUPPLY
• Level the machine using the adjustable feet.
• Remove the cover on the "Air Input" (right side of machine) and, to ensure that the air supply is clean
and dry, attach an Airline Filter (not supplied).
• Attach an air supply adapter (not supplied) to the Airline Filter.
The air supply pressure must be at least 85 PSI and
the air must be free from contaminants such as water, dust, rust, tar, grease etc.
To prevent damage to the Diaphragm Pump an internal Air Pressure Regulator has been installed to
limit the air pressure to precisely 85 PSI. Do not install a second air pressure regulator or use a pres-
sure set below 85 PSI.
See the section, Daily Maintenance, for proper maintenance of the Air Filter Assembly.
SOLVENT SELECTION
The adhesion quality of automotive paint has dramatically improved in recent years. The choice of sol-
INTRODUCTION
Uni-ram holds many patents on designs used in its innovative products. Every machine is tested
for compliance with Quality Assurance standards. Follow the directions in this manual under Setup,
Operation and Maintenance in order to operate this machine safely and effectively. Not following these
instruction can lead to malfunction or damage to the machine. Follow directions under the section
below, Cautions and Warnings and on labels attached to the machine. Ensure that the manual is read-
ily available to the operator at all times. If you have any questions about the operation of this machine,
call your distributor or a Uni-ram Service Engineer:
North America: Uni-ram Technical Service 1-800-417- 9133
Other Continents: Contact Your Supplier