manuals.online logo
Brands
  1. Home
  2. •
  3. Brands
  4. •
  5. Uninet
  6. •
  7. Printer Accessories
  8. •
  9. Uninet LEXMARK C520 Installation and maintenance instructions

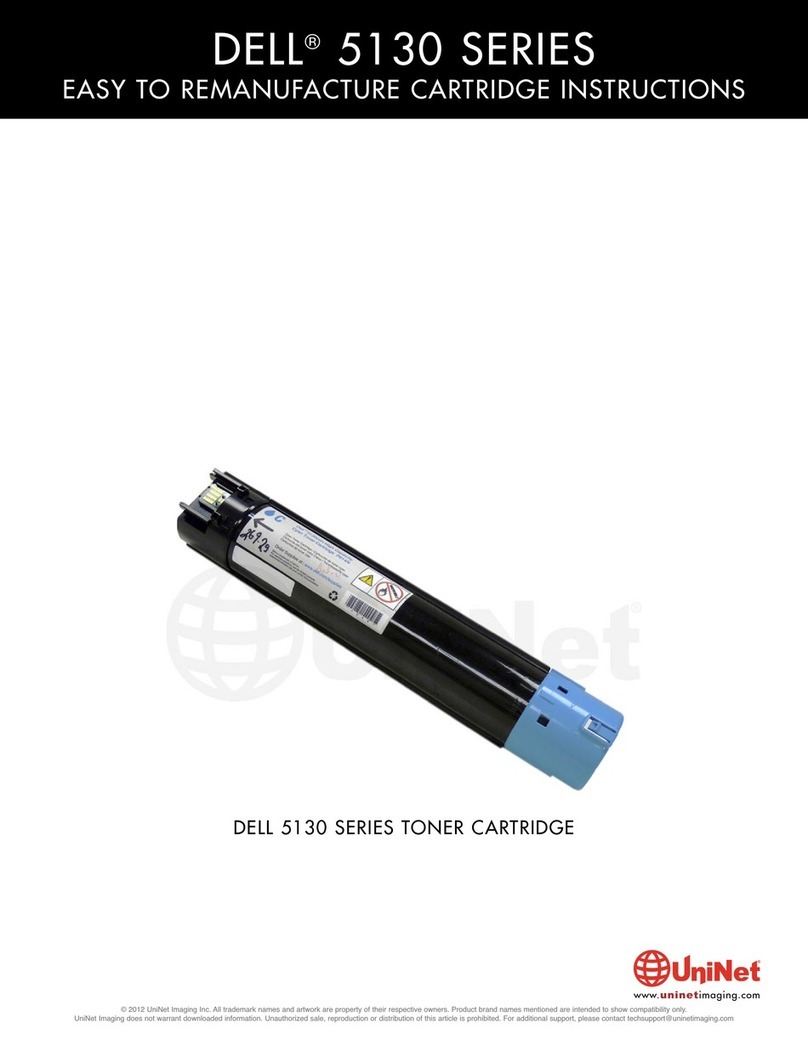
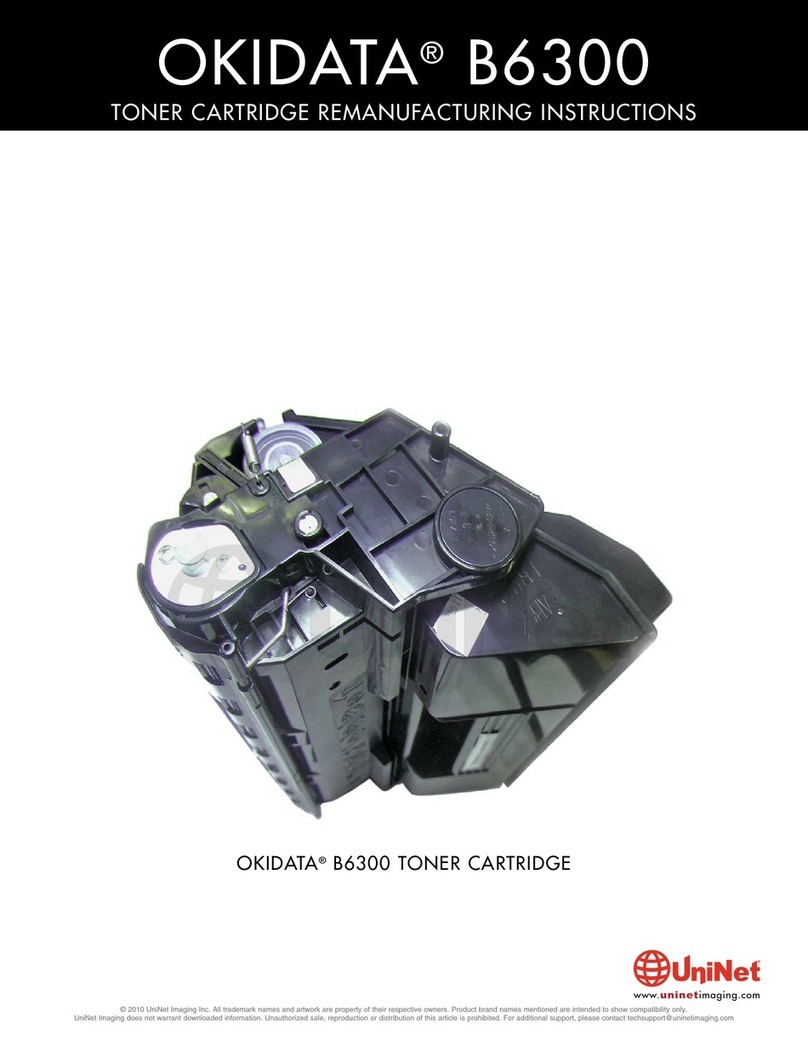
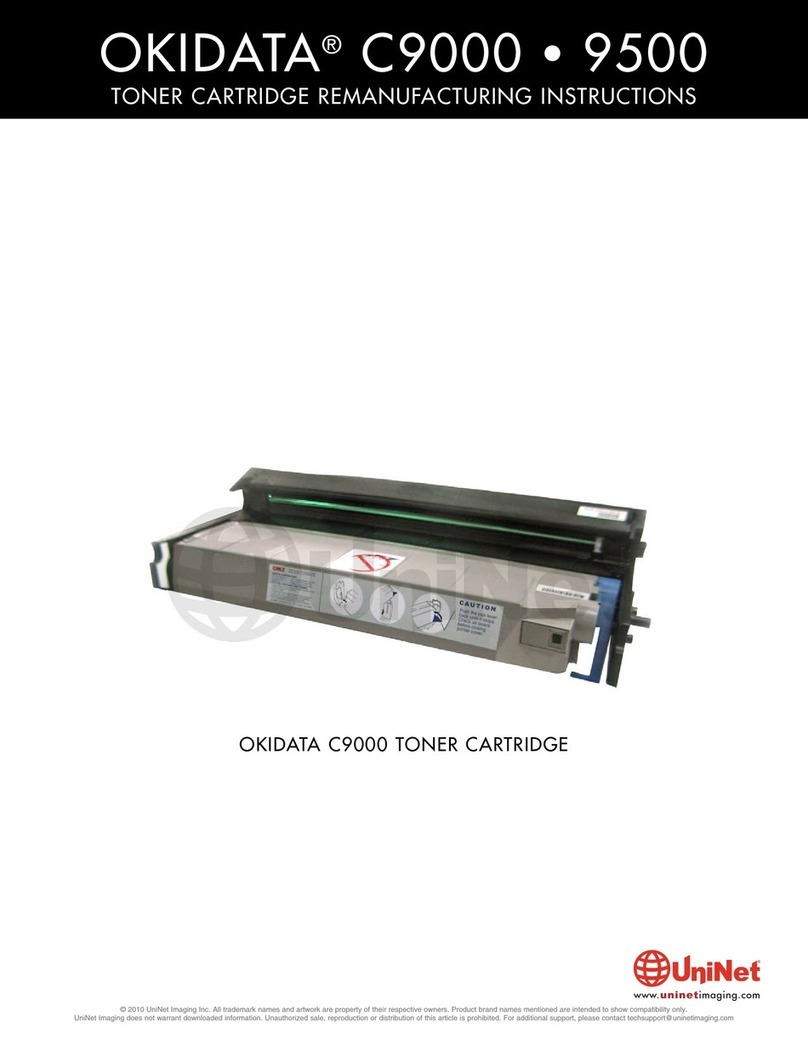
Uninet LEXMARK C520 Installation and maintenance instructions

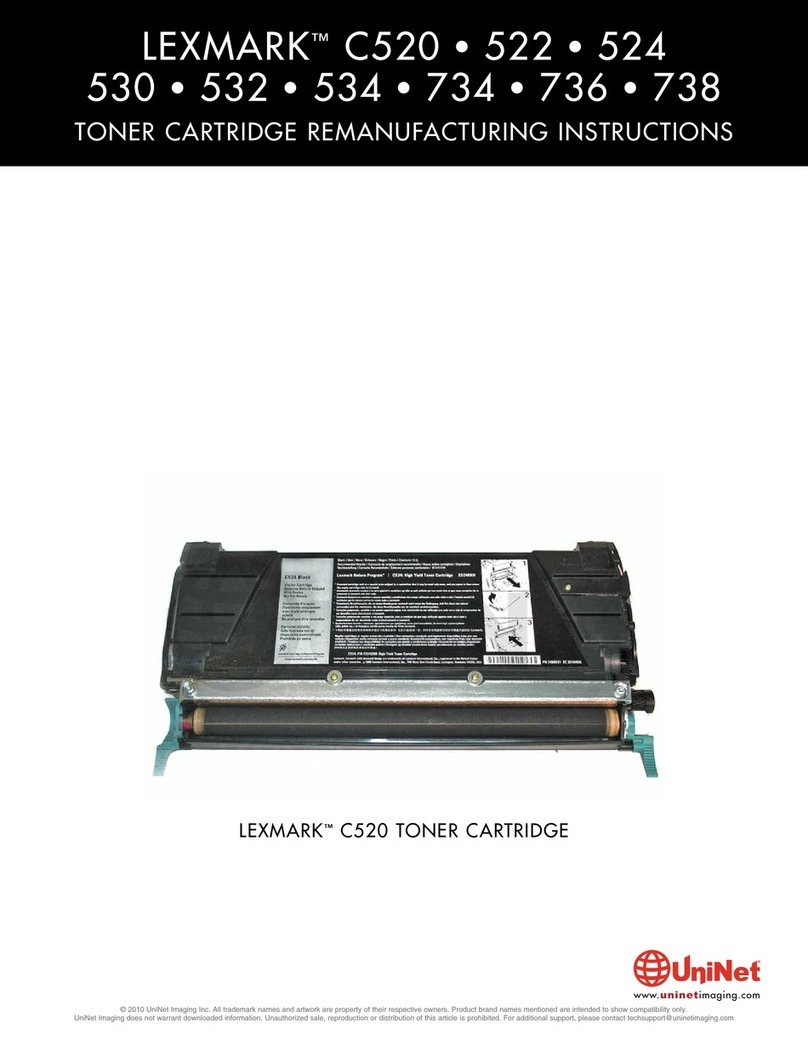
LEXMARK™C520 •522 •524 •530 •532 •534
CARTRIDGE REMANUFACTURING INSTRUCTIONS
© 2007 UniNet Imaging Inc. All Trademark names are property of their respective owners. Product brand names mentioned are intended to show compatibility only. UniNet Imaging does not guarantee or warrant downloaded information.
Summit Technologies is a division of UniNet Imaging Inc.
www.uninetimaging.com/technical.asp
11124 Washington Blvd., Culver City, California USA 90232 • Ph +1 310 280 9620 • Fx +1 310 280 0533 • [email protected]
Absolute COLOR® •Absolute BLACK® •Unidrums® •Unirollers® •Uniparts® •Unicoatings®
LEXMARK™C522
COLOR LASER PRINTER
TONER CARTRIDGE
UNINET IMAGING INC. •LEXMARK C520, 522, 524, 530, 532, 534 CARTRIDGE REMANUFACTURING INSTRUCTIONS
CARTRIDGE GEAR SIDE REMOVING THE GEAR TRAIN
1. Remove locking ring.
TONER CARTRIDGE FRONT VIEW CARTRIDGE CONTACT SIDE
© 2007 UniNet Imaging Inc. All Trademark names are property of their respective owners. Product brand names mentioned are intended to show compatibility only. UniNet Imaging does not guarantee or warrant downloaded information.
www.uninetimaging.com/technical.asp
11124 Washington Blvd., Culver City, California USA 90232 • Ph +1 310 280 9620 • Fx +1 310 280 0533 • [email protected]
UNINET IMAGING INC. •LEXMARK C520, 522, 524, 530, 532, 534 CARTRIDGE REMANUFACTURING INSTRUCTIONS
3. To remove the DVR roller gear, first rotate the gear clock wise until it stops. Then, using a small flat head screw driver, pry the gear off
of the DVR roller axle against the DVR roller support. Note: the gear has a minimal amount of pressure so there is no risk of using this
technique.
2. Drive gear removed.
NOTES
© 2007 UniNet Imaging Inc. All Trademark names are property of their respective owners. Product brand names mentioned are intended to show compatibility only. UniNet Imaging does not guarantee or warrant downloaded information.
www.uninetimaging.com/technical.asp
11124 Washington Blvd., Culver City, California USA 90232 • Ph +1 310 280 9620 • Fx +1 310 280 0533 • [email protected]
UNINET IMAGING INC. •LEXMARK C520, 522, 524, 530, 532, 534 CARTRIDGE REMANUFACTURING INSTRUCTIONS
4. Drive gear removed. 5. Continue by removing the smartchip holder. There are three
screws holding it to the hopper (marked where indicated).
© 2007 UniNet Imaging Inc. All Trademark names are property of their respective owners. Product brand names mentioned are intended to show compatibility only. UniNet Imaging does not guarantee or warrant downloaded information.
www.uninetimaging.com/technical.asp
11124 Washington Blvd., Culver City, California USA 90232 • Ph +1 310 280 9620 • Fx +1 310 280 0533 • [email protected]
6. Chip holder removed.
NOTE: Please use extreme caution when removing the supply
roller gear (circled) as it is very fragile and might break if
removed forcefully.
UNINET IMAGING INC. •LEXMARK C520, 522, 524, 530, 532, 534 CARTRIDGE REMANUFACTURING INSTRUCTIONS
8. Remove the three screws holding the DVR roller support plate
(marked with circles).
9. Support plate removed.
© 2007 UniNet Imaging Inc. All Trademark names are property of their respective owners. Product brand names mentioned are intended to show compatibility only. UniNet Imaging does not guarantee or warrant downloaded information.
www.uninetimaging.com/technical.asp
11124 Washington Blvd., Culver City, California USA 90232 • Ph +1 310 280 9620 • Fx +1 310 280 0533 • [email protected]
10. Remove the small DVR support plate on the contact side by
removing the two screws holding it in place (marked with circles).
7. Drive train removed.
UNINET IMAGING INC. •LEXMARK C520, 522, 524, 530, 532, 534 CARTRIDGE REMANUFACTURING INSTRUCTIONS
11. Once the DVR support plate has been released, removed
with the rear contact as shown.
12. Remove the DVR roller.
© 2007 UniNet Imaging Inc. All Trademark names are property of their respective owners. Product brand names mentioned are intended to show compatibility only. UniNet Imaging does not guarantee or warrant downloaded information.
www.uninetimaging.com/technical.asp
11124 Washington Blvd., Culver City, California USA 90232 • Ph +1 310 280 9620 • Fx +1 310 280 0533 • [email protected]
13. Remove the doctor blade by removing the four screws as
shown. Note: the location of the doctor bar. It needs to by posi-
tioned in the same manner as before.
14. Remove the doctor blade contact which runs along the side
of the cartridge.
UNINET IMAGING INC. •LEXMARK C520, 522, 524, 530, 532, 534 CARTRIDGE REMANUFACTURING INSTRUCTIONS
15. Remove the doctor blade as shown.
Clean hopper thoroughly using compressed air and refill through
opening shown with appropriate amount of toner.
NOTE: Be careful not to lose the doctor bar nuts, since the screw
has been removed the nuts are not fastened and can easily be
lost with any movement of the cartridge.
© 2007 UniNet Imaging Inc. All Trademark names are property of their respective owners. Product brand names mentioned are intended to show compatibility only. UniNet Imaging does not guarantee or warrant downloaded information.
www.uninetimaging.com/technical.asp
11124 Washington Blvd., Culver City, California USA 90232 • Ph +1 310 280 9620 • Fx +1 310 280 0533 • [email protected]
REPLACING THE CHIP
16. Remove the chip which is held on by an adhesive backing.
NOTES
UNINET IMAGING INC. •LEXMARK C520, 522, 524, 530, 532, 534 CARTRIDGE REMANUFACTURING INSTRUCTIONS
17. Install the chip with the contact facing inward, as close to the
tab as possible.
NOTE: Since the aftermarket chips have a larger micro processor
than the OEM we recommend adjusting the chip contacts to cre-
ate an S shape design to avoid any interference with the proces-
sor.
© 2007 UniNet Imaging Inc. All Trademark names are property of their respective owners. Product brand names mentioned are intended to show compatibility only. UniNet Imaging does not guarantee or warrant downloaded information.
www.uninetimaging.com/technical.asp
11124 Washington Blvd., Culver City, California USA 90232 • Ph +1 310 280 9620 • Fx +1 310 280 0533 • [email protected]
TECH TIP
18. Carefully reinstall the supply roller gear in the position
shown.
NOTES
BEFORE
AFTER
UNINET IMAGING INC. •LEXMARK C520, 522, 524, 530, 532, 534 CARTRIDGE REMANUFACTURING INSTRUCTIONS
TECH TIP
19. Adjust the drive gear locking ring to prevent the drive gear from slipping off.
© 2007 UniNet Imaging Inc. All Trademark names are property of their respective owners. Product brand names mentioned are intended to show compatibility only. UniNet Imaging does not guarantee or warrant downloaded information.
www.uninetimaging.com/technical.asp
11124 Washington Blvd., Culver City, California USA 90232 • Ph +1 310 280 9620 • Fx +1 310 280 0533 • [email protected]
TECH TIP
20. Wipe off any access toner from the doctor blade, if crusting
is present you can use Isopropyl Alcohol to remove the residue.
Avoid scratching the coating on the doctor blade with your nail or
other sharp objects.
TECH TIP
21. Install the doctor blade in the right position by applying some
pressure, press it towards the DVR and fasten the end screws.

Other manuals for LEXMARK C520

1

This manual suits for next models

5

Other Uninet Printer Accessories manuals
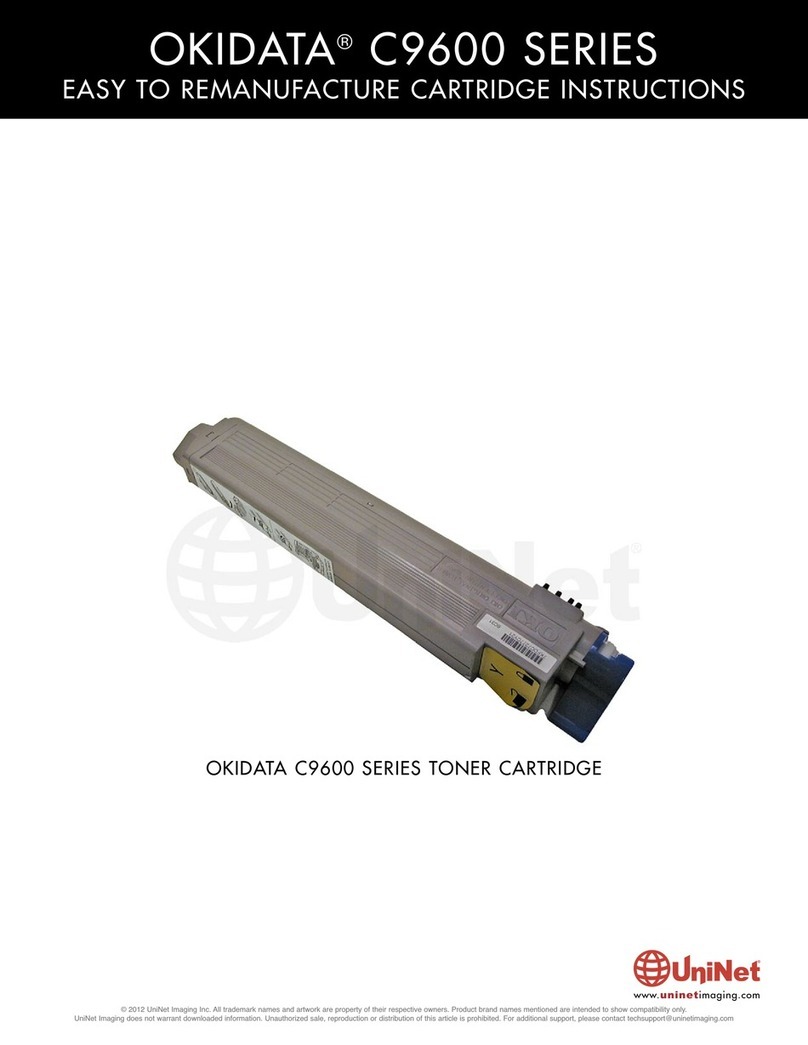
Uninet XEROX WORKCENTER 3210 Installation and maintenance instructions

Uninet

Uninet XEROX WORKCENTER 3210 Installation and maintenance instructions

Uninet OKIDATA B6300 Installation and maintenance instructions

Uninet

Uninet OKIDATA B6300 Installation and maintenance instructions

Uninet OKIDATA C9000 User manual

Uninet

Uninet OKIDATA C9000 User manual

Uninet Dell 5130 Series User manual

Uninet

Uninet Dell 5130 Series User manual

Uninet LEXMARK C520 Installation and maintenance instructions

Uninet

Uninet LEXMARK C520 Installation and maintenance instructions

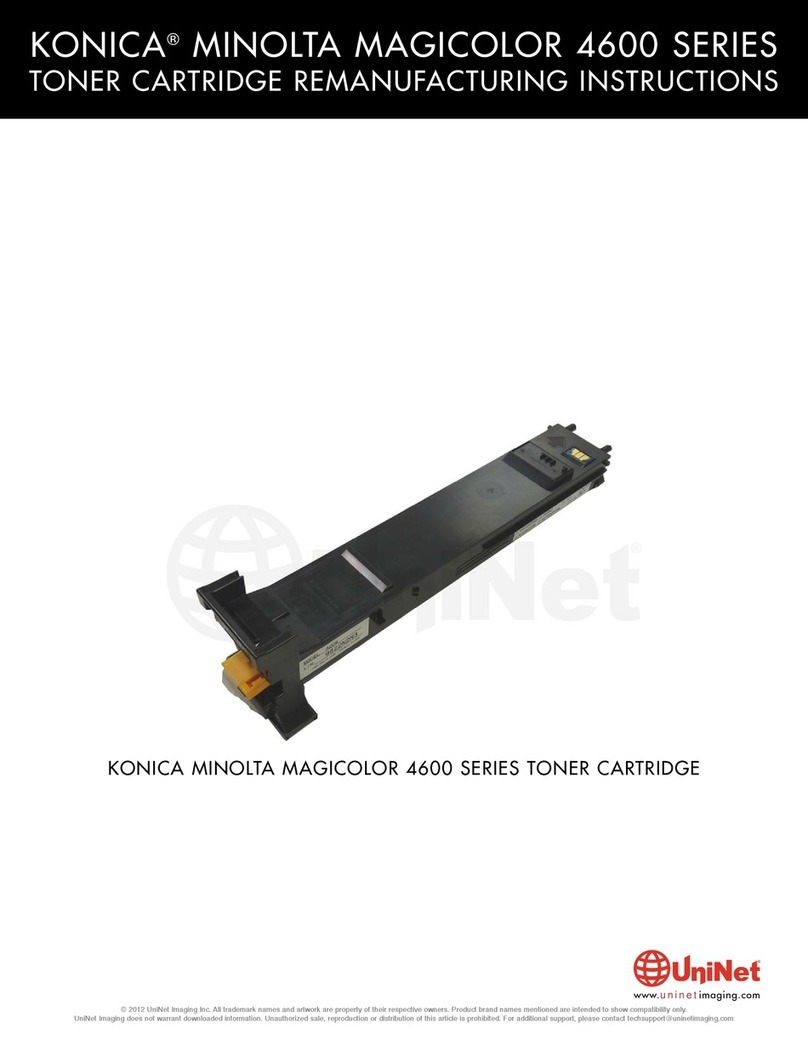
Uninet KONICA 4600 Sreies User manual

Uninet

Uninet KONICA 4600 Sreies User manual

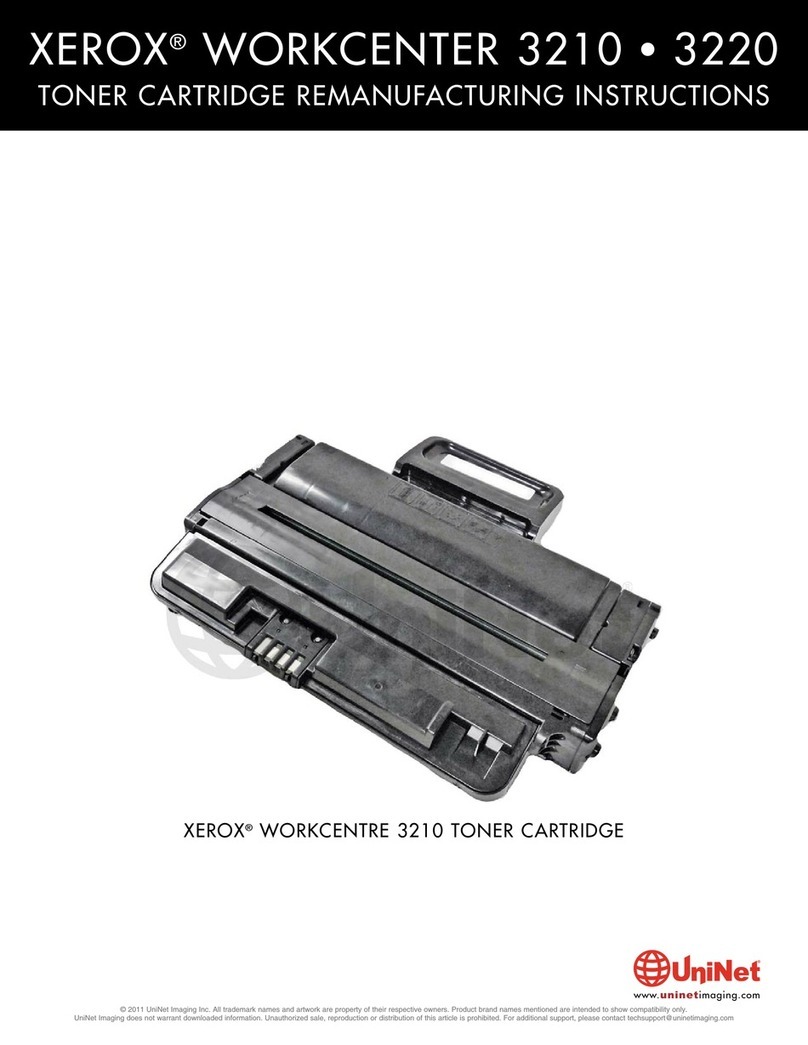
Uninet OKIDATA C9600 Series User manual
Uninet

Uninet OKIDATA C9600 Series User manual

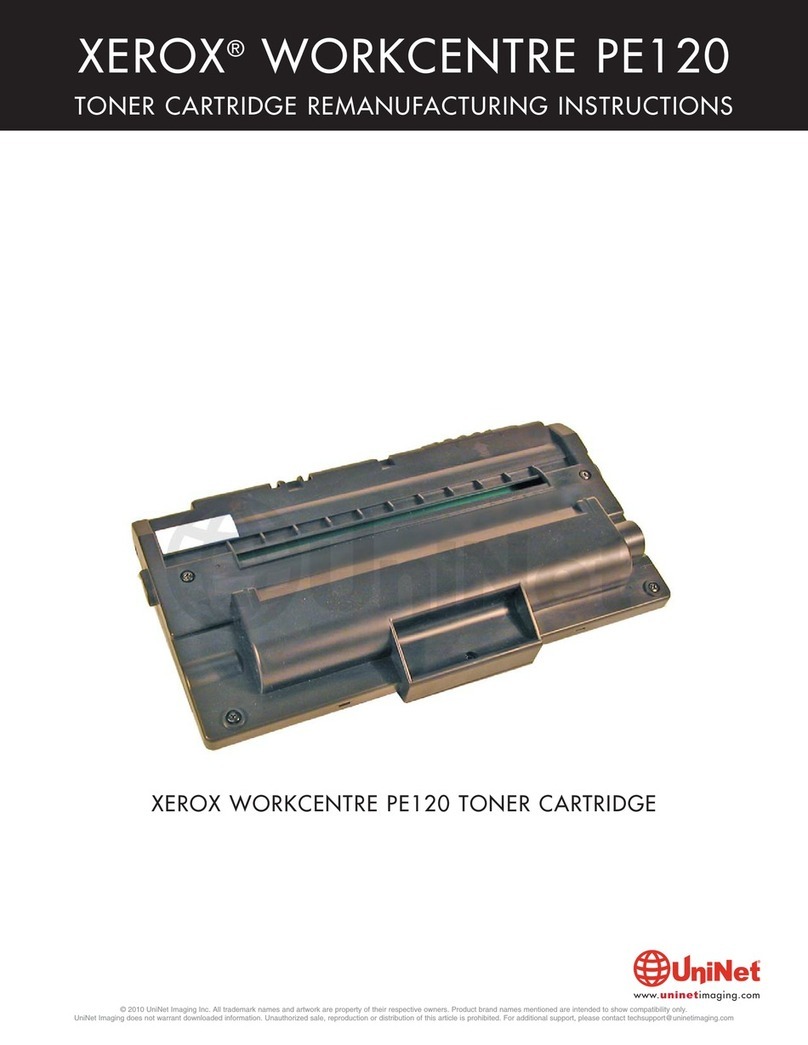
Uninet XEROX WORKCENTRE PE120 Installation and maintenance instructions
Uninet

Uninet XEROX WORKCENTRE PE120 Installation and maintenance instructions
Popular Printer Accessories manuals by other brands

Ricoh LCIT PB3170 Field service manual

Ricoh

Ricoh LCIT PB3170 Field service manual

Symbol 6110 Installation procedures

Symbol

Symbol 6110 Installation procedures

Epson T464011 Material safety data sheet

Epson

Epson T464011 Material safety data sheet

Xerox 5500DN - Phaser B/W Laser Printer instruction sheet

Xerox

Xerox 5500DN - Phaser B/W Laser Printer instruction sheet

Epson KB1700 Guide

Epson

Epson KB1700 Guide

Oce im5530 Network administration guide

Oce

Oce im5530 Network administration guide

Epson T069420 Product information sheet

Epson

Epson T069420 Product information sheet

Epson UB-P500 user manual

Epson

Epson UB-P500 user manual

Epson T034520 Material safety data sheet

Epson

Epson T034520 Material safety data sheet

Fujitsu FTP-644MCL001 overview

Fujitsu

Fujitsu FTP-644MCL001 overview

HP Color LaserJet CP3520 install guide

HP

HP Color LaserJet CP3520 install guide

Epson T562600 Material safety data sheet

Epson

Epson T562600 Material safety data sheet

Canon Color Network Multi-PDL Printer Kit-C1 Service manual

Canon

Canon Color Network Multi-PDL Printer Kit-C1 Service manual

Primera Bravo Pro Operator's manual

Primera

Primera Bravo Pro Operator's manual

Panasonic KV-SS010 operating instructions

Panasonic

Panasonic KV-SS010 operating instructions

Lexmark 2000-Sheet Drawer Optra T user guide

Lexmark

Lexmark 2000-Sheet Drawer Optra T user guide

Epson Stylus Photo R290 Instructional manual

Epson

Epson Stylus Photo R290 Instructional manual

Kyocera KYOCERA FS-C8100DN installation guide

Kyocera

Kyocera KYOCERA FS-C8100DN installation guide

manuals.online logo
manuals.online logoBrands
  • About & Mission
  • Contact us
  • Privacy Policy
  • Terms and Conditions

Copyright 2025 Manuals.Online. All Rights Reserved.