manuals.online logo
Brands
  1. Home
  2. •
  3. Brands
  4. •
  5. Uninet
  6. •
  7. Printer Accessories
  8. •
  9. Uninet OKIDATA B6300 Installation and maintenance instructions

Uninet OKIDATA B6300 Installation and maintenance instructions

OKIDATA®B6300
TONER CARTRIDGE REMANUFACTURING INSTRUCTIONS
OKIDATA®B6300 TONER CARTRIDGE
© 2010 UniNet Imaging Inc. All trademark names and artwork are property of their respective owners. Product brand names mentioned are intended to show compatibility only.
UniNet Imaging does not warrant downloaded information. Unauthorized sale, reproduction or distribution of this article is prohibited. For additional support, please contact [email protected]
www.uninetimaging.com
Toner cartridge with OEM chip shown. REMOVING THE CHIP
1. Using a small screwdriver, push in one of the tabs located
beneath the base to release the chip that is held in place.
2. The chip can now be lifted from the top or pushed out
through the tab holes beneath the chip base.
3. Chip removed with tab holes shown. It will be replaced later
with a new Smartchip.
OKIDATA B6300 •TONER CARTRIDGE REMANUFACTURING INSTRUCTIONS
© 2010 UniNet Imaging Inc. All trademark names and artwork are property of their respective owners. Product brand names mentioned are intended to show compatibility only.
UniNet Imaging does not warrant downloaded information. Unauthorized sale, reproduction or distribution of this article is prohibited. For additional support, please contact [email protected]
www.uninetimaging.com
REMANUFACTURING THE OKIDATA B6300
TONER & DRUM CARTRIDGE
By Javier Gonzalez and the Technical Staff at UniNet
4. Remove the shutter door arm from the slot on the gear-side
of the toner cartridge as shown.
5. Using a hook tool, remove the shutter door arm located on
the gearless side. Remember the position of the spring for
re-installation.
6. Remove the shutter-door and set it aside. 7. Remove the plastic pin on one end by first drilling a hole in
the center of it. This will make it more accessible.
OKIDATA B6300 •TONER CARTRIDGE REMANUFACTURING INSTRUCTIONS
© 2010 UniNet Imaging Inc. All trademark names and artwork are property of their respective owners. Product brand names mentioned are intended to show compatibility only.
UniNet Imaging does not warrant downloaded information. Unauthorized sale, reproduction or distribution of this article is prohibited. For additional support, please contact [email protected]
www.uninetimaging.com
8. Use a 2.4 mm screwdriver to turn the pin to the “release”
setting (gently turn counter-clockwise until it stops).
9. Use a 2-angle hook to access and pull the pin from the hole.
10. Remove the plastic pin on the opposite end by drilling a
hole in the center.
11. Turn the pin counter-clockwise to the “release” setting as
usual.
OKIDATA B6300 •TONER CARTRIDGE REMANUFACTURING INSTRUCTIONS
© 2010 UniNet Imaging Inc. All trademark names and artwork are property of their respective owners. Product brand names mentioned are intended to show compatibility only.
UniNet Imaging does not warrant downloaded information. Unauthorized sale, reproduction or distribution of this article is prohibited. For additional support, please contact [email protected]
www.uninetimaging.com
12. Pull the pin out through the hole. 13. Use a hook tool to release the spring from the gearless
side.
14. Lift evenly to separate the drum unit from the cartridge. 15. Drum unit removed.
OKIDATA B6300 •TONER CARTRIDGE REMANUFACTURING INSTRUCTIONS
© 2010 UniNet Imaging Inc. All trademark names and artwork are property of their respective owners. Product brand names mentioned are intended to show compatibility only.
UniNet Imaging does not warrant downloaded information. Unauthorized sale, reproduction or distribution of this article is prohibited. For additional support, please contact [email protected]
www.uninetimaging.com
16. You are now ready to disassemble the drum unit. 17. Remove the top screw of the drum gear holder.
18. Remove the bottom screw of the drum gear holder. 19. Remove the drum gear holder by pulling it out.
OKIDATA B6300 •TONER CARTRIDGE REMANUFACTURING INSTRUCTIONS
© 2010 UniNet Imaging Inc. All trademark names and artwork are property of their respective owners. Product brand names mentioned are intended to show compatibility only.
UniNet Imaging does not warrant downloaded information. Unauthorized sale, reproduction or distribution of this article is prohibited. For additional support, please contact [email protected]
www.uninetimaging.com
20. Remove the two drum pin screws on the other side. 21. Remove the drum pin by pulling it out.
22. Carefully remove the drum. 23. You are now ready to remove the PCR.
OKIDATA B6300 •TONER CARTRIDGE REMANUFACTURING INSTRUCTIONS
© 2010 UniNet Imaging Inc. All trademark names and artwork are property of their respective owners. Product brand names mentioned are intended to show compatibility only.
UniNet Imaging does not warrant downloaded information. Unauthorized sale, reproduction or distribution of this article is prohibited. For additional support, please contact [email protected]
www.uninetimaging.com
24. Remove the PCR by un-clipping it from the white and black
holders.
25. Remove the wiper blade by unscrewing the two gold-colored screws at each end that hold it in place as shown.
OKIDATA B6300 •TONER CARTRIDGE REMANUFACTURING INSTRUCTIONS
© 2010 UniNet Imaging Inc. All trademark names and artwork are property of their respective owners. Product brand names mentioned are intended to show compatibility only.
UniNet Imaging does not warrant downloaded information. Unauthorized sale, reproduction or distribution of this article is prohibited. For additional support, please contact [email protected]
www.uninetimaging.com
26. Lift the wiper blade evenly from the waste hopper. 27. You are now ready to clean the wiper blade and waste
hopper.
28. Use air pressure to blow out any remaining toner. 29. Once clean, you are now ready to reassemble the wiper
blade.
OKIDATA B6300 •TONER CARTRIDGE REMANUFACTURING INSTRUCTIONS
© 2010 UniNet Imaging Inc. All trademark names and artwork are property of their respective owners. Product brand names mentioned are intended to show compatibility only.
UniNet Imaging does not warrant downloaded information. Unauthorized sale, reproduction or distribution of this article is prohibited. For additional support, please contact [email protected]
www.uninetimaging.com
30. Reinstall the wiper blade back into position with the two gold-colored screws as shown.
31. Reinsert the PCR into the clips by using slight force. 32. Reinsert the OPC gear side first.
OKIDATA B6300 •TONER CARTRIDGE REMANUFACTURING INSTRUCTIONS
© 2010 UniNet Imaging Inc. All trademark names and artwork are property of their respective owners. Product brand names mentioned are intended to show compatibility only.
UniNet Imaging does not warrant downloaded information. Unauthorized sale, reproduction or distribution of this article is prohibited. For additional support, please contact [email protected]
www.uninetimaging.com
33. Reinstall the remaining drum holder on the opposite side. 34. Line up the drum pin and screw back into place.
35. You are now ready to disassemble the toner cartridge.
OKIDATA B6300 •TONER CARTRIDGE REMANUFACTURING INSTRUCTIONS
© 2010 UniNet Imaging Inc. All trademark names and artwork are property of their respective owners. Product brand names mentioned are intended to show compatibility only.
UniNet Imaging does not warrant downloaded information. Unauthorized sale, reproduction or distribution of this article is prohibited. For additional support, please contact [email protected]
www.uninetimaging.com
36. Remove the end-cap on the gear-side of the toner
cartridge by first removing two gold-colored screws as shown.
37. The end-cap should then slide out.
38. Remove all gears from the cartridge as shown.
OKIDATA B6300 •TONER CARTRIDGE REMANUFACTURING INSTRUCTIONS
© 2010 UniNet Imaging Inc. All trademark names and artwork are property of their respective owners. Product brand names mentioned are intended to show compatibility only.
UniNet Imaging does not warrant downloaded information. Unauthorized sale, reproduction or distribution of this article is prohibited. For additional support, please contact [email protected]
www.uninetimaging.com
These gears are designed to fit one way, so reinstalling won’t become too difficult.
39. Unlock the magnetic roller by lifting up the lever shown on
the gearless side of the cartridge.
40. Once the lever has been lifted, remove that side of the
roller first.
OKIDATA B6300 •TONER CARTRIDGE REMANUFACTURING INSTRUCTIONS
© 2010 UniNet Imaging Inc. All trademark names and artwork are property of their respective owners. Product brand names mentioned are intended to show compatibility only.
UniNet Imaging does not warrant downloaded information. Unauthorized sale, reproduction or distribution of this article is prohibited. For additional support, please contact [email protected]
www.uninetimaging.com
41. Continue with the other side until the magnetic roller is
completely removed.
42. Now you are ready to remove the doctor blade.
Remove the two gold-colored screws shown.
43. Lift the doctor blade out as shown. 44. Using a pair of needle-nose pliers, pull out the two fill plugs
located on the gearless side. Empty and clean thoroughly
using compressed air or a vacuum.
OKIDATA B6300 •TONER CARTRIDGE REMANUFACTURING INSTRUCTIONS
© 2010 UniNet Imaging Inc. All trademark names and artwork are property of their respective owners. Product brand names mentioned are intended to show compatibility only.
UniNet Imaging does not warrant downloaded information. Unauthorized sale, reproduction or distribution of this article is prohibited. For additional support, please contact [email protected]
www.uninetimaging.com
REMOVING THE TONER HOPPER
45. Remove all four corner screws that hold the toner hopper and cartridge together.
OKIDATA B6300 •TONER CARTRIDGE REMANUFACTURING INSTRUCTIONS
© 2010 UniNet Imaging Inc. All trademark names and artwork are property of their respective owners. Product brand names mentioned are intended to show compatibility only.
UniNet Imaging does not warrant downloaded information. Unauthorized sale, reproduction or distribution of this article is prohibited. For additional support, please contact [email protected]
www.uninetimaging.com
46. Toner hopper removed. Note the two foam seals located at
the bottom of the hopper. These foam seals surround holes
where toner passes through to the developer roller. Residual
toner can build up in these areas, so it is important to clean
thoroughly before reinstalling the hopper.
47. Clean the hopper and toner cartridge using compressed air
or a vacuum. Refill and reassemble following the previous
steps in reverse.
NOTE: A new replacement smartchip must be fitted after
reassembly of the toner cartridge.

Other Uninet Printer Accessories manuals
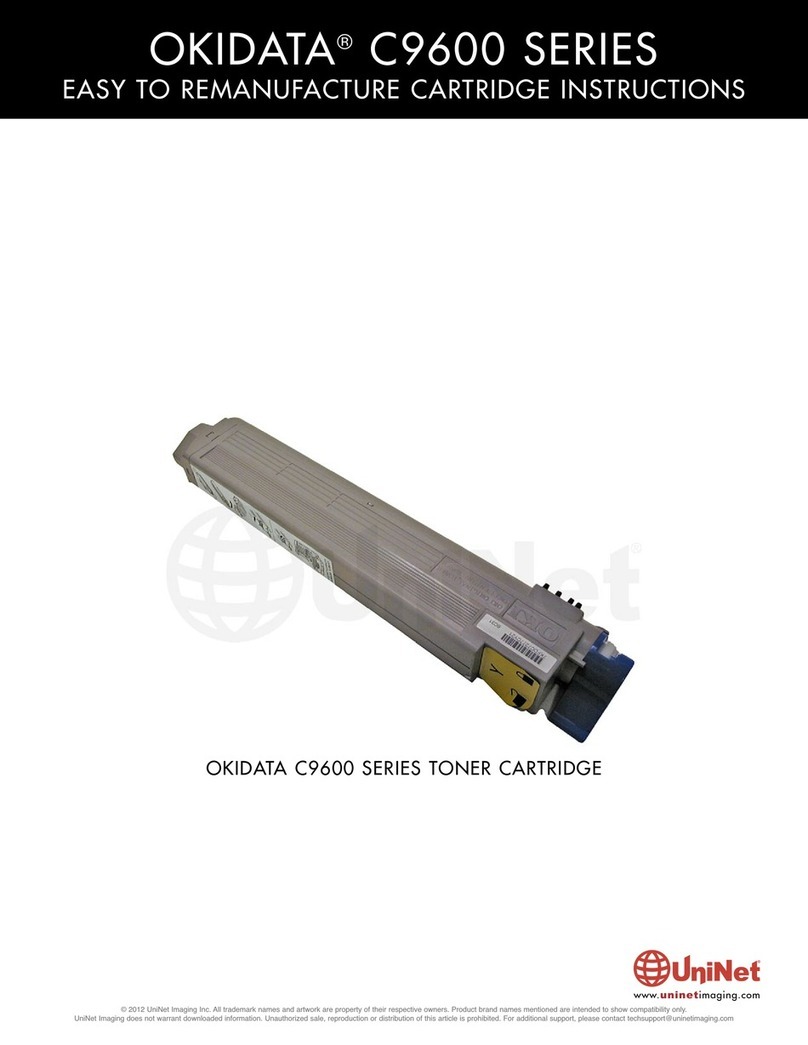
Uninet OKIDATA C9600 Series User manual

Uninet

Uninet OKIDATA C9600 Series User manual

Uninet LEXMARK C520 Installation and maintenance instructions

Uninet

Uninet LEXMARK C520 Installation and maintenance instructions

Uninet LEXMARK C520 Installation and maintenance instructions

Uninet

Uninet LEXMARK C520 Installation and maintenance instructions

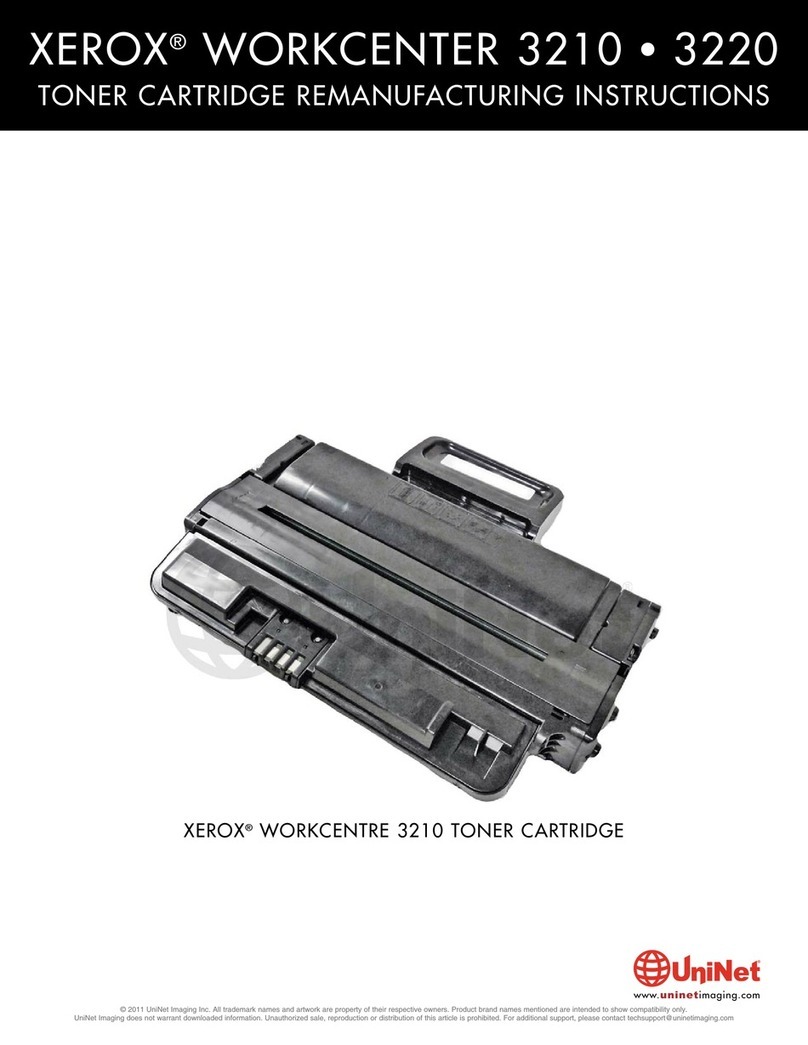
Uninet XEROX WORKCENTER 3210 Installation and maintenance instructions

Uninet

Uninet XEROX WORKCENTER 3210 Installation and maintenance instructions

Uninet Dell 5130 Series User manual

Uninet

Uninet Dell 5130 Series User manual

Uninet OKIDATA C9000 User manual

Uninet

Uninet OKIDATA C9000 User manual
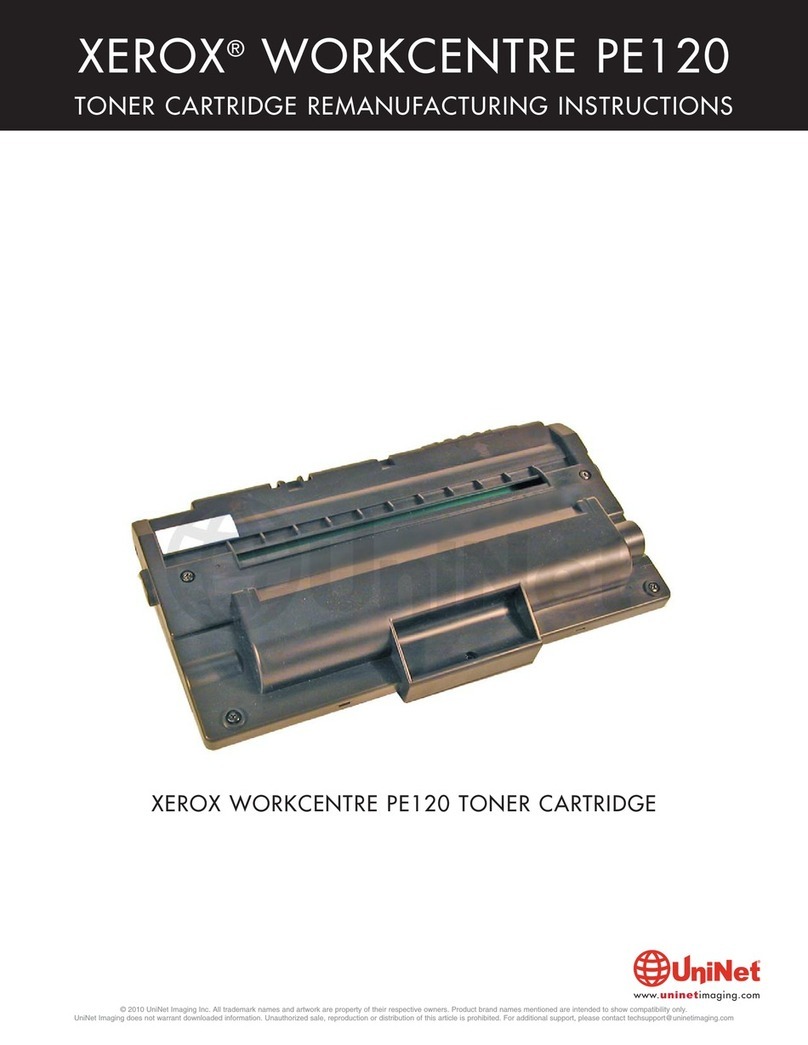
Uninet XEROX WORKCENTRE PE120 Installation and maintenance instructions
Uninet

Uninet XEROX WORKCENTRE PE120 Installation and maintenance instructions

Uninet KONICA 4600 Sreies User manual

Uninet

Uninet KONICA 4600 Sreies User manual
Popular Printer Accessories manuals by other brands

Epson RX500 - Stylus Photo Color Inkjet Product information sheet

Epson

Epson RX500 - Stylus Photo Color Inkjet Product information sheet

Konica Minolta Pi3505e user manual

Konica Minolta

Konica Minolta Pi3505e user manual

Pitney Bowes 1810 Folder Operator's guide

Pitney Bowes

Pitney Bowes 1810 Folder Operator's guide

Epson T544400 Material safety data sheet

Epson

Epson T544400 Material safety data sheet

Canon SELPHY BU-20 printing guide

Canon

Canon SELPHY BU-20 printing guide

Future LBP-2460 Technical instructions

Future

Future LBP-2460 Technical instructions

Intec SHINGLING CONVEYOR installation guide

Intec

Intec SHINGLING CONVEYOR installation guide

Epson T557 Refill instructions

Epson

Epson T557 Refill instructions

Oce XDL reference guide

Oce

Oce XDL reference guide

Epson T078420 Product information sheet

Epson

Epson T078420 Product information sheet

Epson T602600 Material safety data sheet

Epson

Epson T602600 Material safety data sheet

Xerox Phaser 6180MFP instruction sheet

Xerox

Xerox Phaser 6180MFP instruction sheet

Minolta CN3102Pro user manual

Minolta

Minolta CN3102Pro user manual

Xerox 8700 MICR Product safety data sheet

Xerox

Xerox 8700 MICR Product safety data sheet

Canon Voice Guidance Kit user guide

Canon

Canon Voice Guidance Kit user guide

HP CP4525N COLOR LASERJET ENTERPRISE install guide

HP

HP CP4525N COLOR LASERJET ENTERPRISE install guide

Epson SpectroProofer Mounter C12C890531 Setup guide

Epson

Epson SpectroProofer Mounter C12C890531 Setup guide

Panasonic KX-PPRC7 quick start

Panasonic

Panasonic KX-PPRC7 quick start

manuals.online logo
manuals.online logoBrands
  • About & Mission
  • Contact us
  • Privacy Policy
  • Terms and Conditions

Copyright 2025 Manuals.Online. All Rights Reserved.