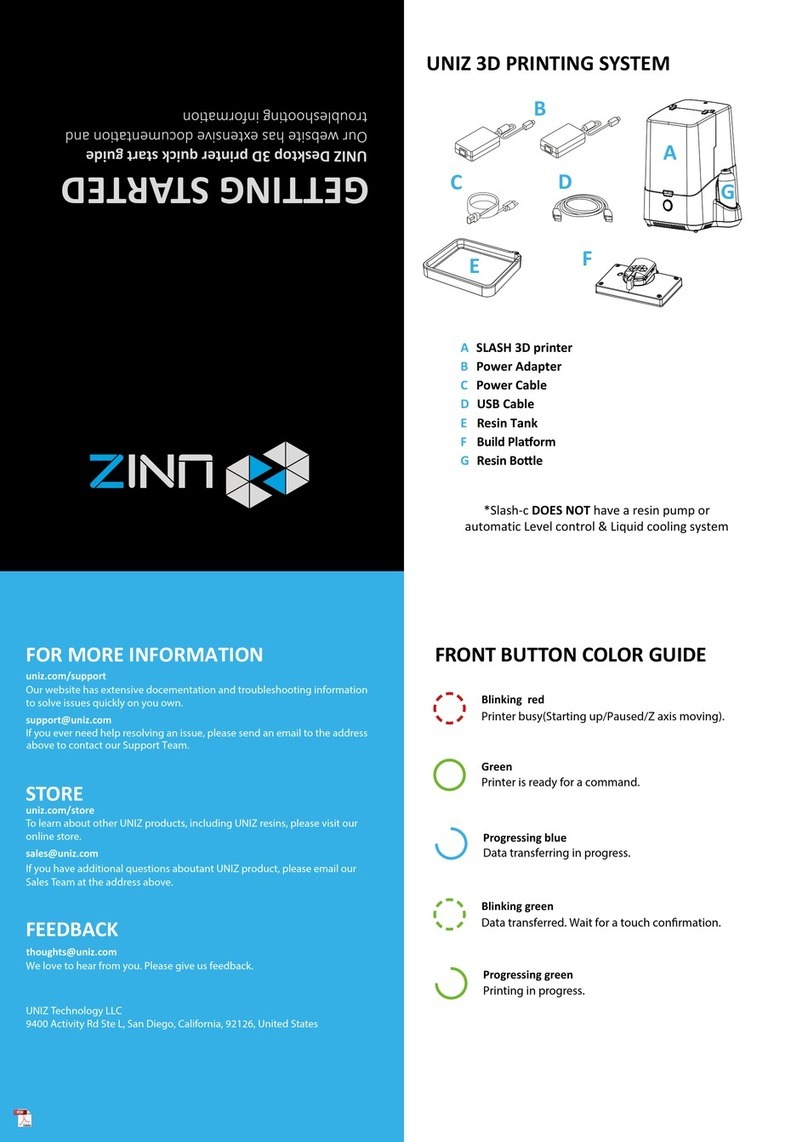
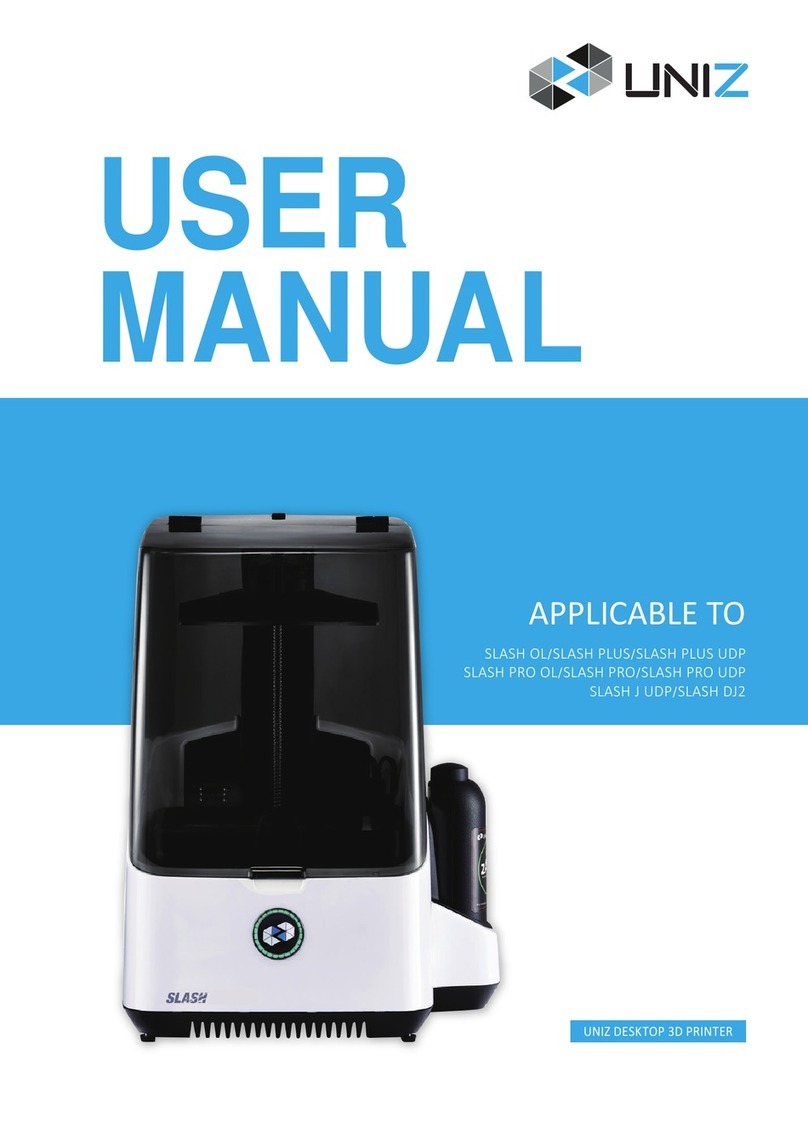
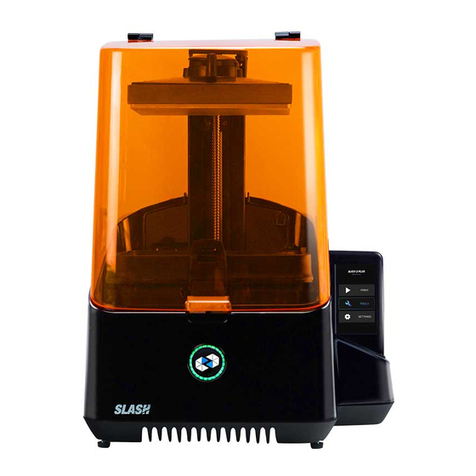
Uniz IBEE User manual


DISCLAIMER
Please read and understand the contents of this installation and user manual.
Failure to read the manual may lead to personal injury, inferior results or damage to the
IBEE printers. Always make sure that anyone who uses the 3D printer knows and
understands the contents of the manual to make the most out of the IBEE printer.
The conditions or methods used for assembling, handling, storage, use or disposal of the device are beyond
our control and may be beyond our knowledge. For this and other reasons, we do not assume responsibility
and expressly disclaim liability for loss, injuries, damage, or expense arising out of or in any way connected
with the assembly, handling, storage, use or disposal of the product. The information in this document was
obtained from sources which we believe are reliable. However, the information is provided without any
warranty, express or implied, regarding its correctness.
Intended use
IBEE Series 3D printers are designed and built for liquid crystal display (LCD) based on Stereo lithography
Appearance (SLA) modeling for various high quality photopolymer resins within a commercial/business
environment. The combination of precision and speed makes the IBEE 3D printers the perfect machines for
concept models, functional prototypes and also the production of small series.
UNIZ does not warrant that the operation of the Hardware Product will be uninterrupted or error-free. UNIZ is
not responsible for damage arising from failure to follow instructions relating to the Hardware Product's use.
UNIZs warranty does not apply: a) to damage caused by use with non-UNIZ products including third-party
resins; b) to damage caused by accident, abuse, misuse, flood, fire, earthquake, or other external causes; c)
to damage caused by operating the Hardware Product outside the permitted or intended uses described by
UNIZ; d) to damage caused by service (including upgrades and expansions) performed by anyone who is not
a representative of UNIZ; e) to a Hardware Product or part that has been modified to alter functionality or
capability without the written permission of UNIZ; f) to consumable parts, unless damage has occurred due
to a defect in materials or workmanship; g) to cosmetic damage, including but not limited to scratches, dents;
or h) if any UNIZ serial number has been removed or defaced. THIS WARRANTY GIVES YOU SPECIFIC
LEGAL RIGHTS, AND YOU MAY ALSO HAVE OTHER RIGHTS WHICH VARY FROM STATE TO STATE
OR COUNTRY TO COUNTRY. UNIZ's RESPONSIBILITY FOR HARDWARE DEFECTS IS LIMITED TO
REPAIR OR REPLACEMENT SERVICE AS DETERMINED BY UNIZ IN ITS SOLE DISCRETION.

TABLE OF CONTENTS
A IBEE 3D PRINTER....................................................................1
MEET THE PRINTER.......................................................................................................................1
SPECIFICATIONS............................................................................................................................3
B GET STARTED .........................................................................4
UNBOXING ...................................................................................................................................4
SOFTWARE PREPARATION ............................................................................................................6
C INTERFACE INFORMATION .....................................................7
MAIN INTERFACE..........................................................................................................................7
SETTINGS ......................................................................................................................................7
TOOLS...........................................................................................................................................8
PRINT..........................................................................................................................................10
MORE DETAILS............................................................................................................................11
D USAGE AND MAINTENANCE.................................................13
PRINTER PLACEMENT AND LEVELING..........................................................................................13
BUILD PLATFORM .......................................................................................................................13
RESIN TANK ................................................................................................................................19
CHANGE LCD PROTECTIVE FILM ..................................................................................................24
CLEAN AIR FILTER........................................................................................................................26
E CONTACT US ........................................................................27

1
AIBEE 3D PRINTER
AIBEE 3D PRINTER
This user manual is designed to help you start your IBEE printer experience. Learn everything
about using your 3d printer by following the instructions in this user manual and experience how
easy it is to produce great quality prints.
You might be familiar with other types of 3D printers. Regardless, it is still essential that you read
this manual carefully in order to make the most out of your 3d printer.
MEET THE PRINTER

2
A IBEE 3D PRINTER

3
AIBEE 3D PRINTER
SPECIFICATIONS
IBEE
PRINTING
HARDWARE
110V 2A/220V 1A
-
DESKTOP
SOFTWARE
-
-
-
*Maximum accuracy only achievable at integer multiples of smallest pixel sizes.

4
BGET STARTED
BGET STARTED
Now your IBEE printer has arrived and
your printer and set it up according to the following instructions. Please keep the original box and
protectors in case of future shipping or storing.
UNBOXING
The IBEE comes in reusable, durable packaging that has been specially designed to protect your
printer in transport. To get the SN number of your printer, you may scan the QR code on the box.
To properly unpack your printer, please follow the steps described below.
START UNBOXING
Start unpacking by correctly orienting the cardboard box, and then slide the foam packaging out of
the box by pulling the cardboard handle beneath the printer while holding the box.
REMOVE THE PROTECTION FOAM
Remove the protection wrap around the machine. Take out the printer and place it on your desk.
Make sure you hold it by the sheet metal casing while carrying it.
PUT IT ON THE DESK
Place the printer on a leveled and clean desk. Adjust the four leveling screws under the printer to
level it.
GET THE ACCESSORIES
Under the Build Platform, you will find a box with accessories inside. Take these out and put them
aside.

5
B GET STARTED

6
BGET STARTED
SOFTWARE PREPARATION
Open a browser and go to URL https://www.uniz.com/software to download UNIZ Maker software.
Choose the software according to your system and download it.
INSTALLATION
Windows
UNIZ Maker supports Windows 7 and above. Please use the following steps:
1. Double click the installation program.
2. Check the user agreement, and then follow the prompts to finish the installation.
Mac
UNIZ Maker supports Mac OS X 10.7 and above. Please use the following steps:
1. Double click the installation program.
2. Agree to the user agreement.
3. Drag UNIZ to your Applications folder.
Note: Once your computer is connected to the Internet, UNIZ Maker will detect new versions
automatically and prompt whether you wish to update.

7
C INTERFACE INFORMATION
CINTERFACE INFORMATION
You may check device information, control the printer, and start printing projects using the touch
screen on the front of IBEE.
MAIN INTERFACE
Note: Some functions have 1~3 pages to introduce the details. Please read carefully and follow
the instructions.
SETTINGS
SET LAN
SET WIFI
There are three main functions:
Settings/Tools/Print.

8
C INTERFACE INFORMATION
UPGRATE OR RESET
You can read or scan to get the SN of your printer here.
LOGIN ACCOUNT
Login an account to register your printer to UNIZ cloud. Then you can monitor the printer remotely.
TOOLS
LCD TEST
Click LCD TEST you will see the UNIZ Logo appears on the LCD screen.

9
C INTERFACE INFORMATION
EXPOSURE TO CLEAN
When a failed print occurs and there are some residues left in the bottom of Resin Tank, you need
to exposure to clean it. After that, please wear nitrile gloves and take the solidified piece out.
RESET Z-AXIS ZERO POSITION AND LEVELING BUILD PLATFORM
If you change for a new Build Platform or the printing model may not stick onto the Platform,
please reset z-axis zero position and leveling the Build platform. You will use an A4 paper and the
Hexagon Wrench in the accessory box sent with your printer.
After leveling, please put the A4 paper under Build Platform and reset again. It finishes if you may
feel the frictional force between Platform and A4 paper.

10
C INTERFACE INFORMATION
MOTOR CONTROL
If you want to control Build Platform to move upwards, choose a distance (10/30/50mm) first, and
then click the arrow. Please do not click too fast and take an eye to watch the distance between
Platform and top position. There is a scaleplate lable on the Z-axis frame for reference.
PRINT
PRINT WITH USB DISK
Choose and click the slice you want to print, then the printer will step into normal printing
program.

11
C INTERFACE INFORMATION
In this interface, you may check the preview and printing parameters of the print. Also you may
pause/resume or stop the printing program by click the buttons on left.
PRINT RECALL
The last file printed on the printer will be shown in the MOST RECENT interface. You may print a
model second time very expediently with this function.
MORE DETAILS
1. There is an indicator light on the main interface and printing interface.
Staying in green means the printer is ready for printing.
Blinking in green means the print is in progress.
Blinking in red means the print program is stopping and the platform is moving upwards.

12
C INTERFACE INFORMATION
2. While the printer is connected with internet through Wi-Fi, the icon on the right-up side will
turn to highlighted state.
3. Please use your fingernail or any other hard thing to click the touch screen, especially in the
keyboard interface.

13
DUSAGE AND MAINTENANCE
In order to have a smoothly working IBEE printer, it is important to maintain it correctly. In this
chapter the most important tips are described. It is recommended to read them carefully in order
to achieve the best results with your printer.
PRINTER PLACEMENT AND LEVELING
1. Put the printer on a stable desktop to keep the printer steady during printing to effectively
guarantee the model quality.
2. The level of the printer is maintained by four leveling screws underneath. Adjust the four screws
to restore the levelness of the printer if necessary.
BUILD PLATFORM
The Build Platform is the platform where the first layer of the model burns-in to, its levelness and
roughness are crucial to successful prints.
INSTALLATION AND REMOVAL OF BUILD PLATFORM
1. Turn the platform locking screw clockwise to lock (Turn the platform locking screw counter-
clockwise to unlock).

14
DUSAGE AND MAINTENANCE
2. Install or remove the platform.
SANDING BUILD PLATFORM
After the platform has been used for a long time, its surface will become smooth which leads to
poor model adhesion and increases the printing failure rate. To deal with this problem, users need
to sand the platform.
1. Clean the platform surface with alcohol.
2. Grind the surface into a grid shape with the sand sandpaper delivered with the machine.

15
DUSAGE AND MAINTENANCE
3. Clean the platform with alcohol again to make sure there is no residue left.
RESET Z-axis ZERO POSITION AND LEVELING BUILD PLATFORM
1. Prepare one A4 paper and the Hexagon Wrench in the accessory box sent with printer.
2. Make sure the bottom of Platform is clean and dry.
3. Turn the four lock blocks and take Resin Tank off.

16
DUSAGE AND MAINTENANCE
4. Loosen the four screws with Hexagon Wrench by turning counter-clockwise.
5. Click TOOLS/ZERO&LEVELING, then read the introduction and click CONFIRM twice to start.
6. After Build Platform moves to the lowest position and stops, press the plate and tighten the four
screws with Hexagon Wrench by turning clockwise-as the picture shows.

17
DUSAGE AND MAINTENANCE
7. Click CONFIRM to finish.
Table of contents
Other Uniz 3D Printer manuals