URC TKP-7600 User manual

TKP-7600
Network Keypad
Owner’s Manual


Table of Contents
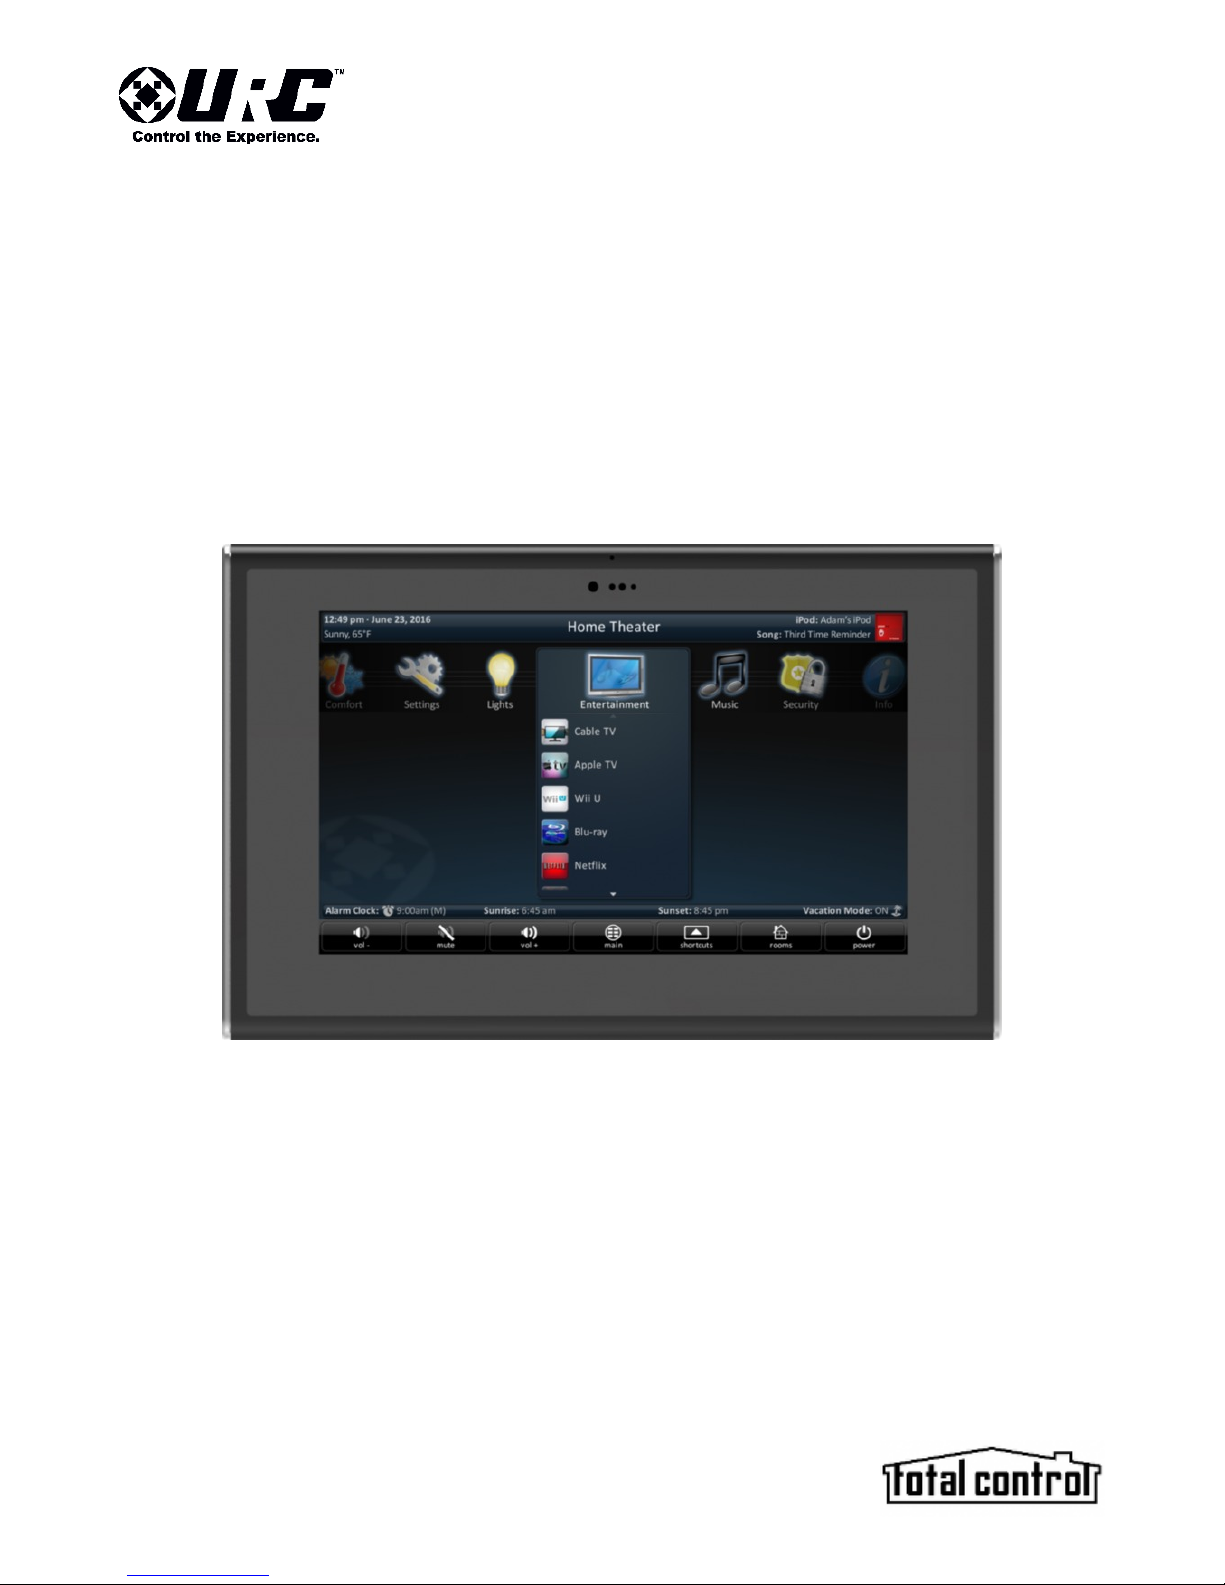
Introducing the TKP-7600..........................................................................................1
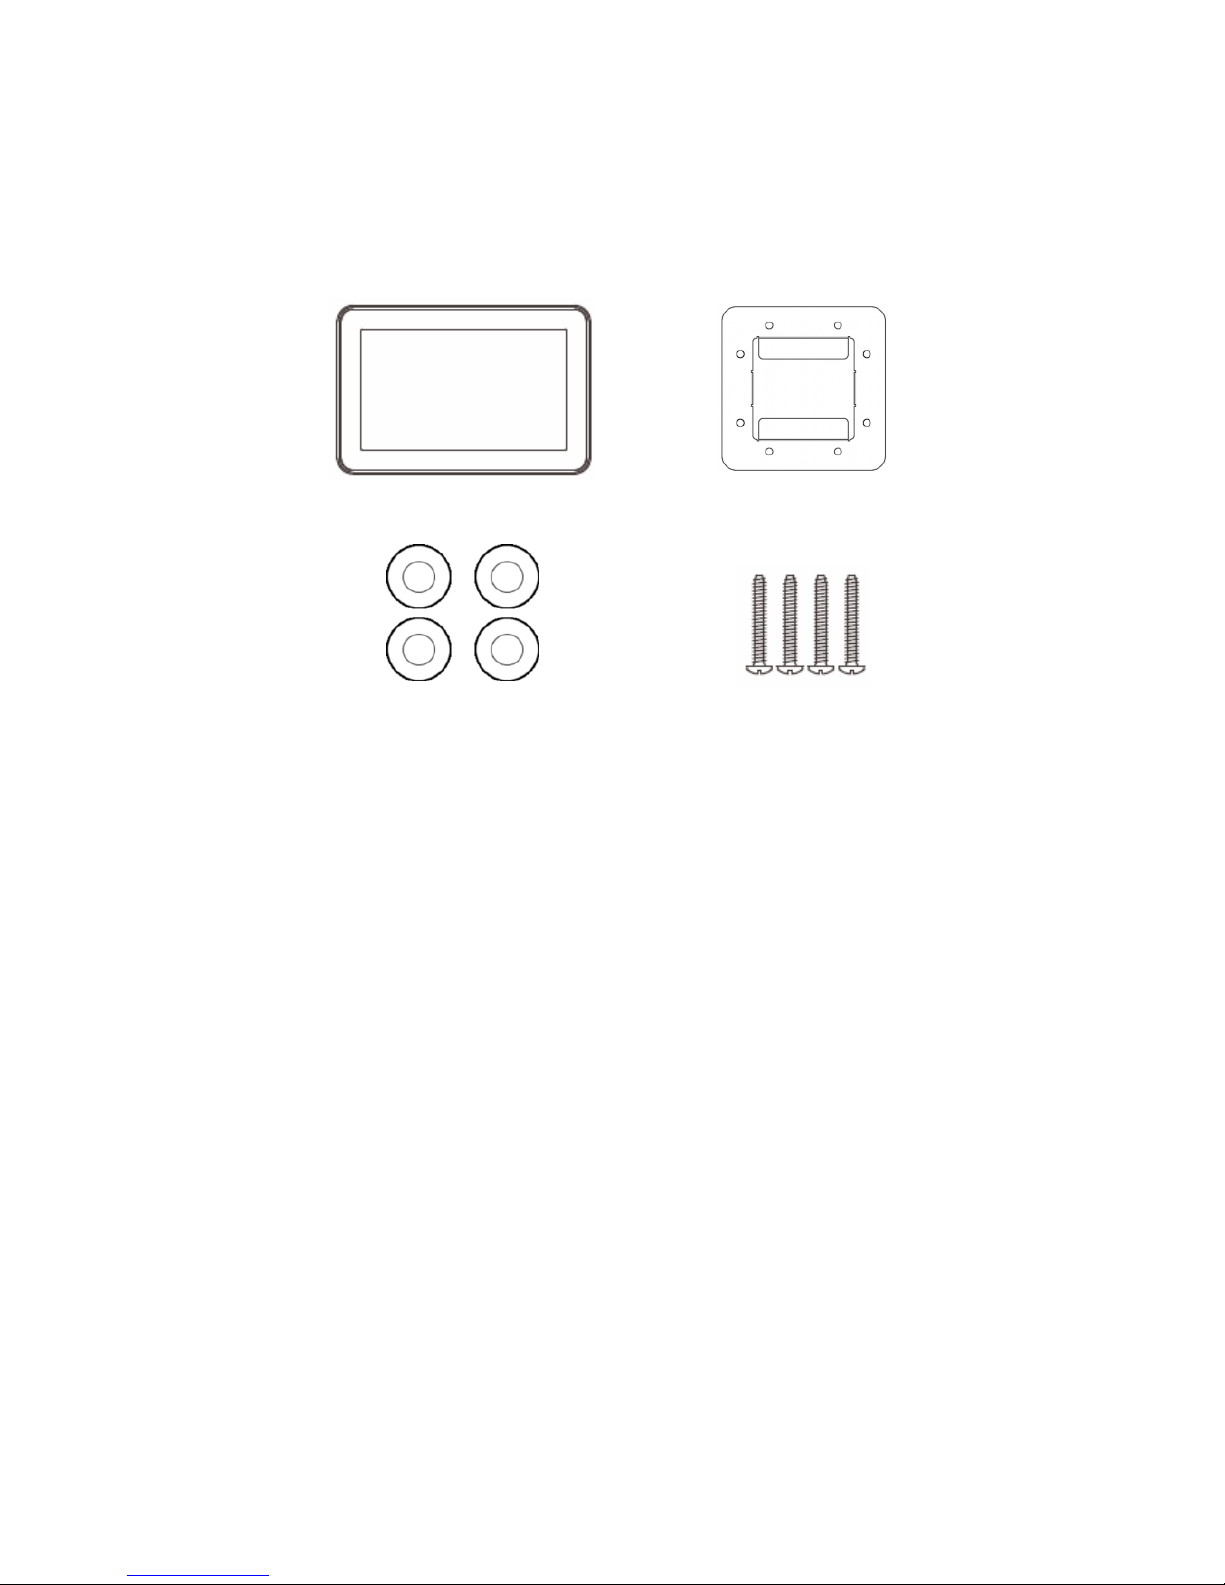
Parts List.......................................................................................................................3
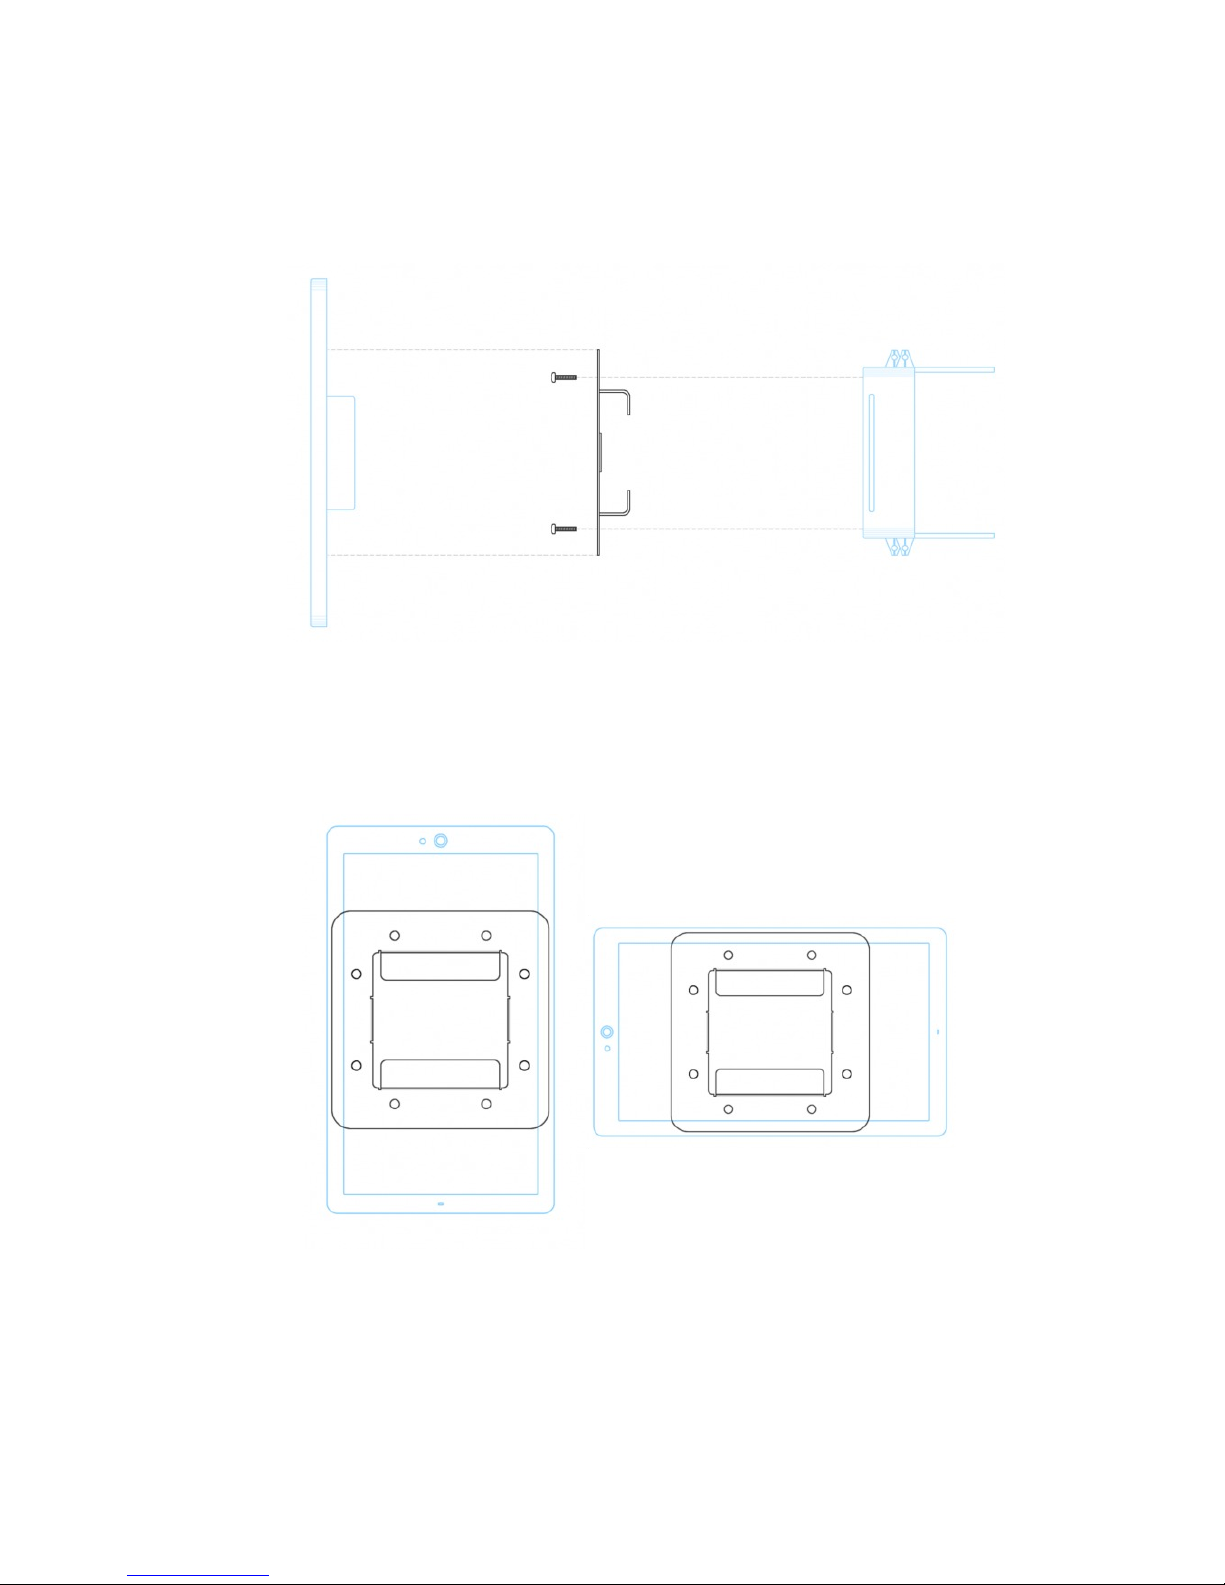
Installing the TKP-7600..............................................................................................3
Main Menu Navigation...............................................................................................5
Title Bar........................................................................................................................5
Category Device Ribbon.............................................................................................7
Core Buttons................................................................................................................8
Status Bar.....................................................................................................................9
Audio Video Intercom Menu....................................................................................10
Using Audio Broadcast.............................................................................................12
Using Do Not Disturb...............................................................................................13
Power Menu...............................................................................................................14
Rooms Menu..............................................................................................................15
Linking Rooms (DMS Audio Only)...........................................................................17
Shortcut Pop-Up........................................................................................................19
Time & Weather Module..........................................................................................22
Adjusting the User Settings on the TKP-7600........................................................23
Sleep Settings............................................................................................................24
General.......................................................................................................................25
Sound..........................................................................................................................26
Brightness..................................................................................................................26
System........................................................................................................................27
Network......................................................................................................................28
Audio-Video Intercom..............................................................................................29
Proximity Sensor.......................................................................................................30
Factory Default..........................................................................................................30
Specifications.............................................................................................................31
Limited Warranty Statement...................................................................................32
End User Agreement.................................................................................................33
Federal Communication Commission Inference Statement.................................33
Regulatory Information to the User........................................................................34
Declaration of Conformity.......................................................................................35

Page 1
Introducing the TKP-7600
Thank you for purchasing URC’s TKP-7600 In-Wall Network Keypad. It’s easy intuitive use helps to
simplify your life while adding control of more things than thought possible.
Enjoy some key features like:
Audio Video Intercom
Easily communicate throughout the home using the Audio Video Intercom feature. Communicate
across multiple devices including other TKP-7600’s, URC Mobile app devices, and/or other URC
intercom enabled products. This feature includes a baby monitor so that you can make sure the
little one is safe and sound by viewing it right on the keypad.
Flexible Orientation
The TKP-7600 offers the ability to display the keypad in either portrait or landscape modes making
it the perfect keypad for virtually any room. This feature can only be programmed from within the
URC software, speak to your custom home professional prior to installation.
Rooms Menu
With the touch of a single button, take control of your domain. Besides the ability to temporarily
link the different rooms/areas of your system for music listening, the Rooms Menu offers a
snapshot of “what’s going on” in every room of your Total Control system. Better yet, tapping on a
room converts the keypad into a controller for THAT room. See how easy it is to keep track of
what’s happening in your world…and control it!

Page 2
Shortcuts Pop-Up
With all the different options to choose from, the Shortcut Pop-Up allows you to save some of
the most common devices/activities for easy selection. Keep up to six different activities at your
fingertips with the Shortcuts Pop-Up menu.
Proximity Sensor
A keypad that knows where you are, the TKP-7600 has a built in sensor that can detect how close
you are from it. As you approach, the keypad illuminates and is ready to control the home. The
sensitivity of this sensor is adjustable by your custom home professional.

Page 3
Parts List
Included in the TKP-7600
1x - TKP-7600 Network Keypad
1x - Mounting Ring
4x - Mounting Screws
4x - Spacers
TKP-7600 Mounting Ring
Mounting Screws
Installing the TKP-7600
The TKP-7600 is wall-mountable and fits into a standard dual gang (J-box or Mud Ring) opening.
Prior to installation, make sure power is available at the preferred location.
Power can be supplied to the TKP-7600 through an Ethernet (RJ45) cable connected to a PoE
(power over Ethernet) or in either of the following ways:
●Router/Switch
●PoE injector
Power over Ethernet or PoE technology describes a system to pass electrical power safely, along
with data, on Ethernet cabling. A shielded Ethernet cable is preferred. The IEEE standard for PoE
requires a Category 5 or higher for high power levels.
Use the spacers when installing the mount ring on to a gang box, the spacers are not needed
when using a p-ring.
Instructions for mounting the TKP-7600 on the wall can be found on the following page.
Spacers

Page 4
Using the Spacers
Included in the box are four (4) spacers that are to be used at specific installation sites. Most new
homes are retrofitted with plaster ring boxes (p-ring) that allow the TKP-7600 to be mounted flat
and flushed to the wall without the use of the spacers.
However, in some instances, the only boxes that are in the home are dual-gang boxes. In those
situations the spacers must be used in order to install the TKP-7600 (see image below).
Mounting Ring
Spacers
Dual-Gang Box
Use the spacers as a buffer between the mounting ring and dual-gang box, this can be done by
using a screw to secure the mounting ring and spacers to the box.
With this the TKP-7600 can sit flush and flat on it’s mount without the risk of bending or breaking
the dual-gang box. For further installing instructions read the following page.

Page 5
Wall Mounting
Follow the steps below for installation:
1. Make sure the dual-gang opening is fitted with the standard two-gang retro-box (available
from the local electrical supplier/store)
2. Mount the wall-plate to the two-gang retro-box
3. Connect the Ethernet cable to the rear of the supplied TKP-7600 wall-plate
4. The TKP-7600 easily snaps into the wall-plate
Note: the keypad mount rotates to accommodate landscape or portrait viewing modes. The
viewing mode is set from within the URC Accelerator software.

Page 6
Main Menu Navigation
Although specific screen design and certain options are dictated by the custom integrator that
programmed the Total Control system, the general layout remains the same. Actual navigation is
performed through screen swipes (Up/Down, Left/Right) while selecting any item is as simple as
pressing the icon/text to be selected.
Title Bar
The Title Bar is present on all TKP-7600 screens and contains valuable information during normal
use. Easily find out the time, weather, now playing and the room that the keypad is controlling.

Page 7
Time & Weather
This data, found on the left-hand side of the Title bar shows
the current time, date, and weather information. Pressing this
area of the Title Bar opens the Time & Weather Module.
For information about this module, refer to the Time &
Weather Module section, later in this manual.
Current Room
The current room portion of the Title Bar shows the room
that the TKP-7600 is controlling. Remember, in a Total
Control system, although each room’s keypad defaults to
control the room in which is is placed, using the Rooms Menu
allows it to control any other room in the system.
Now Playing
Appearing on the right-hand side of the Title Bar, this displays the source that is currently being
used in the room that the keypad is controlling.
●The Now Playing display shows the device that is being used (in this case, William’s iPod),
associated artwork, and metadata information is displayed since it is a URC media device.
●If an activity is being performed (like DVD or cable) in the selected room, the Now Playing
section displays the activity:

Page 8
Category/Device Ribbon
This ribbon shows the various categories of control that are available to the selected room. The
quantity of categories is determined by the system setup and can vary from one to however many
categories were programmed by the system designer.
Although only seven categories can fit on the screen at any moment, navigate to other categories
( ) by swiping left or right.
Select a category by pressing the appropriate icon; this reveals the devices/activities available for
that category ( ).
Device List
Submenus contain the devices/activities that were placed in the chosen category by the system
programmer.
Scroll up or down through the list by swiping upwards or downwards, select a device/activity by
pressing its icon.

Page 9
Core Buttons
These key system navigation buttons always are present at the bottom of the screen.
Vol-, Vol+, & Mute
These audio controls affect the volume for the room to which
the TKP-7600 is assigned. See the Rooms Menu section of
this manual for more details.
Main
Selecting this button always returns the user to the Main
screen.
Shortcuts
These user-configurable shortcuts allow the end-user to store
up to six (6) favorite activities. For more information about
using short cuts, refer to the Using Shortcuts section of this
manual.
Rooms
This button opens the Rooms menu which allows you to take
control of any room programmed into your Total Control
system. For more information on the Rooms menu, please
refer to the Rooms Menu section.
Power Menu
This button opens the Power menu which gives you the
ability turn off the entire home, a single room, and more.
Refer to the Power Menu section for more information.

Page 10
Status Bar
The Status Bar, located directly above the Core Buttons, provides valuable status and feedback of
the Total Control System. The four sections of the Status Bar are determined by the system
programmer and are customizable per keypad. It is not possible to explain how your keypad looks;
however, after reviewing the following possibilities, there should be no need for further
explanation.
Sunrise Time: Updated at midnight every day, this shows the
sunrise time for the next day.
Sunset Time: Updated at midnight every day, this shows the
sunset time for the next day.
URC Thermostat Temperature: If a THZ-100 (URC’s
thermostat) is included in the home, this shows the current
temperature status based upon the internal sensor, additional
sensor, or the mean temperature of both.
Alarm Clock: If the room being controlled has an Alarm that
is set to activate for that room, the status bar displays an
alarm clock icon and the next scheduled time/day.
Surround Mode: When used with URC’s DMS-AV Surround
Processor, this displays the current surround mode of the
processor.
Room Linked Status: Whenever the chosen room/area is
“linked” to other rooms, this shows a link acknowledgement
and icon.
Weather Alerts: Based on the current location entered by
the system programmer, the words “weather alert” appear if
an automatic alert is received via Internet.
Vacation Mode: Whenever the Vacation Mode is activated
for the Total Control system, the status bar displays “Vacation
Mode: ON”.

Page 11
Audio Video Intercom Menu
The Intercom module communicates with other installed URC Intercom enabled devices via audio,
audio & video, or a baby monitor. In order to use the intercom it must first be enabled within the
Settings screen.
Using the Intercom
1. Touch the screen and navigate through the Category ribbon (scroll left or right) to locate
the Intercom icon.
2. Press the Intercom icon.
3. A list of available client (other URC clients) are shown. Select an available client.
4. When an available client is selected, you have the option to select from audio only, audio
and video, or a baby monitor.
●Audio: Two-way communication between
clients and via audio only.
●Audio and Video: Two-way communication
between clients via audio and video.
●Baby Monitor: One-way communication to
view and listen to a room where the secondary
client cannot hear or see you.
Unavailable
client set to
do not
disturb.
Available
client
Busy client
on call

Page 12
5. After selecting an option, the TKP-7600 turns the unit’s camera ON (
) displaying an onscreen image of the selected client.
6. Pressing the End Call button displays an onscreen message concluding the call.
Press to
End a
call.
Increase/
decrease
or mute
the
volume

Page 13
Using Audio Broadcast
Simultaneously communicate to two or more TKP-7600 clients.
1. Touch the screen and navigate through the Category ribbon (scroll left or right) to locate
the Intercom icon.
2. Press the Intercom icon.
3. Select Audio Broadcast.
4. Select available clients from the Audio Broadcast call list and press Ok to begin the
intercom call.
5. The call broadcast to all selected clients.
6. Press End Call to conclude the intercom
session.

Page 14
Using Do Not Disturb
Turning ON Do Not Disturb
Setting the TKP-7600 to do not disturb renders the client unavailable for intercom communication
with other clients.
1. Touch the screen and navigate through the Category ribbon ( ) to locate
the Intercom Icon.
2. Press the Intercom icon.
3. Press Set Do Not Disturb Mode.
4. Now this TKP-7600 is unable to receive communication (
) from other clients.
Turning OFF Do Not Disturb
Turning off the do not disturb feature re-enables the client to receive audio and video
communication. (Note: this option is always at the bottom of the intercom list.)
1. Touch the screen and navigate through the Category ribbon (scroll left or right) to locate
the Intercom icon.
2. Press the Intercom icon.
3. Press Turn Off Do Not Disturb Mode.
This icon
states the
client is
currently set
to Do Not
Disturb

Page 15
Power Menu
When pressed, this performs the Room Off function programmed by the custom integrator.
If this button is pressed for greater than three (3) seconds, the Power Menu appears.
In this menu, it is possible to:
●Turn Off the ROOM ( ).
●Issue the House Off command, as programmed by the custom integrator.
Custom commands, programmed by the custom integrator, may also appear in this menu.

Page 16
Rooms Menu
The Rooms Menu is the “landing” screen for the TKP-7600. This menu (see picture below) displays
whenever the keypad reboots, loses/regains power, or is rest. The most common choice would be
to select the room where the TKP-7600 is physically located; however, this is up to the user.
The Rooms Menu is used to:
●Temporarily Link rooms in a Total Control DMS system. This allows all of the linked rooms
to listen to the same audio source and join the volume commands into a single interface.
●Monitor the status of other rooms in the Total Control project.
●Control any other room in the Total Control projects as if it were a keypad in that room.
This is dependent upon the programming done by the custom integrator.
Room List Buttons
●Each room listing has an associated box and action buttons.
●The Exit button returns the user to the last screen used.
●Selecting the room name allows for control of that room ( )
Rooms
Options
Links

Page 17
Initial View (Room Monitoring)
When the Rooms Menu opens up, the room list populates with all of the rooms in the Total
Control project. Each room displays its status so the user can visually see what is “going on” in
that room.
The Exit button returns the user to the previous screen.
Selecting a Room (Room Control)
To select a room, simply tap the room name on the pre-programmed list. This allows the TKP-7600
to control that room as if it were physically there.
Returning the keypad to control the room where it is physically located requires accessing the
Rooms Menu and selecting the appropriate room.
Other manuals for TKP-7600
1
Table of contents
Other URC Keypad manuals

URC
URC Total Control TDC-7100 User manual

URC
URC ccGen2 KP-1 User manual

URC
URC Total Control 2.0 TKP-9600 User manual

URC
URC TKP-2000N User manual

URC
URC Total Control TKP-8600 User manual

URC
URC TKP-2000 User manual

URC
URC TKP-100 User manual

URC
URC TKP-5500 User manual

URC
URC URCTKP7600 User manual

URC
URC TKP-2000 User manual