www.uscutter.com
425.481.3555
GET EVERYTHING FOR YOUR
VINYL CUTTING NEEDS
Table of Contents
Thank you for purchasing the SC vinyl cutter. Please read this manual
completely and keep it in a safe place for future reference.
For Accessories, Supplies, and replacement parts please visit
our website at www.uscutter.com
• is device uses sharp blades to cut vinyl. Take care not to touch the blades or gears during operation!
• Make sure this device is not connected to power during assembly, service, and maintenance. Also beware
of static build- up. We recommend using mats and anti-static vinyl systems.
• Vinyl cutting is not recommended for young children.
Please read and heed these
important safety messages:
GreenStar 12-Color Starter Kit
Green Star IPV vinyl is great for general
purpose interior/exterior graphics of all types.
An excellent vinyl to cut, weed and transfer,
Green Star IPV vinyl has an outdoor lifespan of
up to 5 years (3 years for metallic vinyl) and is
made in USA. Includes twelve 24” x 5 yard rolls.
The Siser EasyWeed Starter Kit
consists of twelve 15” by 12”
sheets of Siser EasyWeed heat-
transfer vinyl in the 12 most
popular colors. A great way to get
acquainted with this versatile product!
Oracal 8510 gives the professional appearance
of etched glass for a fraction of the price and
labor associated with sandblasting. This vinyl is
meant for long-term indoor and outdoor window
application to provide business names, logos and
other graphics on entrance doors, street-facing
windows, and corporate environments. This starter
kit includes a 24” x 10 yard roll of coarse silver
structure vinyl, clear high-tack application tape for
accurate registration and ease of use, a squeegee,
and application uid for wet application.
The ORACAL 631 24 x 5 Sample Pack
contains 12 of the most popular
colors in the ORACAL 631 line.
ORACAL 631 vinyl is a removable
calendared vinyl that is ideal for
most indoor applications. It features
a lower-tack adhesive that won’t
damage interior walls during removal. Also has a
matte surface which matches interior paint
Greenstar Outdoor Starter Pack Oracal 631 Starter Kit
Siser Start Bundle Etched Glass Kit
Save big on bundles
e fastest and most economical way to get started.
SAME DAY SHIPPING
Order by 4:30PM EST
651
1
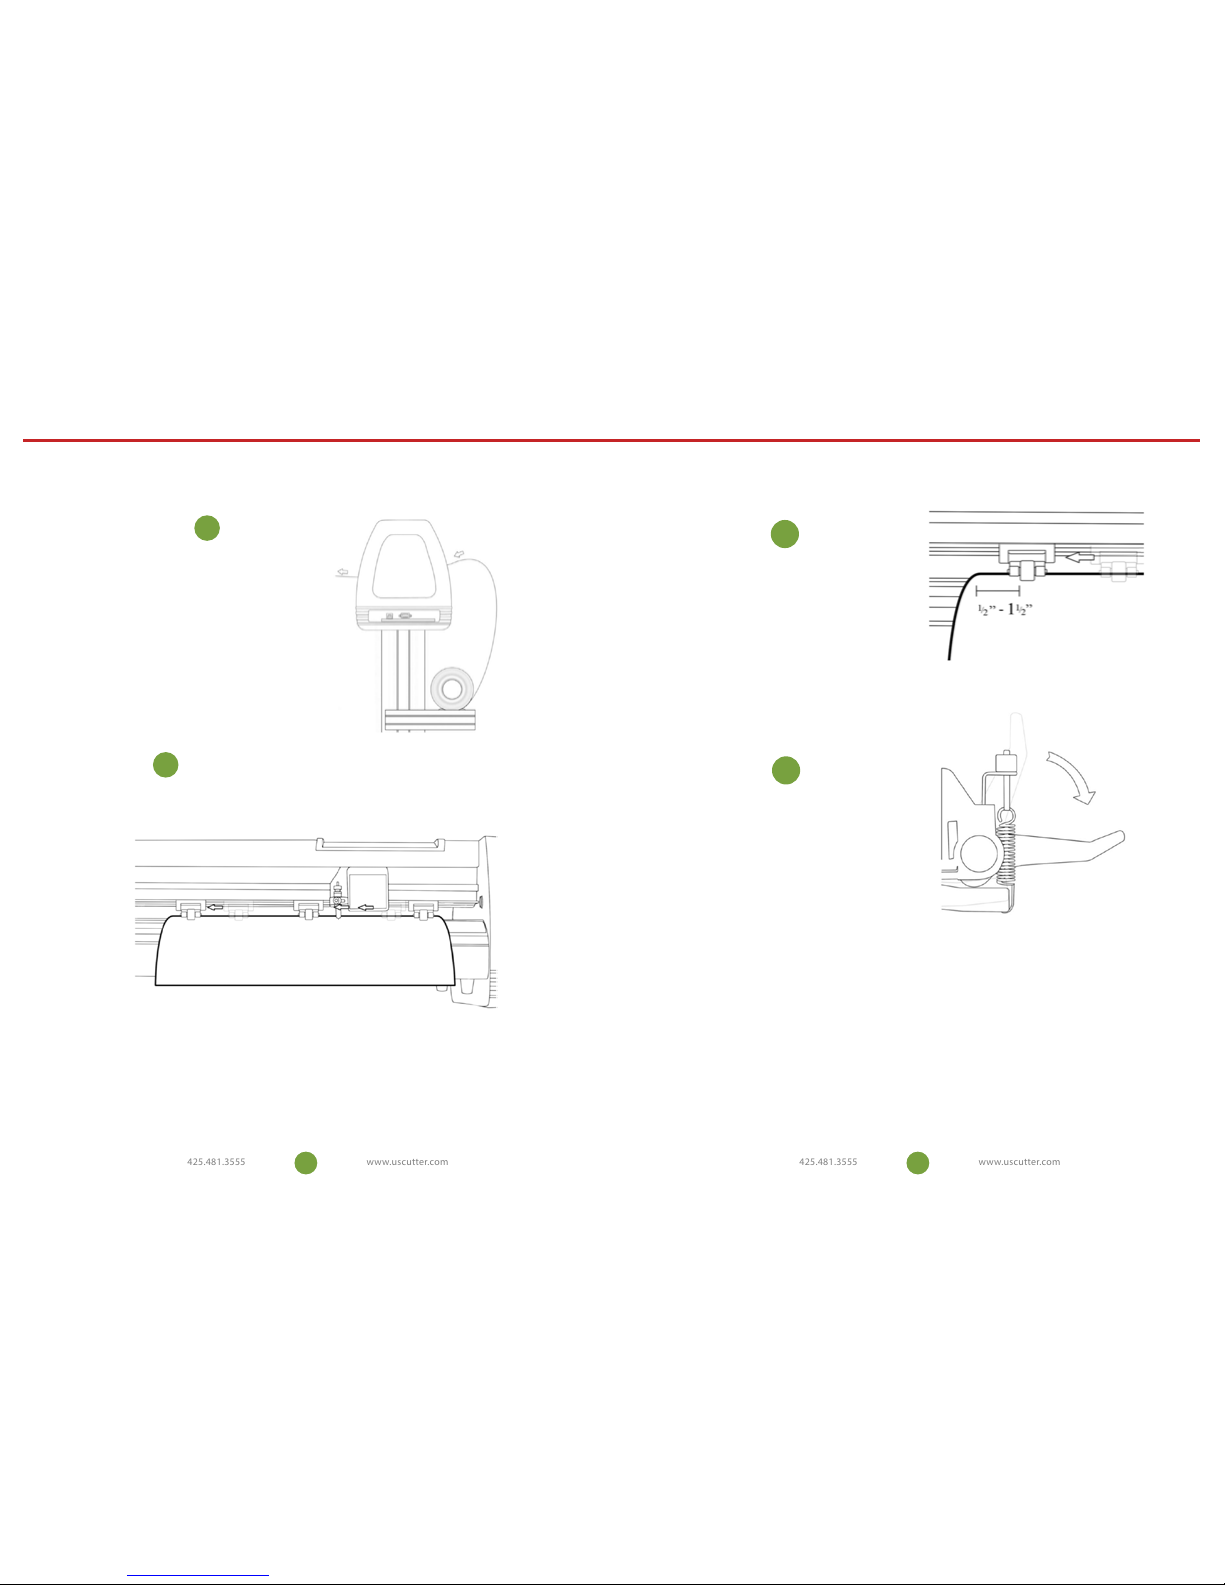
1 Intro
2Where to use and store your vinylcutter
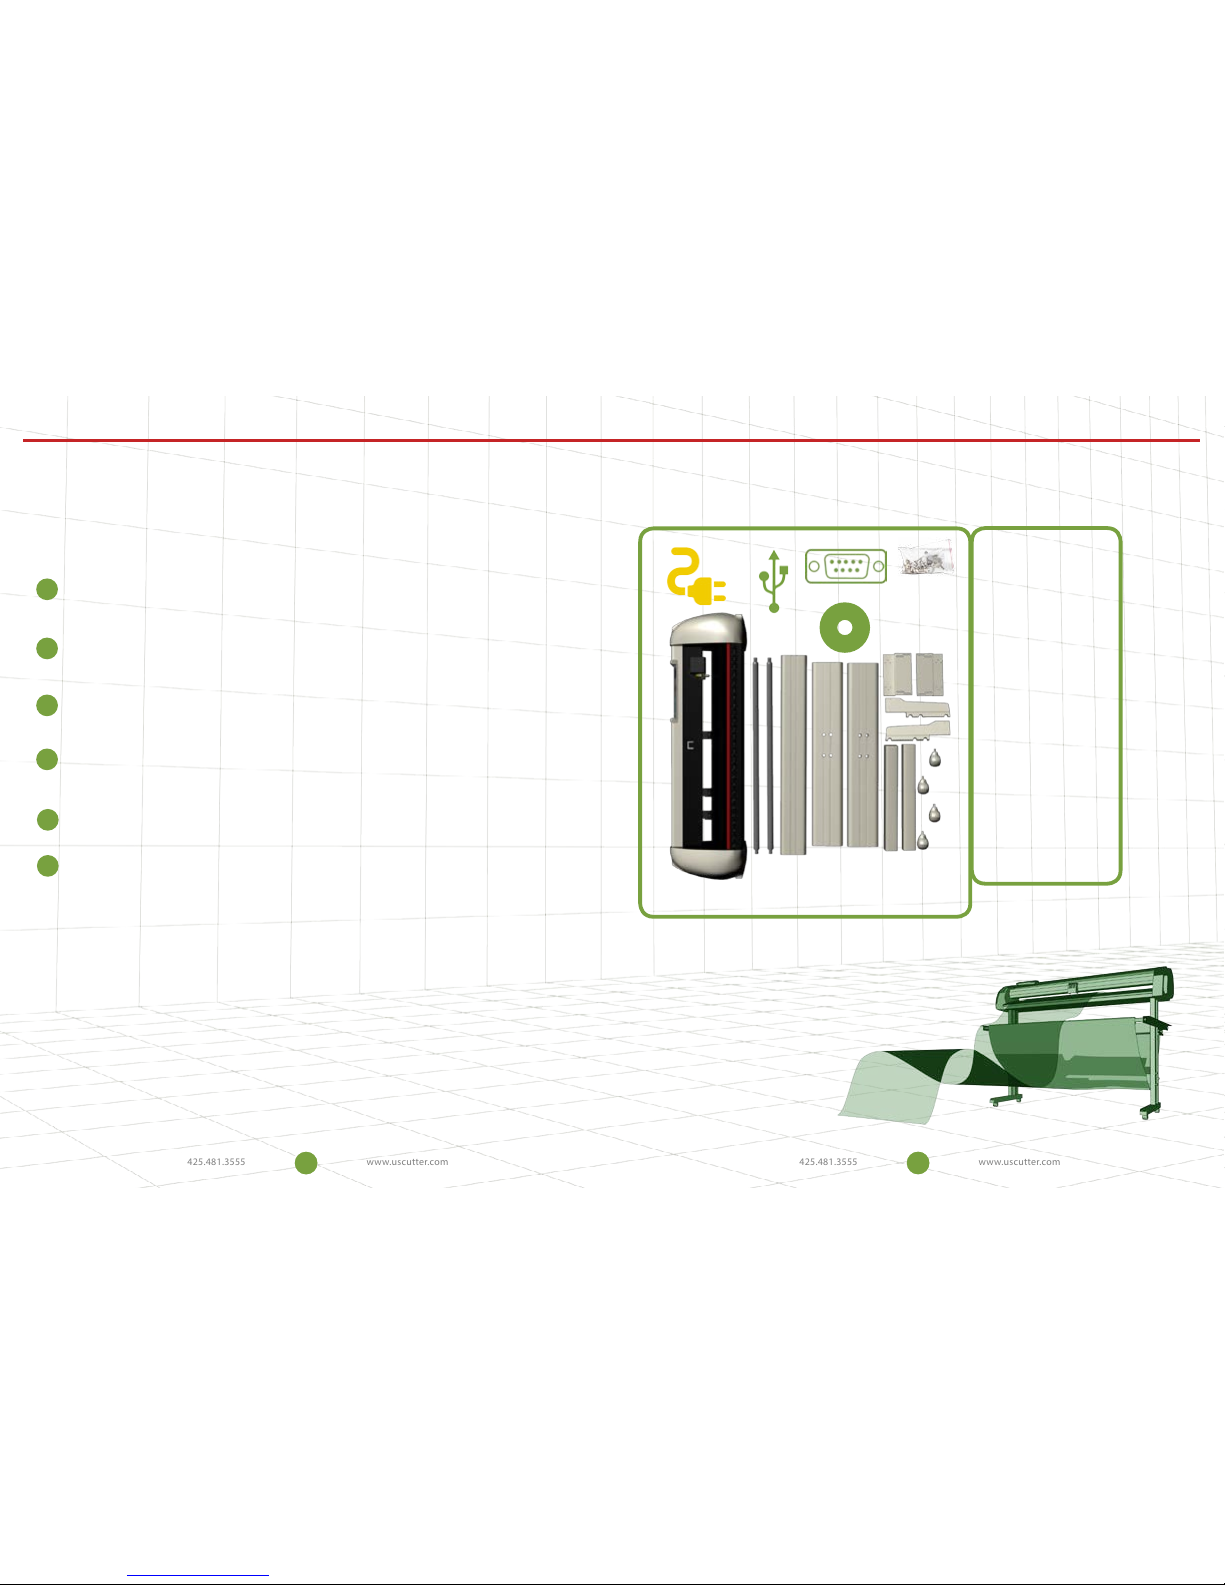
3 What’s in the box
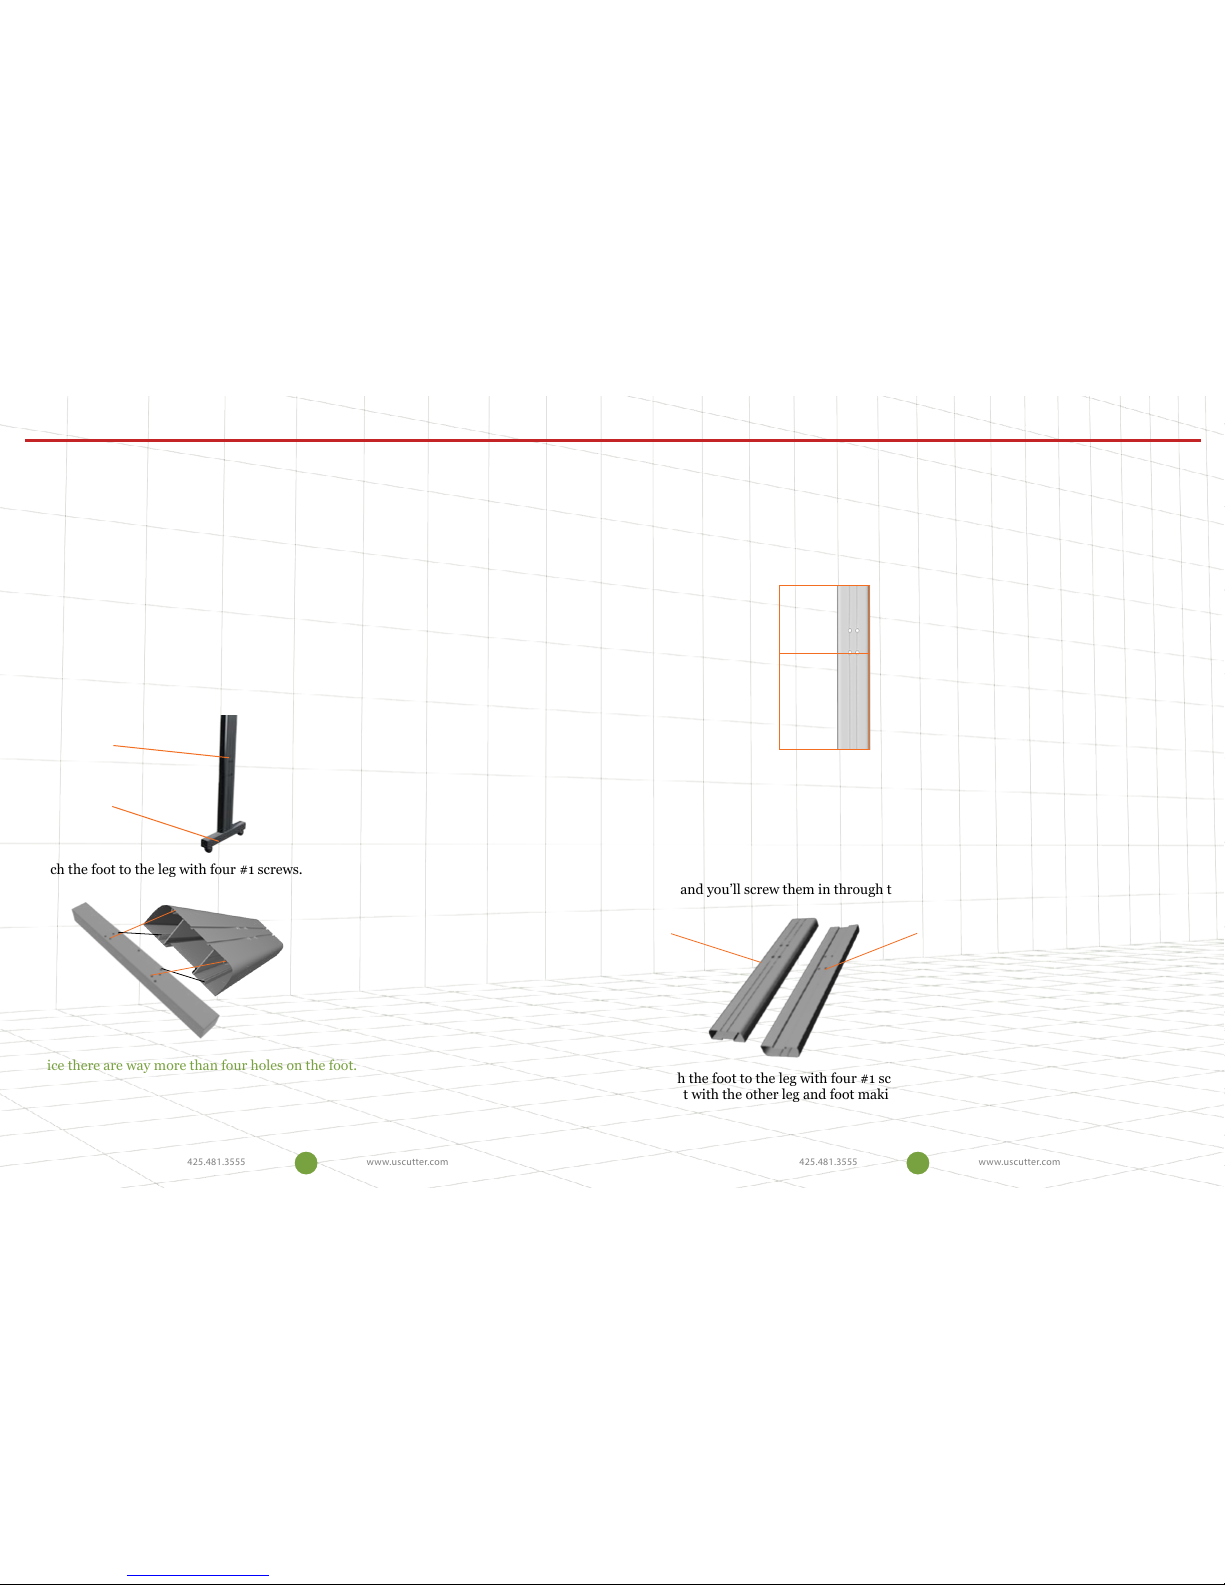
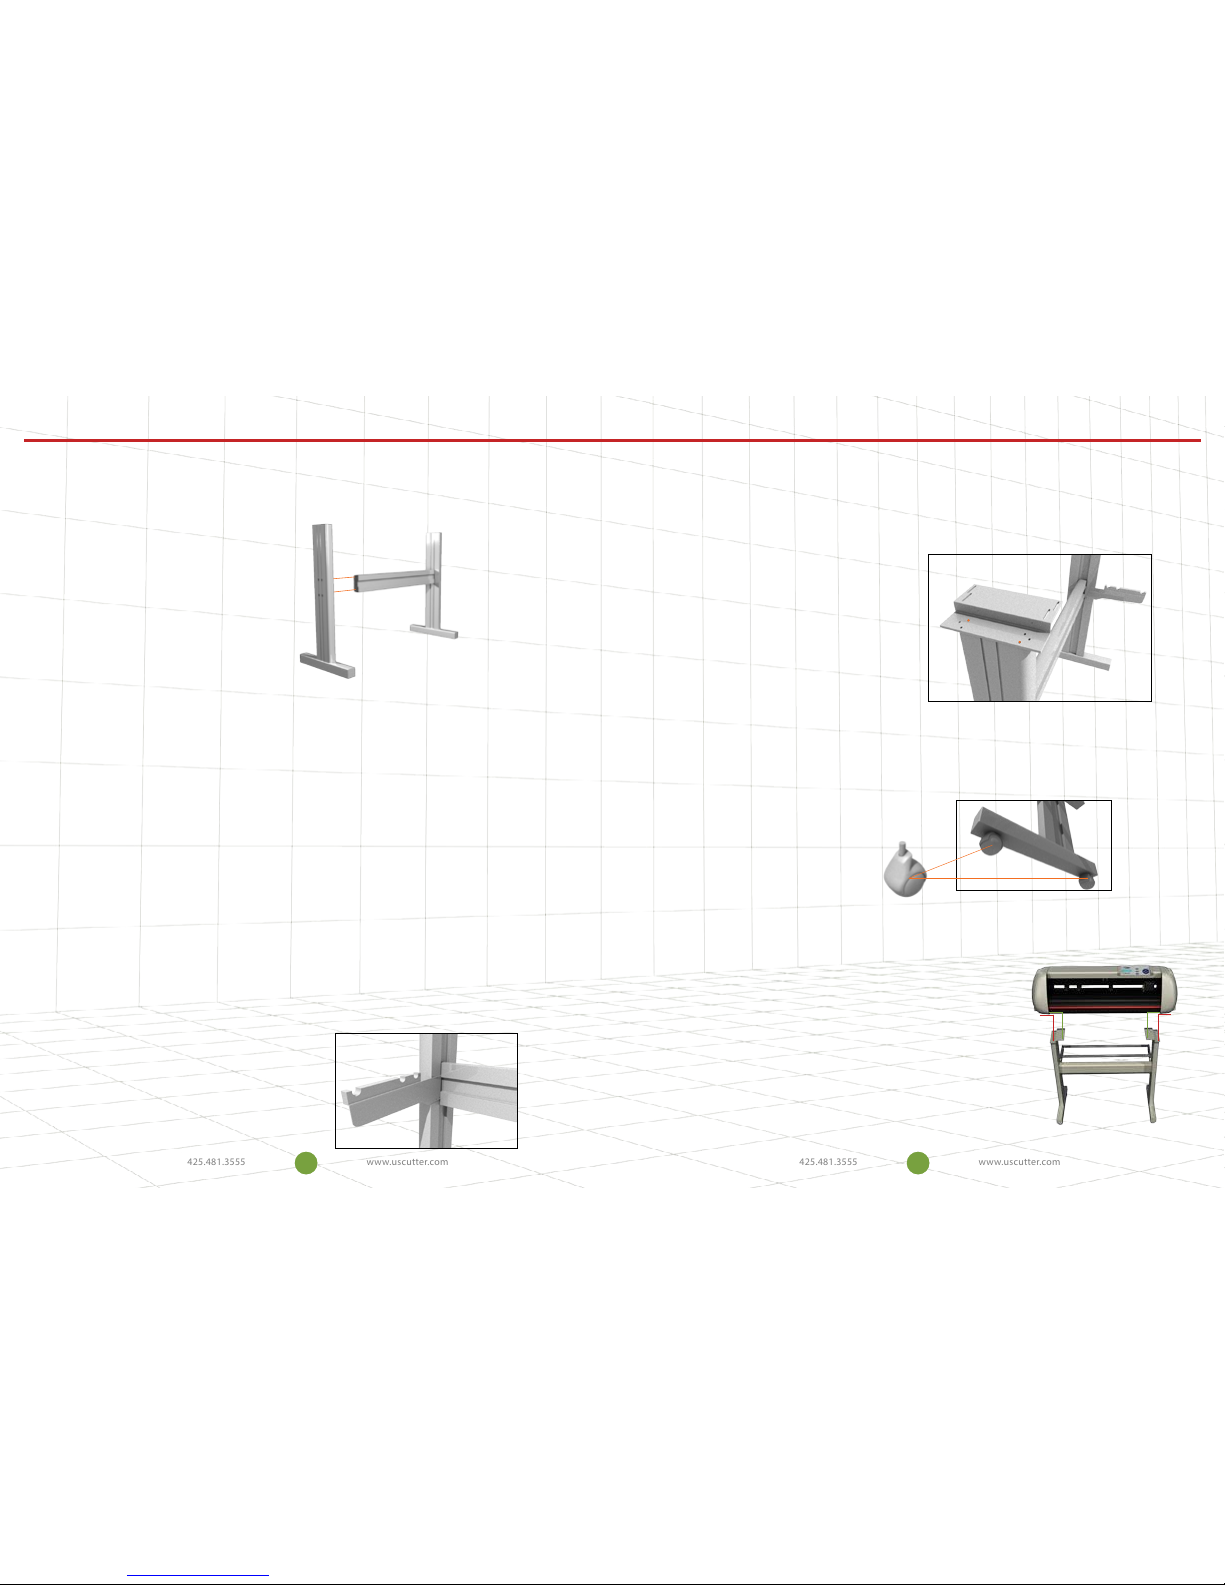
4 Assembling the stand
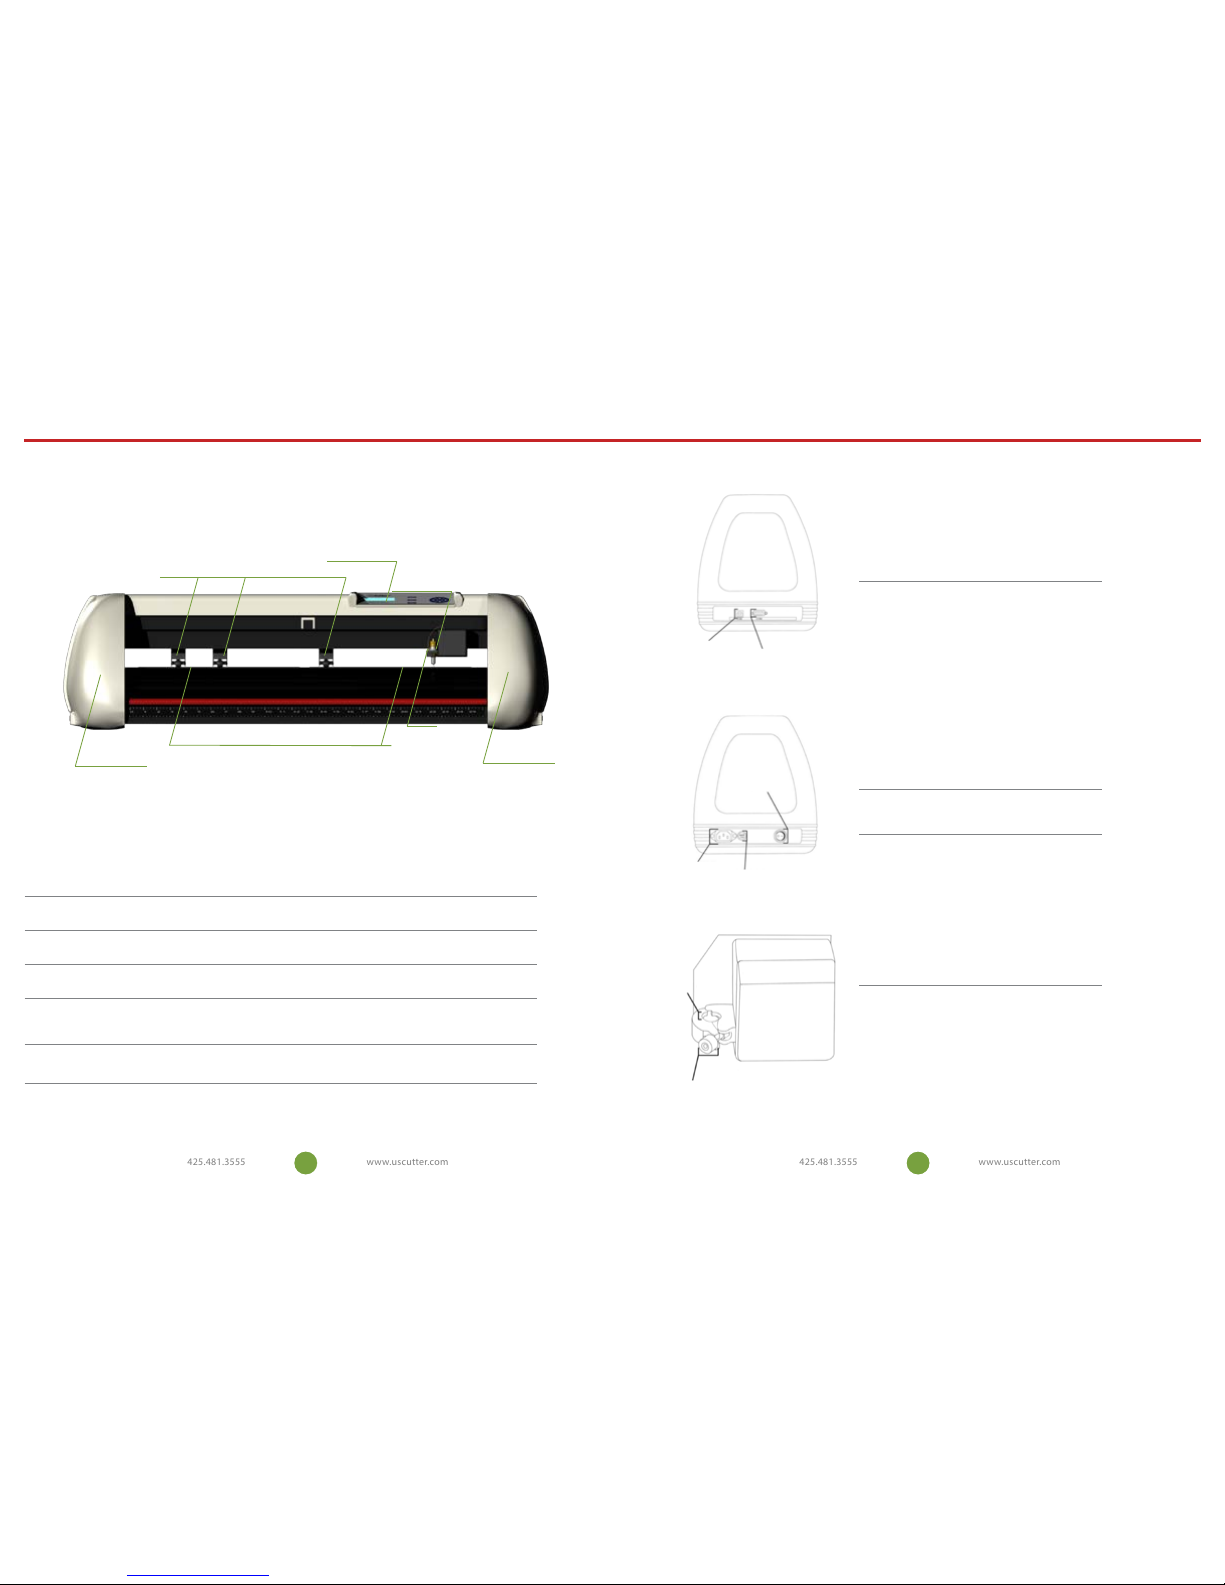
8Getting to know your vinyl cutter
10 Connecting to a computer
11 Setting up media
16 Making your rst test cut
15 Control Panel
20 Troubleshooting
22 Maintenance
23
23 Cut and place vinyl like a pro
Take Your Craft Cutting to the
NEXT LEVEL
14 Blade set up
18 Contour cutting
Go to USCutter.com and search keyword:
“Greenstar outdoor bundle” for pricing.
Go to USCutter.com and search keyword:
“Oracal 631” bundle for pricing.
Go to USCutter.com and search keyword:
“Siser starter bundle” bundle for pricing. Go to USCutter.com and search keyword:
“etched glass kit” for pricing.