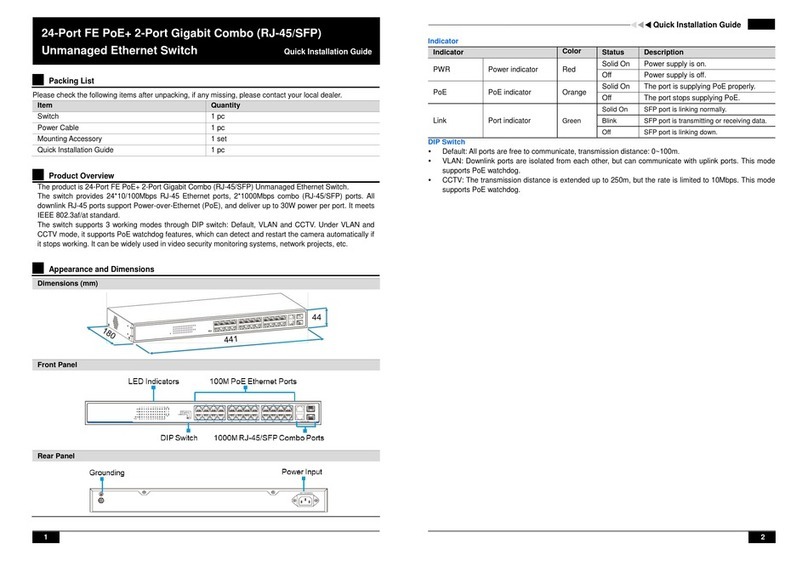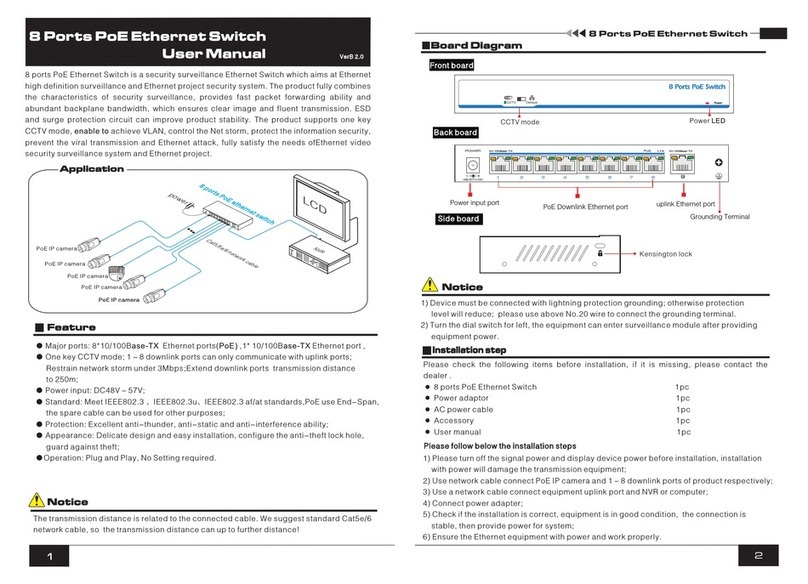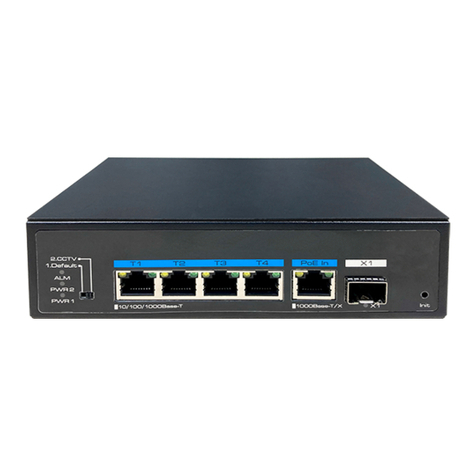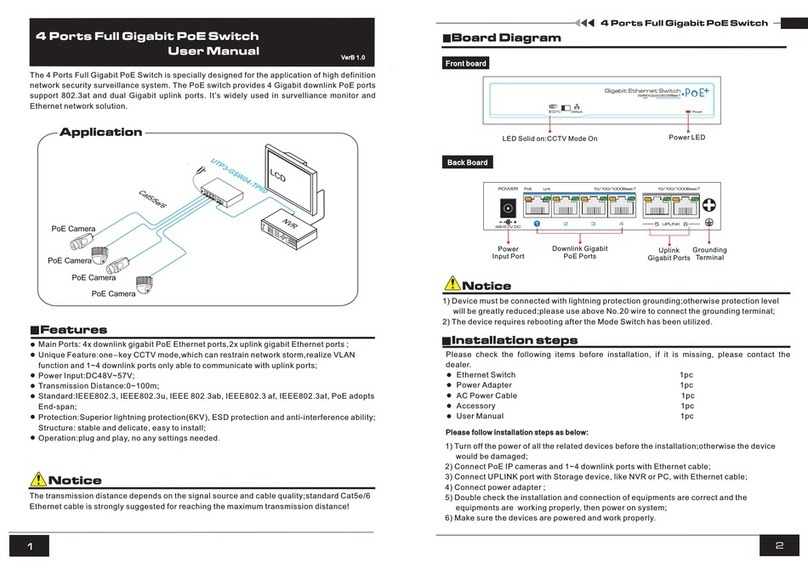
9 10
2.4 Cable Connection
2.4.1 Device Connection
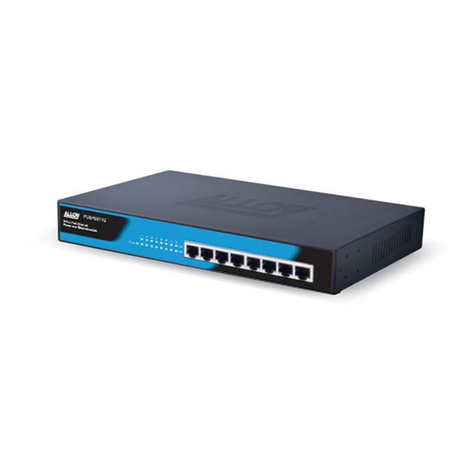
U s e c r o s s n e t w o r k c a b l e o r c r o s s - o v e r c a b l e to c o n n e c t P C o r
other device with switch's Ethernet port;
2.4.2 Configuration Cable Connection
Figure 2-6 Connect configuration cable
2.4.3 Power cable Connection
Figure 2-7 Connect power cable
(1 Connect one side of switch’s power cable with the switch's AC power port, )
and connect the another side with external AC power socket;
(2)Turn on the power ,check if switch's AC power LED is on, that means
power connected correctly;
(3)Use the power plug snap to jammed the AC Power cable.
Set Static IP for the Management Computer
3.1 Computer Requirements
Make sure the management PC has already been installed with Ethernet adapter;
3.2 Set Up Network Connection
(1) You need to set the IP of the PC and the switch in the same
network segment. The default IP address of the switch is 192.168.1.200,
network gate is 255.255.255.0.
(2) The port to connect management PC for Web setting must be
management VLAN. By default, management VLAN is VLAN 1,and each
port of the switch is VLAN1.
(3) If you need to connect the remote network, please make sure the
management PC and the router can do the job above.
(4) This product can't assign the IP address for the management PC, you
need to set the management static IP by yourself.
3 Function Configuration Guide
Use network cable connect Ethernet ports with network card of PC(Except the
console port).
Instruction
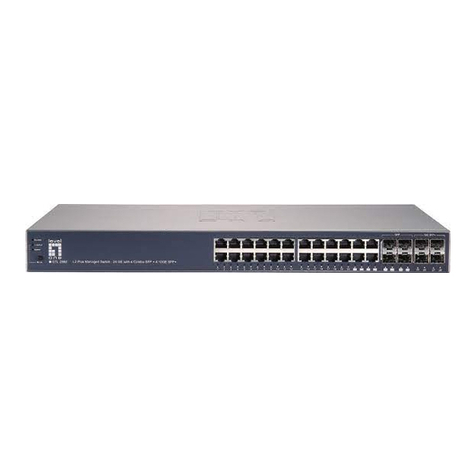
If web management, use a network cable to connect the any one of 1-24 RJ45
port(Inband) and the computer’RJ45 port.
Default IP:192.168.1.200 name: admin password: admin;
The OOB port(Out of band) is only to web management. It is closed by default, it
can be enable in web management, as the following figure:
Default IP: 192.168.2.200 name: admin password: admin
If CLI management,use a console cable(RJ45 to R232 serial port 115200,8,N,1)
to connect the Console port and the computer’serial port(DB9);
as the following figure:
DNS server address can be empty or be filled in with the real server
address.
Instruction
Select "Internet protocol (TCP/IP), click
<property> button, enter”Internet
protocol (TCP/IP) property” window.
Select “ use the IP address below”
button, input IP address ( use arbitrary
value between 192.168.1.1~
192.168.1.254, besides 192.168.1.200)
and the subnet mask(255.255.255.0).
Click "OK" to finish the configuration.


