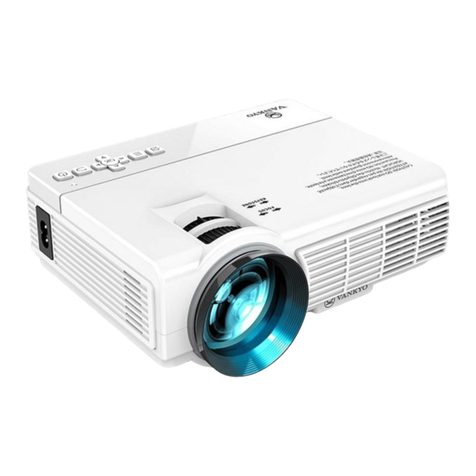
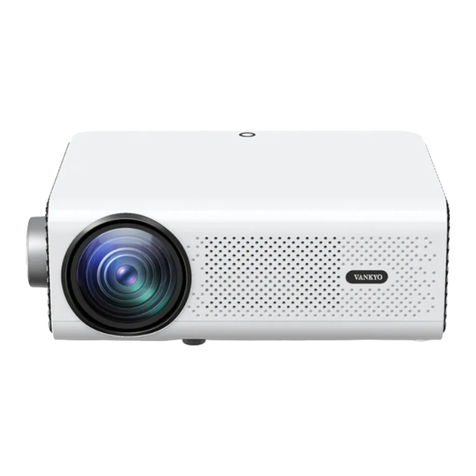
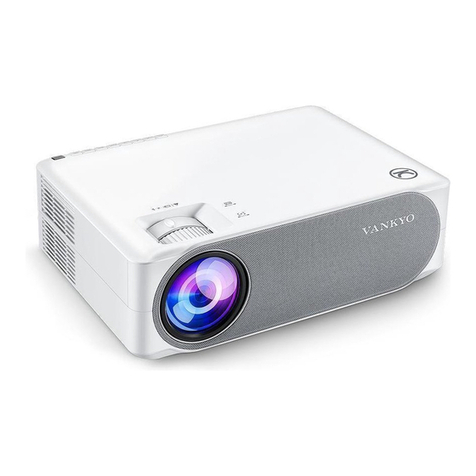
Vankyo Burger 101 User manual

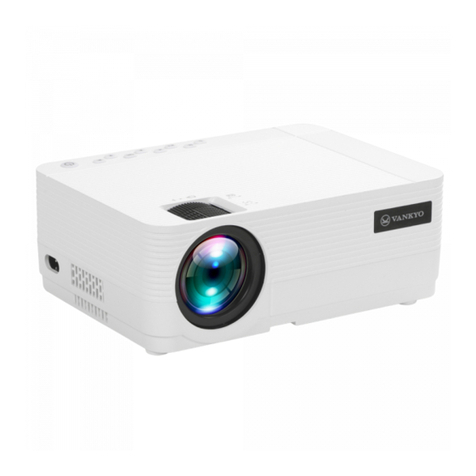
Burger 101
User Manual • Uživatelský manuál •
Užívateľský manuál • Használati utasítás •
Benutzerhandbuch

2
Dear customer,
Thank you for purchasing our product. Please read the following instructions carefully
before first use and keep this user manual for future reference. Pay particular attention
to the safety instructions. If you have any questions or comments about the device,
please contact the customer line.
✉www.alza.co.uk/kontakt
✆+44 (0)203 514 4411
Importer Alza.cz a.s., Jankovcova 1522/53, Holešovice, 170 00 Praha 7, www.alza.cz

3
Please read tis manual thoroughly before using this product and keep it for future
reference.
Packing list
BURGER 101 Remote Carrying bag User manual
(batteries not included)
Tripod HDMI cable Adapter
Notice
Recommended – Video, Movie
NOT Recommended – PowerPoint, Excel, Word

4
Function overview
Tripod Socket Hole
Air inlet
LED
Lens
Air outlet
Power input
USB
Audio Out
ON/OFF
Switch
HDMI
IR Receiver
Speaker
Power Button
Focus Ring
Air inlet
Aspect Ratio
Volume -
Down
Left
Up
Menu
Power Button
Right
Mute
Volume +
Back
Homepage
3D

5
Getting Started
Turn On
1) Plug the power cable into the projector and the socket.
2) Switch the ON/OFF Switch to ON.
3) Press the Power button to turn the projector on.
Turn Off
1) Press the Power button once, then select Confirm to turn off the projector.
2) Switch off the ON/OFF Switch to OFF.
Battery
This projector is equipped with the built-in-Li-ion rechargeable battery which can
provide power supply to other mobile devices through the USB port when needed.

6
Charging
Fully Charged: LED Off
Charging: Blue LED
IMPORTANT:
•To avoid turning on the projector accidently which may lead to electrical fires,
switch the ON/OFF Switch to OFF.
•Do not use it is a projector and power bank at the same time.
•Always connect your protector to power or change it timely when the battery is
low.
Focus and Keystone
Slightly adjust the focus ring on the projector to get the best image.
The projector supports automatic vertical Keystone correction within a degree of ± 40.

7
Wi-fi connection
1. Go to Homepage > Setup > Network > WiFi, then select Scan to display the WIFI list.
2. Press the Up/Down button to select your WIFI, then press the Ok button to continue.
3. Enter the correct password, then select Confirm to get Internet connection.
Multimedia connection
Projecting from a USB Disk
1. Turn on the projector and insert your USB disk into the USB port.
2. Go to Homepage to select Media, it will display an interface for projecting from a USB
Disk.

8
3. Select the category of the file you would like to project accordingly.
•To play the video, select Movie, then find your video file and play it by pressing
the OK button. To watch 3D video, please press the 3D button on the remote
when playing it (3D video source is required, and 3D glasses are not included).
•To play the audio file, select Music to find your audio file. Select it first by pressing
the OK button, then select the Play option to start playing.
•To project photo, select Photo, then find your photo and play it by pressing the
OK button.
•To project text, select Text, then find your text file and open it by pressing the OK
button.
DIFFERENT FILE FORMATS SUPPORTED
Text Format Supported: TXT
Image Format Supported: JPG/JPEG/BMP/PNG
Audio Format Supported: MP1/MP2/MP3/WMA/WAV/OGG/FLAC/AAC/M4A
Video Format Supported:
MPEG1/MPEG2/MPEG4/H.264/MVC/H.263/DAT/MPG/VOB/TS/AVI/MKV/MP4/MOV/3GP/F
LV
Projecting from HDMI Input Connection
1. Turn on the projector, then connect the projector to your device with the provided
HDMI cable.
2. Go to Homepage, then select HDMI to project the contents from your device to the
screen/wall.

9
Play Video in KOALA and YouTube
Go to Homepage > KOALA/YouTube to play videos after and projector is connected to
your WIFI.
TIP: Press the Menu button on the remote to get back to the Home Page of
KOALA/YouTube.
Screen mirroring
For iOS System
1. Connect your iOS device and the projector to the same WIFI network.
2. Go to Homepage > iOS Cast to display the following interface.
Make sure that your iOS device is connected to the same network as your projector or
connect iOS device with AP by Projector: Projector AP-xxxx.
a) On your iOS device, open Control Center and tap Screen Mirroring.
b) Looking for device than can be mirrored on.
c) Select ZYCast-xxxx from the list.
3. Swipe your iOS device up, then tap Screen Mirroring/AirPlay Mirroring and search for
the projector.
4. Select ZYCast-xxxx(icast) from the searching list.
5. Your iOS device display will be projected on the wall/screen.

10
For Android system
To activate this function, please make sure your android device supports Multi-
screen/Wireless display. Names may differ from different Android devices.
1. Turn the WIFI to ON status in the settings of your android device. To make a smoother
streaming, please do not connect to any WIFI on your projector.
2. Go to Homepage > Miracast to enter the following interface.
To connect Android Mobile/Pad Device with Projector Based on Wi-Fi Display
Technology.
a) On your Android Mobile/Pad open the settings menu.
b) Access your display settings or screen-mirroring.,
c) Select your Miracast receiver: ZYCast-xxxx(mcast).
3. Activate Multi-Screen function in your Android device and search for the projector.
4. Select ZYCast-xxx(mcast) from the searching list.
5. Your Android device display will be projected on the wall/screen.
Screen Casting (For iOS System Only)
1. Connect your iOS device and the projector to the same WIFI network.
2. Select Setup on the homepage, enter Advanced > iOS Play Mode, then press the right
button on the remote to select screen casting HD/SD.
3. Go to Homepage > iOS Cast on the projector.
4. Launch a video player on your iOS device and select a video to play.
5. Tap > Airplay&Bluetooth devices > ZYCast-XXX(icast) to cast the video on your iOS
device to the wall/screen via the projector.
11
TIPS:
•Once the video is casted to the wall/screen, you can close the app and do other
things without interrupting the video if your iOS device is still connected.
•Always connect your projector to power.
Settings
Go to Homepage > Setup to adjust the settings of your projector.
Network
Connect the projector to your WIFI.
Projection
Set up brightness mode, brightness level, projection mode, Keystone configurations etc.
Advanced
Change language, select boot source, set up sleep timer, select iOS Play Mode, update
firmware, make a factory restore, etc.
Information
Check the memory, software version, etc.

12
Specifications
Adapter Input
AC100V-240V, 50/60Hz
Adapter Output
DC5V=3A
Ports
USB Port*1/HDMI In*1/Audio Out*1/DC In*1
Operating System
Linux
WIFI
2.4G
RAM/ROM
256MB/2G bits
CPU
Mstar V66
Battery Capacity
5200mAh (Rechargeable Li-ion battery)
Display Technology
DLP
Light Source
LED
Resolution
Native 584 x 480
Projecting Distance/Size
0.8/30-110inches
Projecting Mode
Front/Rear/Ceiling
Aspect Ratio
4:3/16:9
Keystone
Auto/Manual ± 40°
Focus
Manual
Troubleshooting guide
1) The content on my iPhone cannot mirrored on the projected screen.
•Make sure your iPhone is connected to the same 2.4G network as your projector.
•Go to Setup > Information > Software Version to check the version of your
projector, then contact support@ivankyo.com for further assistance.
2) The projector cannot be turned on when I press the power button
•Connect the projector to the socket with a power cord to check whether the built-
in battery is empty.
•Make sure you switch the ON/OFF Switch to ON.
3) The projected image freezes or the projector is not responsive.
•Go to Setup > Advanced to make a factory reset.
4) 3D effect is not working as expected.
•The 3D active shutter glasses are required.
•Make sure the 3D video is in the format of side-by-side or top and bottom.
•Make sure to press the 3D button on the remote.
5) My USB disk or hard drive cannot be read.
•Make sure the format of your USB disk or hard drive is FAT32 or NTFS.
•The max. storage of the USB disk should be less than 64GB.

13
Warranty Conditions
A new product purchased in the Alza.cz sales network is guaranteed for 2 years. If you
need repair or other services during the warranty period, contact the product seller
directly, you must provide the original proof of purchase with the date of purchase.
The following are considered to be a conflict with the warranty conditions, for
which the claimed claim may not be recognized:
•Using the product for any purpose other than that for which the product is intended
or failing to follow the instructions for maintenance, operation and service of the
product.
•Damage to the product by a natural disaster, the intervention of an unauthorized
person or mechanically through the fault of the buyer (e.g. during transport, cleaning
by inappropriate means, etc.).
•Natural wear and aging of consumables or components during use (such as
batteries, etc.).
•Exposure to adverse external influences, such as sunlight and other radiation or
electromagnetic fields, fluid intrusion, object intrusion, mains overvoltage,
electrostatic discharge voltage (including lightning), faulty supply or input voltage and
inappropriate polarity of this voltage, chemical processes such as used power
supplies, etc.
•If anyone has made modifications, modifications, alterations to the design or
adaptation to change or extend the functions of the product compared to the
purchased design or use of non-original components.

14
EU Declaration of Conformity
Identification data of the manufacturer's / importer's authorized representative:
Importer: Alza.cz a.s.
Registered office: Jankovcova 1522/53, Holešovice, 170 00 Prague 7
IČO: 27082440
Subject of the declaration:
Title: Projector
Model / Type: Burger 101
The above product has been tested in accordance with the standard(s) used to
demonstrate compliance with the essential requirements laid down in the
Directive(s):
Directive No. (EU) 2014/53/EU
Directive No. 2011/65/EU as amended 2015/863/EU
Prague, 27.3.2021

15
WEEE
This product must not be disposed of as normal household waste in accordance with
the EU Directive on Waste Electrical and Electronic Equipment (WEEE - 2012/19 / EU).
Instead, it shall be returned to the place of purchase or handed over to a public
collection point for the recyclable waste. By ensuring this product is disposed of
correctly, you will help prevent potential negative consequences for the environment
and human health, which could otherwise be caused by inappropriate waste handling of
this product. Contact your local authority or the nearest collection point for further
details. Improper disposal of this type of waste may result in fines in accordance with
national regulations.

16
Vážený zákazníku,
Děkujeme vám za zakoupení našeho produktu. Před prvním použitím si prosím pečlivě
přečtěte následující pokyny a tento manuál si uschovejte pro budoucí použití. Věnujte
zvláštní pozornost bezpečnostním pokynům. Pokud máte jakékoliv dotazy nebo
připomínky k produktu, kontaktujte zákaznickou linku.
✉www.alza.cz/kontakt
✆+420 255 340 111
Dovozce Alza.cz a.s., Jankovcova 1522/53, Holešovice, 170 00 Praha 7, www.alza.cz

17
Před použitím tohoto produktu si pečlivě přečtěte tento návod a uschovejte jej pro
budoucí použití.
Obsah balení
Projektor BURGER 101 Dálkové Přepravní taška Uživatelská
příručka
ovládání (baterie nejsou součástí)
Stativ Kabel HDMI Adaptér
Upozornění
Doporučuje se – Video, Film
Nedoporučuje se – PowerPoint, Excel, Word

18
Popis produktu
Otvor pro připojení
stativu
Přívod
vzduch
LED
Lens
Vývod vzduchu
Vstup pro napájení
USB
Audio Out
Přepínač
ZAP/VYP
HDMI
IR
Přijí č
Reprodukto
Tlačítko napájení
Zaostřovací
kolečko
Přívod
dh
Poměr
Hlasitost -
Dolů
Doleva
Nahor
Menu
Tlačítko napájení
Doprava
Ztlumi
Hlasitost +
Zpět
Domovská stránka
3D

19
Začínáme
Zapnutí
1) Připojte napájecí kabel do projektoru a do zásuvky.
2) Přepněte přepínač ZAP/VYP do polohy ZAP.
3) Stisknutím tlačítka napájení zapněte projektor.
Vypnutí
1) Pro vypnutí projektoru stiskněte jednou tlačítko napájení a poté zvolte “Potvrdit”
(“Confirm”).
2) Přepněte přepínač ZAP/VYP do polohy VYP.
Baterie
Tento projektor je vybaven vestavěnou Li-ion dobíjecí baterií, která v případě potřeby
může napájet další mobilní zařízení prostřednictvím USB portu.

20
Nabíjení
Plně nabito: LED VYP
Nabíjí se: LED modrá
DŮLEŽITÉ:
•Abyste zabránili náhodnému zapnutí projektoru, které by mohlo vést k požáru,
přepněte přepínač do polohy VYP.
•Nepoužívejte současně projektor a powerbanku.
•Pokud je baterie téměř vybitá, vždy připojte projektor k napájení nebo ji včas
vyměňte.
Zaostření a lichoběžníkové zkreslení
Mírným nastavením zaostřovacího kolečka na projektoru získejte nejlepší obraz.
Projektor podporuje automatickou vertikální korekci lichoběžníkového zkreslení v
rozsahu ± 40.
Table of contents
Languages:
Other Vankyo Projector manuals

Vankyo
Vankyo Performance 700 W User manual

Vankyo
Vankyo Leisure 3 User manual

Vankyo
Vankyo LEISURE 3W PRO User manual

Vankyo
Vankyo Performance V630W User manual

Vankyo
Vankyo 495W User manual

Vankyo
Vankyo Leisure 470 Pro User manual

Vankyo
Vankyo Leisure 470 User manual

Vankyo
Vankyo Performance V630W User manual

Vankyo
Vankyo Leisure 3 User manual

Vankyo
Vankyo Leisure 410 User manual